
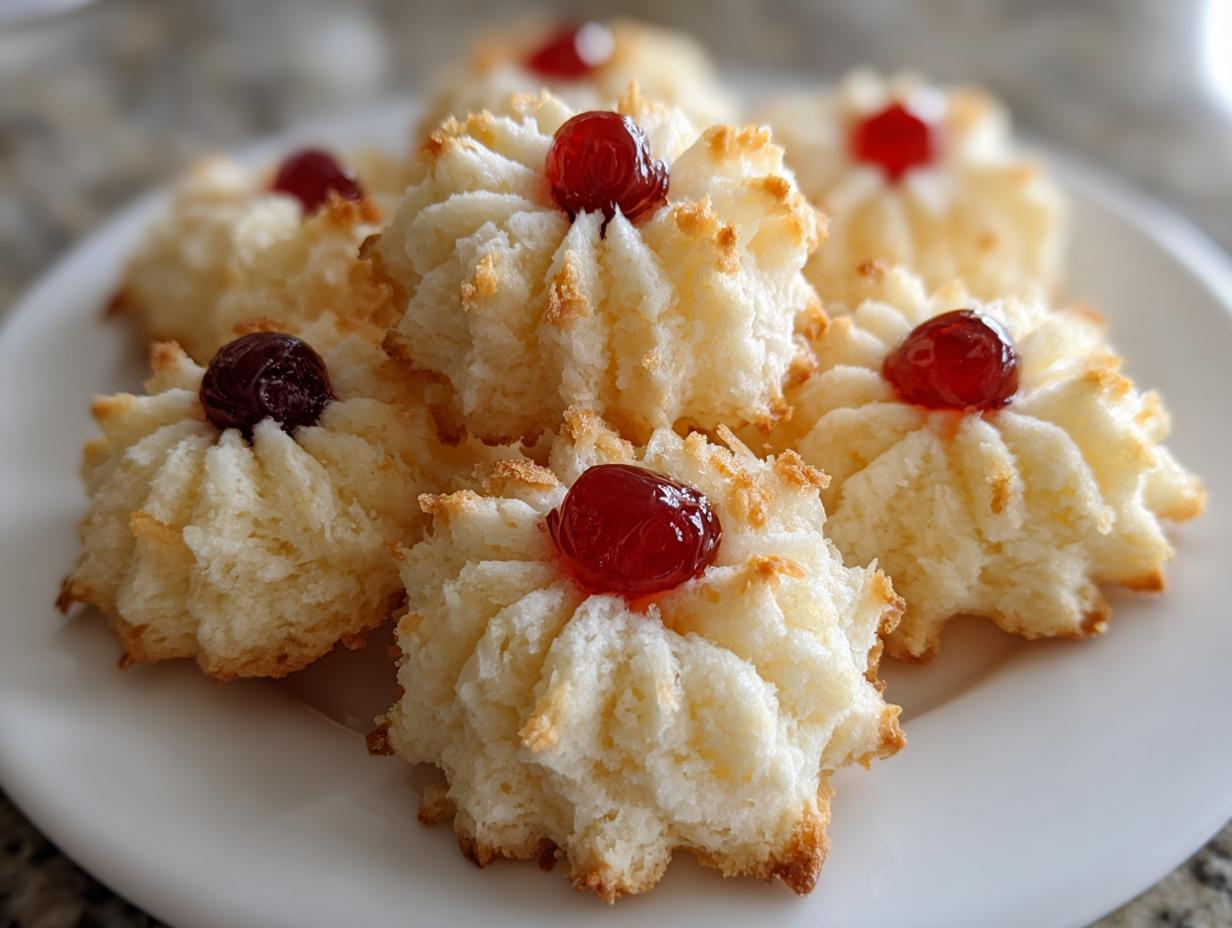
Oh, the holidays! There’s just something magical about that first crisp bite into a perfectly tender cookie, isn’t there? For me, nothing screams ‘Christmas’ quite like a batch of melt-in-your-mouth whipped shortbread cookies. They’re so delicate and literally just dissolve on your tongue! Honestly, I remember watching my Grandma Ellie work her magic in the kitchen, her hands moving with such grace as she piped these little beauties. They weren’t just cookies; they were little parcels of joy, perfect for tucking into holiday cookie boxes for neighbors and friends. If you’re looking for a recipe that’s incredibly easy but tastes absolutely divine and looks so festive, you’ve found it!
- Why You'll Love These Whipped Shortbread Cookies
- Essential Ingredients for Whipped Shortbread
- Mastering the Art of Whipped Shortbread: Step-by-Step
- Tips for Perfectly Whipped Shortbread
- Understanding Cornstarch in Whipped Shortbread
- Storing Your Whipped Shortbread for a Holiday Cookie Box
- Frequently Asked Questions about Whipped Shortbread
- Estimated Nutritional Information
- Share Your Festive Baking Creations
Why You’ll Love These Whipped Shortbread Cookies
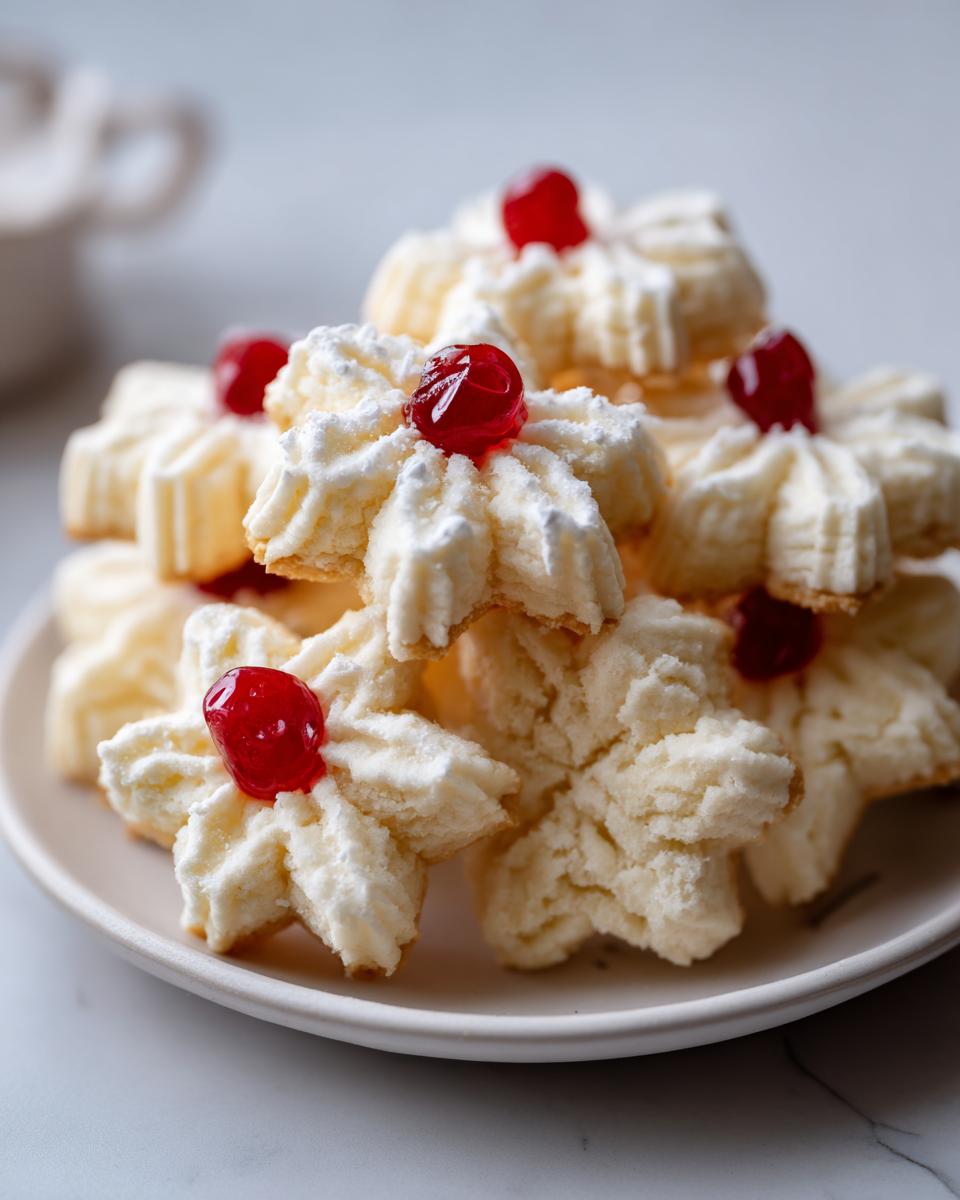
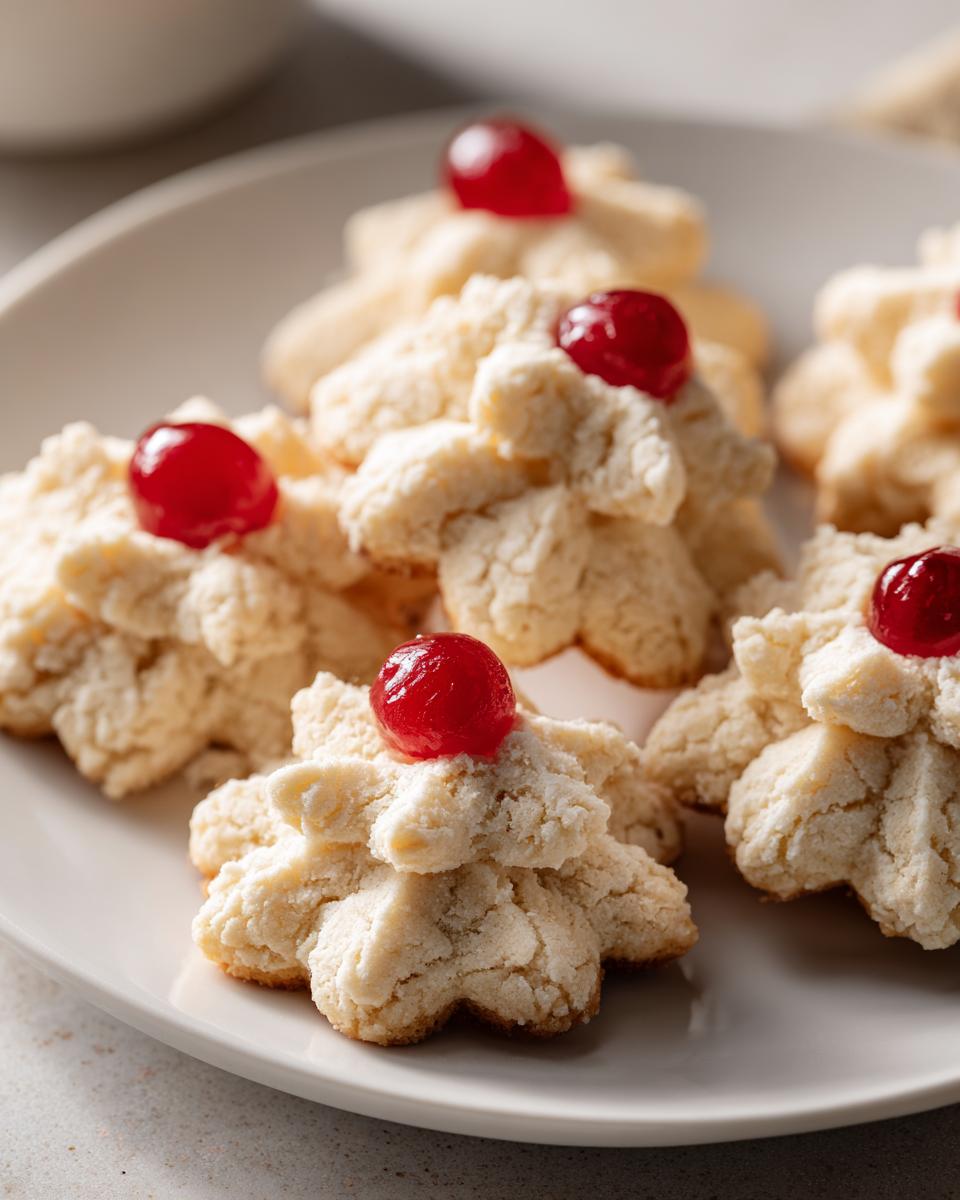
Seriously, these little cookies are a dream! They’re ridiculously easy to whip up, which is a lifesaver during the busy holiday season. The texture? Oh my goodness, it’s that perfect “melt-in-your-mouth” kind that makes you close your eyes and savor every bite. They’re just delicate enough to be fancy for your holiday cookie boxes, and with a little sprinkle or one of those pretty cherry halves, they become super festive and look like they came from a bakery!
Essential Ingredients for Whipped Shortbread
Alright, let’s talk about what you’ll need to make these little bites of heaven. It’s a pretty simple list, which is always a good sign for an easy recipe, right? First off, you absolutely need 1 cup of unsalted butter, and it has to be softened. Like, leave it on the counter for an hour or two so it’s not melty, but just soft enough to easily press your finger into. Then, we’ve got 1/2 cup of powdered sugar – I like to sift it just to make sure there are no lumps, but it’s not a dealbreaker. For that signature melt-in-your-mouth texture, we’re using 1/4 cup of cornstarch. You’ll also need 1 teaspoon of vanilla extract for that classic sweet flavor. And don’t forget 1 1/2 cups of all-purpose flour and just a little pinch of 1/4 teaspoon of salt to balance everything out. Oh, and if you’re feeling fancy, have some sprinkles or maraschino cherry halves ready to go for decorating!
Mastering the Art of Whipped Shortbread: Step-by-Step
Alright, let’s get these beautiful cookies made! It’s really not complicated, I promise. Just a few key steps and you’ll have a batch of pure melt-in-your-mouth magic.
Preheating and Preparing Your Baking Sheets
First things first, get that oven warming up to 300°F (that’s 150°C). We want a nice, gentle heat for these delicate cookies. And definitely line your baking sheets with parchment paper. Trust me, it makes all the difference for easy cleanup and getting the cookies off without them breaking into a million pieces.
Creaming Butter and Sugar for Fluffy Whipped Shortbread
Now, into a big bowl goes your softened butter and that powdered sugar. Grab your mixer (or a good sturdy spoon!) and beat them together until they look super light and fluffy. You’re looking for a pale yellow, airy texture. Then, beat in the cornstarch and that lovely vanilla extract until it’s all nice and smooth. This step is where we start building that amazing lightness!
Combining Dry Ingredients for Perfect Shortbread
Grab another bowl and give your flour and salt a quick whisk together. This just makes sure everything is evenly distributed. Now, here’s a little trick: add these dry ingredients to your butter mixture *gradually*. Don’t just dump it all in at once! Mix on low speed until it’s just combined. You really don’t want to overmix here, or your cookies might not be as tender as we want them. Just until you don’t see streaks of flour anymore.
Shaping and Decorating Your Whipped Shortbread Cookies
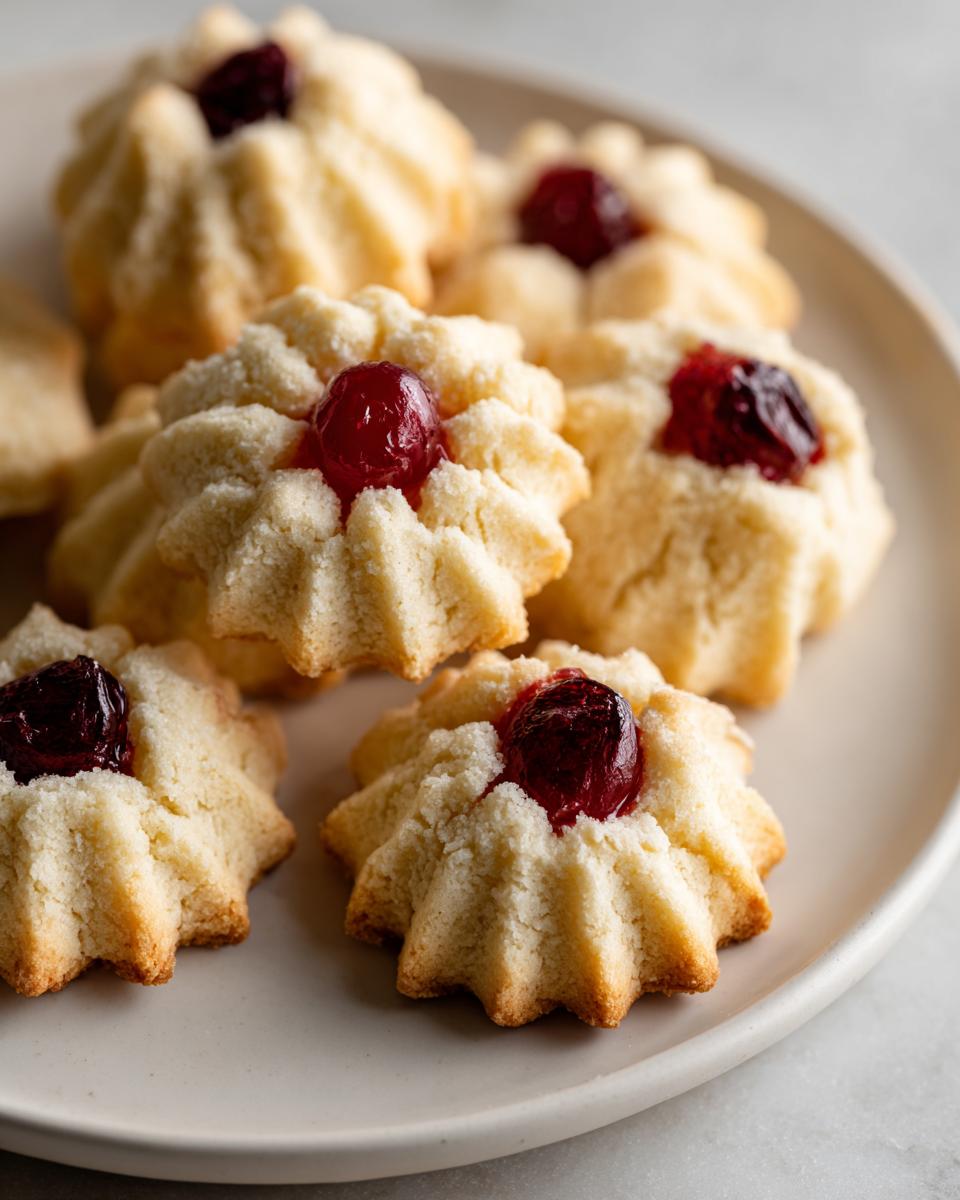
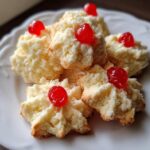
Okay, here’s the fun part! You can either spoon the dough into a piping bag fitted with a big star tip – that’s how you get those pretty, floral shapes! Or, if you’re like me on a lazy baking day, you can just roll the dough into little balls and gently flatten them with the bottom of a glass or even a fork. If you’re adding sprinkles or one of those cute little cherry halves, pop them on now before they go into the oven!
Baking and Cooling Your Melt-in-Your-Mouth Cookies
Pop those piped or shaped cookies onto your prepared sheets and into the oven they go. Bake for about 18 to 22 minutes. You’re not looking for a dark brown cookie, just a nice, light golden color around the edges. They’ll still look a little soft, but that’s good! Let them cool on the baking sheet for just a few minutes – they need that time to set up a bit – then *carefully* transfer them to a wire rack to cool completely. Patience here is key!
Tips for Perfectly Whipped Shortbread
Okay, so these cookies are pretty forgiving, but a couple of little tricks really make them sing! First off, that softened butter is non-negotiable. I learned the hard way that butter that’s too cold just won’t cream properly, and butter that’s too warm makes for greasy cookies. You want it just right, like a nice, cool balm. Also, really resist the urge to overmix the dough once you add the flour. It’s tempting because you want to make sure it’s all combined, but overmixing makes them tough instead of tender. Grandma used to say, “Just until it comes together, dear!” These cookies are also pretty delicate, so be gentle when you’re piping or rolling them, and definitely let them cool on the pan for those few minutes before trying to move them. If you like them a tad crispier, just bake them a minute or two longer. Easy peasy!

Understanding Cornstarch in Whipped Shortbread
You know, that secret ingredient that makes these whipped shortbread cookies just *melt* in your mouth? It’s the cornstarch! It’s such a simple thing, but wow, does it make a difference. We’re using about a 1/4 cup of cornstarch to 1 1/2 cups of flour, and that ratio is key. The cornstarch basically breaks down the gluten in the flour, which is what can make cookies tough. So, instead of a chewy cookie, you get this unbelievably tender, almost powdery texture that just dissolves. It’s what makes them feel so rich and luxurious, even with basic ingredients!
Storing Your Whipped Shortbread for a Holiday Cookie Box
Okay, so you’ve baked these gorgeous, delicate little cookies, and now you want them to stay that way, right? Especially if they’re destined for a beautiful holiday cookie box! The number one rule is to make sure they are completely, 100% cool before you even think about packing them up. They’re super fragile when they’re warm. Once they’re totally cooled, I like to store them in an airtight container. You can even add a piece of wax paper between layers if you’re stacking them. They do best at room temperature, and they’ll stay wonderfully fresh for about a week. Just handle them with care when you’re taking them out! It’s all about preserving that delicate texture, kind of like how we aim to preserve tradition and family recipes, you know? It’s a passion that’s really close to my heart.
Frequently Asked Questions about Whipped Shortbread
Got questions about these delightful cookies? You’re not alone! They’re pretty foolproof, but a few little things can pop up for home bakers. Let’s clear them up!
Can I use salted butter for these whipped shortbread cookies?
You sure can! If you only have salted butter on hand, go for it. Just know that it might make the cookies a little saltier than the recipe intends. I always recommend unsalted because it lets us control the saltiness perfectly, but a pinch less salt in the recipe if you use salted will be just fine!
How do I get perfectly shaped whipped shortbread cookies?
The key is really cold dough! Make sure your dough has chilled out in the fridge for at least 30 minutes before you try piping it. Also, use a good, sturdy piping bag and a large star tip. If the dough is too warm, it’ll just spread out and lose its shape. Be gentle and pipe with consistent pressure.
Why are my whipped shortbread cookies crumbly?
Oh no, crumbles! This usually happens for a couple of reasons. Either the dough was overmixed after the flour went in, which can make them tough *and* crumbly, or maybe the butter wasn’t softened enough when you started creaming. Not enough creaming time can also lead to a crumbly texture. Make sure you’re just mixing until combined and creaming that butter and sugar really well!
Estimated Nutritional Information
Just a little heads-up, these numbers are estimates for one cookie. Things can vary a bit depending on exactly what you use, but this gives you a good idea! You’re looking at around 100 calories per cookie, with about 6g of fat, 1g of protein, and 11g of carbs. Each cookie has about 6g of sugar and just a tiny bit of sodium, around 30mg.
Share Your Festive Baking Creations
I just love hearing from you and seeing your baking adventures! Have you tried making these melt-in-your-mouth whipped shortbread cookies? Did you add your own special sprinkles or maybe a twist on the recipe? Please, please share your photos and stories in the comments below! I’d also love to know how you rated them. Your feedback truly makes my day and helps other bakers too! You can even drop us a line through our contact page if you have any questions or just want to say hello.
PrintWhipped Shortbread Cookies
Bake melt-in-your-mouth Christmas cookies that are perfect for your holiday cookie box.
- Prep Time: 20 min
- Cook Time: 20 min
- Total Time: 40 min
- Yield: 36 cookies 1x
- Category: Dessert
- Method: Baking
- Cuisine: American
- Diet: Vegetarian
Ingredients
- 1 cup butter, softened
- 1/2 cup powdered sugar
- 1/4 cup cornstarch
- 1 teaspoon vanilla extract
- 1 1/2 cups all-purpose flour
- 1/4 teaspoon salt
- Optional: Sprinkles, maraschino cherry halves
Instructions
- Preheat your oven to 300°F (150°C). Line baking sheets with parchment paper.
- In a large bowl, cream together the softened butter and powdered sugar until light and fluffy.
- Beat in the cornstarch and vanilla extract until well combined.
- In a separate bowl, whisk together the flour and salt.
- Gradually add the dry ingredients to the wet ingredients, mixing on low speed until just combined. Do not overmix.
- Transfer the dough to a piping bag fitted with a large star tip. Pipe desired shapes onto the prepared baking sheets. Alternatively, you can roll the dough into small balls and flatten them slightly with a fork.
- If desired, decorate the cookies with sprinkles or top with a half maraschino cherry before baking.
- Bake for 18-22 minutes, or until the edges are lightly golden.
- Let the cookies cool on the baking sheets for a few minutes before transferring them to a wire rack to cool completely.
Notes
- For a crispier cookie, bake for a few minutes longer.
- Store cookies in an airtight container at room temperature for up to a week.
- These cookies are delicate, so handle them with care when decorating and storing.
Nutrition
- Serving Size: 1 cookie
- Calories: 100
- Sugar: 6g
- Sodium: 30mg
- Fat: 6g
- Saturated Fat: 4g
- Unsaturated Fat: 2g
- Trans Fat: 0g
- Carbohydrates: 11g
- Fiber: 0g
- Protein: 1g
- Cholesterol: 15mg