
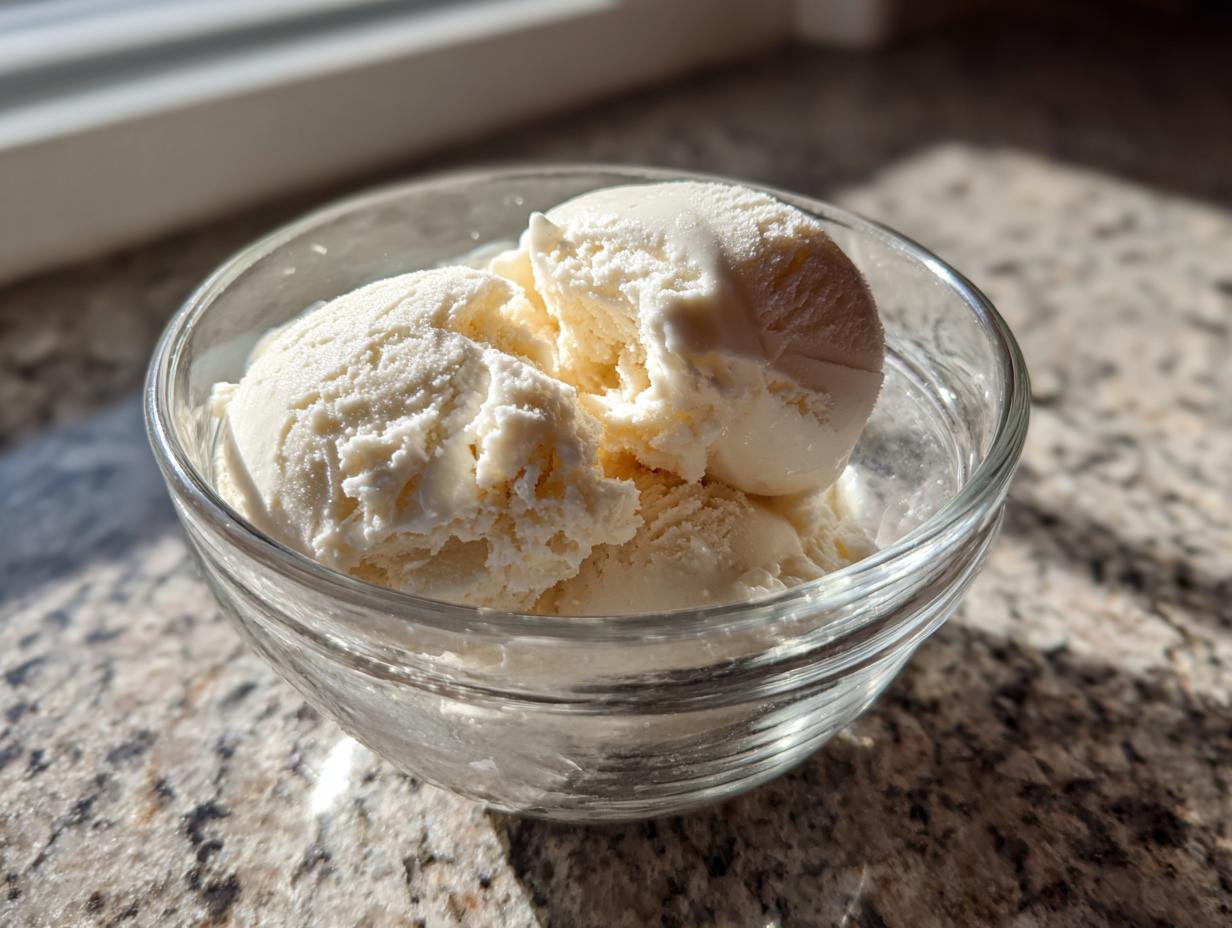
Oh, you know those evenings, right? When you’re just craving something sweet, something cold, something *dessert*-like, but you’re trying to be good? I totally get it! It used to be a constant battle for me. But then I stumbled onto this game-changer: a super simple, seriously delicious protein ice cream that only needs four ingredients and a blender. Seriously, it’s like magic! It feels so decadent, but it’s packed with protein to keep you full and satisfied, and it’s a total treat without the usual guilt trip. My journey with DeliceRecipe is all about finding those accessible recipes, just like my grandmother used to make, that fill your home with good smells and your heart with joy. This protein ice cream is exactly that – a little bit of health-conscious innovation that tastes amazing. You can read more about how DeliceRecipe started right here, but trust me, this is one recipe you’ll want to keep in your back pocket!

- Why You'll Love This Easy Protein Ice Cream
- Ingredients for Your High Protein Dessert
- How to Make Protein Ice Cream: Step-by-Step
- Tips for the Best Blender Ice Cream
- Flavor Variations for Your Healthy Ice Cream Hack
- Nutritional Information for Protein Ice Cream
- Frequently Asked Questions about Protein Ice Cream
- Share Your High Protein Dessert Creations!
Why You’ll Love This Easy Protein Ice Cream
Seriously, this recipe is a lifesaver for anyone trying to stick to their health goals without sacrificing dessert. You’re going to be obsessed with how incredibly easy it is. Like, seriously, dump-and-blend easy!
- Super Simple: Just four ingredients and your trusty blender are all you need. No fancy machines required!
- Packed with Protein: Each serving boasts over 20 grams of protein, which is amazing for keeping you full and satisfied.
- Tastes Amazing: Forget chalky or weird textures. This tastes like real ice cream – creamy and delicious!
- Guilt-Free Indulgence: It’s the perfect healthy dessert hack for when those sweet cravings hit hard.
- Customizable: You can totally play around with flavors to make it your own.
Ingredients for Your High Protein Dessert
Alright, let’s talk about what you’ll need for this amazing protein ice cream! It’s super straightforward, which is why I love it so much. You just need these few things:
- 16 ounces of cottage cheese – you can go full fat for extra creaminess, or low fat if you prefer!
- 1 scoop of vanilla or unflavored protein powder (about 30 grams) – the vanilla adds a nice little sweetness boost.
- 1 to 2 tablespoons of sweetener – maple syrup, honey, or even a sugar substitute works great. Just add it to your taste!
- 1/4 cup of milk – dairy or your favorite non-dairy kind is perfectly fine.
How to Make Protein Ice Cream: Step-by-Step
Making this incredible protein ice cream is honestly SO easy, you’ll wonder why you didn’t try it sooner! It’s all about blending until it’s super smooth and then letting the freezer do its magic. I promise, it’s way simpler than you might think, and the result is totally worth it.
Blending Your Cottage Cheese Ice Cream Base
First things first, grab your blender! Toss in that cottage cheese, your protein powder, your sweetener (start with a tablespoon and add more if you like it sweeter – you can always add more!), and that little splash of milk. Now, blend, blend, blend! You want everything to get super creamy and smooth. Don’t be afraid to stop and scrape down the sides a few times; we’re looking for a lovely, uniform texture here. It should look like a thick milkshake, no lumps allowed!
Freezing Your Viral Protein Treat
Once it’s all blended into a creamy dream, pour it into a freezer-safe container. Pop a lid on it and into the freezer it goes! You’ll want to let it freeze for at least 4 hours. This is important so it gets firm enough to scoop like real ice cream. You’ll know it’s ready when it’s solid but still scoopable. It’s like uncovering a hidden treasure – your very own healthy, delicious viral protein treat!
Tips for the Best Blender Ice Cream
Making the perfect batch of protein ice cream with your blender is totally doable and honestly, kind of fun! It’s all about a few little tricks and paying attention. My biggest tip? Don’t be afraid to play around with it! I once accidentally doubled the milk, and oops! It turned out a bit too soft, more like a frozen yogurt. So, the amount of milk is key for that perfect texture. Trust me, once you get it right, you’ll be scooping this deliciousness out of the freezer all the time.

Achieving Creamy Texture in Your Protein Ice Cream
For that unbelievably creamy texture in your protein ice cream, it really comes down to a couple of things. First, make sure your blender is up to the task – a good one really helps break everything down super smooth. Also, don’t skimp on the protein powder; it helps give it that body. If it feels a bit too thin after blending, just add a tiny bit more protein powder or a smidge less milk next time. And when you freeze it, a shallower, wider container works better than a tall, skinny one because it freezes more evenly, avoiding those annoying ice crystals!
Sweetness and Flavor Customization
One of my favorite things about this recipe is how easy it is to tweak the sweetness and flavors! I usually start with about a tablespoon of maple syrup, but then I taste it before freezing. So, if you’re using a really potent protein powder that’s already sweet, you might need less. And if you love things sweeter, just add another little drizzle! For flavor, you can’t go wrong with a dash of vanilla extract, or maybe some unsweetened cocoa powder for a chocolatey kick. Oh, or a little bit of instant coffee granules? Yum!
Flavor Variations for Your Healthy Ice Cream Hack
Okay, so the base for this healthy ice cream hack is fantastic on its own, but oh my goodness, the ways you can jazz it up are endless! Seriously, think of it as a delicious blank canvas just begging for your favorite flavors. My all-time favorite is probably adding a swirl of peanut butter right before freezing – talk about decadent! Or, for a super decadent chocolate version, just stir in a tablespoon or two of unsweetened cocoa powder when you blend everything up. It’s like having a whole new dessert every time!
Don’t be afraid to get creative! What about adding a handful of fresh berries to the blender for a fruity twist? Or maybe some mini chocolate chips or chopped nuts right after blending, before it goes into the freezer? You can even try a little cinnamon or a pinch of nutmeg for some warmth. It’s your kitchen, your rules, and your delicious high-protein treat!
Here are some ideas to get you started:
- Peanut Butter Swirl: Add 1-2 tbsp peanut butter to the blender or swirl it in before freezing.
- Chocolate Lover’s: Stir in 1-2 tbsp of unsweetened cocoa powder with the other ingredients.
- Berry Blast: Blend in 1/4 cup of your favorite berries (fresh or frozen).
- Mint Chip: Add a few drops of peppermint extract and some sugar-free chocolate chips.
- Cookie Dough: Mix in some crushed (sugar-free) cookie dough pieces before freezing.
Nutritional Information for Protein Ice Cream
Alright, let’s talk numbers! This protein ice cream is seriously a winner when you’re keeping an eye on your nutrition. Each serving usually comes in around 180 calories, with a good chunk of that being pure protein – about 22 grams! It’s pretty low in sugar and fat, which is awesome for something so satisfying. Of course, these are just estimates and can change a little depending on exactly what kind of cottage cheese, protein powder, and sweetener you use. It’s a fantastic option for anyone looking into weight loss programs or just trying to make healthier choices daily.
For the full breakdown:
- Serving Size: 1 cup
- Calories: ~180
- Protein: ~22g
- Carbohydrates: ~12g
- Fat: ~5g
- Sugar: ~8g
Remember, these are approximate values! For the most accurate info, it’s always best to calculate based on the specific brands you use. You can check out our terms of use for more details on how we approach nutritional information.
Frequently Asked Questions about Protein Ice Cream
Got questions about whipping up this amazing protein ice cream? I’ve got you covered! It’s pretty straightforward, but it’s always good to have a little extra guidance. Making homemade healthy ice cream can feel like a science experiment sometimes, but trust me, it’s totally worth it for that delicious, guilt-free scoop!
-
Can I use different types of protein powder for protein ice cream?
Oh yeah, absolutely! You can use whey, casein, or even plant-based protein powders. Just know that different types might slightly change the texture or taste, so you might need to adjust the milk a tiny bit to get it just right for your perfect protein ice cream.
-
What if my cottage cheese ice cream is too icy?
That can happen sometimes! If yours turns out a bit icy, try blending it a little longer next time, maybe adding just a tablespoon more milk, or even giving it a quick stir halfway through the freezing process. That usually does the trick to get a smoother, creamier texture!
-
How long does this protein ice cream last in the freezer?
Honestly, it’s best enjoyed within about a week to 10 days for the freshest flavor and best texture. After that, it can start to get a little freezer-burned or icy. But let’s be real, it usually doesn’t last that long anyway – it’s just too good!
Got more questions? Feel free to reach out via our contact page! I love hearing from you guys and helping you nail this recipe.
Share Your High Protein Dessert Creations!
I’d absolutely LOVE to see what you come up with! Did you try a fun flavor combo? How did it turn out? Please leave a comment below and tell me all about it, or leave a star rating if you loved it. Sharing your creations helps inspire others, and I can’t wait to hear about your twists on this delicious treat!
PrintHigh-Protein Cottage Cheese Ice Cream

A simple, 4-ingredient blender ice cream recipe that delivers over 20g of protein per serving. Enjoy a healthy, low-sugar dessert hack.
- Prep Time: 5 min
- Cook Time: 0 min
- Total Time: 4 hr 5 min
- Yield: 4 servings 1x
- Category: Dessert
- Method: Blender
- Cuisine: American
- Diet: Low Sugar
Ingredients
- 16 oz cottage cheese, full fat or low fat
- 1 scoop vanilla or unflavored protein powder (about 30g)
- 1–2 tbsp sweetener (maple syrup, honey, or sugar substitute), to taste
- 1/4 cup milk (dairy or non-dairy)
Instructions
- Combine cottage cheese, protein powder, sweetener, and milk in a blender.
- Blend until completely smooth and creamy. You may need to scrape down the sides a few times.
- Pour the mixture into a freezer-safe container.
- Freeze for at least 4 hours, or until firm.
- Scoop and enjoy your high-protein ice cream.
Notes
- For a thicker texture, reduce the milk slightly.
- Add mix-ins like berries, chocolate chips, or nuts after blending and before freezing.
- Consider this a healthy alternative to traditional ice cream, similar to what you might find with some meal planning services focused on health.
Nutrition
- Serving Size: 1 cup
- Calories: 180
- Sugar: 8g
- Sodium: 350mg
- Fat: 5g
- Saturated Fat: 3g
- Unsaturated Fat: 2g
- Trans Fat: 0g
- Carbohydrates: 12g
- Fiber: 1g
- Protein: 22g
- Cholesterol: 20mg