
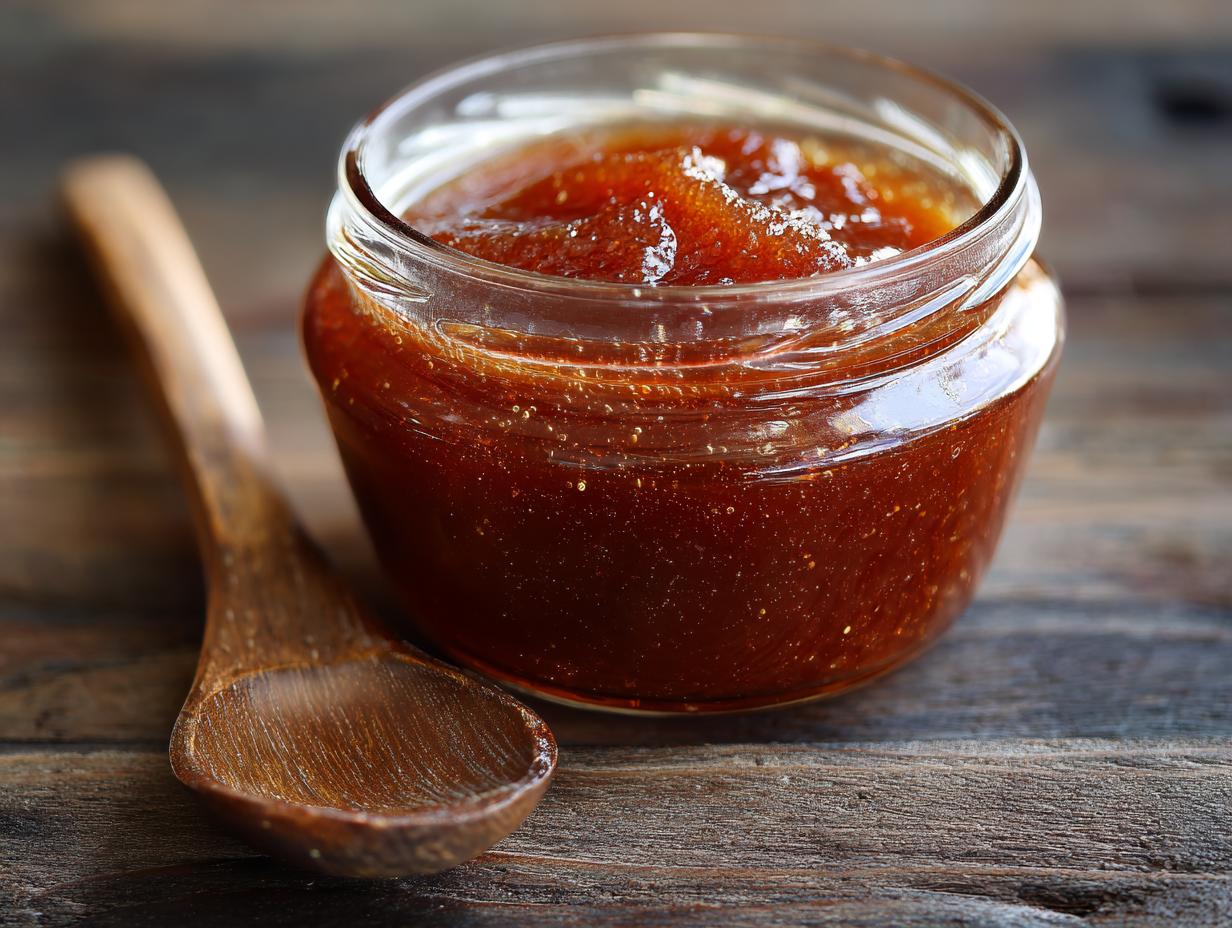
Oh, that smell! You know the one – that warm, comforting hug that just screams autumn is here. That’s the magic of homemade apple butter, and let me tell you, it’s one of my very favorite things to simmer away. We’re talking about a spread so rich and velvety, with just the right hint of cinnamon and cozy spices, it’s practically autumn in a jar. It reminds me so much of my own kitchen, and I know our founder, Ellie, feels the same way. Her grandma’s kitchen was always full of delicious things like this, proving that the best food comes straight from the heart, made with good ingredients and a whole lot of love.
- Why You'll Love This Homemade Apple Butter
- Choosing the Best Apples for Homemade Apple Butter
- Ingredients for Your Spiced Apple Spread
- How to Make Homemade Apple Butter: Slow Cooker Method
- Stovetop Apple Butter: A Traditional Approach
- Tips for Perfectly Smooth Homemade Apple Butter
- Canning Your Homemade Apple Butter for Storage
- Storage and Reheating Instructions
- Serving Suggestions: Delicious Ways to Enjoy Apple Butter
- Frequently Asked Questions about Homemade Apple Butter
- Estimated Nutritional Information
- Share Your Homemade Apple Butter Creations!
Why You’ll Love This Homemade Apple Butter
Seriously, making this homemade apple butter is a game-changer! Here’s why you’ll adore it:
- So Easy: Whether you use your slow cooker or stovetop, it practically makes itself and fills your home with the most amazing aroma.
- Ridiculously Delicious: That perfectly balanced sweet and tart apple flavor with those warm, cozy spices? Pure heaven.
- Super Versatile: Spread it, bake with it, use it as a condiment – it’s a kitchen superstar!
- Perfect for Gifting: Homemade gifts are the best, and a jar of this lovely spiced apple spread will make anyone’s day.
Choosing the Best Apples for Homemade Apple Butter
Okay, so picking your apples is, like, the MOST important step for amazing homemade apple butter, trust me on this! You don’t want all sweet apples, and you definitely don’t want all tart ones either. The magic happens when you mix them up! I always go for a combo – something munchy-sweet like Honeycrisp or Fuji, maybe a couple of Gala apples for that extra sweetness, and then a firm, tart Granny Smith to give it a little zing. That mix means you get a really complex flavor that’s just perfect. When I first started making this, I think I just grabbed whatever was on sale, and let’s just say it was a little *too* sweet and lost that lovely tang. Now, I always make sure I have a good balance. Knowing what apples to use totally makes all the difference!
Ingredients for Your Spiced Apple Spread
Alright, let’s get our ingredients ready for this fantastic fall treat! For about 6-8 cups of apple butter, you’ll want to grab about 6 pounds of apples. I really love using a mix – think Honeycrisp, Fuji, Gala, and definitely at least one tart Granny Smith for balance. You’ll need 2 cups of sugar; you can use regular granulated sugar, but if you want a deeper, richer flavor, go for brown sugar! Don’t forget our cozy spices: 2 teaspoons of cinnamon, 1/2 teaspoon of cloves, 1/4 teaspoon each of nutmeg and allspice. And to help things along, we’ll add 1/4 cup of apple cider vinegar and 1/4 cup of water.
How to Make Homemade Apple Butter: Slow Cooker Method
Okay, confession time: my slow cooker is a total lifesaver, especially for things like this slow cooker apple butter. It’s seriously the easiest way to get that gorgeous, rich texture without fuss. So, here’s what you do! First, make sure your apples are all washed, peeled, cored, and quartered. Toss them right into your slow cooker. Then, add in all your goodies: the sugar (go for brown sugar, trust me!), all those lovely spices – cinnamon, cloves, nutmeg, and allspice – plus your apple cider vinegar and that little bit of water. Give it all a good stir to make sure everything is happy together.

Now, set it and forget it (mostly, anyway!). Cook it on the LOW setting for about 8 to 10 hours. If you’re in more of a hurry, you can crank it up to HIGH for 4 to 6 hours. Just remember to give it a stir every now and then so nothing sticks oddly to the bottom. You’ll know it’s ready when the apples are super tender and everything looks nice and thick. For that super smooth, velvety finish? Grab an immersion blender (my favorite!) and just blend it right there in the slow cooker until it’s perfectly smooth. If you don’t have one, no worries! Carefully transfer batches to a regular blender and whiz it up. Easy peasy, right?
Stovetop Apple Butter: A Traditional Approach
For those who love the classic method or just don’t have a slow cooker handy, making stovetop apple butter is totally doable and smells absolutely divine as it simmers away! Grab yourself a nice big, heavy-bottomed pot – this is key to preventing any burning and getting that even cooking. You’ll combine all those lovely apples, sugar, and those warm spices, plus the vinegar and water, just like with the slow cooker version. Bring it all up to a simmer over medium heat, then you’ll want to turn that heat down low, low, low. This is where the patience really pays off!
Now, this is super important: you’ve gotta stir this pretty often, like every 15-20 minutes. Seriously, giving it a good stir prevents any scorching on the bottom, which nobody wants! It’ll take about 2 to 4 hours, depending on your stove and pot, for it to get that perfect thick, smooth consistency. How do you know it’s ready? There’s a little trick I swear by: spoon a tiny bit onto a plate and let it cool for a minute. If it mounds up nicely and doesn’t spread out into a puddle, you’ve nailed it! My grandma always said that’s how you know it’s *just* right. Remember to stir more frequently to avoid any burning mishaps!
Tips for Perfectly Smooth Homemade Apple Butter
Getting that gorgeously smooth, velvety texture in your homemade apple butter is totally achievable, and it’s all about a few key things! First off, the blending is your friend. If you’re using an immersion blender, just go slow and steady, making sure you get all the way around the pot to catch every last bit of apple. Don’t be afraid to really blend it well! If you’re using a regular blender, definitely let your mixture cool a bit first, and only fill it about halfway full to avoid any steamy surprises. Work in batches!
Now, what if it’s a little too thin? No worries! Just uncover the slow cooker (or your pot on the stove) and let it simmer away a bit longer. Stir it more often so it doesn’t stick. On the flip side, if it gets *too* thick, you can always stir in a tablespoon or two of apple cider or water until it’s just right. The goal is thick enough to mound, but still spreadable. You’ve got this!
Canning Your Homemade Apple Butter for Storage
Alright, you’ve made this gorgeous, thick homemade apple butter, and you want it to last! Canning is the way to go. It’s like giving your apple butter a cozy little shelf-stable home in your pantry. First things first, make sure your jars and lids are super clean and sterilized. You can do this by boiling them in water for about 10 minutes. Then, ladle that hot apple butter carefully into the jars, leaving about a quarter-inch of space at the top (that’s called headspace, and it’s important!). Wipe the rims clean – no sticky bits allowed! – and screw on the lids nice and snug, but not super tight. Pop those filled jars into a boiling water bath, making sure they’re covered by about an inch of water. Let them boil for a solid 10 minutes. This is one of my favorite fall canning recipes because the smell while it’s boiling is just incredible!
Storage and Reheating Instructions
So, you’ve got this delicious homemade apple butter! If you decided not to can it, no worries at all. Just pop it into clean jars or airtight containers and keep it in the fridge. It’ll stay wonderfully fresh for about 3 weeks. If, by some chance, it gets a little too firm in the cold, just give it a gentle warm-up. A few minutes on low heat on the stovetop or even short bursts in the microwave should do the trick. You want it warm and spreadable, not piping hot, to keep that lovely texture just right!
Serving Suggestions: Delicious Ways to Enjoy Apple Butter
Okay, you’ve done it! You’ve made the most amazing homemade apple butter, and now it’s time to spread the love (literally!). This stuff is so versatile. Of course, the classic is slathering it thick on warm, fluffy buttermilk biscuits – oh my goodness, it’s pure bliss! It makes an absolutely fantastic roommate for a cheese board, too. Think sharp cheddar or creamy brie with a dollop of this spiced apple spread. It’s also a delightful swap for jelly in a grilled cheese – seriously, try it!
We love using it in baked goods too; it adds such a wonderful moisture and flavor. Try spreading some on your quick bread or swirling it into muffin batter before baking. Honestly, it’s just as good as a simple spread for your morning toast. And don’t forget, this makes such a thoughtful and delicious holiday food gift! It’s also a showstopper as one of your favorite Thanksgiving condiments. You really can’t go wrong!
Frequently Asked Questions about Homemade Apple Butter
Got questions about whipping up this amazing homemade apple butter? I’ve got you covered! It’s pretty forgiving, but a few tips never hurt.
Can I make this apple butter without sugar?
You absolutely can! If you’re aiming for a sugar-free version, you’ll want to use super sweet apples like Fuji or Gala. Be aware that sugar does help with texture and shelf-life, so it might be a bit less thick and you’ll want to store it in the fridge and use it up within a couple of weeks.
What is the best way to thicken apple butter?
If your spiced apple spread is a little too thin after cooking, don’t panic! The easiest fix is just to let it simmer uncovered for a bit longer, stirring more often. Seriously, just a little extra time usually does the trick. If it’s still a bit runny after that, and you want it super thick, you *could* add a tiny cornstarch slurry, but I usually find letting it cook down more is the best way to keep that lovely natural texture.
How long will homemade apple butter last?
This is a great question for anyone making fall canning recipes! Properly canned apple butter – meaning it’s been processed in a boiling water bath – can last for about a year, maybe even longer, stored in a cool, dark pantry. If you just refrigerate it without canning, I’d say enjoy it within 3 weeks to be safe. It’s so good, it usually doesn’t last that long anyway!
Estimated Nutritional Information
Now, about the numbers! Keep in mind these are just estimates, ’cause my kitchen magic doesn’t always come with a calculator stuck to it! For a typical 2 tablespoon serving of this homemade apple butter, you’re looking at around 70 calories and about 17g of sugar. It’s practically fat-free (0g!) and has very little sodium. You’ll get about 18g of carbs, with just 1g of fiber. It’s mostly just yummy, spiced fruit goodness! Remember, the brand of apples and sugar you use can nudge these numbers a little, but it’s pretty wholesome stuff!
Share Your Homemade Apple Butter Creations!
Alright, friends, that’s all there is to making this amazing homemade apple butter! I really hope you give it a try. Once you have, please, please, please tell me all about it! Leave a comment down below, rate the recipe if you loved it, or even share a picture on social media – I’d just be over the moon to see your creations! If you have any questions at all, don’t hesitate to reach out here.
PrintHomemade Apple Butter
A rich, velvety apple butter perfect for fall, slow-cooked with warm spices. This easy preserve is ideal for biscuits, cheese boards, and holiday gifting.
- Prep Time: 30 min
- Cook Time: 8 hr
- Total Time: 8 hr 30 min
- Yield: Approx. 6-8 cups
- Category: Preserves
- Method: Slow Cooker or Stovetop
- Cuisine: American
- Diet: Vegetarian
Ingredients
- 6 pounds apples (a mix of sweet and tart varieties like Honeycrisp, Fuji, Gala, and Granny Smith)
- 2 cups granulated sugar (or brown sugar for deeper flavor)
- 2 teaspoons ground cinnamon
- 1/2 teaspoon ground cloves
- 1/4 teaspoon ground nutmeg
- 1/4 teaspoon ground allspice
- 1/4 cup apple cider vinegar
- 1/4 cup water
Instructions
- Wash, peel, core, and quarter the apples.
- Combine apples, sugar, cinnamon, cloves, nutmeg, allspice, apple cider vinegar, and water in a slow cooker. Stir to combine.
- Cook on low for 8-10 hours, or on high for 4-6 hours, until apples are very tender and the mixture has thickened. Stir occasionally.
- For a smoother texture, use an immersion blender to puree the apple butter directly in the slow cooker. Alternatively, carefully transfer the mixture to a regular blender in batches and blend until smooth.
- If cooking on the stovetop, combine all ingredients in a large, heavy-bottomed pot. Bring to a simmer over medium heat, then reduce heat to low. Cook, stirring frequently, for 2-4 hours, or until thickened and smooth.
- To test for doneness, spoon a small amount onto a plate and let it cool. It should mound up without spreading too much.
- Ladle the hot apple butter into sterilized jars, leaving 1/4 inch headspace. Wipe rims clean and screw on lids.
- Process in a boiling water bath for 10 minutes (adjust for altitude if necessary). Let cool completely before storing.
Notes
- For stovetop cooking, stir more frequently to prevent scorching.
- Apple butter can be stored in the refrigerator for up to 3 weeks if not canning.
- This apple butter makes a wonderful holiday food gift.
Nutrition
- Serving Size: 2 tablespoons
- Calories: 70
- Sugar: 17g
- Sodium: 0mg
- Fat: 0g
- Saturated Fat: 0g
- Unsaturated Fat: 0g
- Trans Fat: 0g
- Carbohydrates: 18g
- Fiber: 1g
- Protein: 0g
- Cholesterol: 0mg