
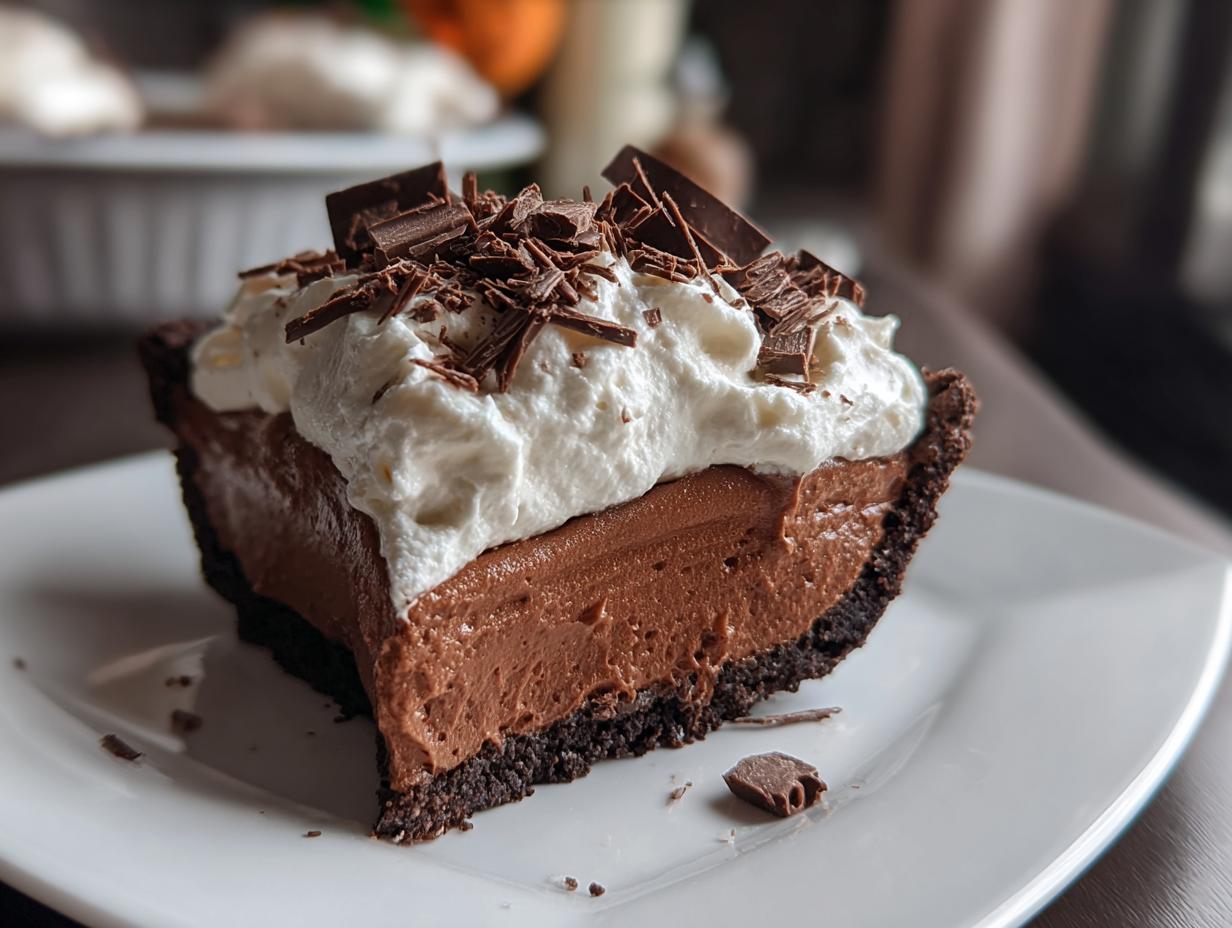
Oh, the holidays! For me, it’s all about those magical moments in the kitchen, the smells wafting through the house, and of course, the desserts! This Christmas Chocolate Pie is an absolute showstopper and, trust me, your guests will be begging for the recipe. It’s got this incredibly silky, rich chocolate filling that just melts in your mouth, all nestled in your favorite crust. And the best part? You can totally make this ahead, which is a lifesaver when you’re juggling parties and family visits. My own mom swore by having a few make-ahead desserts ready to go, and this pie was always at the top of her list because it’s just so reliable and always a hit. It’s a real treasure from our home cooking archives here at DeliceRecipe!
- Why You'll Love This Christmas Chocolate Pie
- Choosing Your Perfect Christmas Chocolate Pie Crust
- Ingredients for Your Silky Christmas Chocolate Pie Filling
- Step-by-Step Guide to Making Your Christmas Chocolate Pie
- Tips for the Perfect Stovetop Custard
- Garnishing Your Christmas Chocolate Pie
- Make-Ahead and Storage for Your Holiday Chocolate Pie
- Frequently Asked Questions about Christmas Chocolate Pie
- Estimated Nutritional Information
Why You’ll Love This Christmas Chocolate Pie
This Christmas Chocolate Pie is a total dream for anyone who loves easy holiday baking. It’s simple enough for a weeknight but impressive enough for your fanciest Christmas dinner. Honestly, it’s one of those perfect make-ahead holiday desserts that lets you relax a bit more. You get that amazing, crowd-pleasing flavor without all the fuss, and it looks absolutely stunning on a dessert tray!
Choosing Your Perfect Christmas Chocolate Pie Crust
Okay, so the first big decision for your Christmas Chocolate Pie is the crust! You’ve got two fantastic options here, and honestly, you can’t go wrong with either, but they bring a slightly different vibe. Do you want something a little more traditional and flaky, or are you leaning towards that super-easy, rich, cookie-based crust? Both are totally delicious and work like a charm with our silky chocolate filling. If you’re all about that classic chocolate pie goodness, here’s a breakdown!
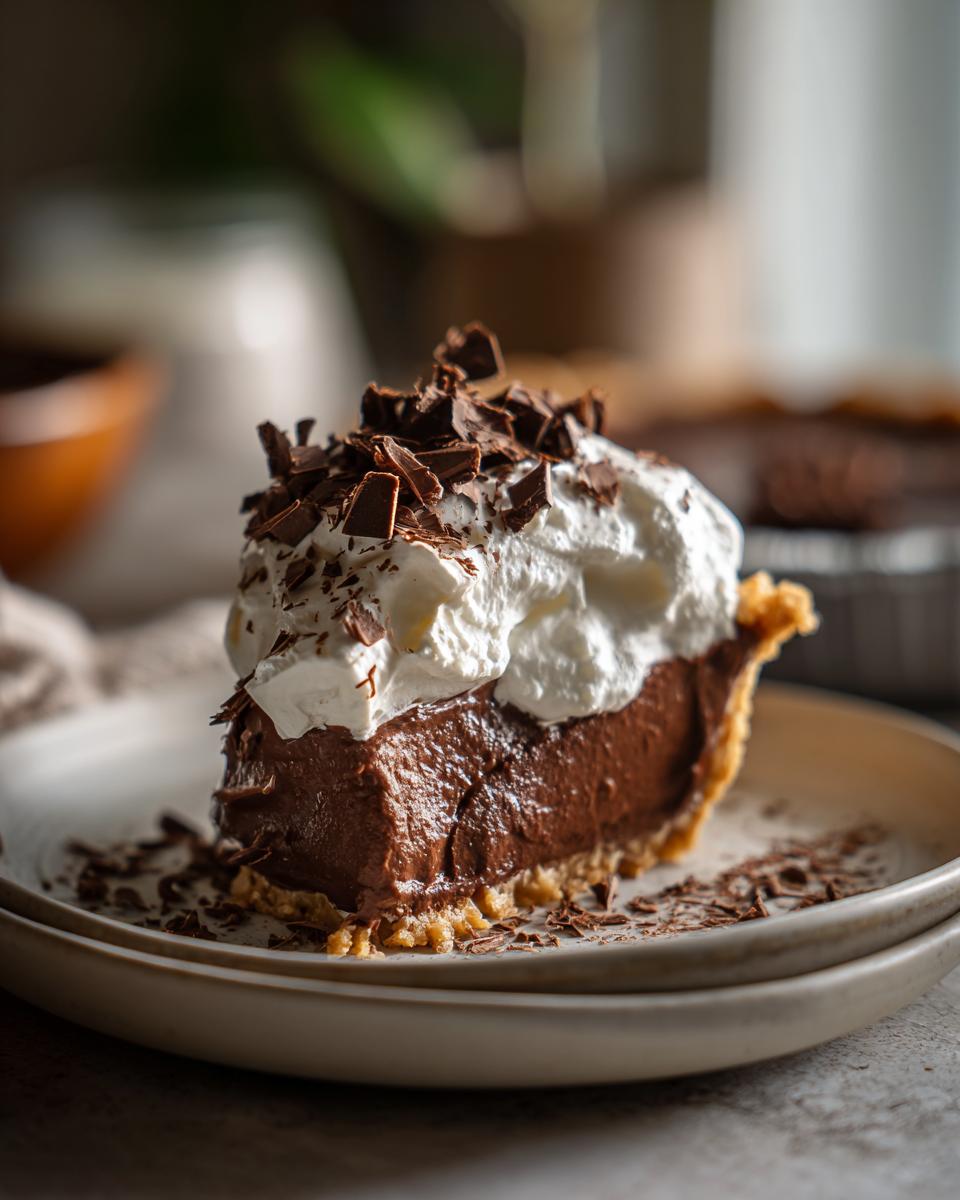
Classic Pastry Crust for Your Christmas Chocolate Pie
A good old-fashioned pastry crust offers that lovely, tender bite that perfectly complements the rich chocolate. I always recommend blind-baking it a bit beforehand, especially for a no-bake filling like this, just to make sure it’s golden and crisp all the way through. A little pre-bake means no soggy bottoms, which is a nightmare we all want to avoid, right?
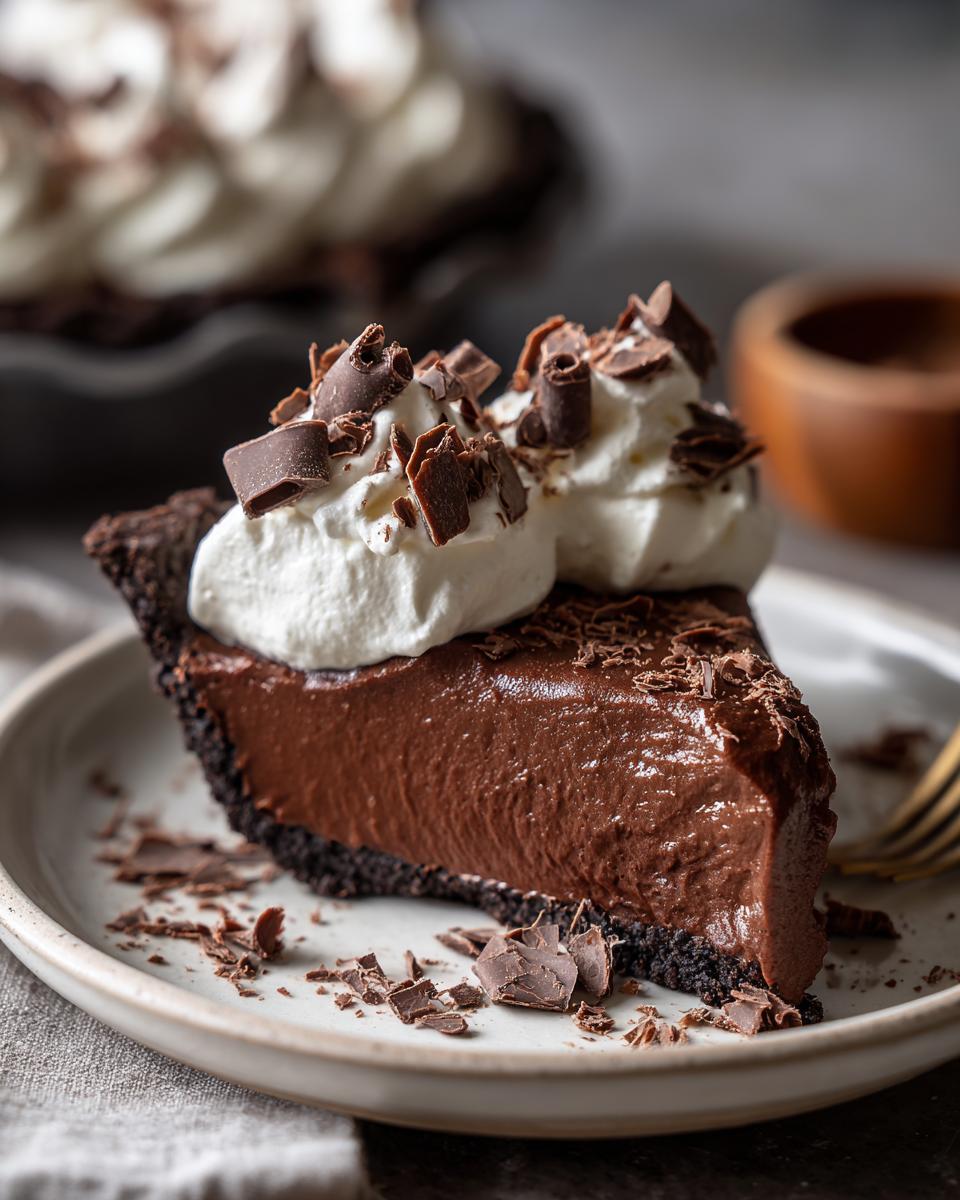
Easy Oreo Crumb Crust for a No-Bake Chocolate Pie
Now, if you’re looking for ultimate simplicity and an extra layer of chocolatey goodness, the Oreo crumb crust is your best friend. Seriously, this makes your pie basically a ‘no bake chocolate pie’ dream! Just take about 2 cups of finely crushed Oreos (don’t be shy with the crumbs!) and mix them with about 6 tablespoons of melted butter. You want it to feel like damp sand. Press it firmly into your pie plate – I like to use the bottom of a glass to get it nice and even all the way up the sides. The butter is key here; it binds everything together so you don’t end up with a crumbly mess. It adds this amazing crunchy, chocolatey base that’s just heavenly. You can even find ideas for more fun cookie crusts over on our Slutty Brownies post!
Ingredients for Your Silky Christmas Chocolate Pie Filling
Alright, let’s talk ingredients for this dreamy chocolate filling! This is where the magic really happens, creating that super smooth, decadent texture we all crave in a Christmas Chocolate Pie. You’ll need:
- 1 cup granulated sugar
- 1/4 cup cornstarch
- 1/4 teaspoon salt
- 3 cups milk
- 4 large egg yolks, lightly beaten
- 4 tablespoons unsalted butter, cut into pieces
- 1 teaspoon vanilla extract
- 6 ounces bittersweet chocolate, finely chopped
The cornstarch is what gives this filling its gorgeous thickness, and the egg yolks add this incredible richness and silkiness. Trust me, using good-quality bittersweet chocolate makes a difference too – it balances out the sweetness perfectly! Getting these ingredients ready to go makes the whole cooking process so much smoother.
Step-by-Step Guide to Making Your Christmas Chocolate Pie
Alright, let’s get this Christmas Chocolate Pie assembled! This is where the real magic happens, turning all those lovely ingredients into a show-stopping dessert. Don’t worry, it’s totally doable and so rewarding when you see that silky filling come together. We’ll break it down piece by piece, so you know exactly what to do. If you’re a chocolate lover, you might also enjoy our easy chocolate cake recipe!
Preparing the Pie Crust Base
First things first, make sure your pie crust is all ready to go! Whether you opted for that flaky pastry or the super-easy Oreo crumb version, double-check that it’s baked or pressed firmly into your pie plate. It needs to be cool and stable before we pour in that glorious chocolate filling. Think of it as setting the stage for our star dessert!
Crafting the Silky Chocolate Custard Filling
Now for the heart of our pie! Grab a medium saucepan – this is where our silky chocolate custard will be born. First, whisk together the granulated sugar, cornstarch, and that pinch of salt. Make sure they’re nice and combined before you start adding liquids. Then, gradually whisk in the milk until everything is smooth as can be. Next, pop it over medium heat. You’ll want to stir constantly – this is key to avoiding any lumps or scorching. Keep stirring until it thickens up and comes to a gentle boil. Let it boil for just about 1 minute, still stirring like crazy!
Now, the tempering part, which sounds fancy but is super simple and really important for a smooth ‘chocolate cream pie’. Take about 1 cup of that hot milk mixture and *slowly* drizzle it into your lightly beaten egg yolks while whisking constantly. This gently warms up the yolks so they don’t scramble when you add them back. Pour the tempered yolk mixture back into the saucepan with the rest of the milk mixture. Put it back on medium heat and keep stirring until it thickens up beautifully – only about 2-3 minutes. You absolutely do not want this to boil again at this stage! Take it off the heat, stir in those butter pieces until they melt, then swirl in the vanilla and your finely chopped bittersweet chocolate. Keep stirring until all that chocolate is melted and you have the smoothest, richest filling imaginable. This really is the secret to that lush texture!
Chilling Your Festive Chocolate Dessert
Once your decadent chocolate filling is perfectly smooth, carefully pour it into your prepared pie crust. Now, to prevent that dreaded skin from forming on top – and trust me, nobody wants that! – lay a piece of plastic wrap directly onto the surface of the pie filling. Press it down gently so it touches the filling all over. Then, you just need to pop this beauty into the refrigerator. We need to let it chill for at least 4 hours, but honestly, overnight is even better. This chilling time is super important; it allows the filling to set properly and the flavors to really meld together, making it the perfect festive chocolate dessert.
Tips for the Perfect Stovetop Custard
Making a beautiful, silky custard on the stovetop might sound a little intimidating, but honestly, it’s all about patience and a bit of know-how! I’ve had my share of lumpy custards before I learned a few tricks, and now it’s one of my favorite parts of making this Christmas Chocolate Pie. The key is really paying attention to the heat and your stirring. Always keep the heat at medium – too high and you risk scrambling those precious egg yolks! A good whisk and constant, gentle stirring through the entire process are non-negotiable. Think of it like giving the custard a little massage as it cooks. You’re looking for the mixture to thicken nicely, coating the back of a spoon. Oh, and remember when I said to let it boil for just 1 minute? That’s crucial for activating the cornstarch properly, but doing it for too long can make it rubbery. If you accidentally get a tiny lump, don’t panic! You can often whisk it out, or even give it a quick strain through a fine sieve before adding the chocolate. It’s these little things that make all the difference!
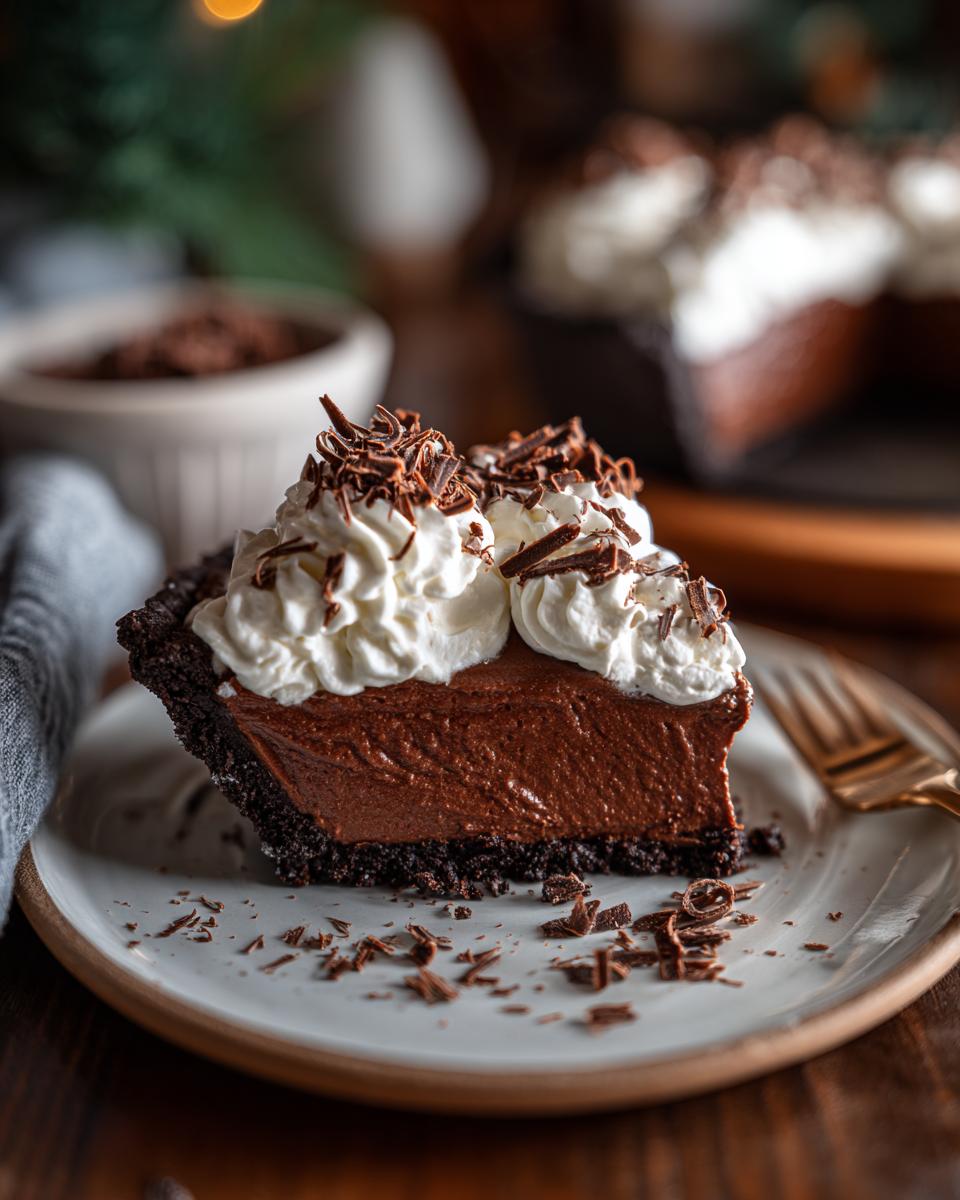
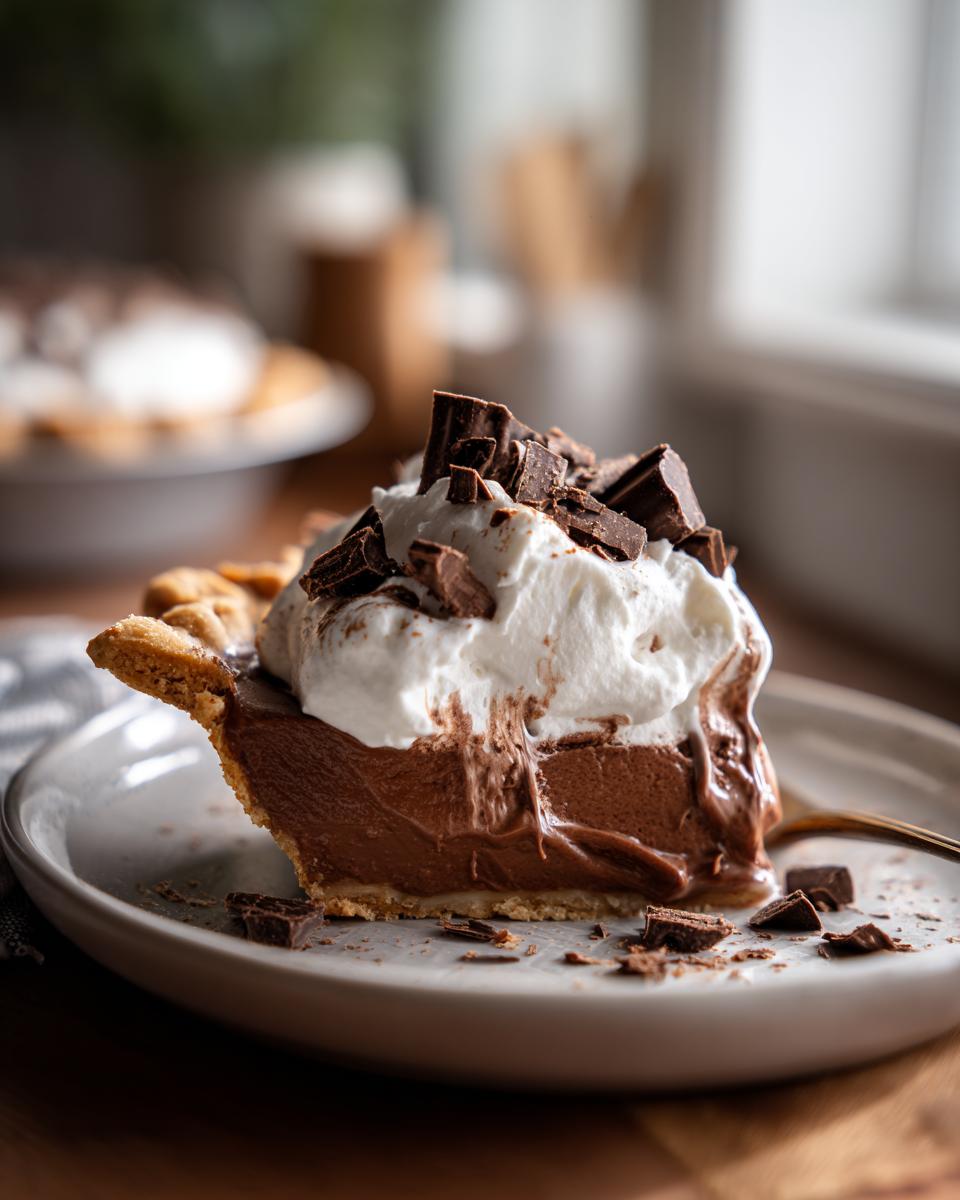
Garnishing Your Christmas Chocolate Pie
Alright, your beautiful Christmas Chocolate Pie is chilled and looking fabulous, but we’re not quite done yet! Those final touches are what really make it sing, especially for a festive occasion. The classic topping, of course, is a generous swirl of fluffy whipped cream. It’s just so light and airy against the rich chocolate, you know? For a little extra pizzazz, I love adding some delicate chocolate curls. To make them, just warm a chocolate bar slightly (I use bittersweet for this pie) by holding it in your hands for a minute, then use a vegetable peeler along the side to create lovely curls. Or, for a fun pop of flavor and color, give some crushed peppermint candies a whirl! A festive, easy finish that makes your pie truly shine. Want some other fun chocolate ideas? Check out my white chocolate pretzel bark!
Make-Ahead and Storage for Your Holiday Chocolate Pie
One of the best things about this Christmas Chocolate Pie is how perfectly it fits into your holiday schedule! You can totally make this pie a day or two in advance, which is a total game-changer. Just make sure it’s completely chilled and set, then keep it covered in the fridge. I like to put plastic wrap directly on the surface of the pie before I put the lid on the container, just to keep it extra moist and prevent any skin from forming. It’s genius for staying ahead of the holiday rush!
Frequently Asked Questions about Christmas Chocolate Pie
Got questions about our festive Christmas Chocolate Pie? I get it! It’s always good to have a little extra guidance from your favorite home baking buddy. Here are some things folks often ask me:
Can I use a different kind of chocolate for this pie?
Totally! While I love the balance of bittersweet chocolate for this rich filling, you can absolutely switch it up. Milk chocolate will make it sweeter, and semi-sweet is a classic choice that works beautifully too. Just make sure whatever you use is good quality for the best flavor in your holiday chocolate pie!
How do I prevent lumps in my chocolate pie filling?
Oh, the dreaded lumps! The key is really whisking everything together super well at each stage, especially when you’re mixing the cornstarch and sugar initially, and then again when you’re tempering the egg yolks. Stirring constantly while it cooks over medium heat is your best friend here. If you happen to get a few small ones, don’t fret too much – you can often whisk them out, or even strain the filling through a fine-mesh sieve before pouring it into the crust for that super silky texture.
Can this Christmas Chocolate Pie be made gluten-free?
You bet! If you’re aiming for a gluten-free holiday chocolate pie, the easiest way is to use a gluten-free pastry crust or make an Oreo crumb crust using gluten-free chocolate sandwich cookies. The filling itself is naturally gluten-free since it uses cornstarch, so you’re pretty much golden there! It’s a simple swap that makes this dessert accessible for everyone at your festive gathering.
How soon before serving should I add the whipped cream?
For the freshest look and taste, I love adding the whipped cream topping really close to when you plan to serve the pie. This festive chocolate dessert is best enjoyed within a few hours of topping. If you need to top it a bit further in advance, just make sure the pie is thoroughly chilled, and the whipped cream is nicely firm; it should hold up okay for a few hours in the fridge. Nobody wants sad, melted whipped cream!
Estimated Nutritional Information
Just so you know, the nutritional information for this amazing Christmas Chocolate Pie is an estimate, because it can honestly vary depending on the brands you use and the exact ingredients. But generally, a slice is around 450 calories, with about 28g of fat (that includes 16g of saturated fat), 50g of carbs, and 3g of fiber. It’s a rich dessert, for sure!
PrintChristmas Chocolate Pie

A festive, make-ahead chocolate pie with a silky filling, perfect for holiday dessert boards. Choose your favorite crust and enjoy this crowd-pleasing treat.
- Prep Time: 20 min
- Cook Time: 15 min
- Total Time: 4 hr 35 min
- Yield: 8 servings 1x
- Category: Dessert
- Method: No-Bake (filling)
- Cuisine: American
- Diet: Vegetarian
Ingredients
- 1 (9-inch) unbaked pie crust (pastry or Oreo crumb crust)
- 1 cup granulated sugar
- 1/4 cup cornstarch
- 1/4 teaspoon salt
- 3 cups milk
- 4 large egg yolks, lightly beaten
- 4 tablespoons unsalted butter, cut into pieces
- 1 teaspoon vanilla extract
- 6 ounces bittersweet chocolate, finely chopped
- 1 cup heavy cream, whipped, for topping
- Chocolate curls or crushed peppermint, for garnish
Instructions
- Prepare your chosen pie crust and set aside. If using a pastry crust, blind bake it according to package directions. If using an Oreo crumb crust, press it firmly into the pie plate.
- In a medium saucepan, whisk together the sugar, cornstarch, and salt.
- Gradually whisk in the milk until smooth.
- Cook over medium heat, stirring constantly, until the mixture thickens and comes to a boil. Boil for 1 minute, stirring constantly.
- Remove from heat. In a small bowl, temper the egg yolks by gradually whisking about 1 cup of the hot milk mixture into the beaten yolks.
- Pour the tempered egg yolk mixture back into the saucepan with the remaining milk mixture.
- Return the saucepan to medium heat and cook, stirring constantly, until the custard thickens, about 2-3 minutes. Do not boil.
- Remove from heat and stir in the butter pieces until melted and smooth.
- Stir in the vanilla extract and the chopped bittersweet chocolate until the chocolate is completely melted and the filling is smooth.
- Pour the chocolate filling into the prepared pie crust.
- Cover the surface of the pie directly with plastic wrap to prevent a skin from forming.
- Chill in the refrigerator for at least 4 hours, or until firm.
- Before serving, remove the plastic wrap and top with whipped cream. Garnish with chocolate curls or crushed peppermint.
Notes
- For an Oreo crumb crust, combine 2 cups of finely crushed Oreo cookies with 6 tablespoons of melted butter. Press into a 9-inch pie plate.
- If you prefer a stovetop custard, ensure you stir constantly to prevent scorching and lumps.
- This pie can be made up to 2 days in advance. Keep refrigerated.
Nutrition
- Serving Size: 1 slice
- Calories: 450
- Sugar: 40g
- Sodium: 150mg
- Fat: 28g
- Saturated Fat: 16g
- Unsaturated Fat: 12g
- Trans Fat: 0g
- Carbohydrates: 50g
- Fiber: 3g
- Protein: 5g
- Cholesterol: 80mg