
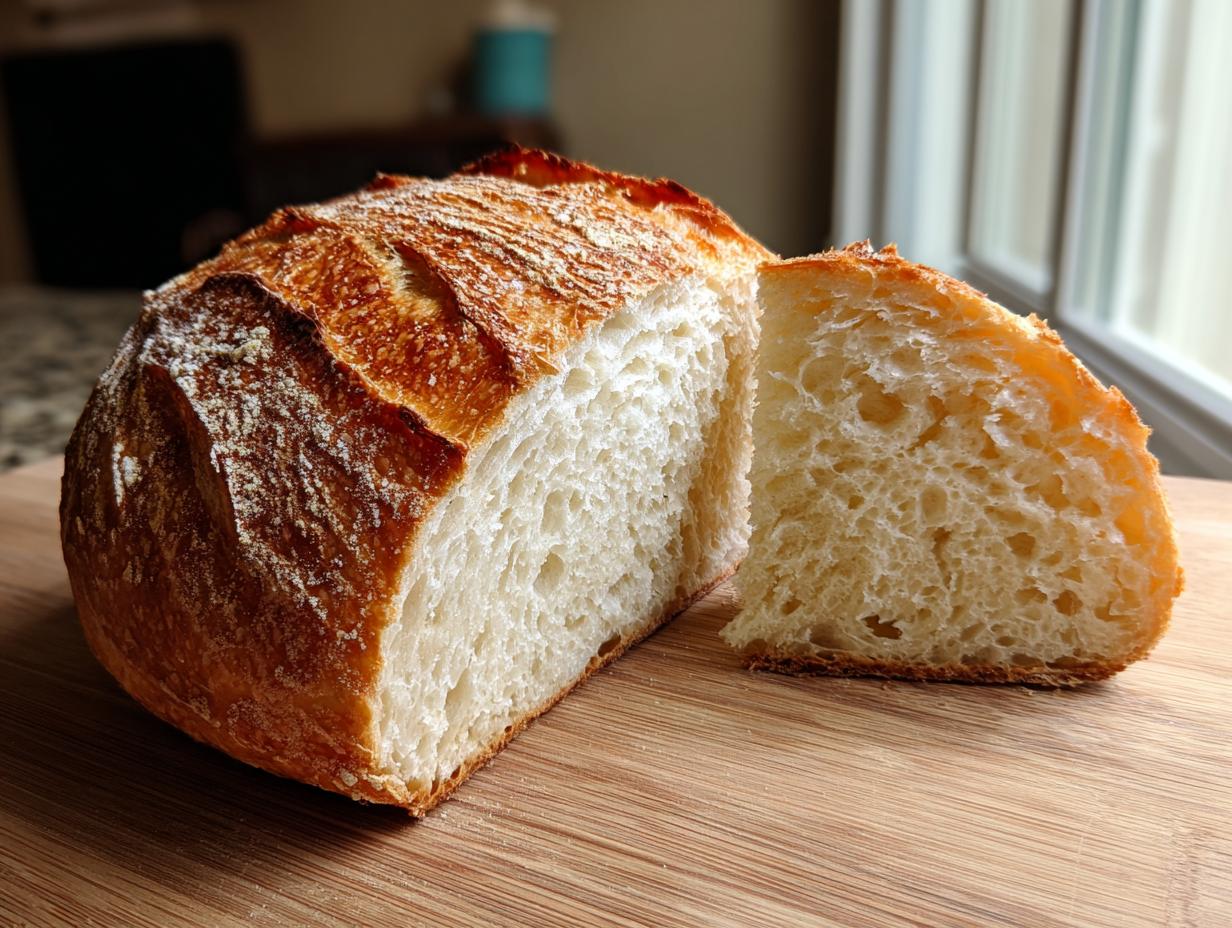
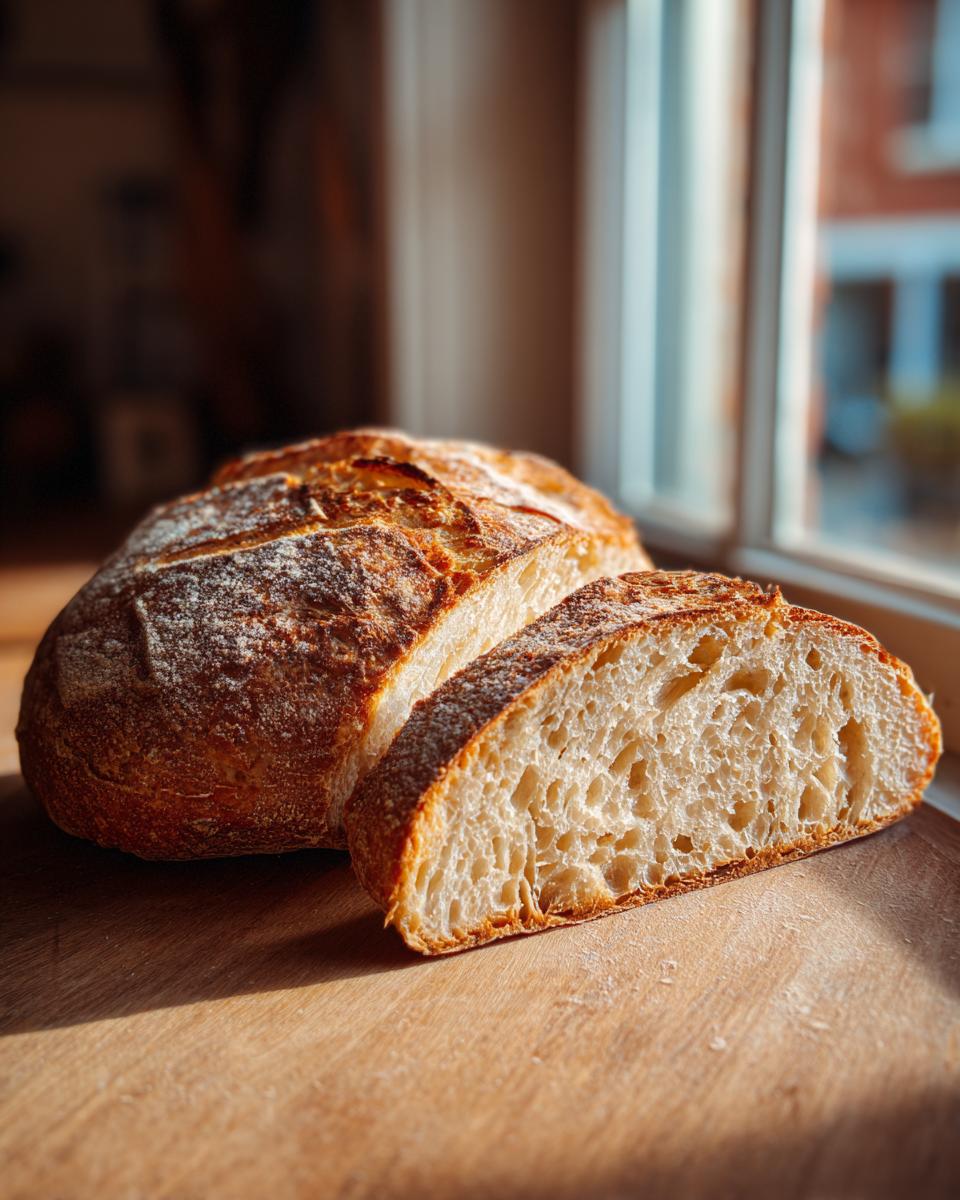
Oh, you know that smell, right? The one that takes over your whole house when something is baking slow and low? That incredible aroma that promises a perfect texture—that deep, golden, crackly crust giving way to an unbelievably soft, chewy interior? That’s what we’re chasing today with this easy recipe for Italian bread.
Honestly, I developed this specifically because I hear so many people thinking bakery-style loaves are only for professionals, but that’s just not true! My goal, just like it was for Eleanor Vance when she started DeliceRecipe, is to give you foolproof instructions using simple ingredients. We’re skipping the fussy stuff and going straight for that rustic Italian loaf you dream about serving with a big bowl of soup, like my favorite Minestrone. You’re going to love how simple this quick homemade bread recipe truly is!
- Why This Easy Italian Bread Recipe Works for Beginners
- Simple Ingredients for Your Homemade Italian Bread
- Step-by-Step Instructions for Crusty Italian Bread Recipe
- Tips for Success When Baking Your Italian Bread
- Serving Suggestions for Your Rustic Italian Loaf
- Storage and Reheating Instructions for Homemade Italian Bread
- Frequently Asked Questions About This Italian Bread Recipe
- Estimated Nutritional Data for Italian Bread
- Share Your Crusty Loaf Experience
Why This Easy Italian Bread Recipe Works for Beginners
I know you want that amazing crusty bread recipe texture without waiting all day for yeast to wake up. That’s why this recipe focuses on speed while still delivering that true bakery magic. It’s intentionally designed as a beginner bread recipe so there’s no stress involved!
- We rely on fast-rising yeast for real results without crazy, long proofing sessions.
- It uses just staple pantry items—no fancy malt powders or strange flours needed.
- The technique is straightforward, setting you up for success with this quick homemade bread.
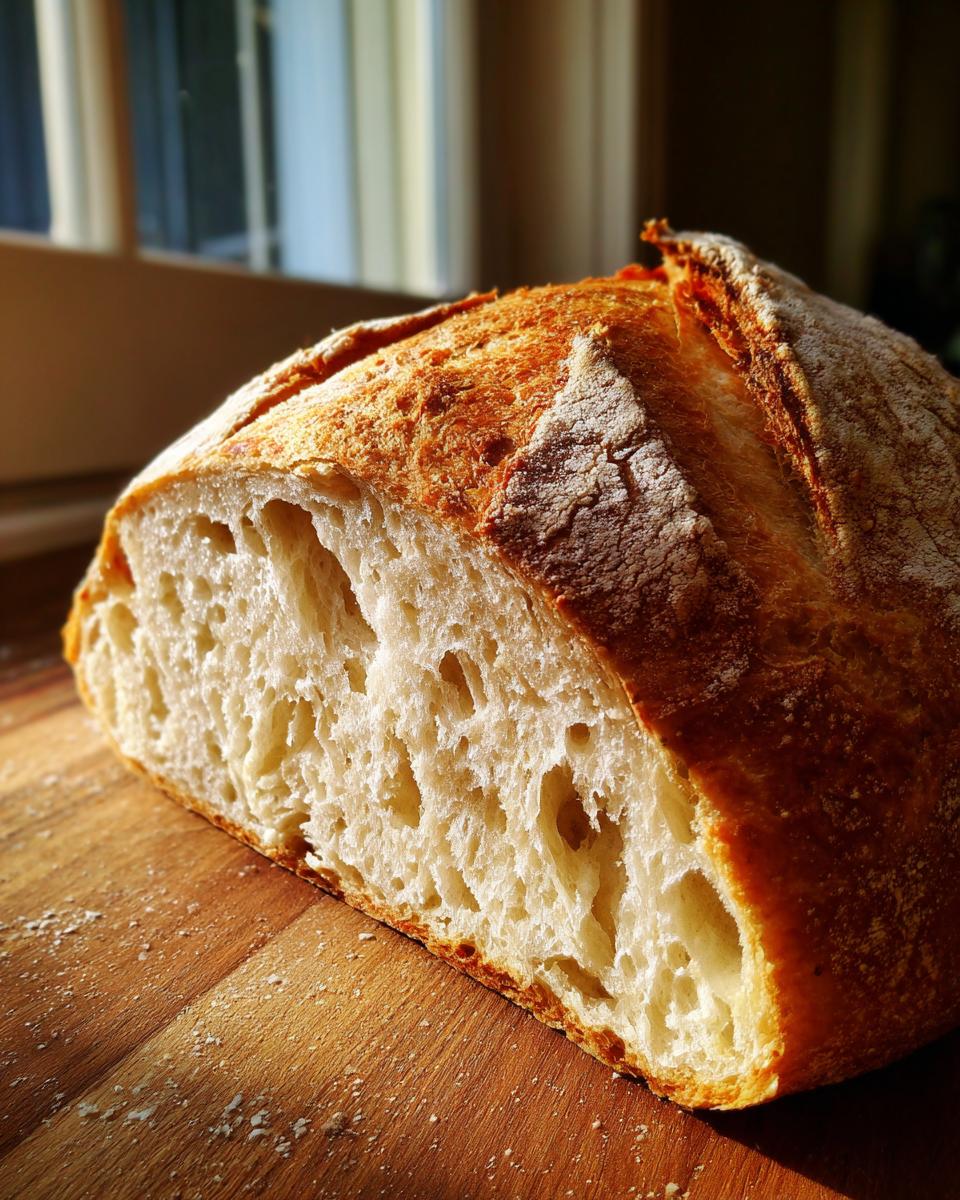
Achieving the Perfect Crusty Italian Bread Texture
The secret to getting that gorgeous, golden crusty exterior everyone wants isn’t just the high heat; it’s the steam! When the dough hits that blast of heat and moisture, it relaxes the surface just enough so it can expand and crisp up perfectly. For steam, I always cheat a little—sneak a muffin tin full of hot water onto the lowest rack while the oven preheats. Eleanor swears by it every time she bakes her golden crust bread!
Simple Ingredients for Your Homemade Italian Bread
The beauty of baking truly great homemade Italian bread is that you don’t need a huge shopping list. We are sticking to the essentials here because, honestly, that’s where the purest flavor comes from! This truly highlights how far you can go with just a few simple ingredients bread staples. If you love experimenting with add-ins later, check out my recipe for Italian Herb and Cheese Bread, but for now, let’s focus on the classic loaf.
- 3 1/2 cups all-purpose flour
- 1 1/2 teaspoons salt
- 1 teaspoon granulated sugar
- 2 1/4 teaspoons active dry yeast (that’s one standard packet!)
- 1 1/4 cups warm water (must be between 105-115°F! Too hot and you kill the yeast!)
- 1 tablespoon olive oil, plus extra for oiling the bowl
Ingredient Notes and Substitutions for Italian Bread
Since this is a reliable yeast bread recipe, water temperature is everything to wake up that yeast—aim for slightly warmer than bathwater! If you’re using instant yeast instead of active dry, you can skip dissolving it in the water first, but I still recommend just adding it right into the flour mix. And please, don’t stress about specialty flours; good old all-purpose flour is perfect for that soft, chewy interior in your first rustic Italian loaf.
Step-by-Step Instructions for Crusty Italian Bread Recipe
Alright, let’s get baking! If you follow these steps exactly, I promise you’ll have that authentic bakery style loaf sitting on your counter before dinner. We are moving quickly, so pay attention to the timing clues I’ve sprinkled in. It’s mostly hands-off time, but that mixing part is where the character of your Italian bread is built!
Mixing and Kneading the Italian Bread Dough
First things first, get all your dry stuff—flour, salt, sugar, and that active dry yeast—whisked together in a big bowl like you’re whipping up something really special. Now, pour in the warm water and the olive oil. Use a chunky wooden spoon and mix until it looks like—well, like a shaggy mess! Don’t try to fix the look of it yet! Turn the dough out onto a lightly floured surface. Now, get those hands in there! Knead it for about five to seven minutes until it starts feeling smooth and elastic under your palms. You’re aiming for a dough that feels slightly tacky, meaning if you touch it light and quick, it doesn’t cling aggressively. If you gently stretch a small piece out, it should almost turn translucent without tearing right away—that’s the windowpane test, and it means you’ve got the gluten working!
Proofing Times for Soft Inside Italian Bread
Time for the dough to rest and get friendly with the yeast! Lightly oil a clean bowl, drop your kneaded dough in, flip it so it’s coated on all sides, and cover it tightly. Find the warmest spot in your kitchen—mine is usually near the dishwasher—and let it rise for 45 to 60 minutes. You’ll know it’s ready when it has truly doubled in size. Seriously, look at the bowl edge before you cover it so you can judge the growth! Once doubled, give it a firm, gentle punch down in the middle to knock the air out, and then quickly shape it into your desired loaf—long for a baguette shape or oval for a classic loaf. Cover it loosely again and let it have a second little nap for just 30 minutes while the oven gets screaming hot.
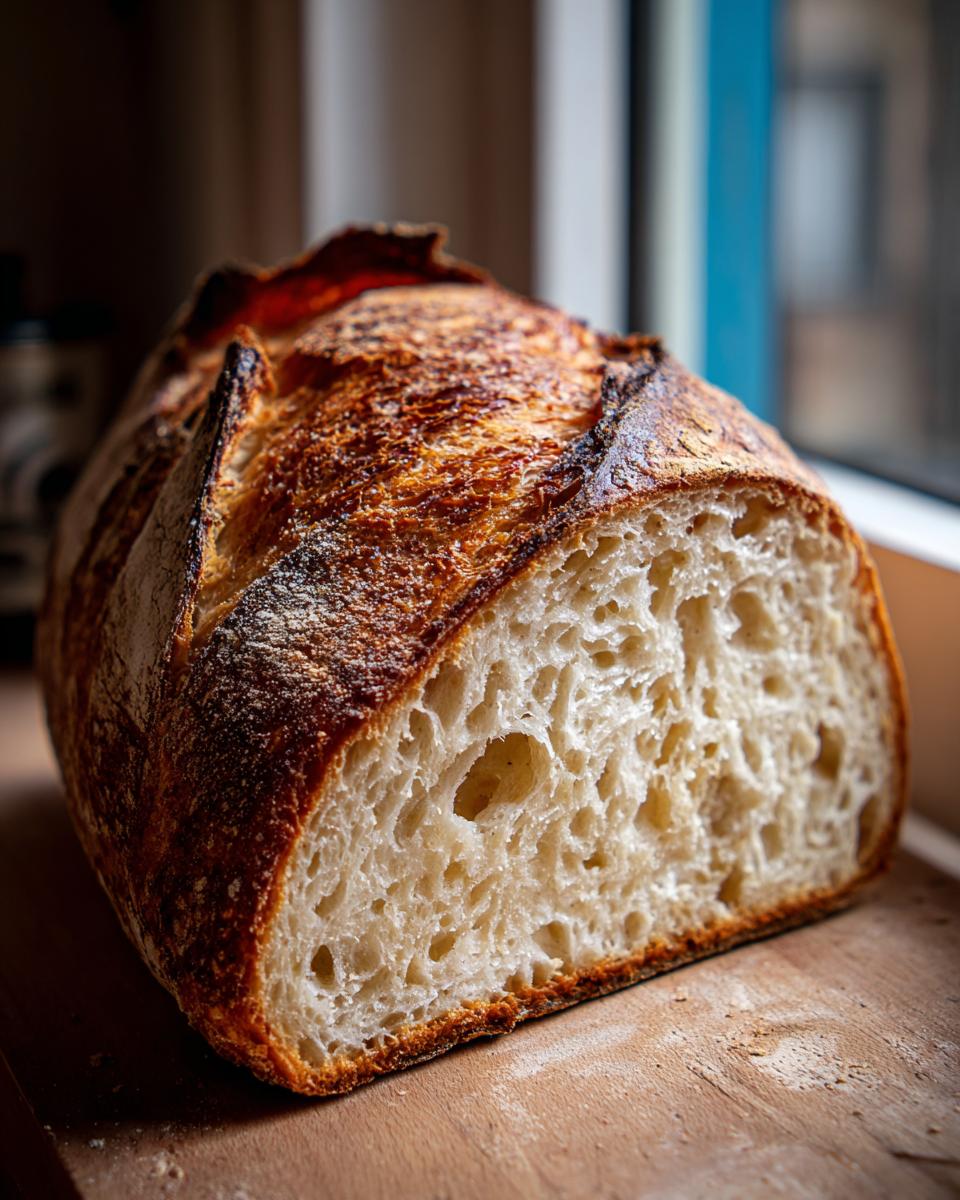
The Secret to a Golden Crust Bread: Steam Injection
This step is non-negotiable for that amazing crust! Preheat your oven to a scorching 425°F, but make sure you also put a shallow, oven-safe pan (like an old metal brownie pan) on the bottom rack while it heats. Once the oven is hot and your second rise is done, slash the top of your loaf once or twice with a really sharp knife—this lets the steam escape strategically where you want it to. Now, be ready! Carefully open the oven, pour about one cup of *hot* water directly into that hot pan on the bottom rack, and quickly shut the door. That blast of steam hitting the hot air is what makes your Italian bread have that perfect crackly, golden crust bread finish!
Tips for Success When Baking Your Italian Bread
Baking bread is all about trusting the process, but I’ve learned a few little tricks over the years to make sure this crusty bread recipe turns out perfectly every single time. Don’t get discouraged if your first attempt isn’t magazine-worthy; just keep that oven temperature high!
If you really want that ultimate crunchy shell—the kind you can hear crackle when you touch it—try this slightly extra step: Once that loaf is in the oven and you’ve added your steam, wait about five minutes, crack the door slightly, and lightly spritz the crust with a little water from a clean spray bottle. Do this maybe two more times over the next ten minutes. It really pumps up the crisp factor on your finished artisan bread at home!
Also, please pay attention to your yeast! If your yeast is old or you aren’t sure about it, the dough just won’t rise properly. When I’m unsure, I always grab a fresh packet because using new yeast is the best insurance for a beautiful rise in your easy bread baking journey. Don’t skimp here!
Serving Suggestions for Your Rustic Italian Loaf
Now that you have this amazing, warm fresh bread smell filling your entire house, what are you going to do with it all? This rustic Italian loaf is my absolute favorite Italian dinner side dish because it’s just begging to soak up sauce! I always have a loaf ready when I make proper Sunday gravy or, even better, when I’m making those tender meatballs—I always follow my recipe for tender, juicy Italian meatballs.
But don’t stop there! That soft inside makes it the perfect base for a hearty bruschetta, or just slice it thick, toast it lightly, and drizzle it with really good quality olive oil and flaky salt. For a simple snack, it can’t be beaten. It’s a true workhorse loaf in the kitchen!
Storage and Reheating Instructions for Homemade Italian Bread
I always tell people that the hardest part about baking this homemade Italian bread is waiting for it to cool completely before slicing. But once you do slice it, you need to know how to store the rest! If you wrap it up tightly in plastic wrap while it’s still even slightly warm, that steam gets trapped, and guess what happens? You turn that dream of a crispy crust bread into a chewy, soft package—we don’t want that!
For the best results, let the loaf cool completely on a wire rack. Once it’s totally cooled, wrap it loosely in a clean kitchen towel and store it on the counter. This lets the bread breathe just enough while keeping the soft interior nice. It’s honest truth: this really is best homemade bread for maybe the first 24 hours this way.
But what happens on day three when you really want that fresh-out-of-the-oven experience? You reheat it! For a whole or half loaf, wrap it loosely in foil and bake it at about 350°F for about 10 minutes. That heat warms it through and helps reactivate that crust. If you’re just reheating a slice—maybe you want it for dipping later—just pop it under the broiler for 30 seconds, or toss it into a toaster oven. Watch it closely! A minute in the microwave, and you’ll have tough rubber, so avoid that route entirely for this type of loaf!
Frequently Asked Questions About This Italian Bread Recipe
Anytime home cooks get together, there are always a few burning questions floating around about the process, especially when balancing speed and quality! I’ve gathered the top things people ask me about making this easy loaf. If you ever need ideas for what to pair this bread with for a fast weeknight meal, check out my easy weeknight dinners list—you won’t be sorry!
Can I make this Italian Bread without kneading?
I understand wanting to skip the arm workout! While this recipe really shines when you knead it for those full five to seven minutes—it builds the structure needed for that desired chewy bread recipe texture—you *can* cheat a little. If you absolutely must go the no-knead route, mix everything right in the bowl until shaggy, and then cover it and let it rise for a much longer time, maybe two hours instead of one. You won’t get quite the same tight, even crumb that defines our artisan bread at home, but it will still taste fantastic for dipping!
How long does this Quick Homemade Bread stay fresh?
This is the harsh reality of baking high-quality bread—it’s made with simple ingredients, meaning it doesn’t have tons of preservatives. Honestly, this quick homemade bread is at its absolute peak on the day you bake it, especially when it’s slightly warm! It will generally stay fresh—meaning the interior is still soft—for about two full days if stored loosely wrapped on the counter. After that, the crust softens too much. That’s why I always suggest slicing up any leftovers and freezing them right away for easy reheating later!
What is the best way to use this bread for sandwiches?
Because this recipe yields such a beautifully sturdy sandwich bread loaf, it handles hearty fillings really well without collapsing. My best suggestion for sandwiches is to slice it about a half-inch thick. If you’re making something wet like a meatball sub or a fully loaded Italian cold-cut sandwich, give the slices about 30 seconds under the broiler first. That lightly toasted surface creates a tiny seal that stops the bread from getting soggy under the fillings. Enjoy that satisfying crunch!
Estimated Nutritional Data for Italian Bread
I always feel a little silly posting nutritional facts for something so wonderful, but hey, we promised to be thorough! Keep in mind that because this is homemade Italian bread and we’re using our own measurements, these figures are just estimates. Values can change slightly based on the exact brand of olive oil or type of flour you grab.
Here’s a quick peek, based on 1 slice:
- Serving Size: 1 slice
- Calories: 150
- Fat: 1g
- Carbohydrates: 31g
- Protein: 4g
This is pretty lean for such a satisfying slice of Italian bread! It’s perfect for dunking and enjoying guilt-free.
Share Your Crusty Loaf Experience
Okay, now that you’ve pulled that incredible, fragrant loaf out of the oven, you have to let me know how it went! Seriously, there is nothing better in the whole wide world than sinking your teeth into that first piece of warm fresh bread, right when the crust still has that gentle snap to it. That perfect moment is why we put in the five minutes of kneading!
Did you nail the steam trick? Did you slather it instantly with butter or dip it into some good olive oil? I absolutely thrive on seeing your successes! Head down to the comments below and leave me a star rating—it helps other beginning bakers feel confident enough to try this recipe next. And if you snapped a picture of your beautiful, golden crust bread, tag me on social media! I love seeing how this simple recipe pops up on dinner tables all over the place.
Baking is so much more fun when we share the triumphs! If you’re looking for something quick to pair with your beautiful new loaf, check out some of my favorite easy breakfast ideas later in the week—though frankly, this bread tastes amazing just on its own!
PrintEasy Crusty Italian Bread: Bakery Style Loaf at Home
Bake a bakery-style Italian bread with a golden, crispy crust and a soft, chewy interior. This beginner-friendly recipe uses simple ingredients and fast-rising yeast for quick results.
- Prep Time: 15 min
- Cook Time: 30 min
- Total Time: 1 hour 45 min
- Yield: 1 loaf 1x
- Category: Bread
- Method: Baking
- Cuisine: Italian
- Diet: Vegetarian
Ingredients
- 3 1/2 cups all-purpose flour
- 1 1/2 teaspoons salt
- 1 teaspoon granulated sugar
- 2 1/4 teaspoons active dry yeast (1 packet)
- 1 1/4 cups warm water (about 105-115°F)
- 1 tablespoon olive oil, plus more for the bowl
Instructions
- In a large bowl, whisk together the flour, salt, sugar, and yeast.
- Add the warm water and olive oil to the dry ingredients. Mix with a wooden spoon until a shaggy dough forms.
- Turn the dough out onto a lightly floured surface. Knead for 5 to 7 minutes until the dough is smooth and elastic. It should be slightly tacky but not sticky.
- Lightly oil a large bowl. Place the dough in the bowl and turn it over to coat. Cover the bowl with plastic wrap or a clean kitchen towel.
- Let the dough rise in a warm place for 45 to 60 minutes, or until it has doubled in size. This is a quick rising method.
- Gently punch down the dough. Shape it into a tight loaf or oval shape.
- Place the shaped loaf on a baking sheet lined with parchment paper or in a loaf pan. Cover loosely and let it rise again for 30 minutes.
- Preheat your oven to 425°F (220°C). Place a shallow pan on the bottom rack while preheating to create steam.
- Just before baking, slash the top of the loaf once or twice with a sharp knife. Carefully pour 1 cup of hot water into the preheated shallow pan to create steam, then quickly close the oven door.
- Bake for 25 to 30 minutes, or until the crust is deep golden brown and the internal temperature reaches 200°F (93°C).
- Remove the bread from the oven and transfer it to a wire rack to cool completely before slicing.
Notes
- For an extra crispy crust, lightly spritz the loaf with water every 5 minutes during the first 15 minutes of baking.
- If you are planning your week, consider how this fresh bread pairs with a good meal planning service for easy weeknight dinners.
- This bread is excellent served warm with olive oil or used for bruschetta.
Nutrition
- Serving Size: 1 slice
- Calories: 150
- Sugar: 1
- Sodium: 250
- Fat: 1
- Saturated Fat: 0
- Unsaturated Fat: 1
- Trans Fat: 0
- Carbohydrates: 31
- Fiber: 1
- Protein: 4
- Cholesterol: 0