
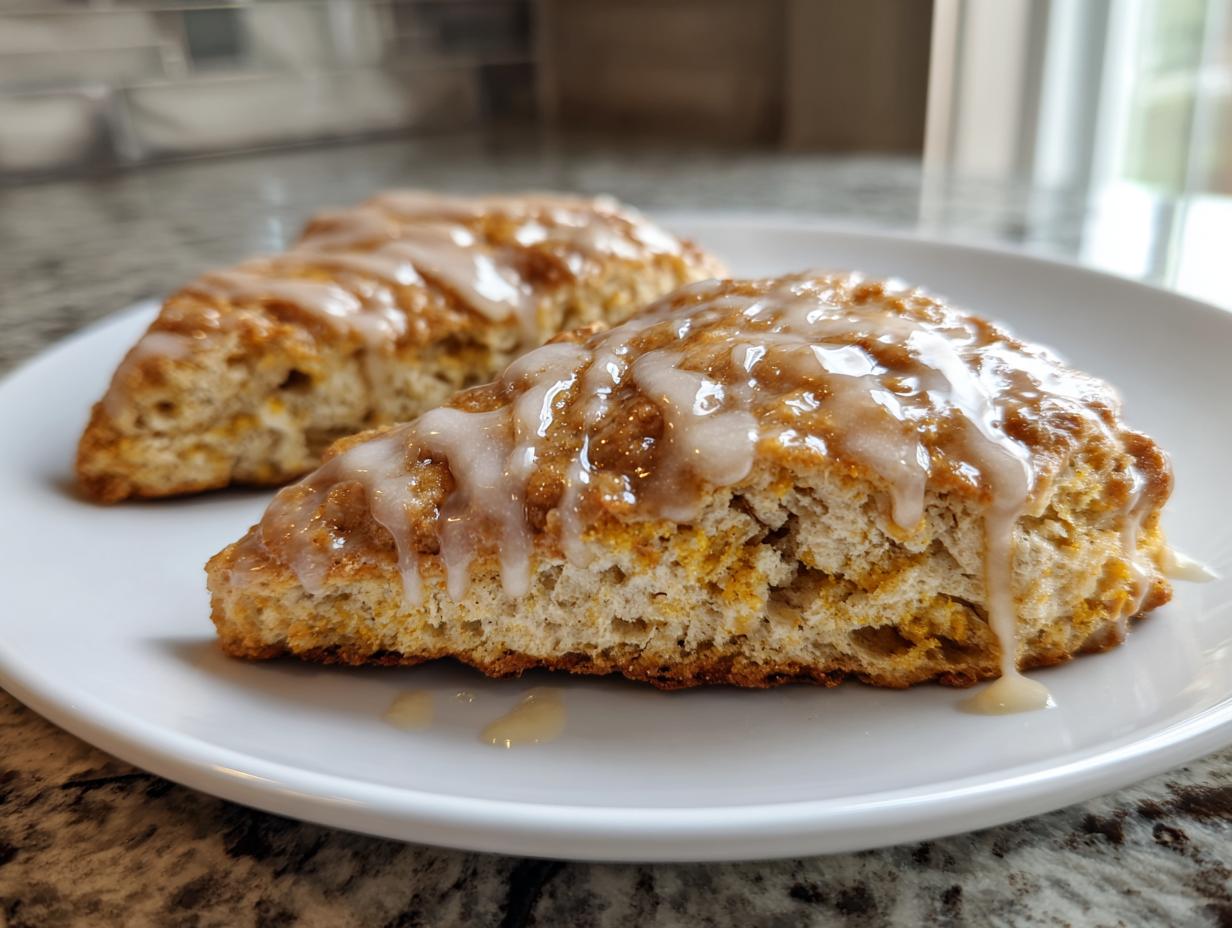
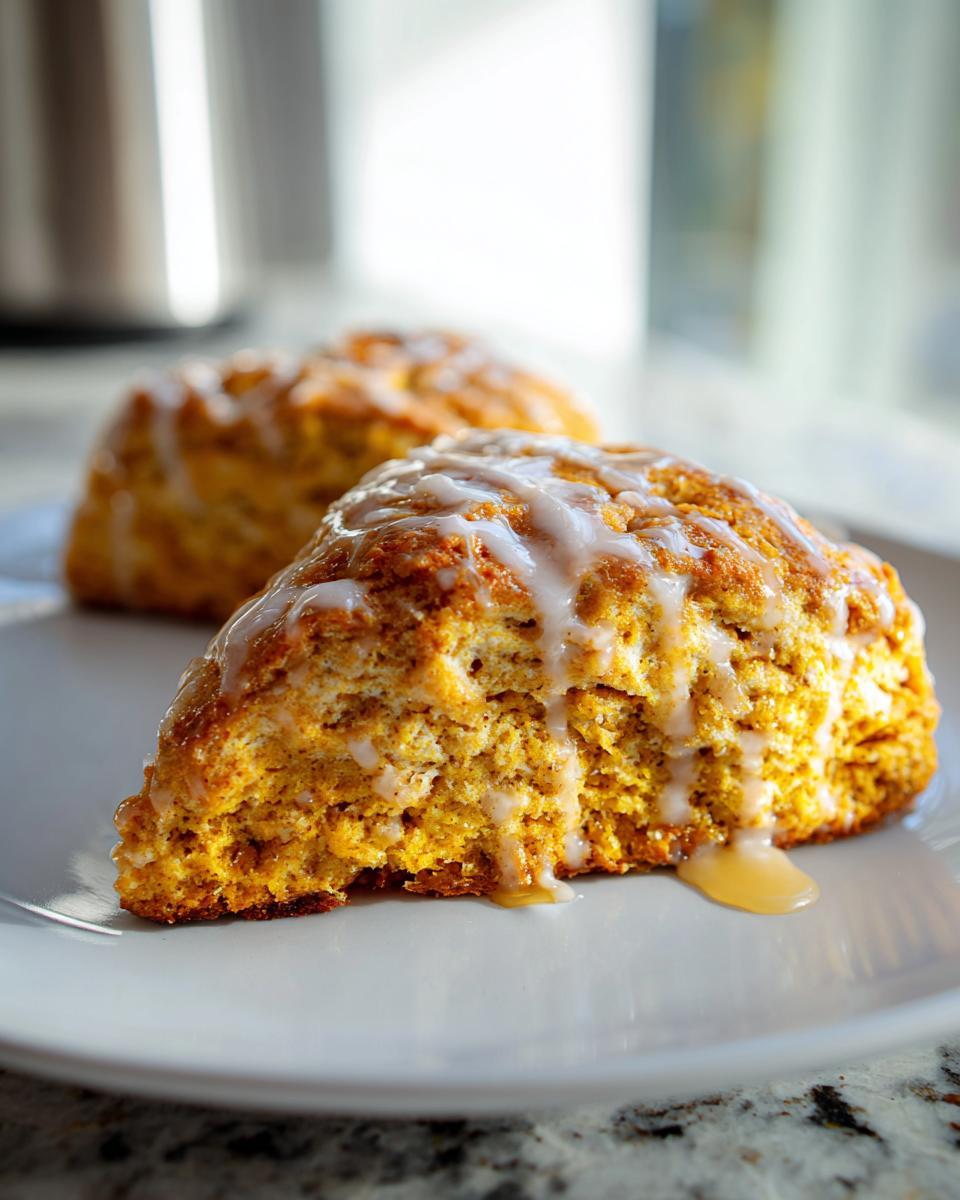
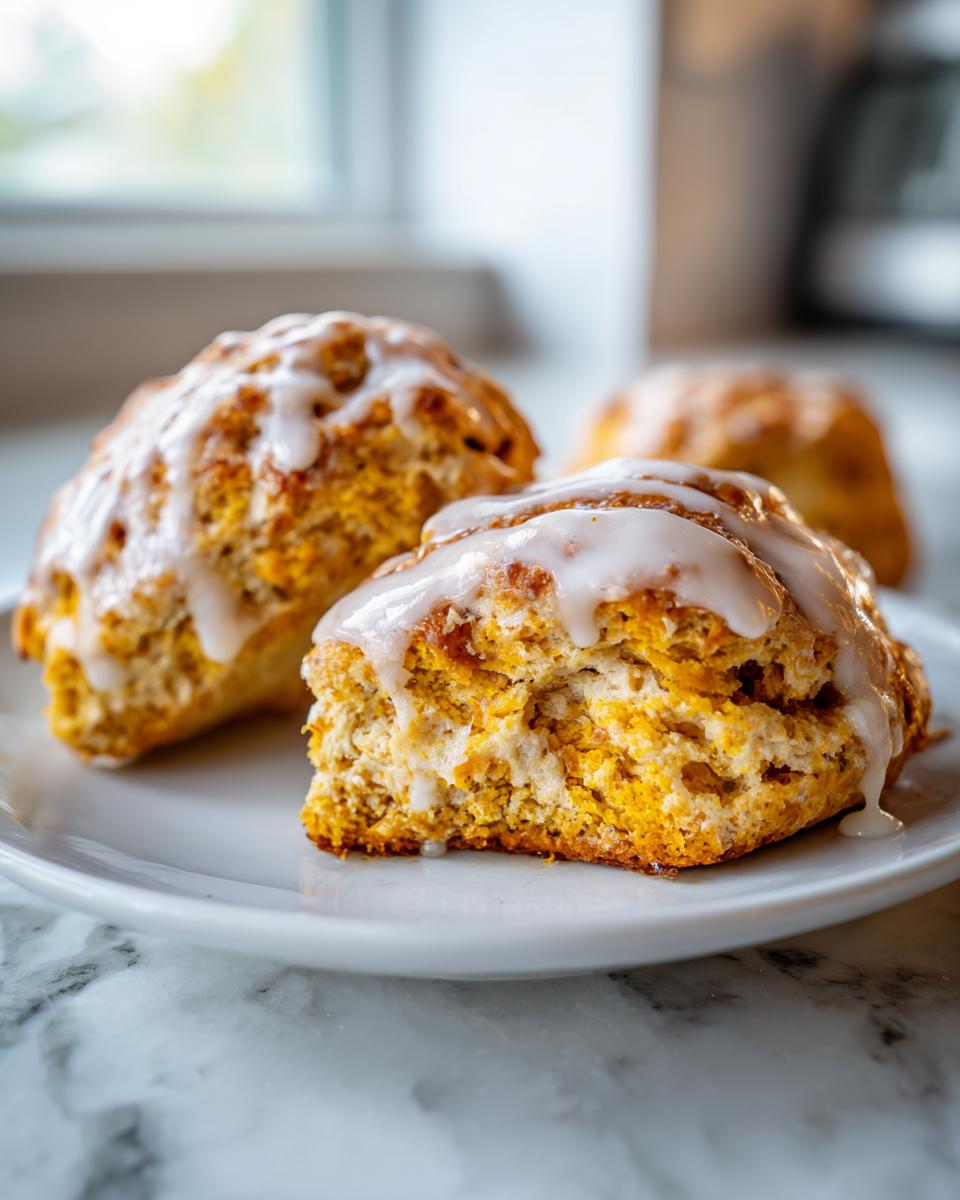
Oh, I just love the smell of fall baking! There’s something so incredibly comforting about those first crisp mornings, don’t you think? And what’s better than filling your home with the warm, inviting aroma of freshly baked pumpkin scones? Trust me, these aren’t just any scones; they’re like the ones you find at your favorite little coffee shop – tender, perfectly spiced, and topped with the most delightful sweet glaze. My secret? It’s all about a good cold-butter technique, something my grandmother Ellie always swore by. She’d say it’s the key to that flaky, melt-in-your-mouth texture we all adore. These pumpkin scones are just pure autumn happiness, ready to make your mornings extra special.
- Why You'll Love These Pumpkin Scones
- Gather Your Ingredients for Perfect Pumpkin Scones
- Crafting Your Tender Pumpkin Scones: Step-by-Step
- Tips for Success with Your Glazed Pumpkin Scones
- Make-Ahead and Freezer Magic for Brunch Baking
- Frequently Asked Questions about Pumpkin Scones
- Nutritional Information for Your Pumpkin Scones
- Share Your Cozy Fall Baking Creations!
Why You’ll Love These Pumpkin Scones
Seriously, these are going to be your new favorite fall treat! Here’s why:
- They’re unbelievably easy to whip up – perfect for even beginner bakers!
- The flavor is just spot-on: warm spices, sweet pumpkin, and that gorgeous glaze. So cozy!
- You get that perfectly tender, slightly flaky texture that makes café scones so amazing.
- They’re super versatile – great with your morning coffee or as a sweet bite for brunch.
- It’s a really simple scone recipe that delivers big on taste and impressiveness.
Gather Your Ingredients for Perfect Pumpkin Scones
Alright, let’s get our aprons on and gather everything we need for these amazing pumpkin scones. The key to getting that super tender, slightly flaky texture is using *cold* ingredients, especially our butter and cream. It might sound simple, but trust me, it makes ALL the difference! This is the heart of our cold-butter technique that makes them taste like they came right from a fancy bakery.
Here’s what you’ll need to have on hand:
For the Scones:
- 2 cups all-purpose flour – just your regular baking flour works perfectly!
- 1/4 cup granulated sugar – for a touch of sweetness
- 2 teaspoons baking powder – this helps them get nice and fluffy
- 1/2 teaspoon ground cinnamon
- 1/4 teaspoon ground nutmeg
- 1/4 teaspoon ground ginger
- 1/8 teaspoon ground cloves – these spices are the backbone of that cozy autumn flavor
- 1/2 teaspoon salt – to balance everything out
- 1/2 cup (that’s one stick!) cold unsalted butter, cut into small cubes – seriously, keep this chilly!
- 1/2 cup cold heavy cream – plus a little extra, just in case. Cold, cold, cold!
- 1 large egg – also a bit cold is good
- 1 teaspoon vanilla extract – for that warm aroma
For the Sweet Glaze:
- 1 cup powdered sugar – sifted if you’re feeling fancy!
- 2-3 tablespoons milk or heavy cream – for drizzling
- 1/2 teaspoon vanilla extract – it makes the glaze sing!
Crafting Your Tender Pumpkin Scones: Step-by-Step
Alright, let’s get to the fun part – actually making these amazing pumpkin scones! It’s really not complicated, and I promise, by following these steps, you’ll end up with something that tastes like you spent hours in the kitchen, even though you didn’t! Remember that cold butter we talked about? Now’s where it really shines. If you love pumpkin, you should also check out my moist pumpkin banana bread!
Preparing the Dry and Wet Mixtures
First things first, get that oven preheating to 400°F (200°C). Pop a sheet of parchment paper onto a baking sheet – this makes cleanup a breeze! Now, in your big mixing bowl, give all those dry ingredients a good whisk: the flour, sugar, baking powder, those lovely cinnamon, nutmeg, ginger, and cloves, plus the salt. Get them all friends! In a separate little bowl, you’ll whisk up your cold heavy cream, the egg, and that splash of vanilla. Easy peasy!
Achieving the Perfect Dough Consistency
Time for the magic with that cold butter! Toss those little cubes into the flour mixture. You can use a pastry blender, your fingertips – whatever feels right! – or even just pulse it a few times in a food processor. You’re looking for a coarse crumbly texture, with some little bits of butter about the size of peas still hanging out. Those are important for flakiness! Now, pour that wet mixture from the little bowl into the dry stuff. Gently mix with a fork until it *just* comes together. Don’t go crazy here! Overmixing is the enemy of tender scones. It should look a little shaggy. If it seems too dry, add another tablespoon of cream. You want it to hold together.
Shaping and Baking Your Pumpkin Scones
Turn that shaggy dough out onto a lightly floured surface. Give it a gentle coax to bring it together into a round, about 3/4 of an inch thick. Don’t knead it like bread! Now, use a knife or a bench scraper to cut that round into 8 wedges – like slicing a pizza. Carefully place these wedges onto your prepared baking sheet, leaving a little space between them. Pop them into the hot oven and bake for about 15 to 18 minutes. You’re looking for them to be lightly golden brown on top and cooked through. These will smell incredible as they bake!
Creating the Sweet Glaze
While your gorgeous spiced pumpkin treats are baking, let’s whip up that glaze! In a medium bowl, whisk together the powdered sugar and about 2 tablespoons of milk or cream, plus the vanilla. Keep whisking until it’s smooth. If it’s too thick, add a tiny bit more milk or cream, a teaspoon at a time, until it’s perfect for drizzling. You want it to be pourable but not watery!
Once the scones come out of the oven, let them cool on a wire rack for about 10 minutes. Then, generously drizzle that sweet glaze all over the tops. It’s like the crowning glory for your perfect coffee shop scones!
Tips for Success with Your Glazed Pumpkin Scones
Making these glazed pumpkin scones is pretty straightforward, but a few little tricks can really elevate them from good to absolutely *amazing*. Remember that cold butter and cream? Keep ’em cold! Like, straight-from-the-fridge cold. It’s the secret to getting that lovely tender texture. Also, when you’re mixing the dough, just stir until it *barely* comes together. Seriously, a few flour streaks are totally fine – overmixing is the quickest way to tough scones, and nobody wants that! Ellie always said, ‘A gentle hand makes a tender scone.’ For the glaze, if it’s too thick, add milk a drip at a time; if it’s too runny, just stir in a spoonful more powdered sugar. Easy! If you love cooking with apples, you might also enjoy my apple cider braised pork shoulder.
Make-Ahead and Freezer Magic for Brunch Baking
One of my favorite things about these pumpkin scones is how perfectly they fit into a busy life! If you’re planning a big brunch or just want to have a cozy fall breakfast ready to go, you can totally prep these ahead. This is a lifesaver, trust me! You can make the dough a day in advance. Just follow the recipe up until you pat it into that round and cut the wedges. Then, wrap the whole thing up tightly in plastic wrap and pop it in the fridge for up to 24 hours. When you’re ready to bake, just place those cold wedges on your baking sheet and bake them as usual. You might need to add a few extra minutes since they’re coming straight from the fridge, but oh my goodness, that fresh-baked smell while you’re still in your PJs? Pure magic!
Want to do even more prep? You can absolutely freeze the baked scones! Let them cool completely, then wrap them up really well. I like to put them in an airtight container or a good freezer bag so they don’t get icy. They’ll keep for about a month, which is perfect for grabbing one for a quick snack or toasting gently in the oven for a surprise treat. For a real brunch game-changer, prepare the dough as noted above, cut your wedges, and place them on a parchment-lined baking sheet. Freeze them until they’re solid, then transfer them to a freezer bag. When you want scones, just pop those frozen wedges onto a baking sheet and bake them right from frozen! Add about 5 to 7 extra minutes to the baking time and voila – instant, perfect scones for your brunch baking spread. They’re so good, people will think you spent all morning baking!
If you love make-ahead pumpkin treats, you *have* to try my pumpkin bars with creamy frosting too!
Frequently Asked Questions about Pumpkin Scones
Got questions about these delightful pumpkin scones? I’ve got answers! It’s totally normal to wonder about substitutions or how to get that perfect texture. Here are a few things folks often ask.
Can I use canned pumpkin puree instead of pumpkin spice?
This recipe actually uses pumpkin *spice* for flavor, not pumpkin puree. If you wanted to add pumpkin puree, you’d need to adjust the liquids significantly, and it would change the texture quite a bit. For these specific glazed pumpkin scones, we’re relying on the fall spices! If you’re looking for a recipe with pumpkin puree, you might love my amazing pumpkin chili!
What can I substitute for heavy cream?
No heavy cream? No problem! You can absolutely use more cold milk (like whole milk) in place of the heavy cream. Just be sure it’s nice and cold. If your dough feels a little too dry, you can always add a splash more milk, a tablespoon at a time, until it comes together nicely. This easy scone recipe is pretty forgiving!
How do I prevent my scones from spreading too much?
Keeping your ingredients COLD is the absolute biggest secret! If your butter is cold and your cream is cold, the dough will be stiffer and less likely to spread out in the oven. Also, try not to overmix the dough, and make sure your oven is fully preheated to 400°F (200°C). A hot oven helps the scones set up quickly. You’ve got this!
Can I add nuts or dried fruit to these pumpkin spice recipes?
Absolutely! If you love a little extra texture, feel free to mix in about 1/2 cup of chopped pecans or walnuts, or some dried cranberries or raisins, into the dry ingredients. Just make sure they’re coated in the flour mixture before you add the wet ingredients. It’s a great way to customize these fall treats!
Nutritional Information for Your Pumpkin Scones
Just a heads-up, the nutrition info below is an estimate, okay? It can totally change depending on the exact brands of ingredients you use and how big you make your scones. But this gives you a good idea of what you’re working with!
- Serving Size: 1 scone
- Calories: Approx. 350
- Fat: Approx. 18g
- Protein: Approx. 4g
- Carbohydrates: Approx. 45g
- Sugar: Approx. 25g
Share Your Cozy Fall Baking Creations!
I just LOVE seeing your creations! If you try these pumpkin scones, please leave a comment below and let me know what you think. And if you share a pic on social media, tag me! Seeing your beautiful baking makes Ellie (and me!) so happy. You can learn more about our story here!
PrintTender Glazed Pumpkin Scones

Enjoy café-style pumpkin scones, tender and perfectly spiced, with a sweet glaze. This recipe uses a cold-butter technique for flaky results and offers tips for making them ahead.
- Prep Time: 20 min
- Cook Time: 18 min
- Total Time: 38 min
- Yield: 8 servings 1x
- Category: Dessert
- Method: Baking
- Cuisine: American
- Diet: Vegetarian
Ingredients
- 2 cups all-purpose flour
- 1/4 cup granulated sugar
- 2 teaspoons baking powder
- 1/2 teaspoon ground cinnamon
- 1/4 teaspoon ground nutmeg
- 1/4 teaspoon ground ginger
- 1/8 teaspoon ground cloves
- 1/2 teaspoon salt
- 1/2 cup (1 stick) cold unsalted butter, cut into small cubes
- 1/2 cup cold heavy cream, plus more if needed
- 1 large egg
- 1 teaspoon vanilla extract
- For the Glaze:
- 1 cup powdered sugar
- 2–3 tablespoons milk or heavy cream
- 1/2 teaspoon vanilla extract
Instructions
- Preheat your oven to 400°F (200°C). Line a baking sheet with parchment paper.
- In a large bowl, whisk together the flour, granulated sugar, baking powder, cinnamon, nutmeg, ginger, cloves, and salt.
- Add the cold butter cubes to the dry ingredients. Use a pastry blender, your fingertips, or a food processor to cut the butter into the flour mixture until it resembles coarse crumbs with some pea-sized pieces of butter remaining.
- In a small bowl, whisk together the 1/2 cup cold heavy cream, egg, and vanilla extract.
- Pour the wet ingredients into the dry ingredients. Mix with a fork until just combined. Be careful not to overmix. The dough should be shaggy. If it seems too dry, add a little more cream, one tablespoon at a time.
- Turn the dough out onto a lightly floured surface. Gently bring the dough together and pat it into a 3/4-inch thick round.
- Cut the round into 8 wedges using a knife or bench scraper.
- Place the wedges onto the prepared baking sheet, spacing them about 1 inch apart.
- Bake for 15-18 minutes, or until the scones are lightly golden brown and cooked through.
- While the scones bake, prepare the glaze. In a medium bowl, whisk together the powdered sugar, 2 tablespoons of milk or cream, and vanilla extract until smooth. Add more milk or cream, a teaspoon at a time, if needed to reach your desired drizzling consistency.
- Let the scones cool on a wire rack for about 10 minutes before drizzling them with the glaze.
Notes
- For a richer glaze, use heavy cream instead of milk.
- You can make the scone dough ahead of time. Wrap it tightly in plastic wrap and refrigerate for up to 24 hours. Bake as directed, adding a few extra minutes to the baking time if baking from cold.
- Freeze baked and cooled scones in an airtight container for up to 1 month. Reheat gently in a low oven or toaster oven.
- To make ahead for brunch, prepare the dough, cut into wedges, and place on a parchment-lined baking sheet. Freeze until solid, then transfer to a freezer bag. Bake from frozen, adding 5-7 minutes to the baking time.
Nutrition
- Serving Size: 1 scone
- Calories: 350
- Sugar: 25g
- Sodium: 200mg
- Fat: 18g
- Saturated Fat: 11g
- Unsaturated Fat: 7g
- Trans Fat: 0g
- Carbohydrates: 45g
- Fiber: 2g
- Protein: 4g
- Cholesterol: 60mg