
Oh my gosh, are you ready to stop fighting your cookie decorations? I’ve been there; you spend hours cutting out perfect shapes, and then the icing is either too runny or splits into a crumbly mess! Forget those sad, cracked-out cookies. My goal here, just like when I cook for my family, is absolute reliability. That’s why I landed on what I genuinely believe is the single best and easiest royal icing recipe you’ll ever use. We’re ditching the raw egg whites entirely and using meringue powder. Trust me, this specific royal icing recipe provides that rock-hard, glossy finish that professional bakers use, but in about ten minutes flat, right from your own kitchen. It’s foolproof, promise!
- Why This Royal Icing Recipe Works So Well for Cookies
- Gathering Ingredients for Your Royal Icing Recipe
- How to Prepare the Easiest Royal Icing Recipe
- Tips for Success with Your Royal Icing Recipe
- Storage and Making Ahead with This Royal Icing Recipe
- Creative Variations for Your Versatile Royal Icing Base
- Serving Suggestions for Your Decorated Cookies
- Frequently Asked Questions About This Royal Icing Recipe
- Nutritional Estimates for Your Royal Icing Recipe
- Share Your Royal Icing Recipe Creations
Why This Royal Icing Recipe Works So Well for Cookies
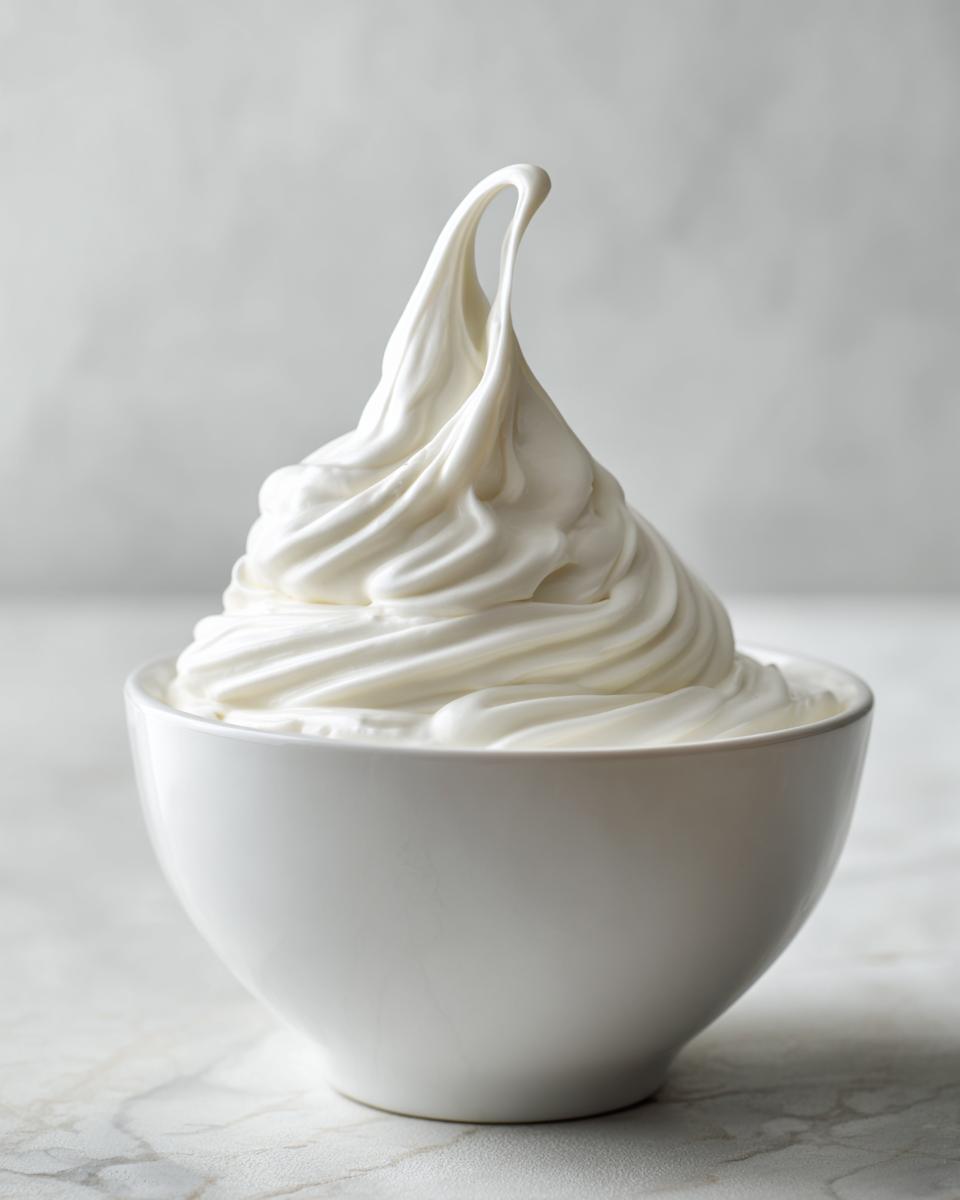
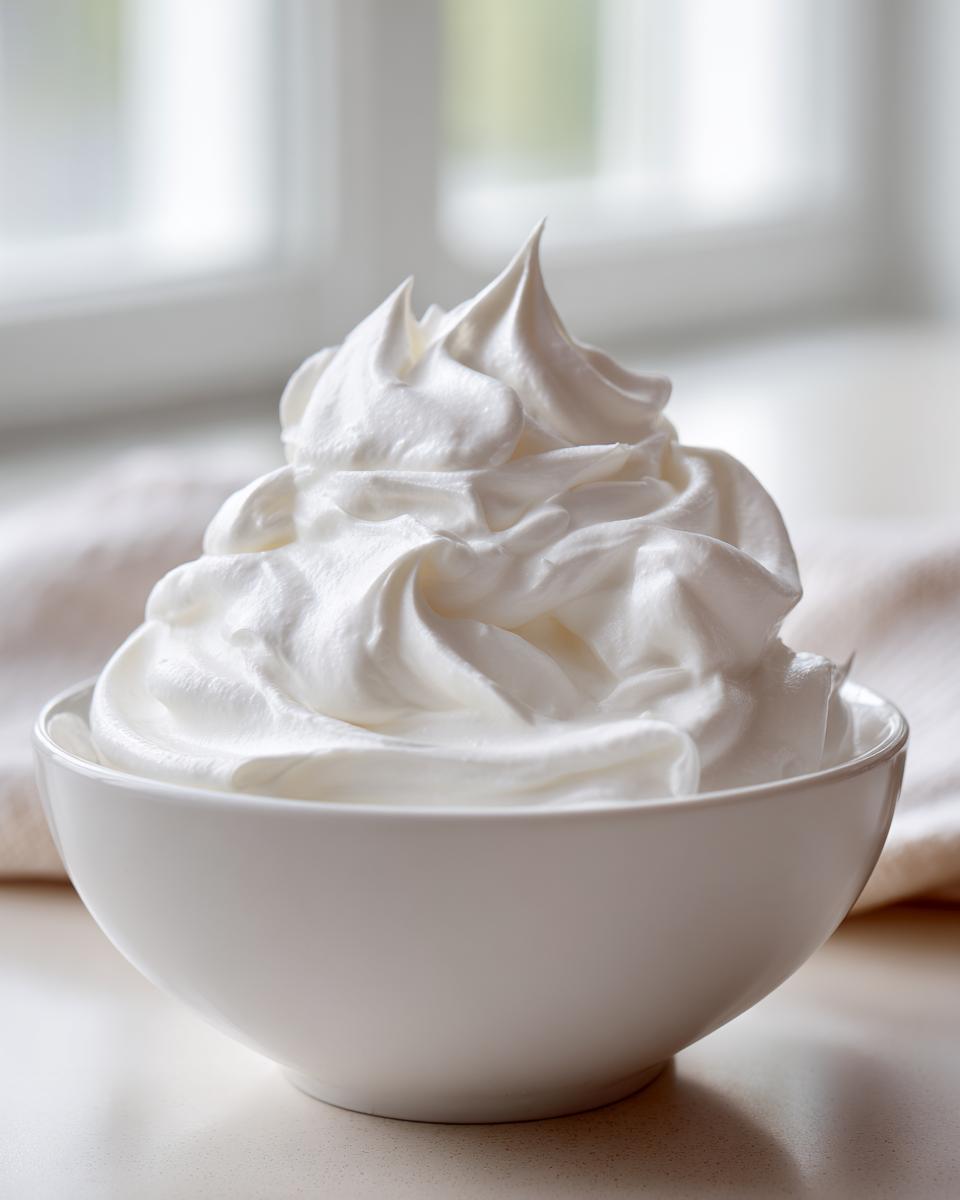
Seriously, what is the point of decorating if your hard work cracks or smears before anyone can eat it? This icing is the real deal because it hits all those must-have cookie decorating goals. It’s super smooth, mixes up lightning fast, and dries completely rock hard, which is exactly what we need when stacking or putting cookies in a tin. We want that shiny, professional look, and this delivers the ultimate glossy icing recipe every single time.
Achieving That Perfect Glossy Icing Recipe Finish
The gloss comes from two simple things: beating it long enough and having enough sugar! When you whip the meringue powder mixture properly, you incorporate just the right amount of air. This creates those tiny, tight bubbles that give you that signature, mirror-like shine once the icing dries. It’s chemistry, but it feels like magic!
The Importance of Meringue Powder in This Royal Icing Recipe
Here’s where we skip the worry. Using meringue powder means we have a stable, shelf-safe way to get the structure we need without messing with raw egg whites. For home bakers, especially when you’re just starting out or making big batches, this is the safety net that keeps everything consistent. This is why I call it the best royal icing for cookies—it’s reliable foundation means you focus on the art, not the anxiety!
Gathering Ingredients for Your Royal Icing Recipe
Okay, let’s get to what you need! Since this is the base for everything, you want good quality starting ingredients. The beauty of this royal icing recipe is that it uses things most of us already have in the pantry. You’ll need four cups of powdered sugar—and please, sift it first! Trust me, that step saves you so much headache later trying to break up lumps. We also use our meringue powder, water, a little salt, and then the flavorings.
Ingredient Notes and Substitutions for Your Royal Icing Recipe
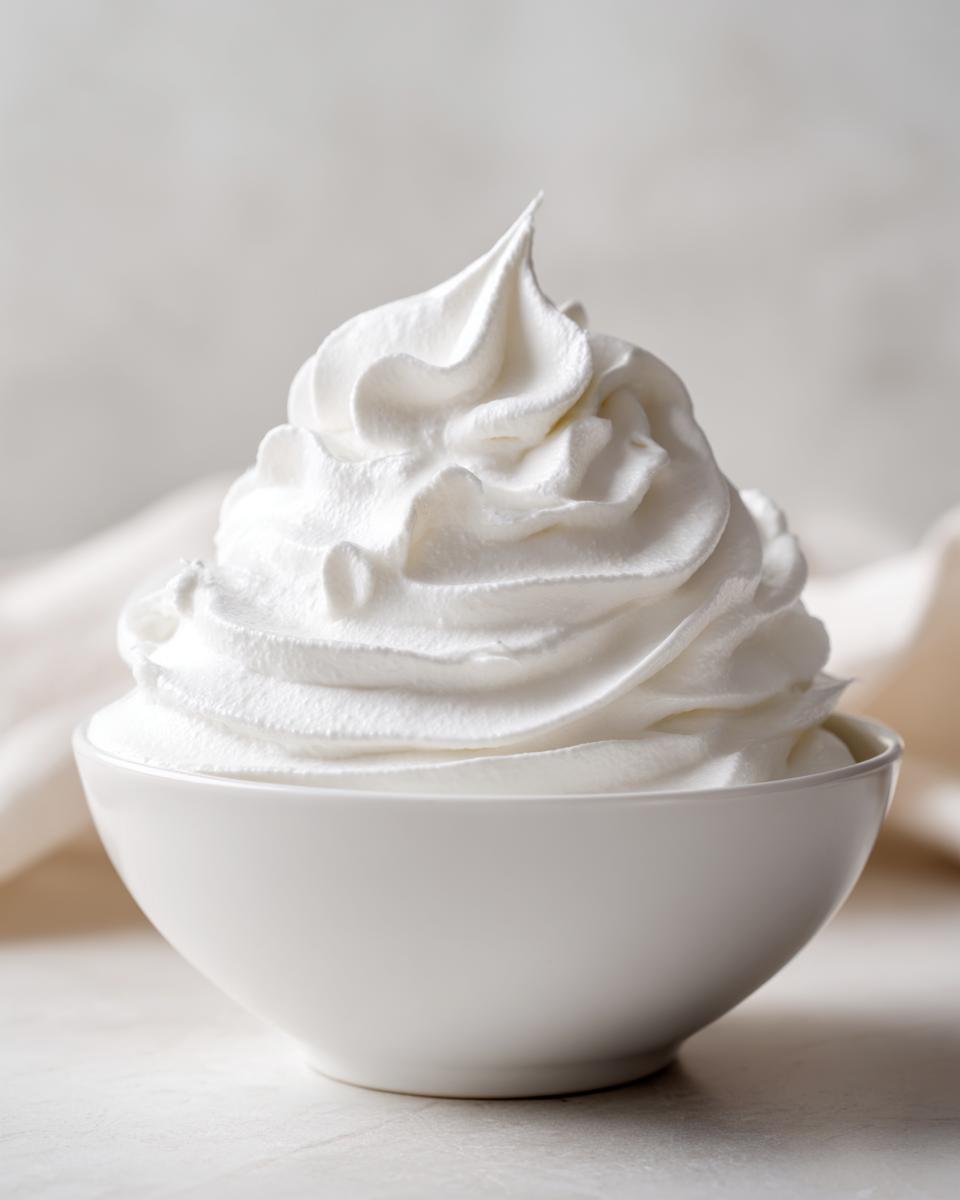
The extracts matter for aesthetics! If you want a perfectly white icing for bright colors, skip the regular vanilla—it has that slight caramel tone—and grab clear vanilla extract instead. If you are feeling fancy, a splash of almond extract makes the icing taste divine. Now, about those egg whites: if you absolutely can’t find meringue powder, you *can* use two large, safely pasteurized egg whites instead. Just know that the meringue powder is slightly more forgiving and acts as its own stabilizer, which I prefer for a truly foolproof no egg white icing recipe.
How to Prepare the Easiest Royal Icing Recipe
This is the part where we turn powder into magic! Since we are going for the easiest royal icing tutorial here, we’re using a stand mixer because it does the heavy lifting for us. My biggest tip for beginners is to follow the order I do things in; it makes the biggest difference in getting that beautiful, stiff texture we need for decorating. Don’t worry, the whole process takes maybe ten minutes of active mixing time—you won’t be stuck in the kitchen forever!
Mixing Technique for a Smooth Royal Icing Recipe
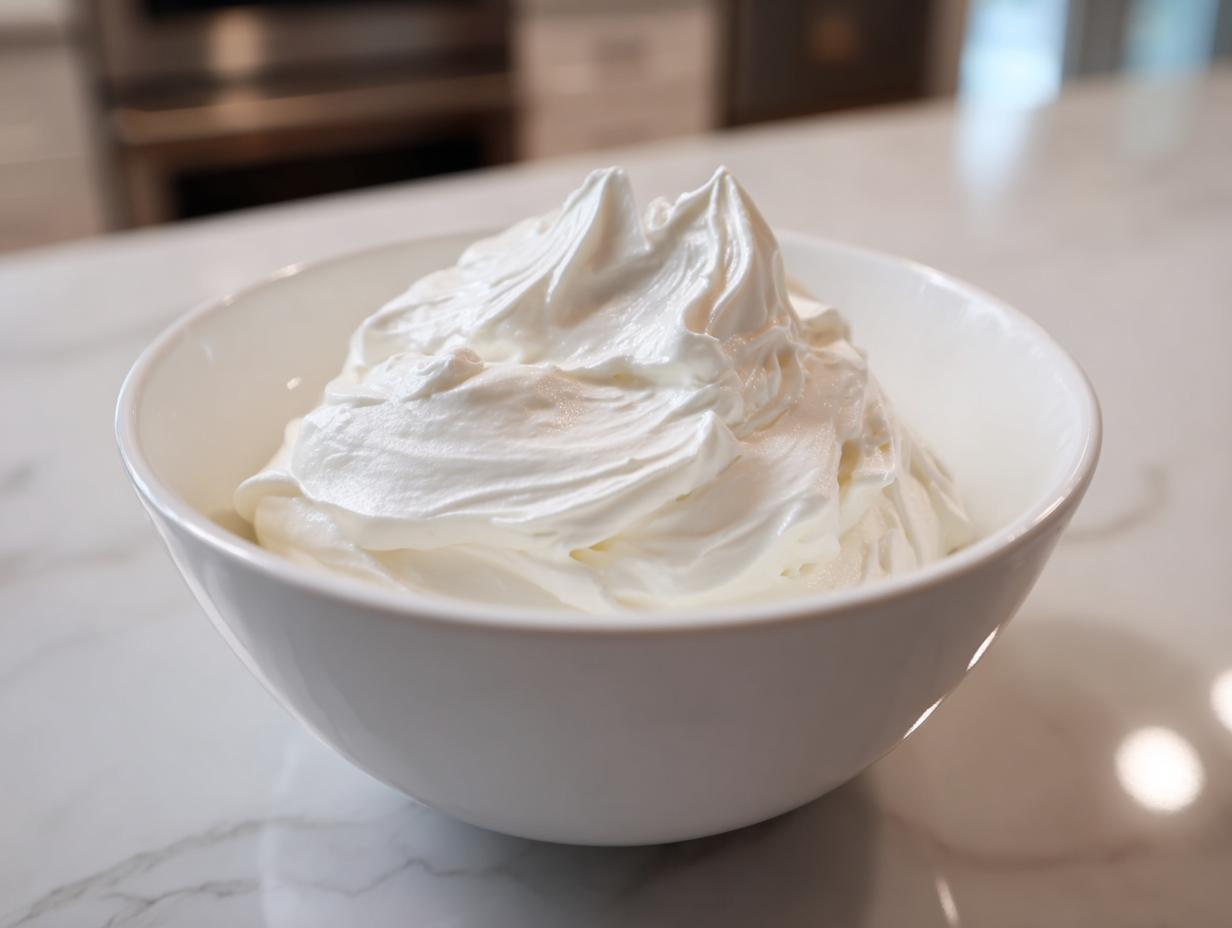
First things first: we need the meringue powder activated. Take your meringue powder and whisk it briskly with your warm water in the mixing bowl until it gets a tiny bit frothy—that only takes about a minute. Once frothy, throw in all your sifted sugar and flavorings. Now, you absolutely must use that paddle attachment! Start the mixer on low so the sugar doesn’t fly everywhere—seriously, cover your machine if you have to! Once incorporated, bump the speed up to medium-high and let it just roar for a solid five to seven minutes. You’re looking for it to get super thick and hold a stiff peak when you lift the paddle. That’s your magic moment!
Adjusting Consistency: Piping Consistency Icing Recipe
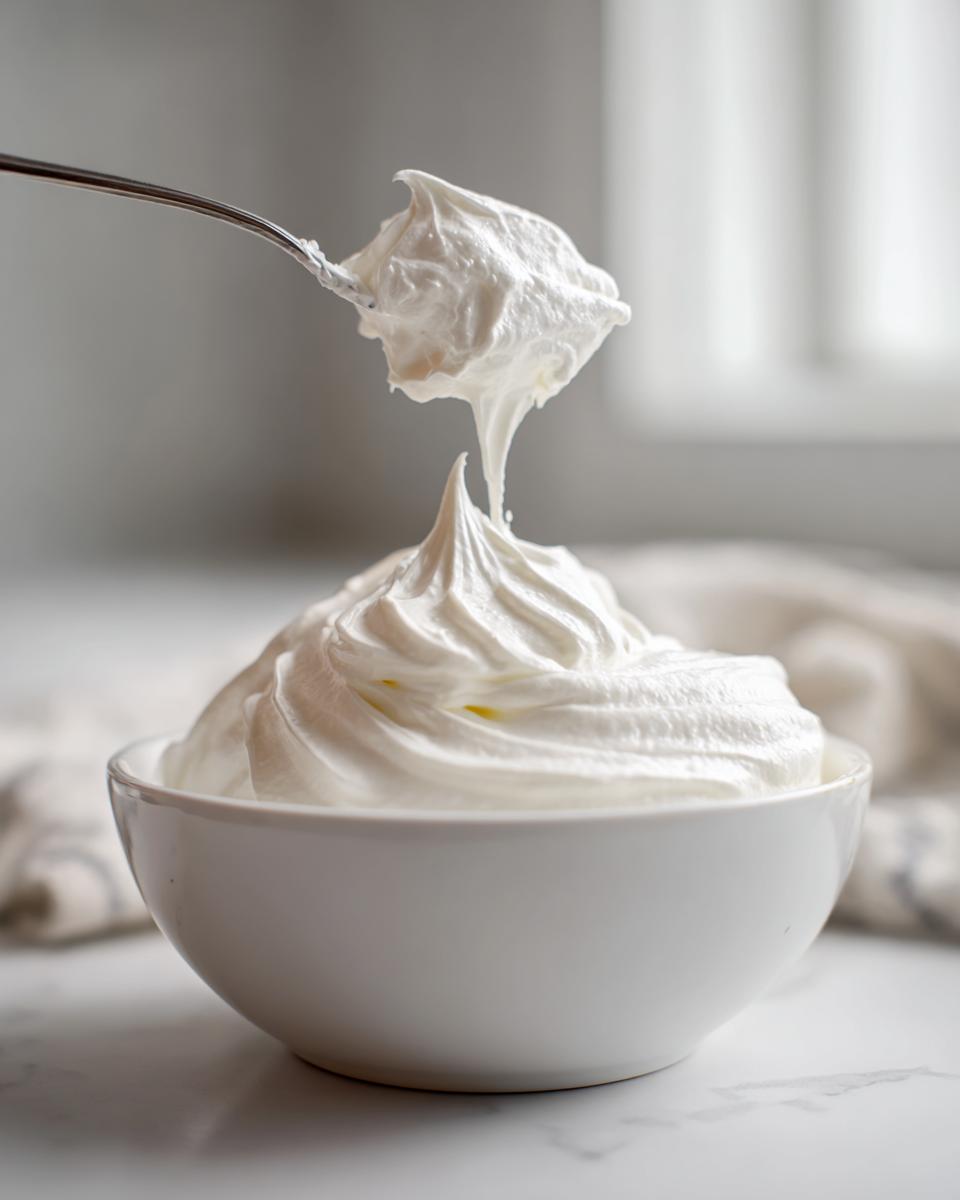
Once you have your stiff, beautiful base, you’ll divide it up. For outlining cookies, we need that perfect piping consistency icing. To thin it down, you are only going to add water one teaspoon at a time. Mix well after every drop! It should flow thickly off your mixer but still hold its shape for a second or two. It shouldn’t look liquidy at all—just slightly softened from that initial stiff peak.
Achieving Flooding Royal Icing Consistency
Now, for flooding those centers after you outline, we need it thinner still. This needs to flow easily off a spoon. The classic test you have to try is the 10-to-15-second rule. Once you drizzle a line of icing across the top of the bowl, count slowly. If that line smooths back into the rest of the icing perfectly, settling flat in about 10 to 15 seconds, congratulations! You’ve hit that gorgeous flooding royal icing consistency. If it disappears immediately, it’s too thin!
Tips for Success with Your Royal Icing Recipe
Even with the easiest royal icing recipe, things can go sideways fast if you step away for even a minute! The biggest enemy when decorating cookies is evaporation. If you leave colored bowls uncovered while you grab lunch, boom, crust forms!
Preventing Your Royal Icing Recipe from Drying Out
Listen, this isn’t like buttercream where you can just scrape the top layer off. Once royal icing dries on the surface, it gets tough and flaky, and you risk ruining your smooth finish or tearing up your piping bags. The absolute non-negotiable rule is this: when you aren’t actively using a bowl of icing—whether it’s your white batch or your perfectly tinted blues and pinks—you need to seal it. I take a piece of plastic wrap and press it *directly* onto the surface of the icing. Like, really push it down so there’s no air gap. This keeps it totally workable for hours. Don’t forget to cover the tops of your piping bags too if you take a long break!
Troubleshooting Common Royal Icing Recipe Issues
If you mess up the consistency, don’t panic and dump the batch! It happens to everyone, even people who write about baking all day like me. If your icing has set up a bit too firm, just whisk in water, seriously, a half-teaspoon at a time, until it loosens up nicely. If you got a little too ambitious with the water and now you have a runny puddle, grab some extra sifted powdered sugar and mix it in just one tablespoon at a time until you are back at that perfect flow. You can always save a batch, so keep your sugar and water handy!
For more general advice on making sugar cookies that hold up to this beautiful sugar cookie decorating icing, always check out other baker friends! Happy decorating!
Storage and Making Ahead with This Royal Icing Recipe
One of the best parts about using this reliable royal icing recipe is that you can totally prep ahead! If you’re busy during the week and planning to decorate on the weekend—maybe even using this technique alongside some organized meal planning—you can totally make this base ahead of time. I store any unused icing, sealed really tightly with plastic wrap touching the surface, right in the fridge for up to a week. When you bring it out, it will look super stiff, don’t panic! Just leave it sitting on the counter for an hour, then mix in a tiny drop or two of water until you get your consistency back. It’s that simple!
Creative Variations for Your Versatile Royal Icing Base
So, you nailed the basic white, glossy finish—awesome! But this sweet stuff is such a versatile royal icing base, we should absolutely play around with it. While I love the classic vanilla flavor, you can easily switch up your extracts. Want a more festive taste? Mix out the vanilla for lemon or peppermint extract! Just measure it carefully because extracts are strong.
If you want that extra, almost lacquered shine that looks incredible under electric light, try this trick Eleanor taught me: add about half a teaspoon of light corn syrup to your batch *after* it has finished mixing. It doesn’t change the drying time much, but it makes the finished cookie look incredibly professional, almost wet! This is perfect for decorative icing where you want things to really pop!
Serving Suggestions for Your Decorated Cookies
Now that you have this perfect, easy cookie icing recipe, the fun begins! This icing shines brightest on a sturdy foundation. Honestly, it’s phenomenal on classic sugar cookies—thick, buttery, and able to handle any detail you throw at it. It sticks beautifully to gingerbread too, making holiday decorating a breeze. If you need a great cookie base to test out your new skills with this frosting, check out my soft sugar cookies recipe!
Don’t forget to check out other great ideas for beginners over at Anaplaces for inspiration!
Frequently Asked Questions About This Royal Icing Recipe
I get so many questions when people first try decorating cookies, and that’s totally normal! It’s all about getting comfortable with the process. Here are a few things I hear most often about this royal icing recipe, just to make sure you feel confident!
Can I use this royal icing recipe to make royal icing flowers?
Oh yes, you totally can! This recipe is fantastic for making decorations ahead of time, like those gorgeous little roses or leaves. When you first mix the batch, it needs to be at those stiff peaks—remember when it holds its shape perfectly when the mixer stops? That’s your starting point for making royal icing flowers. You might need to add just a *tiny* bit more meringue powder or let it sit for ten minutes to get it ultra-stiff before piping those detailed shapes, but the base ingredients are perfect for it!
How long does it take for this royal icing recipe to dry hard?
This is the million-dollar question, isn’t it? You want that *quick hardening royal icing*, but patience is a virtue in the cookie world! If you use thin layers for flooding, you might feel they are dry enough to stack in about 8 hours, especially if your kitchen isn’t humid. But for a truly rock-solid, guaranteed dry finish that won’t smudge if you breathe on it? Plan for a full 18 to 24 hours—overnight is best. Humidity absolutely plays a part, so give it time!
What is the difference between this royal icing tutorial and using egg whites?
That’s a great point for anyone looking at different ways! A traditional royal icing tutorial often calls for raw egg whites, but we bypass that here with meringue powder. The main difference, besides safety for me, is consistency. Meringue powder is already stabilized; it’s reliable, mixes smoother right away, and gives you a more consistent result batch after batch. When you use fresh whites, you often need an extra stabilizing agent like cream of tartar to keep it from weeping slightly. Keeping it simple with the powder just makes the whole process less stressful!
Nutritional Estimates for Your Royal Icing Recipe
I know, I know, when you’re making icing this delicious, nobody is thinking about the numbers! But since we are sharing everything, I pulled together the estimated nutritional breakdown for this amazing royal icing recipe. Remember, I’m a home cook first, not a nutritionist, so please take these figures as a general guideline based on the ingredients listed. These numbers assume you get about 20 servings out of the whole batch.
Here is the breakdown per serving (about 1/4 cup of icing):
- Serving Size: 1/4 cup
- Calories: Around 180 – that’s what happens when you use a lot of powdered sugar, but wowza, it is worth it!
- Sugar: About 45 grams (Yes, this is mostly sugar, it’s frosting!)
- Sodium: Very low, only about 5 mg, since we aren’t adding much salt.
- Fat: 0 grams – pretty neat for frosting!
- Protein: Just a tiny bit, around 1 gram.
Like I always say over at DeliceRecipe, we focus on flavor and joyful cooking, and this icing delivers! Just remember these are estimates, and if you start coloring it with lots of gel dyes or adding extra flavor shots, the totals might shift slightly. Enjoy your stunning, sweet work!
Share Your Royal Icing Recipe Creations
Now that you’ve mastered how to make royal icing and your cookies are looking absolutely picture-perfect, I want to see them! Seriously, nothing makes me happier than knowing I helped someone achieve that professional-looking, glossy finish right in their own kitchen.
Did you try the meringue powder method? Did it dry hard just like I promised? Please tell me about your decorating adventures in the comments below! If you have any little tricks you discovered while adjusting the consistency, share them—we’re all learning together here.
Also, if you made a whole batch of this royal icing recipe, drop a rating right under the recipe card! It helps other home bakers feel confident trying it out. Happy decorating this week, and don’t forget to send me pictures of those beautiful cookies!
PrintThe Best & Easiest Royal Icing Recipe Using Meringue Powder
This recipe provides a reliable method for making smooth, glossy royal icing that dries hard, perfect for detailed sugar cookie decorating using meringue powder for safety and convenience.
- Prep Time: 10 min
- Cook Time: 0 min
- Total Time: 10 min
- Yield: About 5 cups 1x
- Category: Baking
- Method: Mixing
- Cuisine: American
- Diet: Vegetarian
Ingredients
- 3 tablespoons meringue powder
- 1/2 cup warm water
- 4 cups powdered sugar, sifted
- 1 teaspoon vanilla extract or clear vanilla extract
- 1/4 teaspoon almond extract (optional)
- Pinch of salt
Instructions
- In a large bowl, whisk together the meringue powder and warm water until the mixture is frothy, about 1 minute.
- Add the sifted powdered sugar, vanilla extract, almond extract (if using), and salt to the bowl.
- Using an electric mixer with a paddle attachment, start mixing on low speed until the sugar is incorporated.
- Increase the speed to medium-high and beat for 5 to 7 minutes until the icing is very thick, smooth, and holds stiff peaks.
- Divide the icing into separate bowls for coloring or use immediately for white icing.
- To achieve piping consistency, add water one teaspoon at a time, mixing well after each addition, until the icing flows slowly from the mixer.
- To achieve flooding consistency, add water until the icing flows easily off a spoon and levels out in about 10 to 15 seconds.
- Cover the icing with plastic wrap pressed directly onto the surface when not in use to prevent drying.
Notes
- For a brilliant white finish, use clear vanilla extract instead of regular vanilla extract.
- If you do not have meringue powder, you can substitute it with 2 large, pasteurized egg whites, but the texture may vary slightly.
- If your icing is too thin, add more sifted powdered sugar, one tablespoon at a time.
- If your icing is too thick, add water, one teaspoon at a time.
- This icing dries firm and hard, making it ideal for stacking cookies or making royal icing flowers.
- If you are planning your weekly meals, this icing is a great addition to your sugar cookie prep, similar to using a meal planning system for consistency.
Nutrition
- Serving Size: 1/4 cup
- Calories: 180
- Sugar: 45g
- Sodium: 5mg
- Fat: 0g
- Saturated Fat: 0g
- Unsaturated Fat: 0g
- Trans Fat: 0g
- Carbohydrates: 45g
- Fiber: 0g
- Protein: 1g
- Cholesterol: 0mg