
Forget those waxy, strangely uniform blocks you buy in bags at the grocery store. Seriously, once you taste a truly fresh, cloud-like marshmallow, there’s just no going back! Here at DeliceRecipe, my whole goal, and what Eleanor Vance built this site on, is bringing you kitchen magic that’s totally achievable. And making homemade marshmallows? It seems scary, like high-level confectionery work, but trust me, this is hands-down the easiest recipe out there for achieving that perfect, soft, pillowy texture. You’re going to be so proud of these!
- Why Our Homemade Marshmallows Recipe Works So Well
- Gathering Ingredients for Homemade Vanilla Marshmallows
- Step-by-Step Instructions: How to Make Marshmallows
- Cutting and Coating Your Homemade Marshmallows
- Tips for Perfect Homemade Marshmallows Every Time
- Creative Variations on Homemade Marshmallows
- Serving Suggestions for Your Homemade Sweets
- Storage and Keeping Homemade Marshmallows Fresh
- Frequently Asked Questions About Homemade Marshmallows
- Sharing Your Pillowy Homemade Sweets Experience
Why Our Homemade Marshmallows Recipe Works So Well
I get it—candy making sounds intimidating. People think you need a chemistry degree just to whip up something sweet! But this recipe, born from my dedication to reliable home cooking, is different. It’s truly better than store bought treats, and I promise you’ll see why when you take that first bite.
- It hits that perfect texture sweet spot: airy enough to float, but dense enough to hug your hot chocolate mug.
Achieving Pillowy Homemade Sweets Texture
The magic happens because we’re not just mixing; we’re building structure! Controlling the sugar syrup temperature to exactly 240 degrees Fahrenheit is non-negotiable. That specific heat tells the sugar molecules exactly when to stiffen up. Then, the long, high-speed whipping incorporates tons of air into the gelatin, trapping it perfectly. That process is what creates a cloud-like chew that you just cannot replicate in a factory setting.
The Secret to Easy Homemade Marshmallows
Even though we are cooking sugar, the actual hands-on time is minimal. You really only need one special piece of equipment: a stand mixer. If you have one of those beating away for 15 minutes, you’re basically doing nothing but waiting! Because this is the ultimate easy marshmallow recipe, I know you’ll feel like a total confectionery pro by the time these are set. You can check out some of my other favorite easy bakes in my delicious dessert recipes collection if you’re looking for more quick wins!
Gathering Ingredients for Homemade Vanilla Marshmallows
Okay, getting started is honestly the easiest part of this whole process! Since we aren’t making something rustic, we need to be precise with what goes into the bowl so you get those incredibly soft marshmallows from scratch we talked about. Don’t panic—these are standard pantry staples, even for a beginner in the world of homemade candy making.
This recipe makes a good batch, yielding about 4 dozen pieces. That’s plenty for a huge mug of hot chocolate or a serious s’mores night!
- 3 tablespoons unflavored gelatin powder (Make sure it says *unflavored* – that’s important!)
- 1/2 cup cold water, divided (We use this for blooming the gelatin first.)
- 1 1/2 cups granulated sugar
- 1 cup light corn syrup (This is the glue holding the fluff together!)
- 1/2 cup water (This is for the syrup, separate from the cold water for the gelatin.)
- 1/4 teaspoon salt (Don’t skip this little pinch—it balances everything out.)
- 1 teaspoon pure vanilla extract (Use the real stuff; it makes a huge difference.)
- 1/2 cup powdered sugar, for dusting
- 1/2 cup cornstarch, for dusting
Ingredient Notes and Substitutions for Soft Marshmallows from Scratch
I want you to feel confident swapping things where you can, but for this specific texture, a few ingredients are sacred! The light corn syrup is essential here. It prevents crystallization and gives us that wonderfully stretchy, slow-melting texture that makes our homemade sweets so satisfying. If you absolutely must search for a no corn syrup marshmallows version, you’ll need a different technique entirely, usually using honey or maple syrup, but the results change dramatically.
Also, about the gelatin: standard unflavored gelatin works perfectly. Knox is typically what I have on hand. Avoid “gelatin dessert” mixes—those have added sugar and color we don’t want. We need pure building blocks!
Step-by-Step Instructions: How to Make Marshmallows
Alright, deep breath! This is where the real fun starts, and this is the part that separates a bag of commercial fluff from what I consider amazing homemade candy. Don’t worry if you’re new to this—I break down exactly how to make marshmallows so you can nail that perfectly uniform, bouncy texture. Remember, precision in temperature is our friend here!
We are going to move through three main phases: getting the base ready, cooking the syrup, and the whipping marathon. Let’s get started!
Blooming Gelatin and Preparing the Pan for Homemade Marshmallows
First things first, we need to wake up that gelatin. In the bowl of your stand mixer (yes, you need the mixer running later, so get it ready now!), sprinkle the 3 tablespoons of gelatin powder right over the 1/2 cup of cold water. Just let that sit for about 10 minutes until it gets all thick and spongy. This blooming step is super important for dissolving properly later!
While that sits, let’s prep the landing zone. Lightly grease that 9×13 inch pan, then you need to dust it generously. I mix my powdered sugar and cornstarch together—about 1/2 cup of each—and sift it all over the bottom and sides. Really coat it! Honestly, for an extra layer of insurance, or if you plan on gifting these, I sometimes line the entire pan with parchment paper first, leaving a little hangover edge to lift them out later. Trust me, sticky marshmallows are the absolute worst cleanup!
Cooking the Sugar Syrup to Soft-Ball Stage
Time to cook! Grab a medium saucepan and combine your granulated sugar, the light corn syrup, the remaining 1/2 cup of water, and the salt. Set this over medium heat and stir it gently just until the sugar crystals dissolve. Once it starts boiling—stop stirring! You don’t want to disturb the formation of those sugar crystals.
This next bit is crucial for that perfect texture. You absolutely must attach a candy thermometer. We need that syrup to boil steadily until it hits exactly 240 degrees Fahrenheit. That temperature is known in the candy world as the soft-ball stage, and it’s the sweet spot that ensures your candy sets up light and not rock hard. Once it hits that mark, yank it off the heat immediately—don’t let it keep cooking for even a second!
Whipping and Setting Your Fluffy Marshmallows
Now, get that mixer going! Turn it on low speed—and I mean *low*—and very slowly, carefully dribble that hot syrup down the side of the bowl, making sure it avoids hitting the whisk attachment directly. If you dump it on the whisk, you risk splashing hot sugar everywhere, and trust me, that’s a mess you don’t want to clean. Once all the syrup is incorporated, crank that mixer up to high speed.
This is the waiting game for those fluffy marshmallows you’re dreaming of. You have to beat this mixture for a full 12 to 15 minutes. It will go from looking like wet, shiny goo to a mixture that is thick, incredibly glossy, and white. It’s done when the outside of the bowl cools down slightly and the mixture is holding stiff peaks. Right in the final minute, pour in that pure vanilla extract.
Once the mixer has done its job, scrape that unbelievably voluminous marshmallow fluff into your prepared, heavily dusted pan. Use an oiled spatula to gently spread it out evenly. Then, dust the top surface liberally again with more of that sugar/cornstarch mixture. Cover it loosely—I just use a light tea towel—and just leave it alone. It needs at least four hours untouched, but overnight is truly best for setting up firm enough to cut cleanly.
When you’re ready later, you can find some great usage ideas when you see how amazing they are when toasted, or you can explore other baking inspiration here: how to make amazing homemade marshmallows like this one!
For cleaning the pan itself, don’t forget my tried-and-true tricks for easy cleanup, which you can find in my post on cookie icing release—the same principle applies to getting this sticky stuff off!
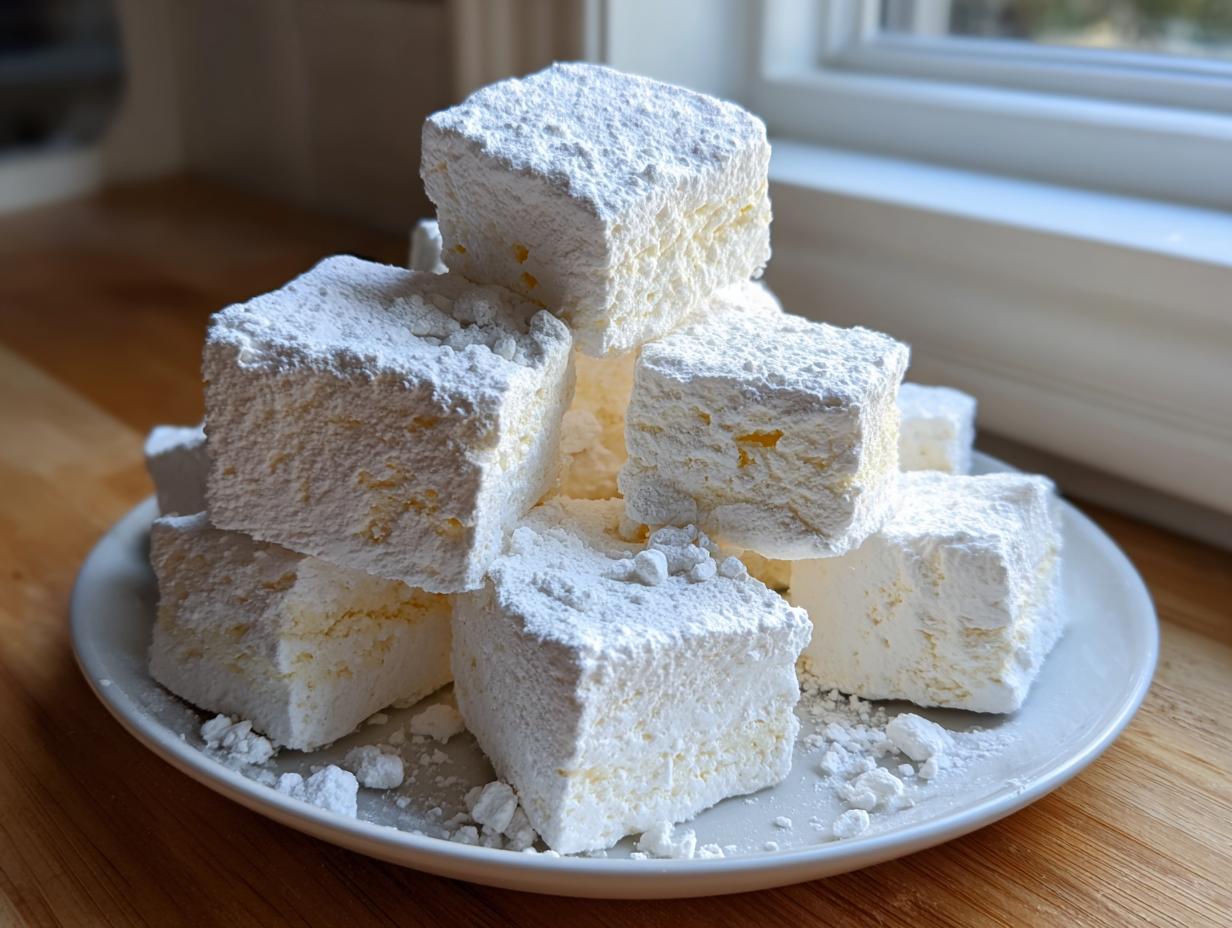
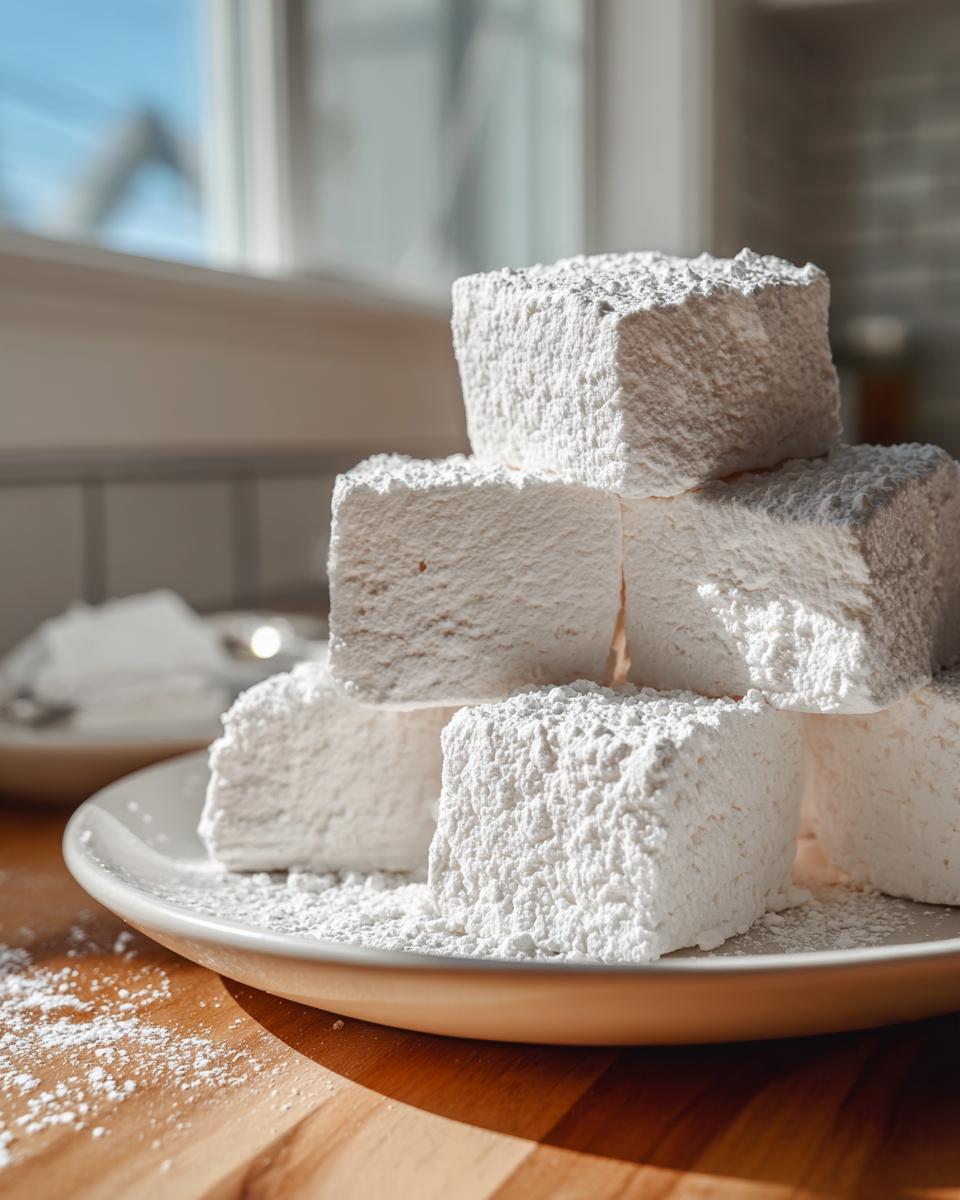
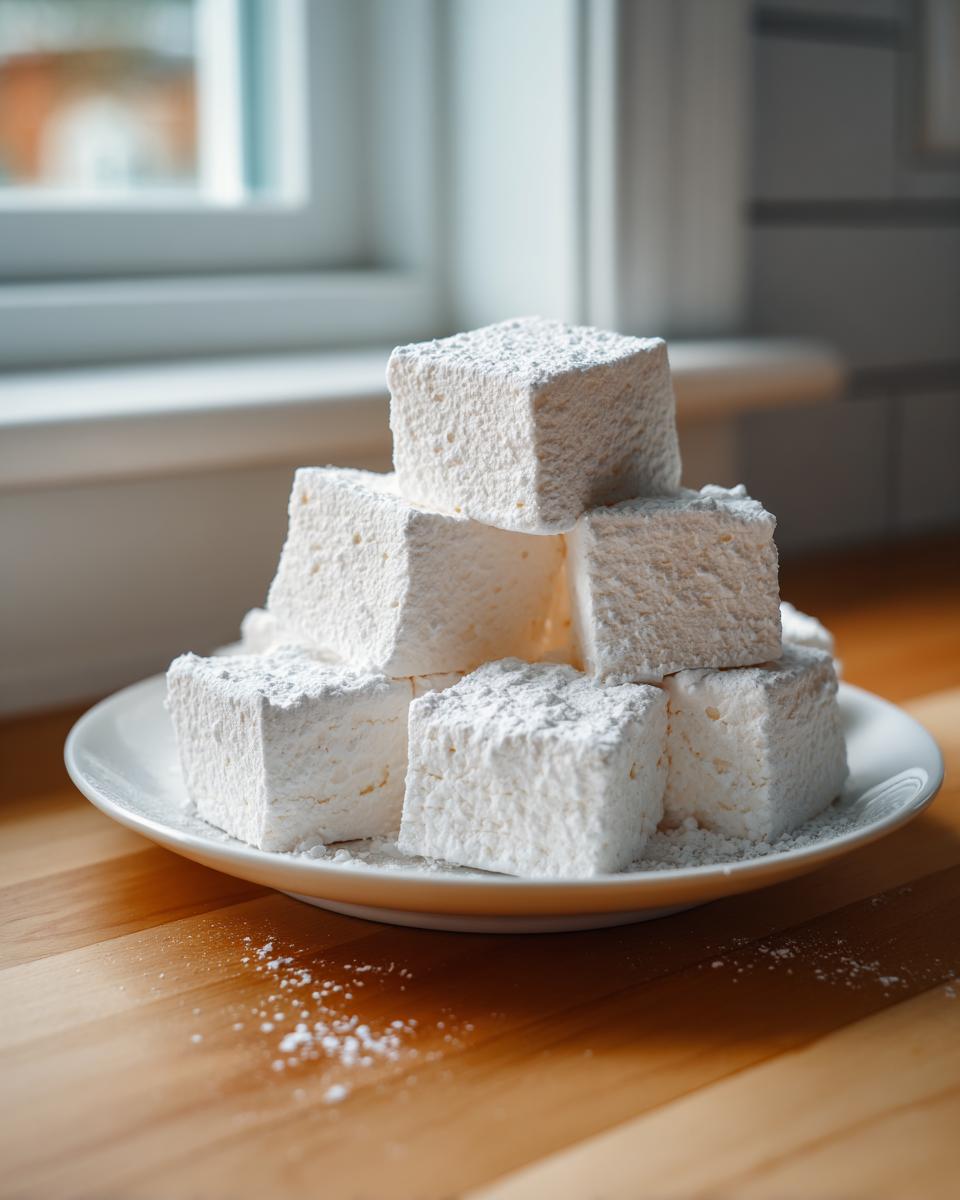
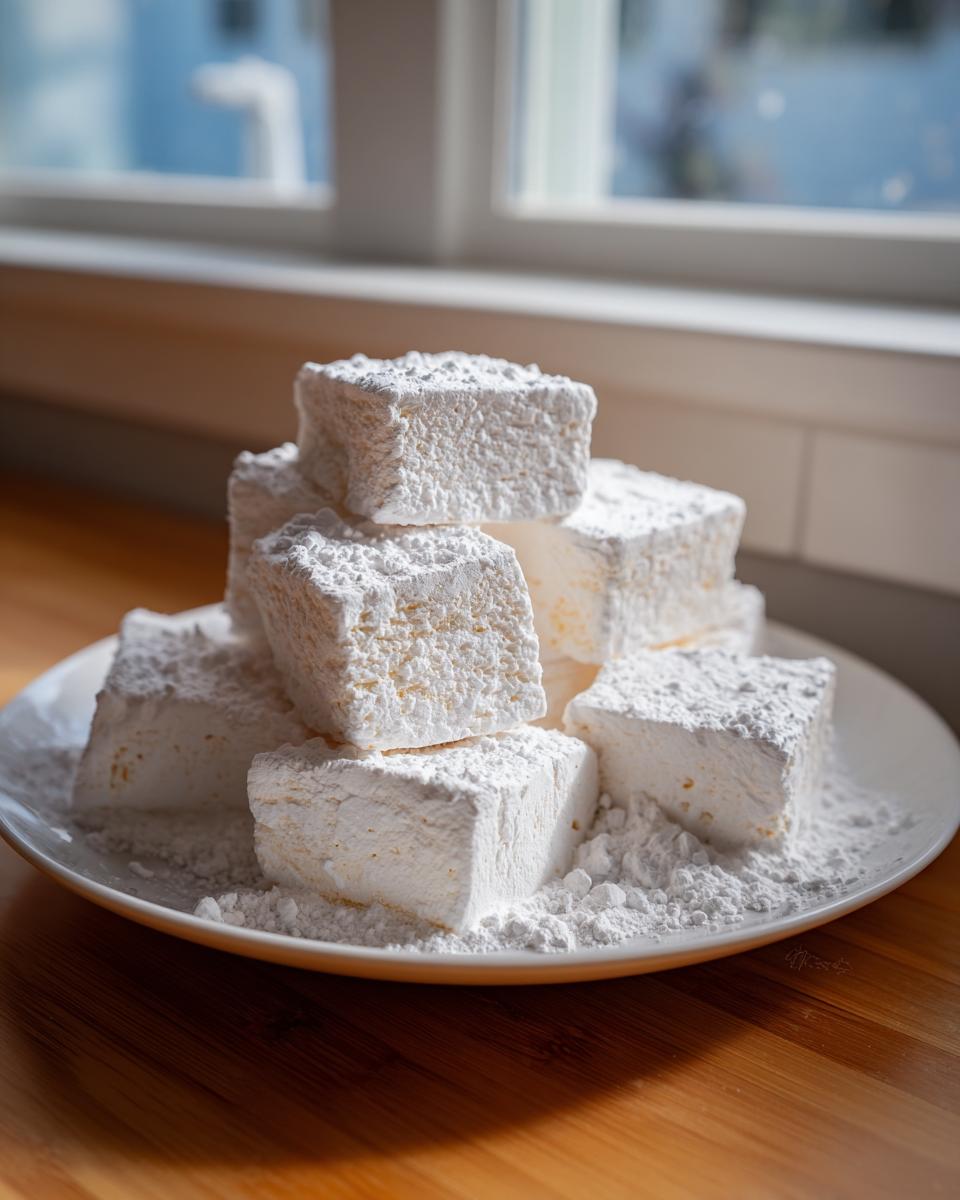
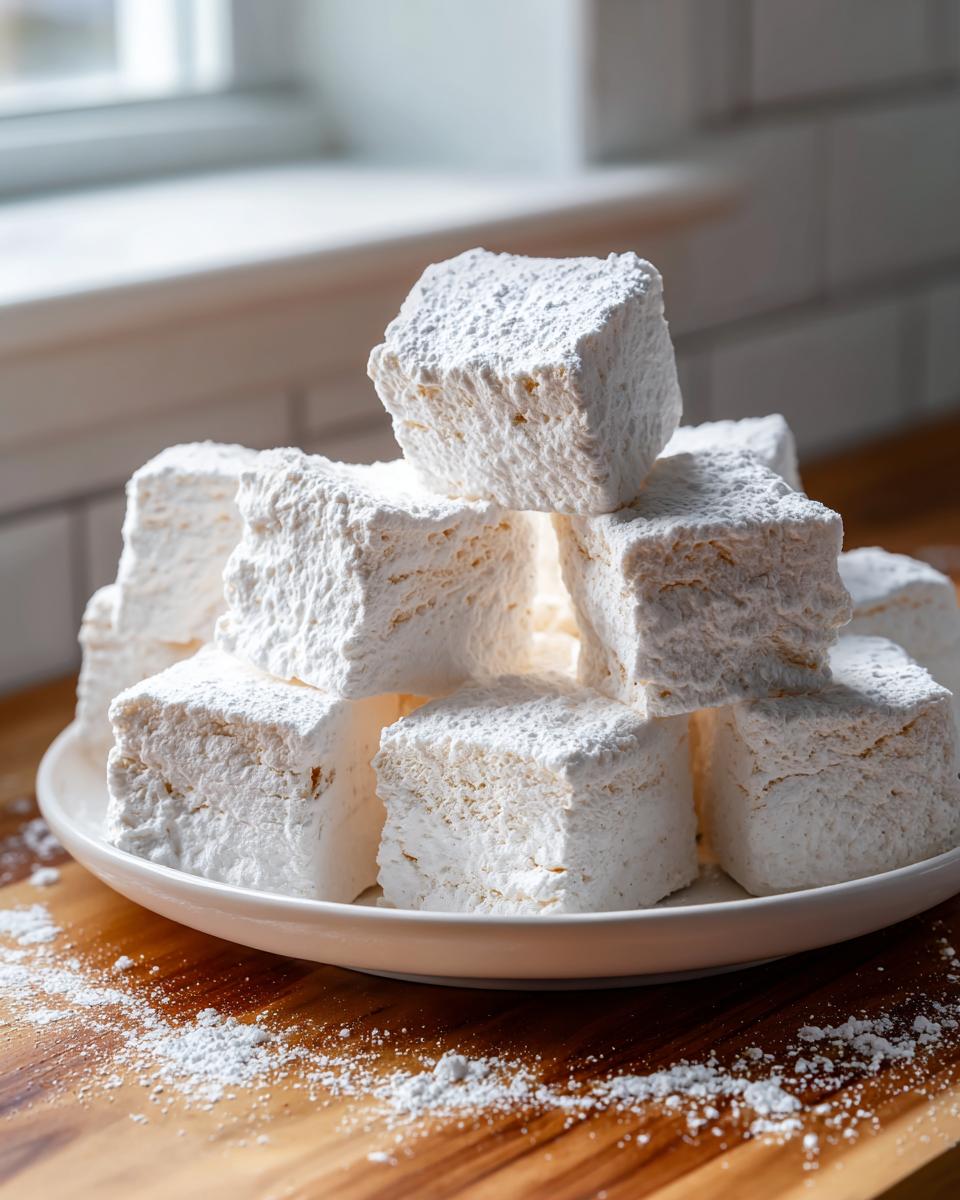
Cutting and Coating Your Homemade Marshmallows
Your patience has paid off! After letting that glorious slab set up, now comes the best part after the whipping, but you have to be strategic when cutting. First, since whatever you cut with will get instantly sticky, oil your knife or pizza cutter lightly. I find a pizza cutter is actually much cleaner than a knife for this job, especially if you want perfect squares.
Remember that sugar and cornstarch dust we made? You’ll need it again! Turn that big marshmallow rectangle out gently onto a board that you’ve dusted again with more of that coating mixture. Use that oiled cutter to score them into squares—it doesn’t matter if they aren’t perfect; they are homemade, after all! Toss all the newly cut sides into the remaining coating mixture. This final step is key to making sure these aren’t one big sticky mess when you store them. If you need help making other sweet treats that travel well, check out my guide on moist pumpkin bread!
If you want these ready fast for a special occasion, I found that cutting them after about two hours works great if you want thick centers for things like s’mores. If you prefer them fully firm, waiting overnight is worth it. You can see how the easiest homemade marshmallows turned out for others here!
Tips for Perfect Homemade Marshmallows Every Time
I know we just walked through the steps, but because this is a semi-scientific process, I wanted to carve out a little space just for troubleshooting. Getting that soft marshmallow texture is all about fighting against nature—and nature usually means humidity! If you follow my technique, you should be golden, but sometimes things need a little nudge.
If you are having any trouble achieving those beautiful, soft marshmallows from scratch, check these common pitfalls. Remember, the goal is soft, bouncy air pockets, not tacky sugar bricks!
Troubleshooting Common Homemade Marshmallows Issues
First off, the mixer. You absolutely need a stand mixer for this, folks. If you try this with a hand mixer, I genuinely feel for you; it won’t whip up long enough to cool properly, and you’ll end up with heavy, dense blobs rather than light fluff. If your mixer seems to be struggling, give it a brief rest, but generally, it needs that full 15 minutes on high to incorporate enough air volume.
The next big enemy is humidity. If it’s raining outside or incredibly humid where you live, your dusting powder (the cornstarch and powdered sugar mix) needs to be applied twice as heavily. If your marshmallows come out of the pan sticky, it’s usually one of two things: either they didn’t set long enough, or the humidity has seeped into the coating. If they feel a little tacky after cutting, just toss them in more powder!
What if the syrup didn’t whip up right? If it looks runny after 15 minutes, the syrup was likely too cool when you started pouring it in. If it whips up but then deflates quickly, the syrup might have been too hot—over 245 degrees Fahrenheit—and damaged the gelatin structure. For other great advice on avoiding kitchen pitfalls, sometimes I check out blogs like the one detailing how to make other homemade marshmallows.
Oh, and if you are looking for ways to jazz up the flavors later—say, you want something that feels a little fancier than basic vanilla—you can check out my recipe for super easy tiramisu for inspiration; sometimes a little complexity is good, but for this base recipe, keep it simple and reliable!
Creative Variations on Homemade Marshmallows
Now that you’ve mastered the absolute foundation—the perfect soft, pillowy vanilla fluff—you might be wondering what’s next. This base marshmallow recipe is so reliable, it practically begs to be customized! It’s so much fun to take the work you put in for these DIY marshmallows and twist the flavor profile just a bit. This is where you go from just making homemade candy to creating truly personalized gifts.
If you’re looking for other fun recipes to try out after this success, I highly recommend checking out my chewy ginger molasses cookies; they pair perfectly with homemade marshmallows for gifting baskets!
Making Vanilla Bean Marshmallows
If you want to immediately elevate these from just great to seriously gourmet—think fancy coffee shop quality—you have to try the vanilla bean version. This is such a simple swap that adds such a huge visual and flavor punch. Remember how I mentioned using pure vanilla extract? Well, for this treat, we’re digging a little deeper!
Instead of just relying on the extract in the last minute of whipping, take one whole vanilla bean pod. Using the back of a small knife, split it right down the middle and scrape out all those beautiful, tiny black seeds. Add those seeds right along with the vanilla extract in the final moments of mixing. Seeing those little specks scattered throughout your finished squares is pure dessert art! It makes them feel ultra special for gifting or just for yourself. You can see the gorgeous results others get when they follow this route over at this vanilla bean marshmallow recipe.
Feeling adventurous? After you’ve mastered the vanilla bean, try adding a quarter teaspoon of pure peppermint extract in the last minute for holiday treats, or swirl in a tablespoon of melted, slightly cooled dark chocolate right after you pour the mixture into the pan for a marbled effect! They all work beautifully!
Serving Suggestions for Your Homemade Sweets
Now you have a whole pan of the softest, chewiest, most incredible homemade marshmallows—what on earth do you do with them all? Well, the answer should be: eat them immediately, of course! But if you manage to resist the urge to sample the whole batch right away, these are so versatile. They truly take any casual treat and make it instantly feel like a gourmet experience. Forget store-bought; these are ready for prime time!
Because we worked so hard to get that lovely, bouncy texture, using them in other recipes is so satisfying. They melt wonderfully, and while you shouldn’t refrigerate them (remember, that ruins the fluffiness!), they are amazing folded into things or toasted to perfection.
If you’re looking for something savory to balance out all this sweetness, you absolutely *must* try my recipe for easy cinnamon sugar pecans. They are addictive and make a great contrast to the sweet marshmallows!
The Best Marshmallows for Hot Chocolate
This is probably my favorite way to use them, especially on a cold weekend afternoon. Store-bought marshmallows just dissolve into a thin, sweet layer, but these marshmallows for hot chocolate hold their shape for a good long time as they melt slowly into the drink. They release that wonderful, pure vanilla flavor as they soften.
I like to cut mine a bit thicker—almost like a cube—before cutting them into squares if I know they are going straight into cocoa. When they sit on top of that hot liquid, they get gloriously gooey on the bottom while the top toasts slightly. They are lighter than air once you start stirring too, creating this lovely, airy foam on top of your drink. It’s seriously cozy comfort food.
Don’t forget that these are also absolutely essential for making the ultimate version of Rice Krispie treats—they melt down so smoothly, giving you a much chewier, better base for those classic bars. And of course, if you’re going camping, you know exactly what these are destined for: s’mores! Toasting them brings out a delightful caramelization you won’t find in the bags from the store.
Storage and Keeping Homemade Marshmallows Fresh
Whew! You did it! You’ve got a whole pan of the fluffiest clouds you’ve ever created, and now the big question is, how do I keep these beauties around long enough to enjoy them? This is the trickiest part, because unlike those stiff, shelf-stable grocery store ones, our homemade marshmallows are packed with moisture and fresh ingredients, and they need gentle handling.
The most important rule, the one I learned the hard way after hiding a batch in the fridge once, is this: do NOT refrigerate them! Putting them in the cold makes them sweat and turn gooey and sticky when you take them out. We worked hard to get that perfect, non-tacky coating, and the fridge will ruin that in no time flat.
Store them at room temperature. That’s it! Find an airtight container—a big Tupperware or a cookie tin works perfectly. If you cut them up and tossed them generously in that cornstarch/powdered sugar mix, they should stay pristine on the counter for a good week, maybe even ten days. They are best in the first three to four days, though, because that fresh, pillowy texture is hard to beat!
If you want to keep them longer than that, or if you’re worried about humidity, you can layer them with parchment paper between the layers inside that airtight container. This just gives them extra surfaces to rest on so they don’t stick together. Honestly, though, they usually disappear before I ever have to worry about long-term storage, especially when I bake up a batch of my super moist pumpkin bread—that’s always the first thing they disappear into!
Treat these like fresh bread or gourmet chocolate, not shelf-stable candy, and they will reward you with perfect texture every single time.
Frequently Asked Questions About Homemade Marshmallows
It’s natural to have questions when you’re stepping into the world of fluffy, homemade candy! I wanted to collect the things people ask me most often about this recipe so you feel totally confident when you’re making your very first batch of soft marshmallows from scratch. If you need help deciding what to make next after these, check out my comforting chicken pot pie casserole recipe—sometimes you need savory after all that sugar!
Can I make homemade marshmallows without a stand mixer?
Oh, honey, you *can*, but I’m going to be honest with you: it’s really tough! The key to those airy, pillowy homemade sweets is whipping them on high speed for about 15 minutes straight until they cool down and triple in volume. If you try this with a hand mixer, you’ll be mixing likely 25 or 30 minutes, and your arm will feel like it’s fallen off. Plus, keeping the speed high enough is hard to maintain manually.
If you absolutely don’t have a stand mixer, a powerful hand mixer is your last resort, but brace yourself for a serious workout. The texture might be slightly denser because you just can’t incorporate the air quite the same way. For this kind of baking, the stand mixer is truly a game-changer.
How long do homemade marshmallows last?
Since these are made with fresh ingredients and don’t have the industrial stabilizers of the store-bought kind, their shelf life is shorter, which is part of what makes them taste so much better! If you store your cut, thoroughly coated squares in a truly airtight container at cool room temperature, they should stay perfectly soft and bouncy for about one to two weeks.
I find they are at their absolute peak texture in the first three days. After that, they might firm up just a tiny bit, but they are still miles better than anything you buy pre-packaged. Just make sure that container is sealed very tightly to keep humidity out!
Are these the best DIY marshmallows for gifting?
Absolutely, yes! These make such wonderful, thoughtful sweet homemade gifts. Because they are so much tastier than anything else out there, people absolutely adore receiving them. To make them look professional, make sure you cut them into uniform squares, and then make sure every single side gets a really good dusting with that powder mix so they don’t stick to the bag or box.
I often layer them in a pretty tin with small squares of parchment paper between each layer to keep them separated. You can even try one of the flavor variations we discussed if you are feeling creative! These DIY marshmallows always disappear first at holiday cookie exchanges, I promise you!
Sharing Your Pillowy Homemade Sweets Experience
Now that you’ve created your own perfect batch of fluffy goodness, I truly want to hear about it! Did they turn out as soft as you hoped? Did the kids go crazy when they saw them? Please leave a rating down below and tell me in the comments how your first experience making homemade marshmallows went!
If you snapped a quick picture of your beautifully dusted squares or your ultimate hot chocolate pairing, feel free to share it! I love seeing your successes. If you’re still hungry for more accessible sweets, my easy blueberry scones are always a big hit!
PrintThe Best, Easiest Homemade Vanilla Marshmallows

Make soft, fluffy homemade marshmallows that taste much better than store-bought versions. This straightforward recipe results in pillowy treats perfect for hot chocolate or s’mores.
- Prep Time: 20 min
- Cook Time: 15 min
- Total Time: 4 hr 50 min
- Yield: About 4 dozen 1x
- Category: Dessert
- Method: Candy Making
- Cuisine: American
- Diet: Vegetarian
Ingredients
- 3 tablespoons unflavored gelatin powder
- 1/2 cup cold water, divided
- 1 1/2 cups granulated sugar
- 1 cup light corn syrup
- 1/2 cup water
- 1/4 teaspoon salt
- 1 teaspoon pure vanilla extract
- 1/2 cup powdered sugar, for dusting
- 1/2 cup cornstarch, for dusting
Instructions
- Lightly grease a 9×13 inch baking pan. In the bowl of a stand mixer, sprinkle the gelatin over 1/2 cup cold water. Let it sit for 10 minutes to bloom.
- While the gelatin blooms, combine the granulated sugar, corn syrup, 1/2 cup water, and salt in a medium saucepan. Stir over medium heat until the sugar dissolves.
- Attach a candy thermometer to the saucepan. Bring the mixture to a boil without stirring. Continue boiling until the syrup reaches 240 degrees Fahrenheit (soft-ball stage).
- Once the syrup reaches 240 degrees Fahrenheit, remove the pan from the heat.
- Turn the stand mixer on low speed. Carefully and slowly pour the hot syrup down the side of the mixing bowl into the bloomed gelatin. Avoid pouring directly onto the whisk attachment.
- Once all the syrup is added, increase the mixer speed to high. Beat for 12 to 15 minutes until the mixture is very thick, glossy, and has cooled down significantly. It should hold stiff peaks.
- Beat in the vanilla extract during the last minute of mixing.
- In a small bowl, whisk together the powdered sugar and cornstarch for dusting. Generously dust the prepared baking pan with the mixture.
- Pour the marshmallow mixture into the prepared pan. Use a lightly oiled spatula to spread it evenly. Dust the top surface generously with more of the powdered sugar and cornstarch mixture.
- Let the marshmallows set uncovered at room temperature for at least 4 hours, or preferably overnight.
- Once set, turn the marshmallow slab out onto a cutting board dusted with more of the coating mixture. Use a sharp, oiled knife or pizza cutter to cut the slab into squares. Toss the cut sides in the remaining coating mixture to prevent sticking.
Notes
- To make these marshmallows for s’mores, cut them into thick squares before they fully set (about 2 hours in).
- If you want vanilla bean marshmallows, scrape the seeds from one vanilla bean pod and add them with the vanilla extract in step 11.
- For easy cleanup, line the pan with parchment paper before dusting with the coating mixture.
Nutrition
- Serving Size: 4 squares
- Calories: 150
- Sugar: 35
- Sodium: 15
- Fat: 0
- Saturated Fat: 0
- Unsaturated Fat: 0
- Trans Fat: 0
- Carbohydrates: 38
- Fiber: 0
- Protein: 2
- Cholesterol: 0