
Oh, when that first real chill hits the air, don’t you just crave something instantly cozy? Forget those thin, watery cups you get from a packet—I’m here to change your winter beverage game forever with what I call the ultimate rich and creamy homemade hot cocoa mix. This dry mix is so simple to whip up, and honestly, it’s become my favorite pantry staple recipes go-to, especially when I need a last-minute food gift recipe. I’m Eleanor Vance, and I founded this space because I trust recipes that work, just like the ones Grandma taught me. This hot cocoa mix is pure, concentrated comfort, ready whenever that craving strikes!
- Why This Homemade Hot Cocoa Mix is Your New Pantry Staple Recipes Favorite
- Gathering Ingredients for Your Rich and Creamy Hot Cocoa Mix
- How to Prepare Your Easy Cocoa Mix Recipe
- Preparing the Perfect Cup of Hot Cocoa Mix
- Storage & Make Ahead Cocoa Mix Shelf Life
- Using Your Hot Cocoa Mix in a Jar for Gifts in a Jar Recipes
- Tips for Success with Your Hot Cocoa Mix
- Frequently Asked Questions About This Hot Cocoa Mix Recipe
- Serving Suggestions for Your Cozy Beverage Ideas
Why This Homemade Hot Cocoa Mix is Your New Pantry Staple Recipes Favorite
Listen, the reason I keep this recipe on repeat all winter long—and why you absolutely should too—boils down to three big things: it’s fast, it tastes incredibly decadent, and it lasts forever in the pantry. You won’t believe this is a Make Ahead Cocoa Mix! The best part? We can totally skip that weird, chalky powdered milk most store brands use. That means this base formula is fantastic for dairy-free folks or anyone who just wants pure chocolate goodness.
- It’s ready in under 5 minutes of active work. Seriously, you can’t beat that speed for a cozy beverage.
- It stores beautifully in an airtight jar for up to a year—true Pantry Staple Recipes material!
- The flavor is deep, dark, and satisfying; way beyond what you get in those little paper packets.
Achieving Rich Chocolate Flavor with This Hot Cocoa Mix
Store-bought mixes rely on fillers, but we are hitting this head-on with high-quality unsweetened cocoa powder. When you combine good cocoa with that rich brown sugar vibe in the main recipe, you create a true Rich Chocolate Mix. It delivers that intense, almost bitter-sweet chocolate punch that makes you close your eyes while sipping.
Make Ahead Cocoa Mix for Instant Comfort
This is where the convenience really kicks in. Once you dedicate five minutes to whisking these ingredients together, you have instant comfort locked away. Whether you need a quick warm-up after coming in from the cold or just decided at 9 PM you absolutely need hot chocolate, this Make Ahead Cocoa Mix means zero fuss. Just scoop and heat!
Gathering Ingredients for Your Rich and Creamy Hot Cocoa Mix
Okay, let’s talk about what goes into this magic powder! The best part about making your own Homemade Hot Cocoa Mix is that you likely have everything sitting in your pantry right now. We aren’t messing around with thirty different specialty items here; this is good, basic, straightforward comfort food preparation. Trust me, using standard, honest measurements lets the quality of the chocolate really shine through.
Ingredient Notes and Hot Cocoa Without Milk Powder Option
When you grab your cocoa powder, I highly recommend the Dutch-process kind if you can find it. It gives you that super dark, almost black color and a smoother, less acidic taste that I love for my Old Fashioned Hot Cocoa. Now, about options: the powdered milk is totally optional. If you omit it—and many people do for a pure chocolate experience—that’s perfectly fine! To keep it creamy, though, toss in just a tiny bit of cornstarch. It’s our little secret ingredient for that velvety mouthfeel, answering that big question about Hot Cocoa Without Milk Powder.
How to Prepare Your Easy Cocoa Mix Recipe
Getting this Easy Cocoa Mix Recipe ready takes virtually no time, but we need to be intentional about the mixing. Remember, the end goal is a perfect, lump-free beverage every time, so don’t rush the whisking step! First, get all your dry ingredients together—the sugar, the cocoa, the salt, and those optional creaminess boosters. Dump them all into a nice big bowl. This is the base of your beautiful Homemade Hot Cocoa Mix.
Now, you need to whisk until you think you can’t whisk anymore! Seriously, keep going until you can’t see any streaks of pure sugar or pockets of dry cocoa powder. It takes a good minute or two to truly incorporate everything completely. If you are really serious about ultra-smooth results, here’s my secret little professional nudge: transfer the whole batch to a food processor and pulse it just two or three times. You don’t want to blend it long enough to create friction heat—we just want the blades to polish those dry granules down until they are silky.
The Best Hot Chocolate Mix: Blending for Uniformity
Thorough blending is what separates a great DIY Hot Chocolate Powder from a mediocre one. If you have clumps when you go to mix a cup, you end up with little sugar rocks at the bottom of your mug, and nobody wants that! Use a good balloon whisk to incorporate air while you break up clumps. We are aiming for the single most uniform, finely textured powder possible before we seal this up. That perfect marriage of all the dry components guarantees you get the signature taste of the Best Hot Chocolate Mix every single time you use it.
Once you’re satisfied everything is perfectly combined and you can’t find a single lump, scoop your finished powder into your designated airtight storage jar. Easy peasy lemon squeezy!
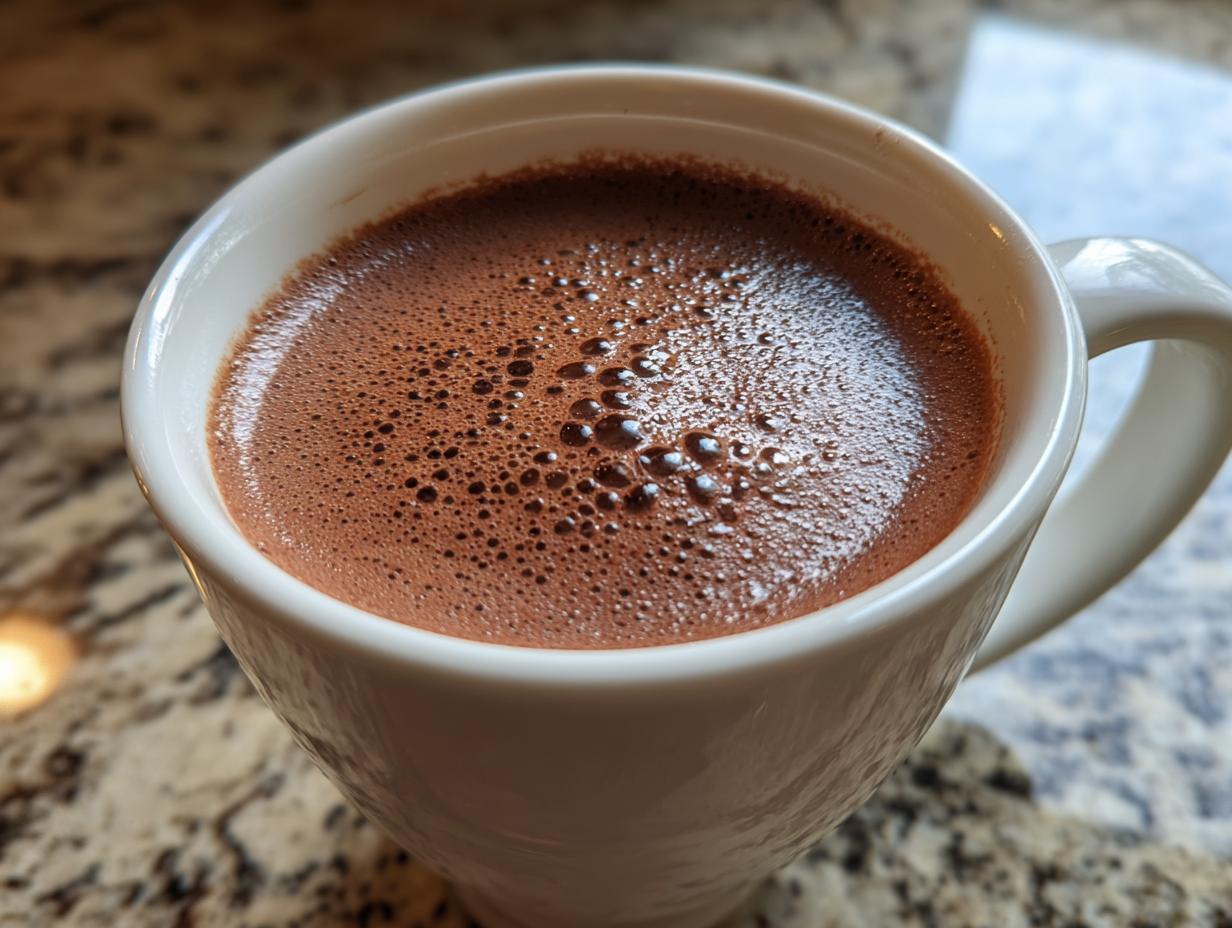
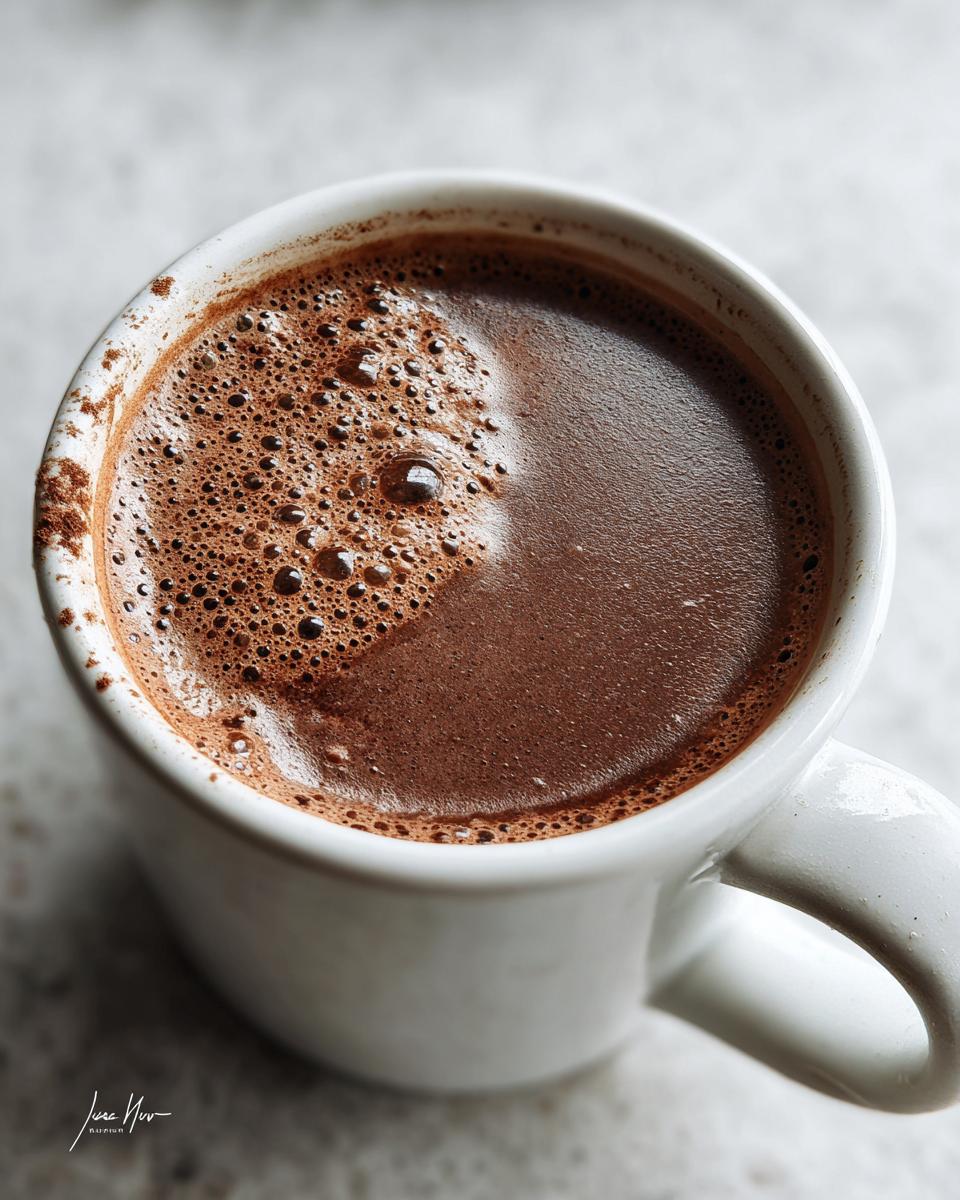
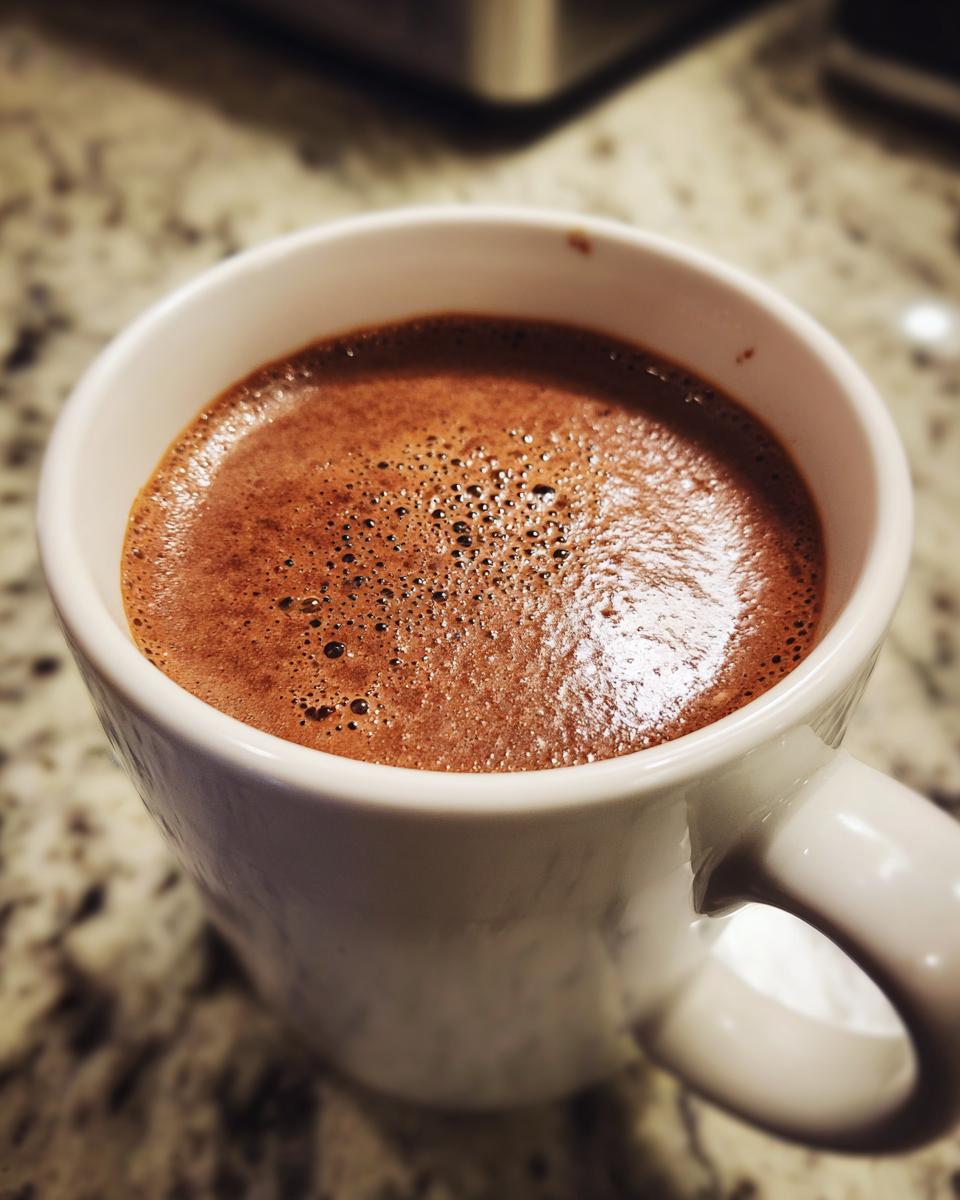
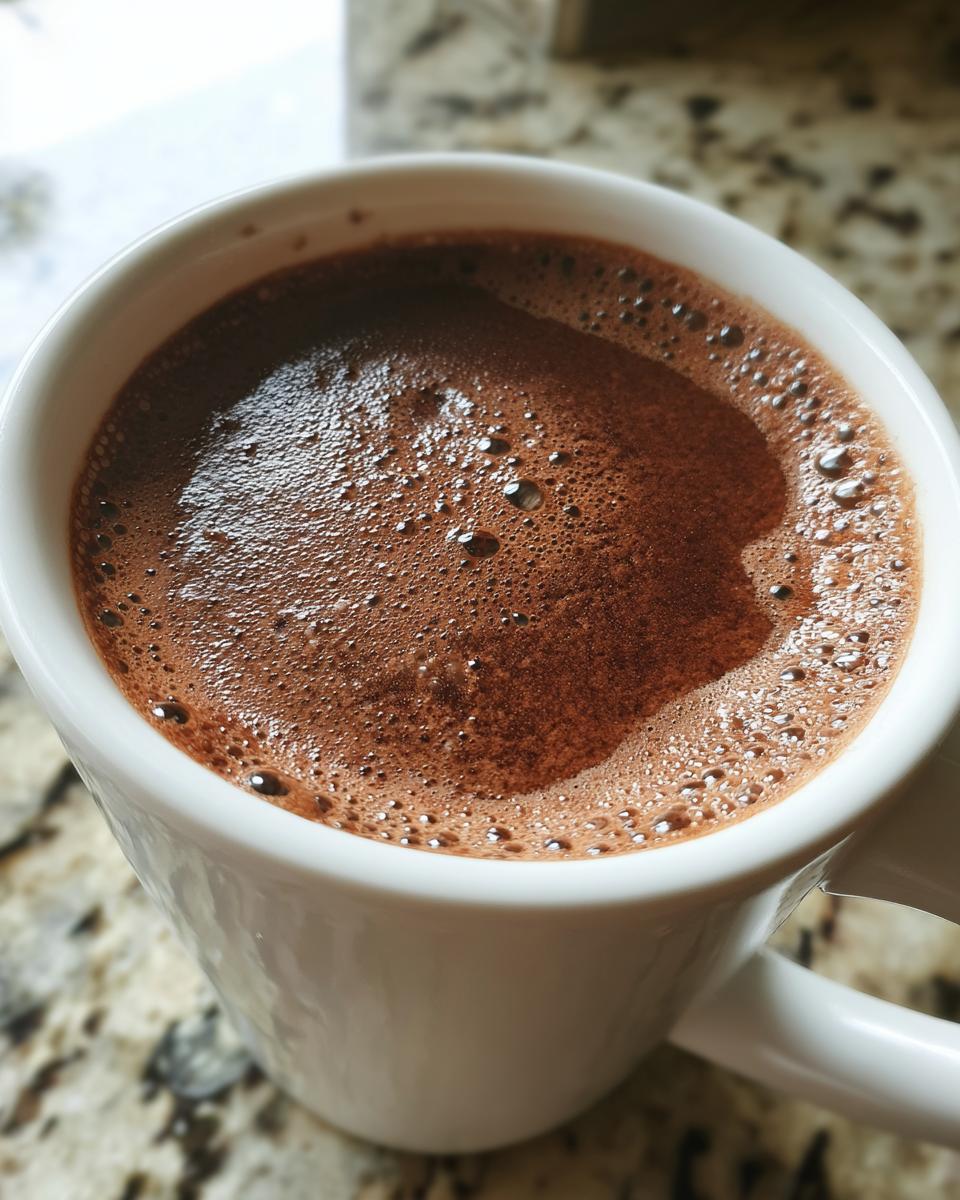
Preparing the Perfect Cup of Hot Cocoa Mix
Now that you have this beautiful, rich powder ready to go, the moment of truth arrives! Making the actual drink is honestly quicker than finding a packet in the back of the cupboard. For one perfect, cozy mug, grab about 3 to 4 tablespoons of your homemade mix. Now, here’s the important bit for achieving that glorious, velvety texture: the liquid choice matters!
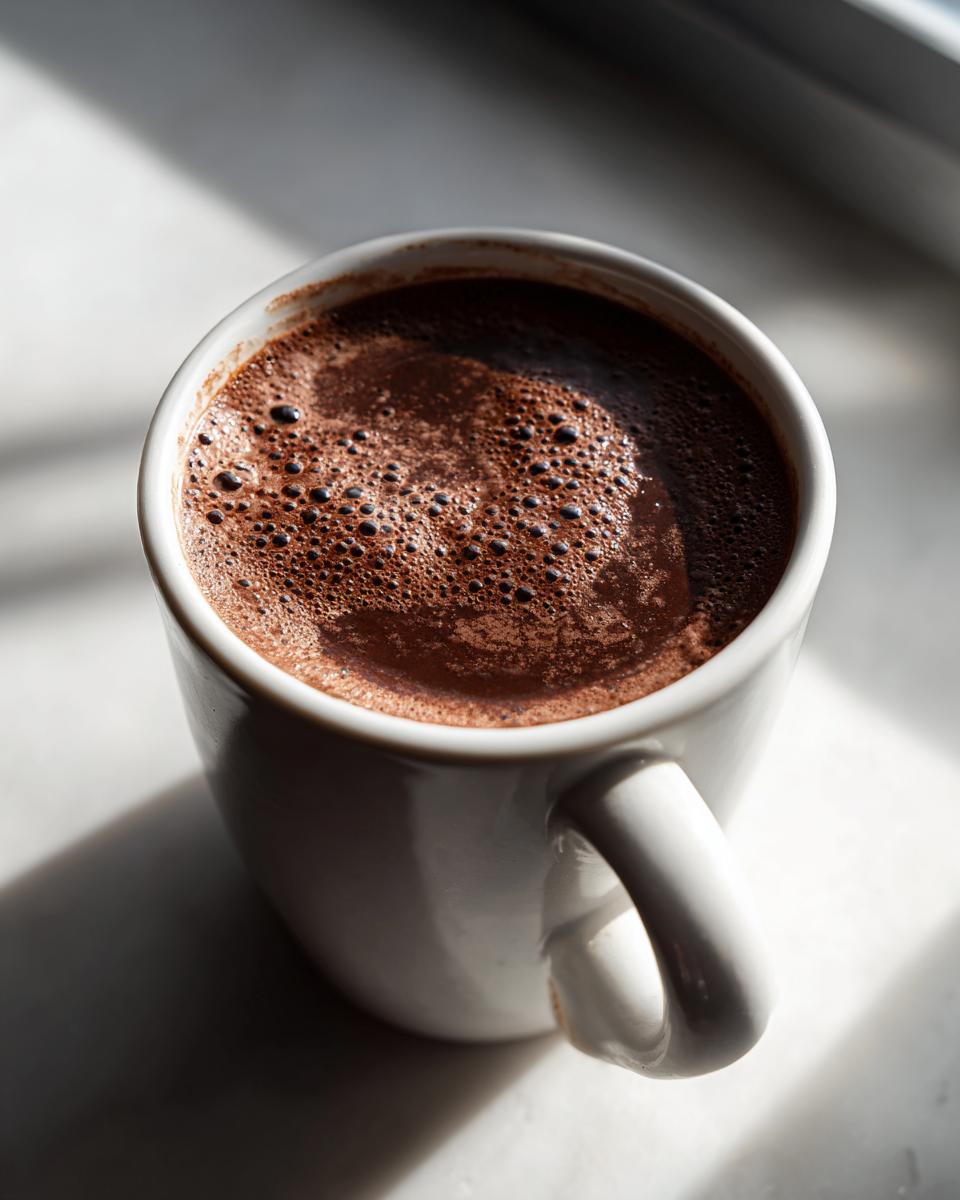
If you use just hot water—maybe you’re keeping things non-dairy or just being quick—it will taste like wonderful, intense hot chocolate. But if you want that truly luxurious experience that screams Creamy Hot Cocoa, you absolutely need to use hot milk. Whole milk works best, but whatever you have on hand brings so much richness to the final cup.
Simply put your 3 or 4 tablespoons of mix into your mug first. Then, pour about a cup of your hot liquid over the powder. Whisk it enthusiastically! You need that whisking action to make sure every last bit of that fine powder dissolves smoothly. If you don’t whisk well, you might end up with a little chocolate sludge at the bottom. Give it a good 30 seconds of stirring, and then you are good to go enjoy a really satisfying cup of winter warmth!
Storage & Make Ahead Cocoa Mix Shelf Life
One of the fantastic things about having this Homemade Dry Mix is its staying power! Unlike those little packets that go stale just sitting in the drawer, this recipe is built to last. You need to store your finished cocoa mix in a genuinely airtight container. I prefer glass jars with those clamp-down lids—they just seal better than anything else you’ve got.
Keep that jar tucked away somewhere cool and dry, like your pantry or a dark cupboard. Don’t stick it in the fridge or freezer; honestly, you don’t need to mess with the dryness we worked so hard to achieve. Because we are using powdered sugar and dry ingredients, this mixture stays perfectly fresh for ages. I am always amazed that this simple combination keeps so well! You can confidently rely on this for a great cup of cocoa for up to a full year.
That means you’re never more than five minutes away from a decadent drink, which is why this has earned its permanent spot as my favorite go-to Make Ahead Cocoa Mix. It’s just one less thing to worry about when winter weather hits hard!
Using Your Hot Cocoa Mix in a Jar for Gifts in a Jar Recipes
Okay, I have to tell you, this recipe is my absolute secret weapon when the holidays roll around, or when I just want to give a thoughtful little something without breaking the bank. This hot cocoa mix is just begging to be packaged up for a Hot Cocoa Mix in a Jar! Seriously, presentation makes this humble dry mix feel like a gourmet present.
The goal here is to make it look as cozy and inviting as the drink tastes. Grab some nice, sturdy mason jars—the half-pint or pint size is perfect for a batch of this size. Fill them up, leaving about an inch or two of headspace at the top. Do not forget to layer on the aesthetic elements!
Tie a piece of gingham ribbon or some rustic twine around the lid. If you’re feeling ambitious, print out a little color label that says “Rich & Creamy Hot Cocoa Mix” and glue it onto the side. I love giving these to my son’s teachers during the winter break—it’s always such a hit! It’s a wonderful way to share something homemade for Holiday Food Gifts because you know they’ll actually use it.
You can even layer in some fun extras right on top of the powder before closing the lid, if you want to go all out for those Gifts in a Jar Recipes! Think beautiful, colorful mini marshmallows or a little handful of good quality chocolate chips layered right on top. Just seal it tight so everything stays fresh! Gifting this mix means you’re gifting warmth and comfort, and what’s better than that?
Tips for Success with Your Hot Cocoa Mix
Even though this is the easiest recipe you’ll ever make, a few little tricks from my kitchen can elevate this simple dry mix into something truly spectacular. Think of these as the tips that turn a good cup of cocoa into one of those dreamy, sip-slowly-by-the-fire moments. It all comes down to the quality of what you put in and how you treat it when you mix it up.
First, let’s loop back to the cocoa. If you use a low-quality, standard cocoa powder, your final drink will taste weak and flat. Trust me on this one: Spring for the good stuff, especially that Dutch-process cocoa I mentioned earlier. It dissolves better, it has a smoother, deeper chocolate flavor, and it gives you that beautiful dark color we associate with truly rich chocolate. It’s worth the extra dollar or two, because this batch lasts so long!
When you are mixing things up, especially if you skipped the food processor step, you absolutely must whisk until your arm gets tired—and then whisk for 30 more seconds! We are aiming for perfect dissolution later, and if the sugar and cocoa aren’t finely married now, they won’t dissolve nicely when they hit that hot milk. This thorough blending is your insurance policy for a smooth drink.
Finally, sweetness is personal, right? This recipe hits a fantastic baseline sweetness, but if you prefer something less sweet—remember, this is a Homemade Hot Cocoa Mix, not a candy bar—simply drop the powdered sugar down by a quarter cup when you first make the big batch. Then, when you serve it, you have the control to add a tiny bit more sugar to your mug if you need it. I always recommend adjusting the sweetness in the moment rather than locking it into the entire bulk mix.
Frequently Asked Questions About This Hot Cocoa Mix Recipe
I always get a few questions when people try this mix for the first time, which is normal when you switch over from those dusty old boxes! Don’t you worry, though; I’ve gathered the most common ones right here so you can feel totally confident whipping up a big batch of this fantastic dry mix.
Can I make this hot cocoa mix without any dairy at all?
Absolutely, yes! That powdered milk we listed in the ingredients is marked as optional for a reason. If you just skip adding it altogether when you mix up your batch, you are left with a wonderful, rich base made of just cocoa, sugar, and salt. This becomes the perfect foundation for any non-dairy milk you want to use! I love using oat milk or almond milk poured over the mix—it foams up beautifully and keeps that deep chocolate flavor front and center. So yes, omitting the milk powder makes this mix entirely dairy-free ready.
How much of this DIY Hot Chocolate Powder should I use per mug?
This is where you get to tailor the mug to your own chocolate happiness! I recommend starting with 3 level tablespoons of your DIY Hot Chocolate Powder for every one cup (around 8 ounces) of hot liquid you use. That gives you a really robust, comforting flavor. If you like it super dark and intense, bump that up to 4 full tablespoons. My advice is always to start small, whisk well, then taste it before you add extra sugar. That way, you control the intensity!
What makes this Old Fashioned Hot Cocoa mix so creamy?
That silkiness is such a huge improvement over those thin, watery drinks you get from the store! We have two main things doing the heavy lifting here for that Old Fashioned Hot Cocoa texture without relying on powdered milk. First, using very finely ground powdered sugar helps immensely because it dissolves so much easier than granulated sugar. Second, the secret helper is that optional cornstarch. Just a teaspoon mixed into the whole batch acts as a natural thickener. When you whisk it with that hot milk, it just coats the tongue and gives you that satisfying, velvety feel that coats your mouth perfectly!
Serving Suggestions for Your Cozy Beverage Ideas
Now that you’ve got the best chocolate base possible, it’s time to treat yourself! Honestly, serving up this homemade mix is half the fun. This rich powder stands up perfectly to decadent toppings, making it the ultimate addition to your lineup of Cozy Beverage Ideas. Don’t just stop at hot milk; we are making an event out of this mug!
My family insists on whipped cream. Don’t settle for the can either, though that’s fine in a pinch! Homemade whipped cream has a better texture, and a dollop of that melting cream over the dark chocolate is just heaven. If you want to get festive, especially around the holidays, grab some little peppermint pretzel sticks or crushed candy canes. A quick stir with a peppermint stick turns your basic cocoa into a wonderful, minty explosion—a definite favorite in our collection of Winter Drink Recipes.
For pairings, this rich flavor works beautifully with something slightly savory or salty to cut through the sweetness. Try dipping shortbread cookies or those crisp, plain wafer cookies right into your mug. Or, if you’re feeling really indulgent, melt a few extra chocolate chips right into the bottom of the mug before you pour your cocoa over them. It guarantees an extra layer of melted goodness in every sip. Enjoy building the perfect winter warmer!
PrintRich and Creamy Homemade Hot Cocoa Mix (No Powdered Milk Option)

Make this easy homemade hot cocoa mix with simple pantry ingredients for a rich, chocolatey drink. This dry mix stores well and is perfect for quick, cozy mugs anytime.
- Prep Time: 5 min
- Cook Time: 0 min
- Total Time: 5 min
- Yield: About 3 cups of mix 1x
- Category: Beverage
- Method: Mixing
- Cuisine: American
- Diet: Vegetarian
Ingredients
- 2 cups powdered sugar
- 3/4 cup unsweetened cocoa powder (use Dutch-process for darker color)
- 1/2 teaspoon salt
- 1/2 cup powdered non-fat milk (optional, omit for dairy-free/no milk powder version)
- 1 teaspoon cornstarch (optional, for extra creaminess)
Instructions
- Gather all your dry ingredients: powdered sugar, cocoa powder, salt, and optional powdered milk and cornstarch.
- Place all ingredients into a large bowl.
- Whisk the ingredients together thoroughly until the mixture is uniform in color and texture. Ensure there are no lumps of cocoa powder or sugar.
- For the smoothest result, pulse the mixture a few times in a food processor or blender, being careful not to over-process.
- Transfer the finished hot cocoa mix to an airtight container for storage.
- To prepare, mix 3 to 4 tablespoons of the dry mix with 1 cup of hot milk or hot water. Whisk until fully dissolved and serve immediately.
Notes
- For a richer, creamier drink without powdered milk, add 1 teaspoon of cornstarch to the dry mix. This helps create a smoother texture when mixed with hot liquid.
- Store this dry mix in an airtight container at room temperature for up to one year.
- Package this mix in mason jars with a ribbon for easy holiday food gifts.
- To make a single serving, use 3 tablespoons of mix per 1 cup of hot liquid. Adjust to your taste preference.
Nutrition
- Serving Size: 4 tbsp mix
- Calories: 140
- Sugar: 28g
- Sodium: 50mg
- Fat: 2g
- Saturated Fat: 1g
- Unsaturated Fat: 1g
- Trans Fat: 0g
- Carbohydrates: 30g
- Fiber: 2g
- Protein: 2g
- Cholesterol: 0mg