
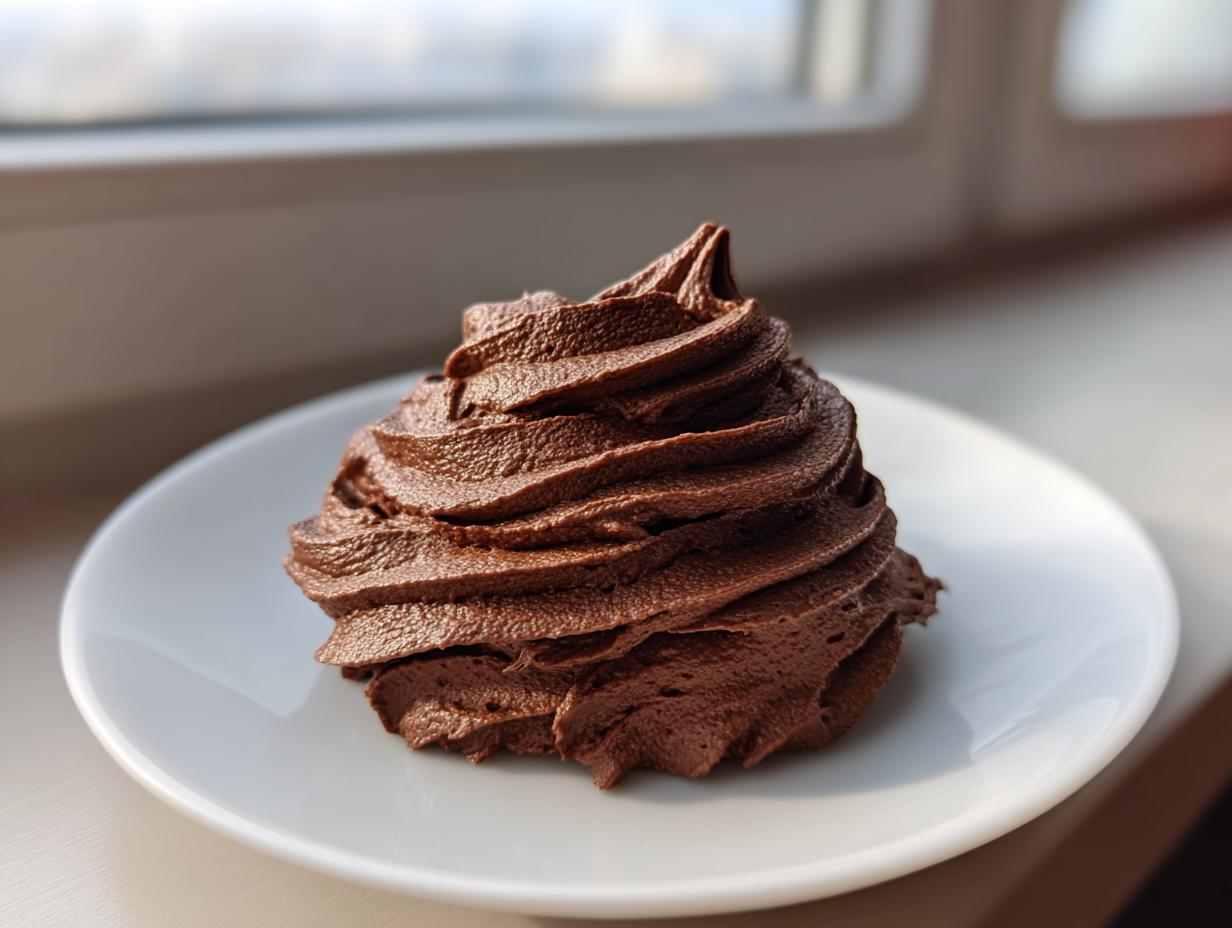
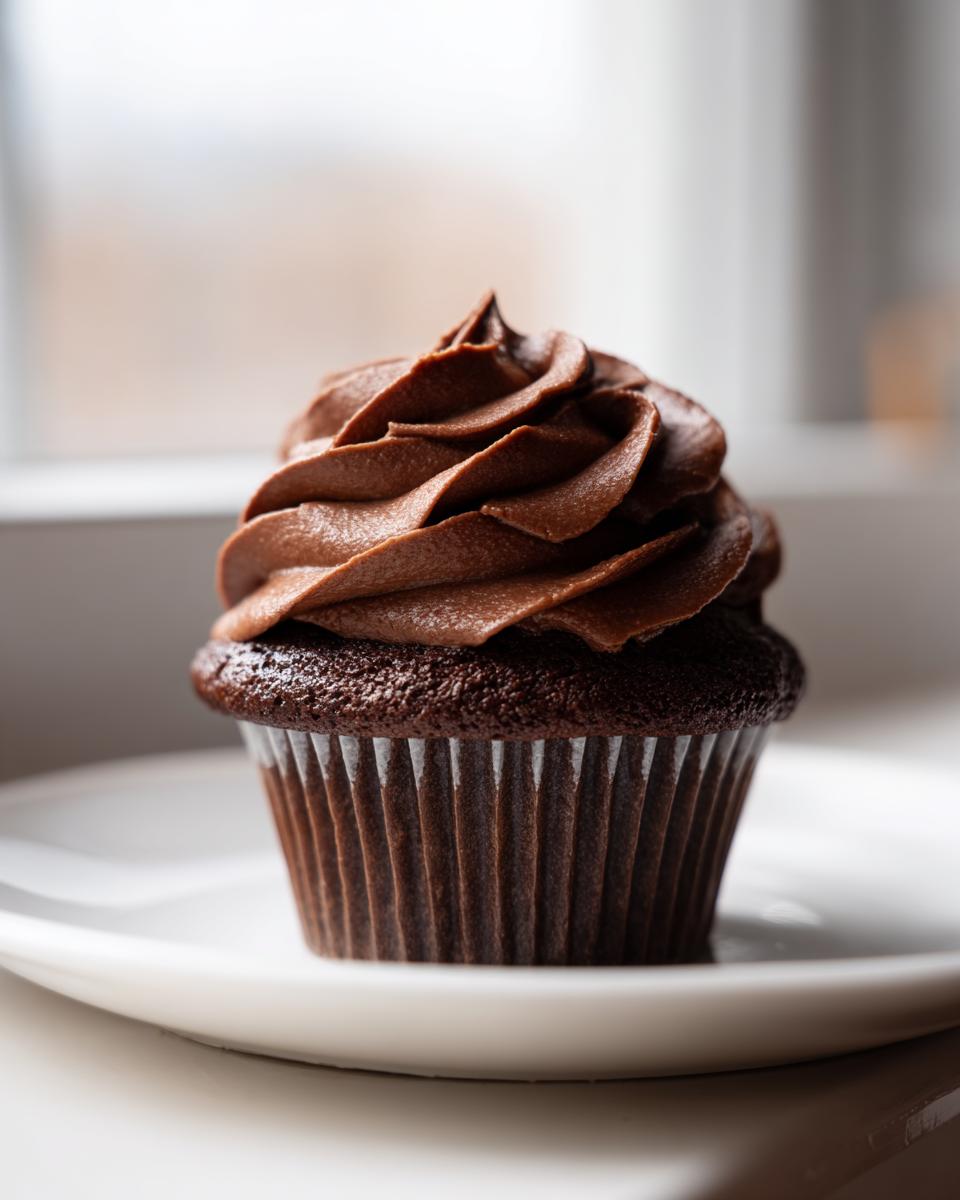
Oh, the quest for the perfect frosting! We’ve all been there, right? You just finished baking the dreamiest chocolate cake, but the frosting feels heavy, almost like a dense chocolate cement sitting on top. That’s just not right! We want clouds of flavor, not chunks of sugar. That’s why I am so thrilled to share this absolute winner: my guide to making the most incredible whipped chocolate buttercream frosting you’ve ever tasted. This recipe focuses purely on achieving that light, airy texture—you get all the deep, rich chocolate flavor you crave, but it melts beautifully in your mouth. Trust me, this technique is going to change the way you decorate forever!
- Why This Whipped Chocolate Buttercream Frosting Is Your New Go-To (Secondary Keyword Focus)
- Gathering Ingredients for Rich Chocolate Frosting Recipe
- Step-by-Step Guide to Making **Whipped Chocolate Buttercream Frosting**
- Tips for Perfect Whipped Chocolate Buttercream Frosting Consistency
- Storage and Serving Suggestions for Homemade Chocolate Buttercream
- Frequently Asked Questions About Whipped Chocolate Buttercream Frosting
- Estimated Nutritional Data for **Whipped Chocolate Buttercream Frosting**
- Share Your **Whipped Chocolate Buttercream Frosting** Creations
Why This Whipped Chocolate Buttercream Frosting Is Your New Go-To (Secondary Keyword Focus)
Honestly, this frosting is a game-changer on our family table. It solves that age-old problem where you want intense chocolate but hate that heavy, greasy mouthfeel that sometimes comes with standard recipes. This one delivers pure lightness. If you’re looking for the best fluffy chocolate buttercream, you’ve found it. And since it’s only a mixing recipe, you can have it ready faster than you can clean up the counter!
- It’s shockingly light, almost cloud-like, despite containing real butter and chocolate.
- The rich flavor rivals anything you’d buy pre-made.
- It holds its shape beautifully for spreading and decorating.
If you’re pairing this with our favorite chocolate layer cake, you can find that recipe right here: Moist Chocolate Cake Recipe.
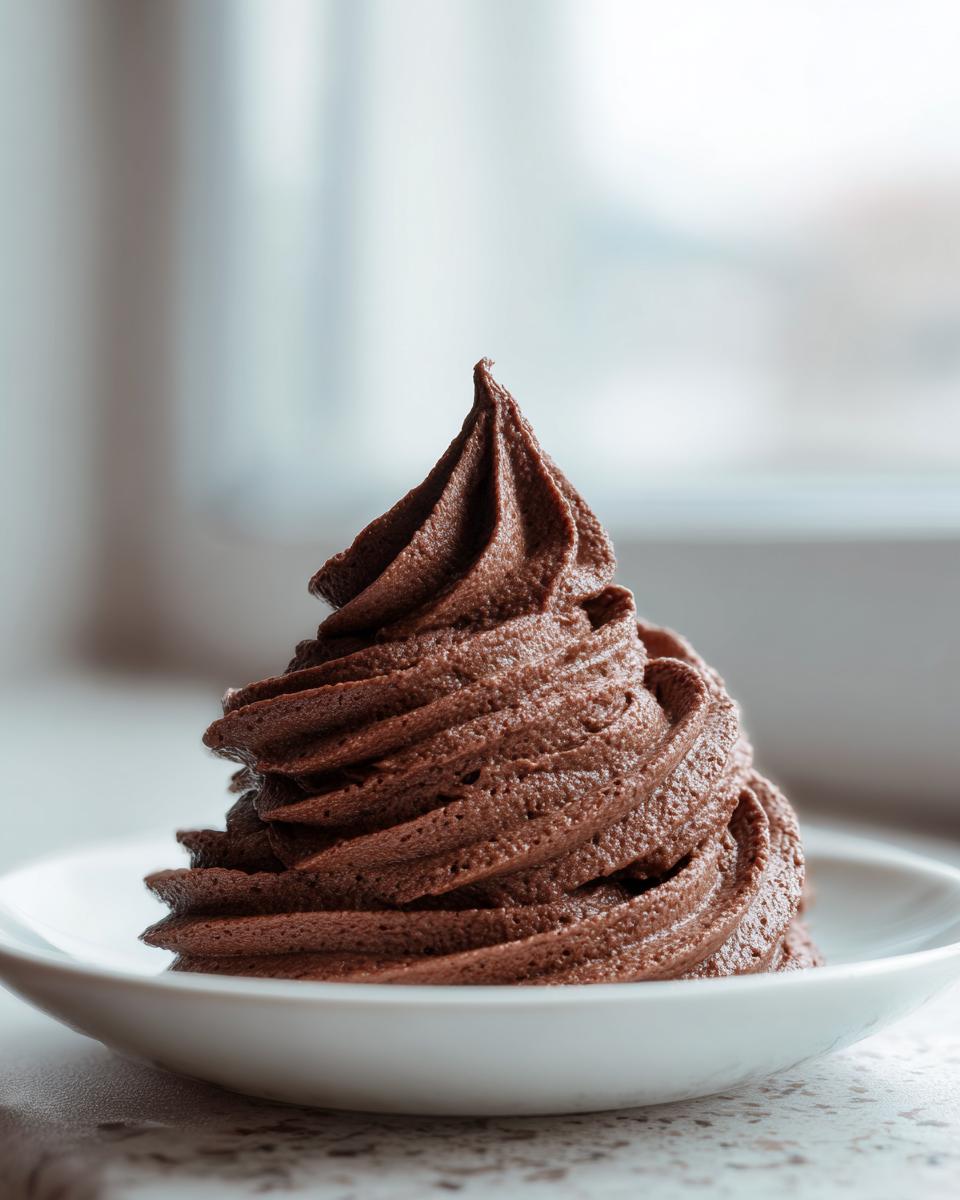
Achieving that Airy Chocolate Frosting Tutorial Texture
The secret to making it feel so light isn’t magic; it’s just air! When we spend enough time whipping the mixture—especially after the wet ingredients go in—we are physically forcing tiny air bubbles into the fat and sugar structure. That extra whipping time is what transforms standard, heavy buttercream into something truly spectacular and airy. It’s this step where we build the whole structure of our easy chocolate frosting recipe!
Gathering Ingredients for Rich Chocolate Frosting Recipe
When we are going for that deep, satisfying cocoa flavor, we absolutely cannot skimp on the quality of our core ingredients. Remember, this is a **rich chocolate frosting recipe**, and richness comes from good fats and real, quality cocoa. Don’t try to sneak in substitutes here, or you’ll lose the depth we worked so hard to create!
When gathering everything, please pay attention to my notes, especially regarding temperature. We are working with delicate emulsions here, and timing matters! If you need an amazing topping to drizzle over ice cream or use alongside this frosting, check out my Simple Homemade Chocolate Sauce.
Here is what you’ll need on your counter:
- 1 cup (2 sticks) unsalted butter, softened
- 3 1/2 cups powdered sugar, sifted
- 1/2 cup unsweetened cocoa powder, sifted
- 1 teaspoon vanilla extract
- 1/4 teaspoon salt
- 3 to 5 tablespoons heavy cream
- 2 ounces bittersweet chocolate, melted and cooled slightly
Step-by-Step Guide to Making **Whipped Chocolate Buttercream Frosting**
Okay, time to roll up our sleeves! I promise this is going to be fast, which is why it’s such an **easy chocolate frosting recipe**. We’re going to follow the steps precisely, especially when it comes to the mixing times because that’s where the air gets trapped inside. I’ve paired this recipe with my favorite chocolate cake, which you can find here, if you need a perfect base!
Just follow my lead here, and we’ll have fluffy chocolate perfection in under 15 minutes.
The Importance of Butter Temperature and Sifting for **Fluffy Chocolate Buttercream**
Step one is all about setting the foundation smooth. Get your softened butter—and I mean truly room temperature soft, not melted mushy!—into the bowl. Beat it alone for a good two minutes until it looks creamy and pale. This makes sure it has no lumps before we even think about adding sugar. Next, you absolutely must sift! Sifting your powdered sugar and cocoa powder does two things: it gets rid of any hard, stubborn little lumps, and it incorporates a tiny bit of air right from the start. Add those dry ingredients slowly to the butter mixture while the mixer is on low. We mix just until they combine before moving on. If you skip the sifting, you’ll end up with tiny gritty pockets in your finished frosting, and trust me, nobody wants that.
Whipping Time: Key to **Light Whipped Cocoa Frosting**
Now things get exciting! Stir in your vanilla and salt quickly. Then, turn your mixer up to medium-high and beat it for three full minutes *before* adding any liquid. Watch how it gains a lighter color—that’s air coming in! After that, drizzle in just 3 tablespoons of heavy cream and that lovely cooled melted chocolate. Then comes the most important part for our **light whipped cocoa frosting**: turn the mixer up to high speed and let it run for a full 4 to 5 minutes straight. This extended whipping time is what transforms the texture from heavy buttercream into something genuinely airy and fluffy. Resist the urge to stop early—give it those full minutes to incorporate the maximum amount of air!
Tips for Perfect Whipped Chocolate Buttercream Frosting Consistency
This is where our friendship in the kitchen really matters. Even when following the recipe perfectly, sometimes the humidity or the temperature of your kitchen throws things off just a touch! The most important thing to remember is to never add hot ingredients. If that bittersweet chocolate you melted is still warm when you pour it in, say goodbye—it will immediately melt your beautiful, aerated butter, and you’ll end up with sloppy, oily frosting. Always let it cool until it’s just slightly warm to the touch before adding it in step four!
If you find your finished frosting is too stiff to spread nicely (maybe your butter was a tiny bit too cold), don’t panic! Just add that last tablespoon or two of heavy cream, beating it in a tablespoon at a time, and watch it soften right up. If it’s too soft or starts getting greasy, the answer is counterintuitive: whip it more! Continuing to beat it on high speed incorporates more air, which tightens the structure and usually fixes any greasiness. For firmer finishes, you can always add a little extra sifted powdered sugar, but go slowly.
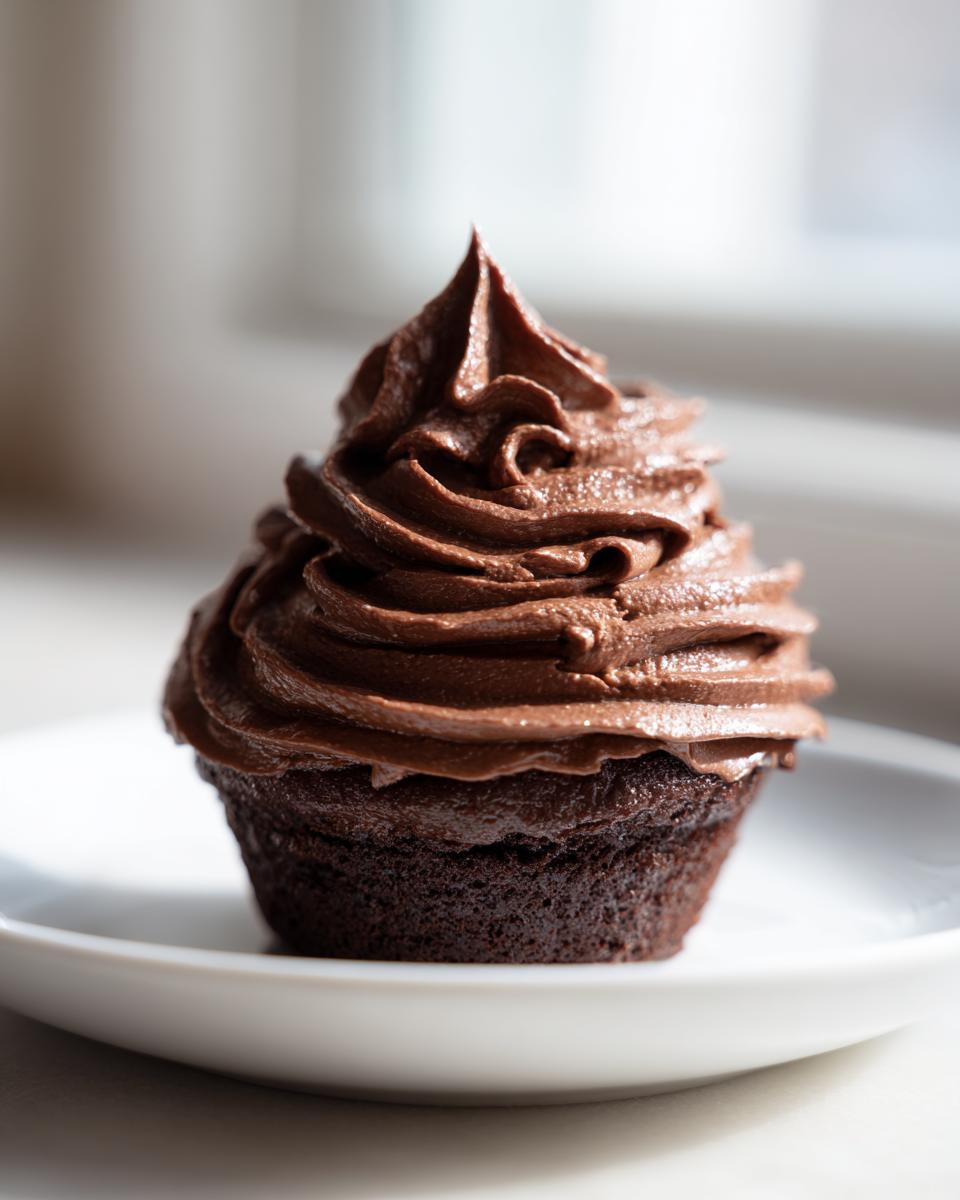
Making Best Chocolate Frosting for Piping
Because we spent so much time whipping all that air in, we end up with a **best chocolate frosting for piping** that is sturdy enough for beautiful rosettes, but still tastes miles better than shortening-based alternatives! If you are filling a piping bag and the frosting looks a little slack on the sides of the bowl, that means it needs more time on high speed; you want it stiff enough that it leaves definite peaks when you lift the beater. If you’ve hit that perfect 4-5 minute mark and it’s still too soft to hold a sharp edge, add about a quarter cup more powdered sugar to help firm it up before returning to the high-speed whip. Always check your consistency before you load up that tip! If you enjoy testing out different toppings, you have to try this perfect cream cheese frosting next time you make vanilla cake.
Storage and Serving Suggestions for Homemade Chocolate Buttercream
Now that you’ve conquered this amazing homemade chocolate buttercream, you need to know how to keep it perfect! If you plan to use it within a day or two, leaving it covered tightly on the counter is usually fine. But if you need to chill any leftovers—maybe you made a double batch because you knew you would want midnight snacks—store it in an airtight container in the fridge. Don’t worry if it seems hard as a rock when you pull it out!
When you are ready to frost again, let it sit out on the counter for about an hour until it softens up a bit. Then, pop it back into your mixer for just 30 seconds on low speed, whisking it around to reincorporate any moisture that pulled away. That’s it; it’s renewed! This frosting is wonderful spread thickly over any cake, but I especially love using it as a rich, fluffy filling between sandwich cookies or sandwiched between those gorgeous strawberry cupcakes we made last spring. You can check out that recipe for inspiration!
Frequently Asked Questions About Whipped Chocolate Buttercream Frosting
I know when you’re about to bake, you always have a million little questions floating around! That’s totally normal; that’s how we avoid baking disasters, right? I put together some of the things I get asked most often about this recipe. If you end up needing a nice icing for cookies that hardens up a little better than this fluffy stuff, you might want to look at my recipe for Easy Cookie Icing.
Can I use this **Buttercream Alternative Chocolate**?
That is a great question, especially if you’re trying to keep things shelf-stable or maybe you’re out of butter! You absolutely can use vegetable shortening as a **buttercream alternative chocolate**. The texture you will get, though, is different. Butter gives us that incredible, rich, creamy flavor that melts perfectly in your mouth. Using shortening will make the frosting a bit firmer and more stable, which can be great if you live somewhere really hot, but you’ll definitely sacrifice some of that deep dairy richness. I always vote for butter first, but shortening is a solid substitute in a pinch!
How to make **how to make chocolate frosting lighter** using this method?
Well, the good news is that you’re already using the best method for this! The reason we call it **whipped chocolate buttercream frosting** is because the extended whipping time is specifically the technique to master **how to make chocolate frosting lighter**. Unlike standard buttercream that just gets mixed until combined, we are beating ours on high speed for a full 4 to 5 minutes near the end. This forces a huge volume of air into the mixture, decreasing the density dramatically. Plus, the heavy cream we add helps keep that airy structure locked in, which is why this frosting feels so delicate!
What if my frosting looks grainy after I add the sugar?
Graininess almost always means your powdered sugar wasn’t sifted well enough, or sometimes if your butter wasn’t quite soft enough when you started creaming it. If you catch it right after adding the sugar and cocoa, try adding just one more tablespoon of cream and beating it on high speed for another minute. That extra moisture and whipping action sometimes dissolves those tiny sugar particles right into the fat. If it’s still gritty after that, you might have to accept it and move on, but next time, please trust me and sift that sugar!
How soon should I use the melted chocolate?
This is a huge one for achieving that fluffy chocolate buttercream texture! Your bittersweet chocolate has to be melted and then allowed to cool slightly before you add it! If it’s too hot, even slightly, it will instantly melt the cold butter you just spent ages creaming into a fluffy state. You want it to be just barely warm, or even room temperature, when you pour it in with the cream. It adds flavor and color without destroying the airy structure we worked so hard to build.
Estimated Nutritional Data for **Whipped Chocolate Buttercream Frosting**
You know, I always find the nutritional information fascinating, but I’m the first person to admit that when a frosting tastes this good, I probably try not to think about it too much while I’m eating it! These figures aren’t from a certified lab, of course—they are standard estimates based on the high-quality ingredients we used. So please take them as a general guideline, not a strict guarantee.
When we used 2 sticks of butter, 3 1/2 cups of powdered sugar, and the chocolate, this recipe easily yields about 3 cups of frosting. If we divide that into a serving size of 1/4 cup, here is what the numbers generally look like:
- Serving Size: 1/4 cup
- Calories: 350 (Yes, that’s a decadent serving, but it’s worth it!)
- Fat: 23g (A good portion coming from that beautiful, rich butter)
- Saturated Fat: 14g
- Carbohydrates: 37g
- Sugar: 38g (This is where most of those carbs come from, naturally!)
- Protein: 3g
- Cholesterol: 70mg
Remember, if you use less sugar or opt for a semi-sweet chocolate instead of bittersweet, those numbers will tick down a little bit. Enjoy every rich, airy bite!
Share Your **Whipped Chocolate Buttercream Frosting** Creations
Whew! We made it to the best part—the tasting!
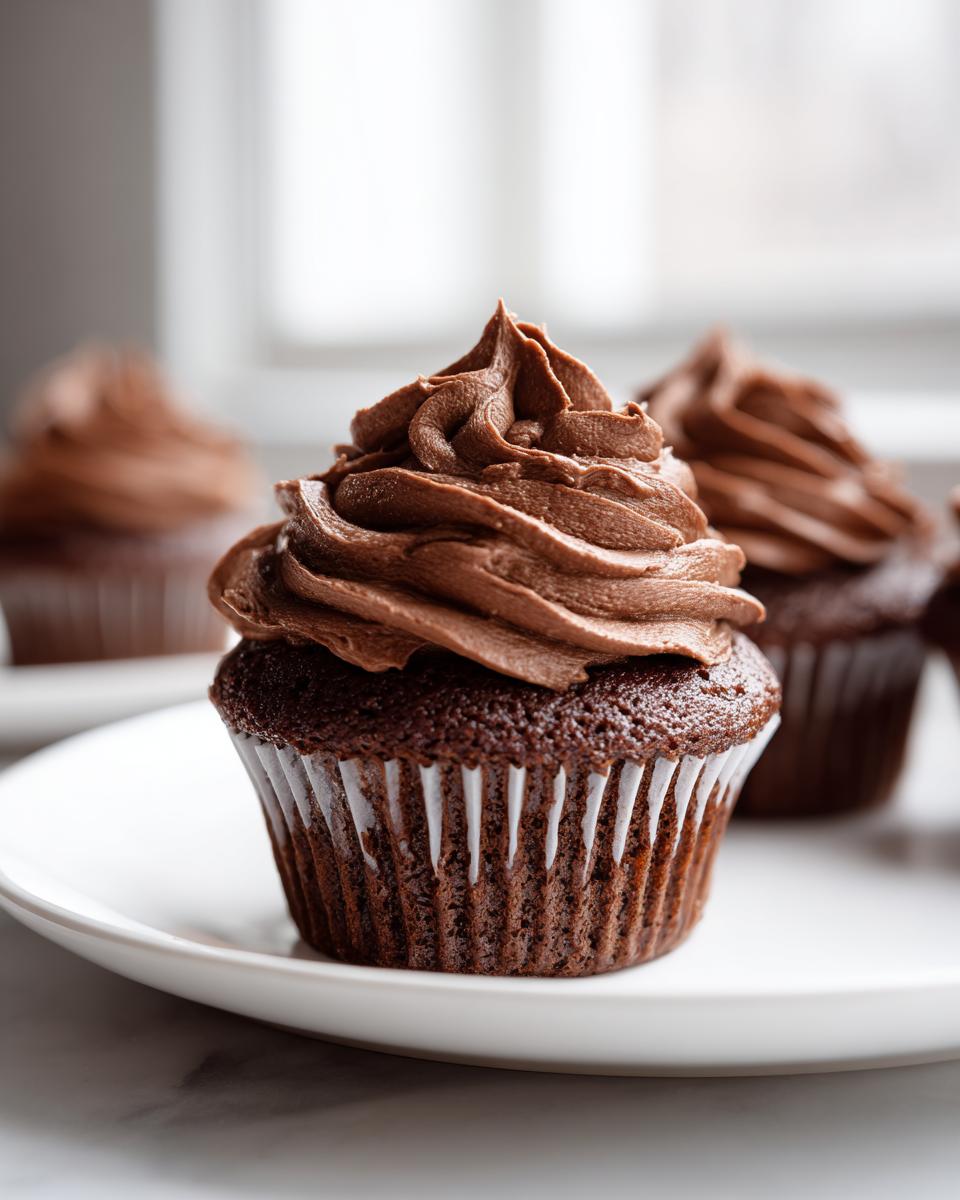
Now that you’ve whipped up this **whipped chocolate buttercream frosting**, I truly want to see what wonderful things you’ve decorated. Did you pipe perfect rosettes on vanilla cupcakes? Or did you manage to slather a thick layer on a towering cake for a celebration? Whatever you created, I hope it brought joy to your table, just like my grandmother’s simple recipes always did for ours.
Don’t be shy! Snap a picture of your final creation and tag us on social media! We love seeing your kitchen triumphs. It means the world to me—Eleanor, or Ellie—to know that the recipes we test and perfect here at DeliceRecipe are working beautifully in your homes. If you have any lingering questions or feedback once you’ve tasted it, please don’t hesitate to reach out via our Contact Page. Happy baking, sweet friends!
PrintFluffy Whipped Chocolate Buttercream Frosting
This recipe yields a light, airy, and rich chocolate buttercream perfect for frosting cakes and piping decorations.
- Prep Time: 15 min
- Cook Time: 0 min
- Total Time: 15 min
- Yield: About 3 cups 1x
- Category: Dessert Topping
- Method: Mixing/Whipping
- Cuisine: American
- Diet: Vegetarian
Ingredients
- 1 cup (2 sticks) unsalted butter, softened
- 3 1/2 cups powdered sugar, sifted
- 1/2 cup unsweetened cocoa powder, sifted
- 1 teaspoon vanilla extract
- 1/4 teaspoon salt
- 3 to 5 tablespoons heavy cream
- 2 ounces bittersweet chocolate, melted and cooled slightly
Instructions
- Place the softened butter in a large mixing bowl. Beat the butter with an electric mixer on medium speed until it is smooth and creamy, about 2 minutes.
- Gradually add the sifted powdered sugar and sifted cocoa powder to the butter mixture, mixing on low speed until just combined. Scrape down the sides of the bowl as needed.
- Add the vanilla extract and salt. Increase the mixer speed to medium-high and beat for 3 minutes until the mixture is lightened in color.
- Pour in 3 tablespoons of heavy cream and the cooled melted chocolate. Beat on medium speed for 1 minute.
- Increase the speed to high and whip the frosting for 4 to 5 minutes until it becomes visibly light and fluffy. This whipping time is key for the airy texture.
- If the frosting seems too stiff, add the remaining heavy cream, one tablespoon at a time, until you reach your desired spreading or piping consistency. Beat for 30 seconds after each addition.
- Use immediately to frost your favorite cake or cupcakes.
Notes
- For the best flavor, use high-quality cocoa powder.
- Make sure your melted chocolate is not hot; warm chocolate will melt the butter and ruin the texture.
- If your frosting seems greasy, continue whipping on high speed; incorporating more air often resolves this issue.
- This is a great chocolate frosting for piping because the whipping process stabilizes it slightly.
Nutrition
- Serving Size: 1/4 cup
- Calories: 350
- Sugar: 38
- Sodium: 75
- Fat: 23
- Saturated Fat: 14
- Unsaturated Fat: 9
- Trans Fat: 0.5
- Carbohydrates: 37
- Fiber: 1
- Protein: 3
- Cholesterol: 70