
If you’ve ever wanted to bring a little bit of a sophisticated, garden party feeling right into your home baking routine, floral desserts are definitely the way to go. And what’s more elegant than a perfectly proportioned little bite of wonderfulness? I’m talking about lavender cake pops. These treats look like they came straight from a fancy bakery where everything costs a fortune, but trust me, they are surprisingly simple to make right here on your own counter. In my home kitchen, I always say that the best baking surprises you with subtle, sophisticated flavor. As I shared in my own story, I believe delicious food should be accessible, and the gentle perfume of lavender paired with a sweet white cake hits that mark perfectly. You absolutely do not need any special training to master these beautiful pops.
- Why You Will Love These Elegant Lavender Cake Pops
- Gathering Ingredients for Your Lavender Cake Pops
- Step-by-Step: How to Prepare Lavender Cake Pops Flawlessly
- Presentation and Decoration for Purple Cake Pop Ideas
- Tips for Success with Floral Flavored Cake Pops Recipe
- Storage and Keeping Your Lavender Cake Pops Fresh
- Frequently Asked Questions about Edible Lavender Recipes
- Nutritional Estimates for Your Lavender Baking Inspiration
- Share Your Beautiful Lavender Cake Pops Creations
Why You Will Love These Elegant Lavender Cake Pops
Honestly, these little gems are my go-to when I need something that feels special but doesn’t require me to spend all day fussing. They truly deliver on flavor and looks without being fussy. Here’s why I think you’re going to adore making these **homemade lavender cake pops**:
- Perfect Flavor Balance: We use just the right amount of culinary lavender so you get that lovely floral note instead of something that tastes like soap! It’s sophisticated, trust me.
- Surprisingly Easy Assembly: Since we start with a white cake mix, the hard part of baking is already done. We just focus on making the moist cake base and rolling the balls. It lets us focus on the fun decorating part!
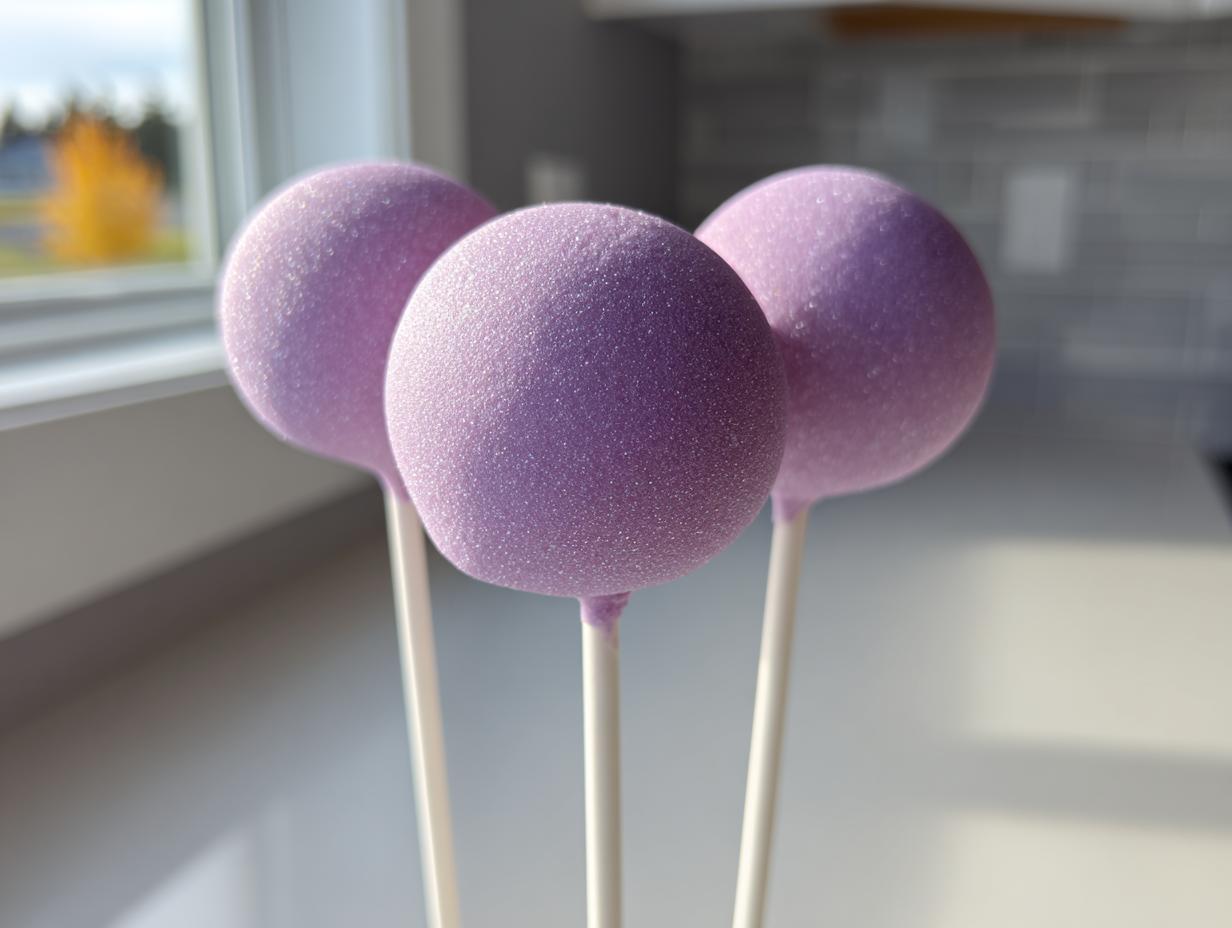
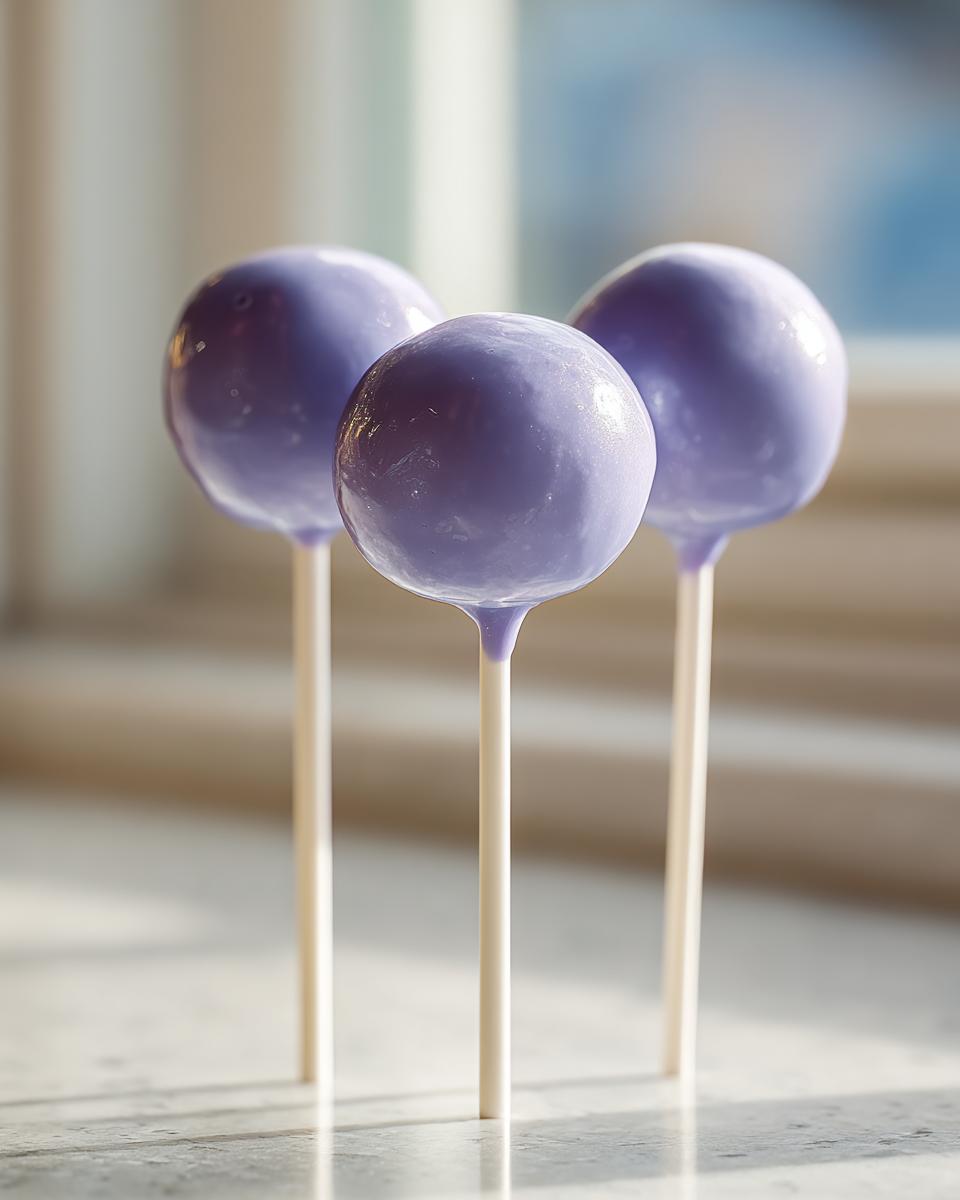
- Stunning Visual Appeal: With that soft purple hue (which you can easily customize!), these are instant showstoppers. They look like true **gourmet cake pops** ready for a magazine spread.
- Ideal for Special Events: If you’re planning a bridal shower, a garden party, or just want an elevated **tea party dessert**, these fit the bill perfectly. They are naturally portion-controlled and look beautiful standing up in a vase or block.
- Great for Beginners: Even if you’ve never made a cake pop before, this **tutorial for perfect cake pops** walks you through the chilling and dipping steps that make all the difference so you won’t have cracked coatings.
For more great ideas that fit into a busy schedule, you might want to check out some of my suggestions for easy weeknight dinners, because we should all keep our home cooking simple when we can!
Gathering Ingredients for Your Lavender Cake Pops
Alright, friend, let’s talk ingredients! For these **lavender cake pops**, precision actually matters, especially when dealing with that beautiful floral element. First and foremost, please, please, please make sure you’re using *culinary* lavender. The stuff sold for crafts or tea blends that aren’t labeled culinary can be treated with chemicals—we want safe, delicious **edible lavender recipes**, not potpourri!
We are keeping the base super straightforward by using a white cake mix, but the magic is in getting that binder just right. Pay close attention to softening the butter and sifting that powdered sugar; it makes the final mixing process so much smoother.
For the Cake Base and Binding
- 1 box (15.25 oz) white cake mix (and whatever the box calls for, usually eggs, oil, water)
- 1/2 cup unsalted butter, softened until it’s perfectly spreadable
- 1 cup powdered sugar, sifted so we don’t get those little rocky clumps
- 1/4 cup heavy cream
Infusing the Flavor: Culinary Lavender Details
This is where we capture that delicate aroma. I suggest starting with the extract because it’s easier to control, but if you want a deeper flavor, you can steep the buds first—it’s a little extra work, but worth it for the best **lavender baking inspiration**!
- 1 teaspoon culinary lavender extract (The starting point!)
- 1/2 teaspoon vanilla extract
- 1/4 teaspoon salt
- *Optional Stronger Flavor Note:* If you want to use dried buds (as mentioned in my notes below!), steeply infuse 1 Tablespoon in the heavy cream first, then strain it before using it in the frosting mixture above.
For the Perfect Coating on Your Homemade Lavender Cake Pops
The coating is what gives you that shiny, professional finish. A little shortening or oil helps bring it down to the perfect dipping consistency. Don’t skip the sticks, either—they are your handle!
- 12 ounces white candy melts or white chocolate wafers
- 1 tablespoon coconut oil or shortening (only if needed to thin the coating)
- Purple food coloring gel (Use gel, not liquid! Liquid messes up the melt.)
- Cake pop sticks!
Step-by-Step: How to Prepare Lavender Cake Pops Flawlessly
This is where we move from ingredients to actual magic! Making the cake mixture—the part that turns into a chewy truffle—is the secret to success for any **easy cake pop recipe**. If you follow these techniques exactly, especially regarding chilling time, you avoid the dreaded cracked coating later.
Baking and Creating the Cake Crumb Base
First up, we bake that white cake according to the box instructions. Don’t skip the cooling step! Once it’s completely cool—and I mean *entirely* cool to the touch—it’s time to crumble. You want fine crumbs, so use your fingers to break it all down in a big bowl. Be ruthless and toss out any dark, dry edges you find; we only want the soft, light interior for the best flavor and texture.
Making the Flavorful Lavender Frosting Binder
In a separate bowl, you start building the binder. Cream that softened butter and the sifted powdered sugar together until it looks light and airy—it really needs to be fluffy before you add liquids. Then, gently mix in your heavy cream, vanilla, salt, and that star ingredient, the lavender extract. This is where you confirm your **best lavender flavor combination**—if you taste a bit and think it needs just a hair more extract, now is the moment before it gets mixed into all those crumbs.
Mixing, Rolling, and Chilling the Easy Cake Pop Recipe Balls
Now, gently fold that lovely frosting into your cake crumbs. Don’t overmix! You’re aiming for a texture that feels moist and holds together when you squeeze a handful—think firm playdough. Once you get that perfect consistency, roll out your balls into uniform one-inch spheres. Place them on parchment-lined sheets and pop them into the refrigerator for a solid 30 minutes. Chilling is non-negotiable; warm balls melt the coating and cause cracking.
The Crucial Step: Setting the Sticks
While those balls are chilling, melt just a tiny spoonful of your coating. Now, take a stick, dip just the tip into the melted coating—this tiny dab of chocolate is your ‘glue’—and gently insert it about halfway into a chilled cake ball. This anchors the stick perfectly! Pop the tray back into the fridge for a full 10 minutes so that little dab of coating sets rock hard before we go in for the full dip.
Mastering the Dipping for Gourmet Cake Pops
Time for the big show! Melt the rest of your white coating using short bursts in the microwave or over a double boiler. If it seems too thick to flow nicely, stir in that tiny bit of coconut oil or shortening. If you are coloring them purple, mix the gel color in thoroughly now. Hold the stick and dip the cake ball completely under the surface, swirling gently. When you pull it out, give the stick a light tap against the bowl edge to shake off the excess. Gravity does the rest!
If you need more guidance on getting that crack-free coating, take a peek at my tips for getting icing to harden perfectly; the science is the same!
Presentation and Decoration for Purple Cake Pop Ideas
Now that you’ve nailed the dipping—and I know you did perfectly because you chilled those balls, right?—it’s time for the fun part: making these **purple cake pop ideas** truly shine! Remember, we are going for elegance here. Everything looks better when it’s finished quickly, so have those decorations ready to go before the pops even come out of the chocolate.
The key to great decoration is working while the coating is still completely wet. As soon as you pull the pop out of the melted coating, before you let any excess drip off, that is your window of opportunity. You can certainly stick with a smooth, solid purple finish—which is gorgeous on its own—but adding just a little extra touch elevates them into true **elegant dessert pops**.
For a gorgeous **tea party dessert** aesthetic, I love using delicate, complementary touches. Avoid anything too chunky that might weigh the stick down or cause cracking later. Here are a few ways I like to finish mine:
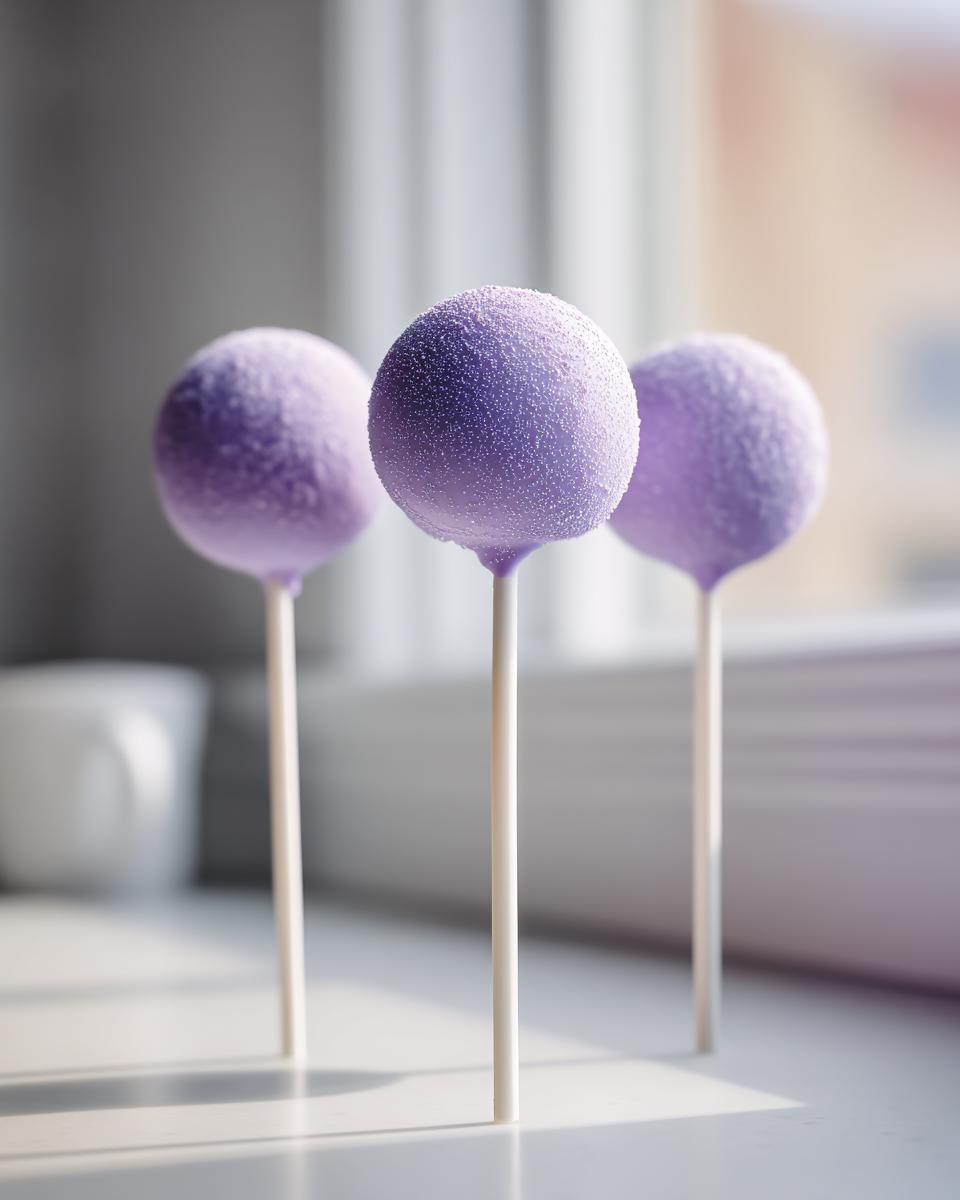
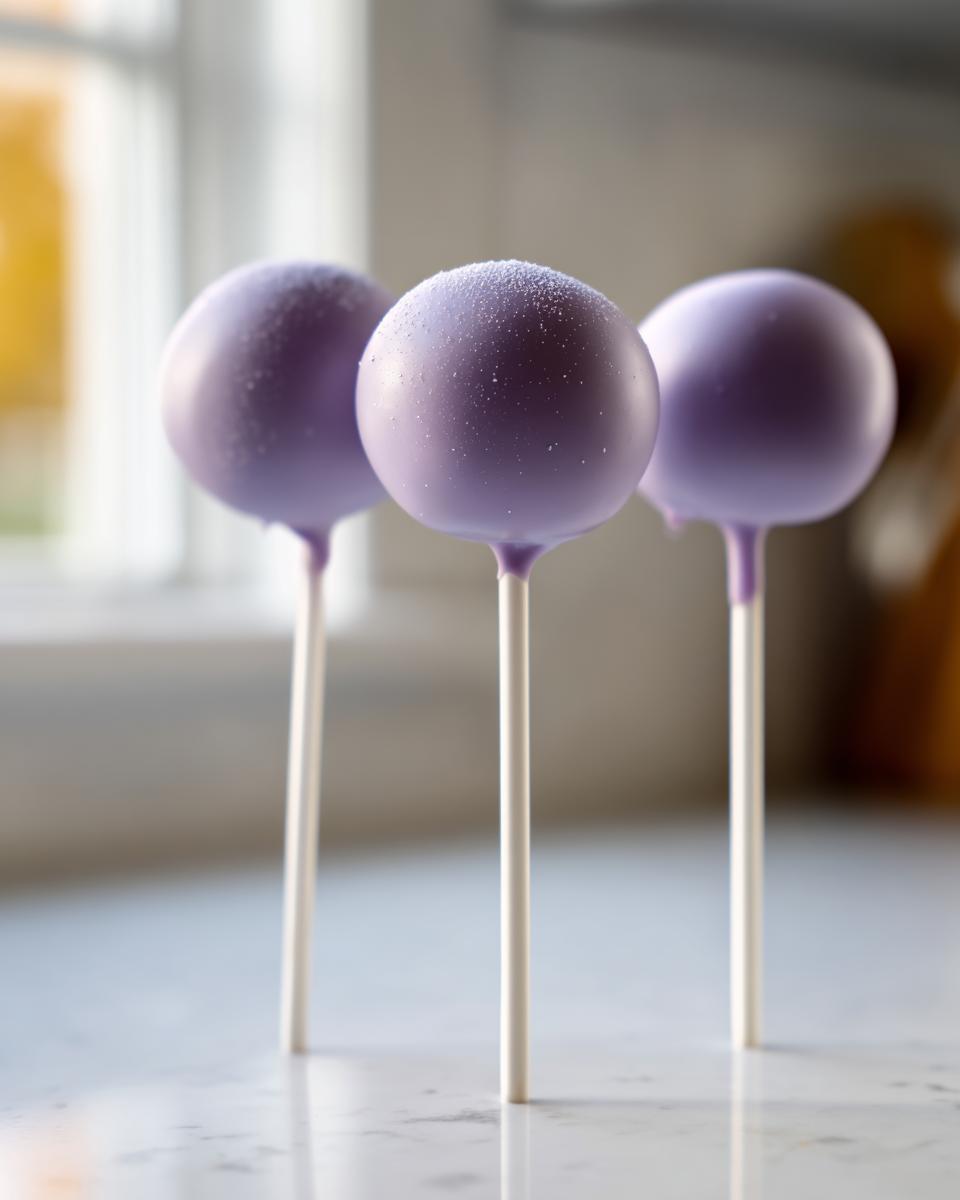
- Edible Glitter Dust: After tapping off the excess coating, gently brush a little edible silver or pearlescent glitter dust onto the pop while it’s still slightly tacky. It gives a magical shimmer without changing the texture.
- Contrast Drizzle: White chocolate hardens much faster than purple candy melts, so if you made a small amount of white coating, you can drizzle it artistically back and forth over the purple base once it’s set for about five minutes. For an extra hint of flavor, you won’t believe how good a light honey drizzle tastes alongside the lavender!
- Tiny Floral Sprinkles: Look for white or pale green nonpareils or small sugar pearls. A very light dusting over the top half of the pop looks delicate and highlights the floral theme beautifully.
Once you have your decorations on, stand them straight up in a sturdy block or stand to dry completely. If you want to check out another visually stunning recipe that’s perfect for showing off, you have to try my easy tiramisu recipe—it’s all about layers and presentation there, too!
Tips for Success with Floral Flavored Cake Pops Recipe
Even though this is a straightforward **easy cake pop recipe**, the world of candy coating and humidity can sometimes feel like a science experiment gone wrong! Don’t worry about that; I’ve learned a few tricks along the years of developing **gourmet cake pops** to keep things smooth and beautiful. My goal here is to make sure your **lavender cake pops** turn out perfectly smooth every single time, and honestly, it all comes down to preparation and environment.
First off, let’s talk about the dreaded moisture issue. If it’s raining outside or your kitchen is generally humid, candy melts and chocolate coatings can get super sluggish, seize up, or just refuse to dry hard. If you notice the coating seems thick or starts getting grainy right away, adding that tiny bit of coconut oil or shortening will help thin it out, but try to work quickly. You might also try moving the dipping process to the coolest, driest room in your house temporarily.
Consistency in the cake ball is another tiny thing that makes a huge visual difference. Try to roll all your spheres to be as close to the same size as possible. If one is noticeably bigger, it will require more coating, leading to drips, or it might get so heavy that it slips right off the stick when you try to dip it. A small kitchen scale can be super handy here, even if you don’t use it often—weighing them to one inch guarantees uniformity!
Now, back to the lavender flavor boost. If you decided to go the extra mile and steep the lavender buds in the heavy cream—which gives you that truly nuanced flavor—you need to be vigilant about straining! Use a fine-mesh sieve, maybe even one lined with cheesecloth, to make sure absolutely zero flower bits make it into the frosting mixture. Any little bud left behind can pierce the coating later, or worse, it can introduce unwanted moisture into the melted chocolate, causing it to seize up on you. Trust me on this straining step; it’s essential for those **elegant dessert pops**!
And finally, a quick word on color. If you are aiming for a gentle lilac purple, a little tiny bit of gel coloring goes an incredibly long way when mixing it into the white melts. Start small, like dipping the end of a toothpick into the gel and stirring that little bit into your batch. You can always add more, but you can never take it out! I find that often, the purple looks much deeper when it’s warm in the bowl than it does once it sets, so err on the side of caution. Happy baking, and don’t forget to check out my tips for making blueberry pie recipes light and summery, too!
Storage and Keeping Your Lavender Cake Pops Fresh
You’ve put in all that work, and these beautiful treats need to last! Since this recipe yields about 24 pops, you might have some leftovers, and that’s great—they actually improve a little overnight, but you have to store them correctly. Keeping the coating hard and the inside soft is your main job here.
For the first day or two, keeping them at cool room temperature is actually my preferred method. If your kitchen isn’t super hot and humid, the coating stays perfectly crisp, and the inside stays moist and ready to eat. Just keep them out of direct sunlight! If you are making these ahead for a big event or know you need them to last longer, then the refrigerator is the safest bet.
If you do stash them in the fridge, and I know we all do, please remember this one critical step. When you pull out your delightful **lavender cake pops**, resist the urge to serve them immediately! If they are ice cold, that cake center will be dense and almost hard, and the coating flavor won’t shine through the best. Before anyone takes a bite, let them sit out on the counter for at least 30 minutes to come back to room temperature. This simple step makes all the difference in texture, trust me! It takes them right back to that perfect point you achieved when you were rolling them.

If you want to see how I handle storing other beloved, moist baked goods to keep them perfect, you can look at my tips on my easy super moist pumpkin bread recipe—the principles of keeping moisture locked in definitely apply here!
Frequently Asked Questions about Edible Lavender Recipes
It’s funny how often people ask about the lavender flavor—it’s the star of the show, but we want it gently introduced, not shouting at you! Dealing with a unique flavor like this certainly brings up good questions. I’ve gathered the most common things folks ask me about making these **floral flavored cake pops recipe** right at home. If you need more help that’s not flavor related, you can always check out my general filing system for recipes like my easy chicken pot pie casserole recipe!
How do I ensure the lavender flavor isn’t soapy?
Oh, that soapy flavor is the absolute worst, isn’t it? That usually happens when you overdo the lavender or, worse, use non-culinary grade buds. For these **lavender cake pops**, the most important thing is sourcing. Make sure whatever product you use is specifically labeled for consumption. If you’re using extract, start with the amount I listed and taste your frosting base before you mix it into the cake crumbs. If you are steeping the buds in warm cream, only steep for 15 minutes maximum—any longer and you are pulling out those harsh essential oils that taste soapy. Less is always more when starting out!
Can I make the cake base ahead of time for these lavender cake pops?
Yes, you absolutely can, and I highly recommend it if you’re making a big batch! After you complete step 2 (crumbling the cake) and step 5 (mixing the crumbs and frosting to form the dough), you can wrap those dough balls tightly in plastic wrap. They are happy chilling in the refrigerator for about 2 days, or you can even freeze them for up to a month. If you freeze them, just make sure they are well wrapped so they don’t pick up any fridge odors. Always roll them into balls and insert the ‘glue’ sticks while they are quite cold, right before dipping!
What is the best pairing for these elegant dessert pops?
Lavender loves bright, gentle contrasts! If you want to add an extra layer of flavor to your **elegant dessert pops**, I strongly suggest leaning into citrus or honey. A tiny bit of lemon zest mixed into the frosting binder amps up the whole floral note wonderfully—it’s truly the **best lavender flavor combination**. Or, as I mentioned in the decoration section, a thin drizzle of warm honey over the set coating adds a gorgeous sheen and a complementary, earthy sweetness that kids and adults both love. These are perfect for people who enjoy a nice glass of Earl Grey tea!
Nutritional Estimates for Your Lavender Baking Inspiration
Okay, now I know some of you folks out there are meticulously tracking everything, and I respect that hustle! I always want to be transparent about what goes into these treats. Remember, since these **lavender cake pops** use a boxed cake mix and white chocolate melts, the final numbers can shift a little based on the brand of melt or the type of oil you use. These figures are based on dividing the recipe into 24 servings, just like we planned.
Think of this as a general guide for your own **lavender baking inspiration** planning, not a hard-and-fast rule set in stone. If you use the steeped cream method instead of extract, or swap out the butter brand, the numbers will technically change, so take this with a grain of salt—a very delicious, lavender-scented grain of salt!
- Serving Size: 1 pop (Isn’t that nice? Perfect portion control!)
- Calories: About 220
- Sugar: Around 25 grams
- Fat: Roughly 12 grams
- Saturated Fat: About 7 grams
- Carbohydrates: 28 grams
- Protein: 2 grams
- Cholesterol: 25 milligrams
These are certainly indulgent little bites, which is why they are perfect for those special occasions or when you just need a little pick-me-up. They are full of cheering flavors and beautiful color! If you want to explore some other recipes where nutrition is a bit more controlled, I have a fantastic easy stovetop cinnamon applesauce recipe that is lovely and light. Happy treating!
Share Your Beautiful Lavender Cake Pops Creations
Now that you’ve gone through every step of this **tutorial for perfect cake pops**—from baking the cake to mastering that slick, purple dip—I genuinely can’t wait to see what beautiful **gourmet cake pops** you created! If you followed the chilling and coating advice, I’m hoping you ended up with a solid five-star result because you deserve it for tackling such an elegant treat.
Baking, for me, Eleanor Vance, is all about connection. It’s about sharing joy, and seeing your final gorgeous results is the highlight of my week! Whether these **floral flavored cake pops** are destined for a birthday party, a spring celebration feast, or you just made a small batch because you felt like treating yourself (which is totally valid, by the way!), I want to see them gracing your table.
When you finish up, please take a moment and snap a picture of your **purple cake pop ideas**. Tag me on social media! I love hearing stories about how the delicate lavender scent filled your kitchen. Every home cook who finishes a recipe shares a piece of their own kitchen story with me, and that’s the core of what DeliceRecipe is all about—creating those shared memories.

If you have any lingering questions after your baking session, or maybe you stumbled on a slight issue (we all have those moments!), please don’t hesitate to reach out. You can find the best ways to connect with me directly over on the contact page. I’m here to guide you, both through the recipe creation and any post-baking troubleshooting. Go on—show off those stunning **homemade lavender cake pops**!
PrintElegant Culinary Lavender Cake Pops: A Step-by-Step Guide
Make beautiful, floral-flavored lavender cake pops using culinary lavender for a delicate taste. This recipe provides clear instructions for a moist cake base and a flawless candy coating perfect for tea parties or elegant desserts.
- Prep Time: 45 min
- Cook Time: 30 min
- Total Time: 75 min
- Yield: 24 pops 1x
- Category: Dessert
- Method: No Bake (Assembly)
- Cuisine: American
- Diet: Vegetarian
Ingredients
- 1 box (15.25 oz) white cake mix
- Ingredients required by cake mix box (usually eggs, oil, water)
- 1/2 cup (1 stick) unsalted butter, softened
- 1/4 cup heavy cream
- 1 teaspoon culinary lavender extract (or 2 teaspoons steeped lavender in warm milk, strained)
- 1/2 teaspoon vanilla extract
- 1/4 teaspoon salt
- 1 cup powdered sugar, sifted
- 12 ounces white candy melts or white chocolate wafers
- 1 tablespoon coconut oil or shortening (optional, for thinning coating)
- Purple food coloring gel (optional, for desired shade)
- Cake pop sticks
Instructions
- Bake the white cake according to the package directions using the required wet ingredients. Let the cake cool completely.
- Once cool, crumble the entire cake into fine crumbs in a large bowl. Discard any overly browned edges.
- In a separate bowl, cream together the softened butter and powdered sugar until light and fluffy.
- Beat in the heavy cream, lavender extract, vanilla extract, and salt until fully combined.
- Add the frosting mixture to the cake crumbs gradually, mixing by hand until the mixture holds together when squeezed. You want a moist, dough-like consistency.
- Roll the mixture into uniform 1-inch balls. Place them on a parchment-lined baking sheet.
- Chill the cake balls in the refrigerator for at least 30 minutes to firm up. This step is key for preventing cracking during dipping.
- Prepare the coating: Melt the candy melts or chocolate wafers according to package directions, often using a double boiler or microwave in 30-second intervals, stirring well each time. Stir in the coconut oil if using, to thin the mixture slightly.
- If coloring, add a small amount of purple gel coloring to the melted coating and mix until the color is uniform.
- Dip the tip of a cake pop stick into the melted coating and insert it about halfway into a chilled cake ball. This acts as glue. Return the tray to the refrigerator for 10 minutes to set the sticks.
- Hold the stick and dip the entire cake ball into the melted coating, turning to cover completely. Gently tap the stick against the side of the bowl to allow excess coating to drip off.
- Place the coated cake pop upright into a styrofoam block or cake pop stand to dry completely.
- If adding decoration, apply sprinkles or drizzle contrasting chocolate while the coating is still wet. Allow the coating to set fully before serving or storing.
Notes
- For a stronger lavender flavor, steep 1 tablespoon of dried culinary lavender buds in 1/4 cup of warm heavy cream for 15 minutes. Strain the cream and use it in place of the plain heavy cream in the frosting step.
- If your cake balls are too soft when dipping, return them to the freezer for 15 minutes before coating.
- Store finished cake pops in an airtight container at cool room temperature for up to three days, or refrigerate for longer storage. Allow them to come to room temperature before serving for the best texture.
Nutrition
- Serving Size: 1 pop
- Calories: 220
- Sugar: 25
- Sodium: 110
- Fat: 12
- Saturated Fat: 7
- Unsaturated Fat: 5
- Trans Fat: 0
- Carbohydrates: 28
- Fiber: 0
- Protein: 2
- Cholesterol: 25