
Are you tired of craving something sweet and satisfying in the summer heat, only to realize every pint in the freezer is loaded with sugar or feels totally off-limits for your health goals? Me too! That’s why I got obsessed with finding the ultimate **healthy frozen dessert** that actually tastes like the real, creamy deal. And friends, I found it: the internet’s favorite **cottage cheese ice cream** base.
This isn’t some icy, grainy mess; trust me, I tested this relentlessly until it was velvety smooth. It hits that sweet spot: it’s incredibly high in protein, requires absolutely no churning machine—just a blender—and uses only four main ingredients. It’s the perfect example of how swapping one ingredient can turn a simple dairy item into a fantastic **protein packed treat**. We’re going to turn that tub in the back of your fridge into the creamiest **guilt free ice cream** you’ve ever scooped. Many folks have found success with similar methods; for instance, you can compare notes with the work done over at Cooking by Carla.
If you love other easy, protein-centric baking hacks, you should absolutely check out my methods for my cottage cheese protein brownie bites or my ridiculously fast 90-second protein mug cake!
- Why This Creamy Cottage Cheese Ice Cream is a Game Changer (High Protein Ice Cream)
- Gathering Your Ingredients for Cottage Cheese Ice Cream
- How to Make the Viral No Churn Cottage Cheese Ice Cream
- Ninja Creami Cottage Cheese Ice Cream Adaptations
- Flavor Variations for Your Cottage Cheese Ice Cream
- Tips for Success with Cottage Cheese Ice Cream
- Storing and Reheating Your Cottage Cheese Ice Cream
- Frequently Asked Questions About Protein Packed Treats
- Estimated Nutritional Snapshot for Cottage Cheese Ice Cream
Why This Creamy Cottage Cheese Ice Cream is a Game Changer (High Protein Ice Cream)
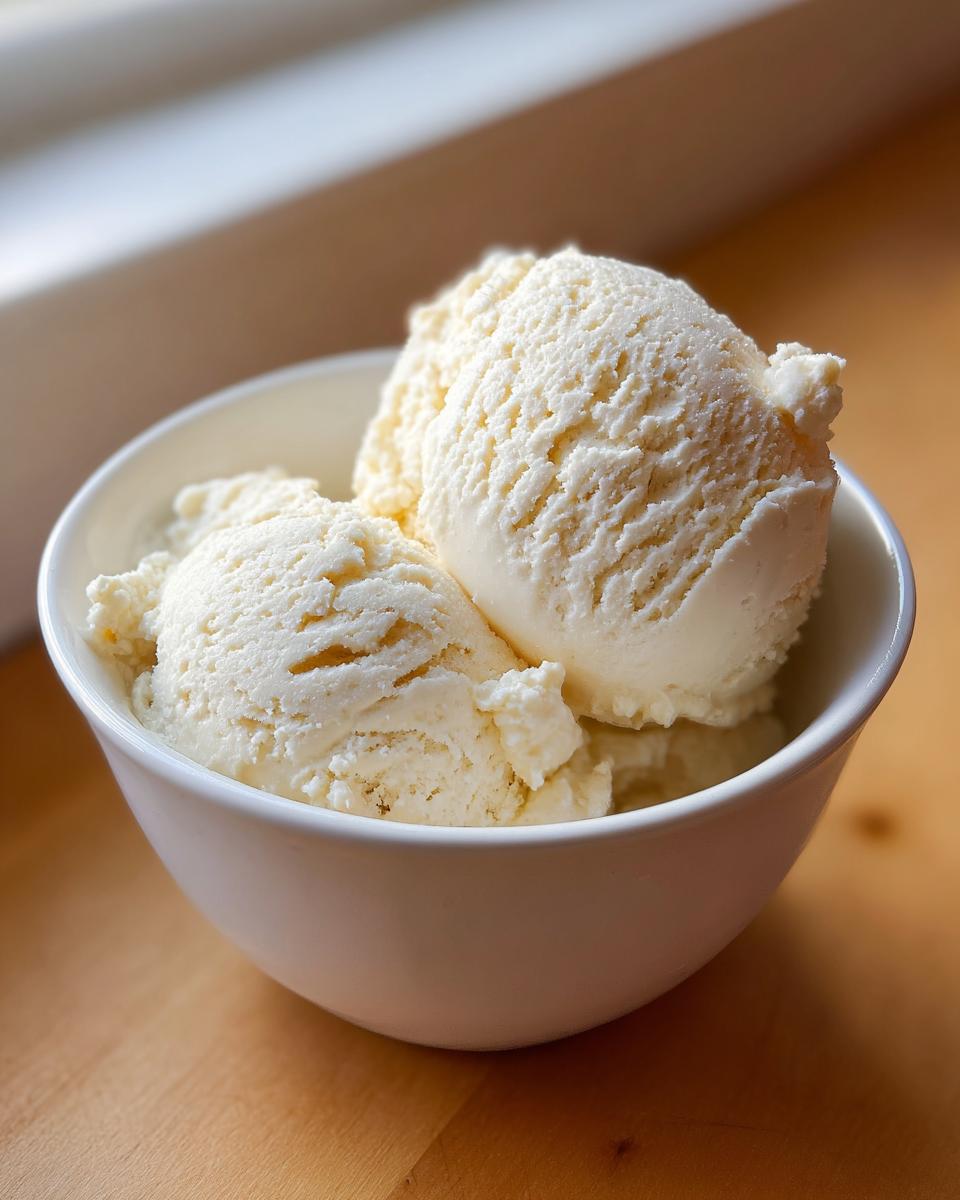
Listen, I know what you’re thinking: “Cottage cheese? In *ice cream*?” Oh, you have to trust me on this one. This base recipe truly turns into a **better for you ice cream** that satisfies those deep summer frozen treat cravings. Forget those chalky protein shakes; we are getting serious gains right here!
- It packs nearly 20 grams of protein per serving—hello, **High Protein Ice Cream**!
- Zero need for an ice cream maker; this is true **No Churn Ice Cream**.
- It utilizes simple techniques to become a **Creamy Homemade Ice Cream**.
- It’s a fantastic candidate for a **Low Sugar Ice Cream** if you choose your sweetener right.
The magic relies on the protein structure inherent in the cottage cheese itself. When blended correctly, those casein proteins create a stable matrix that holds air and moisture better than heavy cream does for some of our favorite **Cottage Cheese Dessert Recipes**.
The Secret to Truly Smooth Cottage Cheese Ice Cream
If you skip this crucial step, you end up with slightly sweet, cold curds, and nobody wants that! You absolutely must use a high-powered blender or a food processor for this part. We are blending this base mixture until it’s silky, perfectly uniform, and completely homogenous. Seriously, blend it until you worry you’ve overdone it—then blend it for another 30 seconds! This technique is what separates good **cottage cheese ice cream** from the icy flops you might see elsewhere online. If you want that velvety texture seen in viral videos like the one over at Yum Savor, you have to blend, blend, blend.
If you enjoy blending things for quick snacks, you might want to check out my guide on making cottage cheese queso, too!
Gathering Your Ingredients for Cottage Cheese Ice Cream
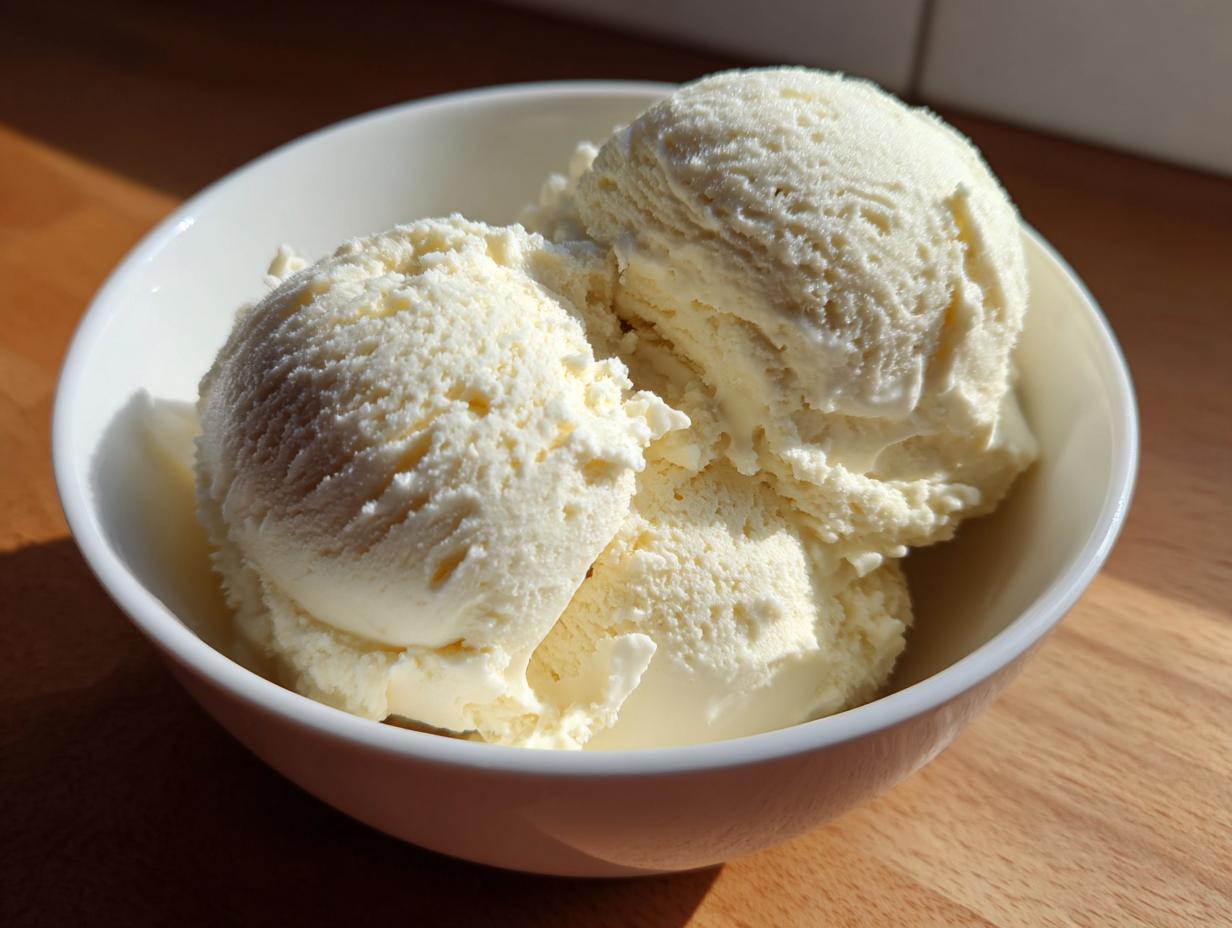
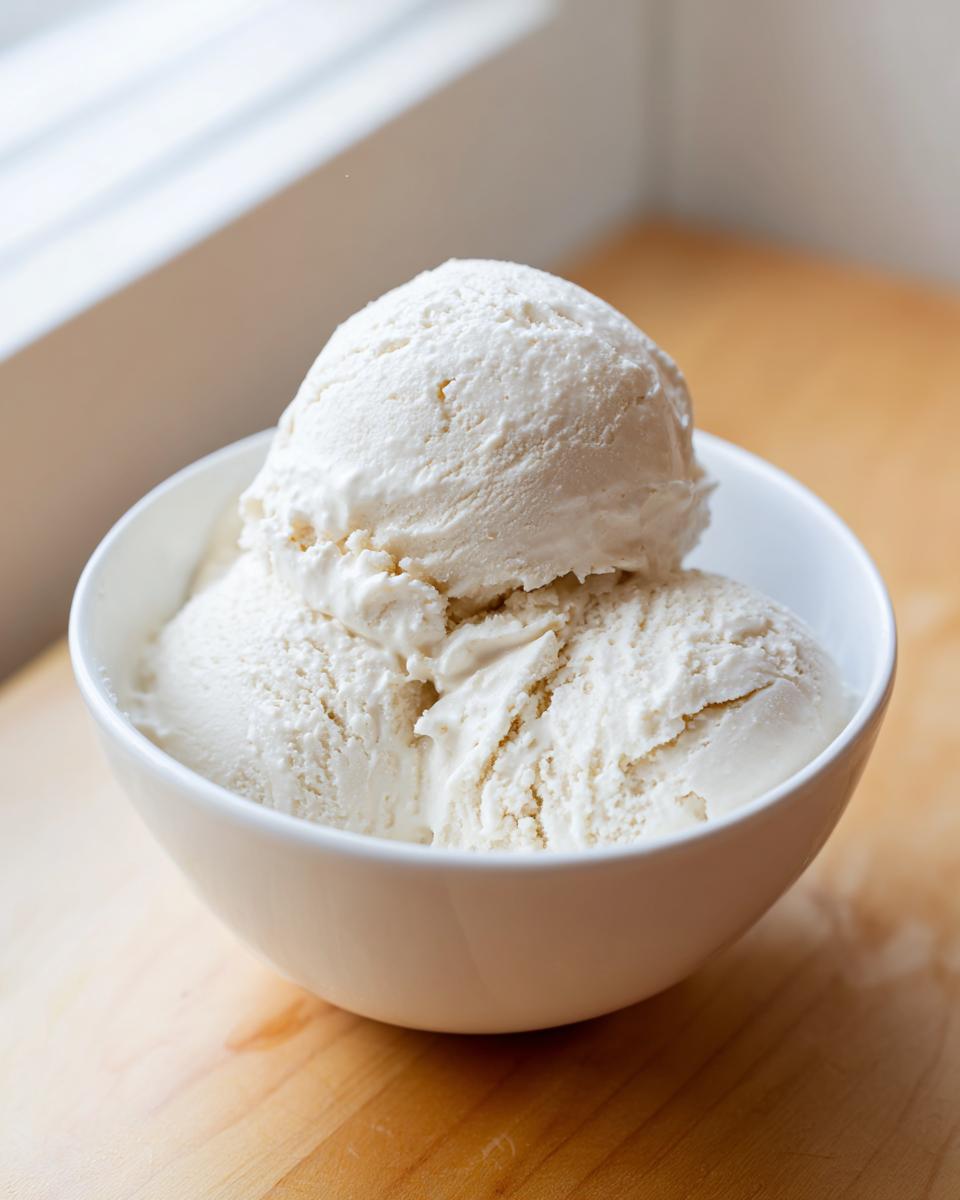
Okay, here is where we keep things simple. Remember, this is the foundation, the beautiful, bright white base that we build all our flavor on! For the absolute best texture—and I cannot stress this enough—you need to reach for the full-fat container. Trust me, the extra fat content is what prevents this from turning into a sad, icy block. We’re keeping the ingredient list short, sweet, and ready for blending right now.
You’re just going to need:
- 2 cups cottage cheese (full-fat is your best friend here!)
- 1/4 cup sweetener (maple syrup or substitute of your choice)
- 1 teaspoon vanilla extract
- 1/4 teaspoon salt (don’t skip this, it wakes up the flavors!)
If you’re interested in exploring other creative ways to use cottage cheese in lighter baking, take a peek at my recipe for Cloud Bread – it comes out so fluffy!
Ingredient Notes and Substitution Tips
If you are trying to keep this a **Low Sugar Ice Cream**, maple syrup works fantastic, but feel free to swap it 1:1 with your favorite granular or liquid sugar substitute. Just make sure you taste it first! Also, I mentioned it, but I have to say it one more time: the fat content matters big time in this **cottage cheese ice cream**. Low-fat or non-fat curds just don’t blend up as smoothly because they lack the richness needed to keep the final product creamy when frozen solid. Stick to full-fat for the ultimate indulgence!
How to Make the Viral No Churn Cottage Cheese Ice Cream
Alright, buckle up, because this is where the magic happens, and it’s so fast you’ll wonder why you ever bought that heavy ice cream maker! Since we aren’t churning this, our secret tool is power—the power of the blender. This is the secret behind achieving that **creamy homemade ice cream** texture without the hassle.
- First things first, get all those simple ingredients—the cottage cheese, your sweetener, vanilla, and that tiny pinch of salt—right into your high-powered blender or a sturdy food processor.
- Now, start blending! This isn’t a quick pulse job. You need to blend until it looks like soft-serve, totally smooth, and definitely lump-free. Stop the machine every minute or so to scrape down the sides. Seriously, make sure you get those stubborn bits stuck high up on the walls! Keep going until every graininess is gone.
- Once you’ve got that beautiful, velvety texture, pour the entire mixture transfer it straight into a freezer-safe container. I usually reach for a standard loaf pan because it’s wide and shallow, which helps it freeze evenly.
Since this is an easy blender dessert, we don’t need to worry about tempering egg yolks or cooking anything, which is why you can whip this up in under ten minutes of prep time!
The Essential Freezing Process for Perfect Cottage Cheese Ice Cream
The freezing step takes patience, but it’s way easier than churning! You *must* seal that container tightly. I like pressing a piece of plastic wrap right onto the surface of your **cottage cheese ice cream** base before putting the lid on. This prevents those nasty ice crystals from forming and ruining our beautiful smooth texture. You need a solid 4 to 6 hours in the freezer before you can even think about scooping. Don’t rush it! When it’s time to serve, pull it out and let it sit on the counter for about 5 to 10 minutes. This softening time is absolutely key for getting those perfect, easy scoops!
If you love other frozen hacks, you can find more inspiration, including an alternative recipe at The Big Man’s World.
Ninja Creami Cottage Cheese Ice Cream Adaptations
Okay, for all you gadget lovers out there, yes! You can absolutely use your Ninja Creami for this base recipe. If you have one of those amazing machines, you don’t even have to wait 6 hours for things to firm up—we just need it frozen solid first! You’ll want to pour your blended **cottage cheese ice cream** base directly into the Creami pint container. Freeze that for about 24 hours until it’s rock hard.
When you spin it, the texture comes out like the dreamiest soft-serve imaginable. If after the first spin it looks just a *tiny* bit crumbly toward the bottom, just add a splash of milk—maybe a tablespoon—and run it on the re-spin cycle. This trick keeps your **protein packed treats** perfectly smooth!
If you’re looking for other things to make in your protein-heavy arsenal, check out my protein brownie bites!
For those looking for more specific Creami advice, the folks over at Food Banjo have great tips on this exact conversion!
Flavor Variations for Your Cottage Cheese Ice Cream
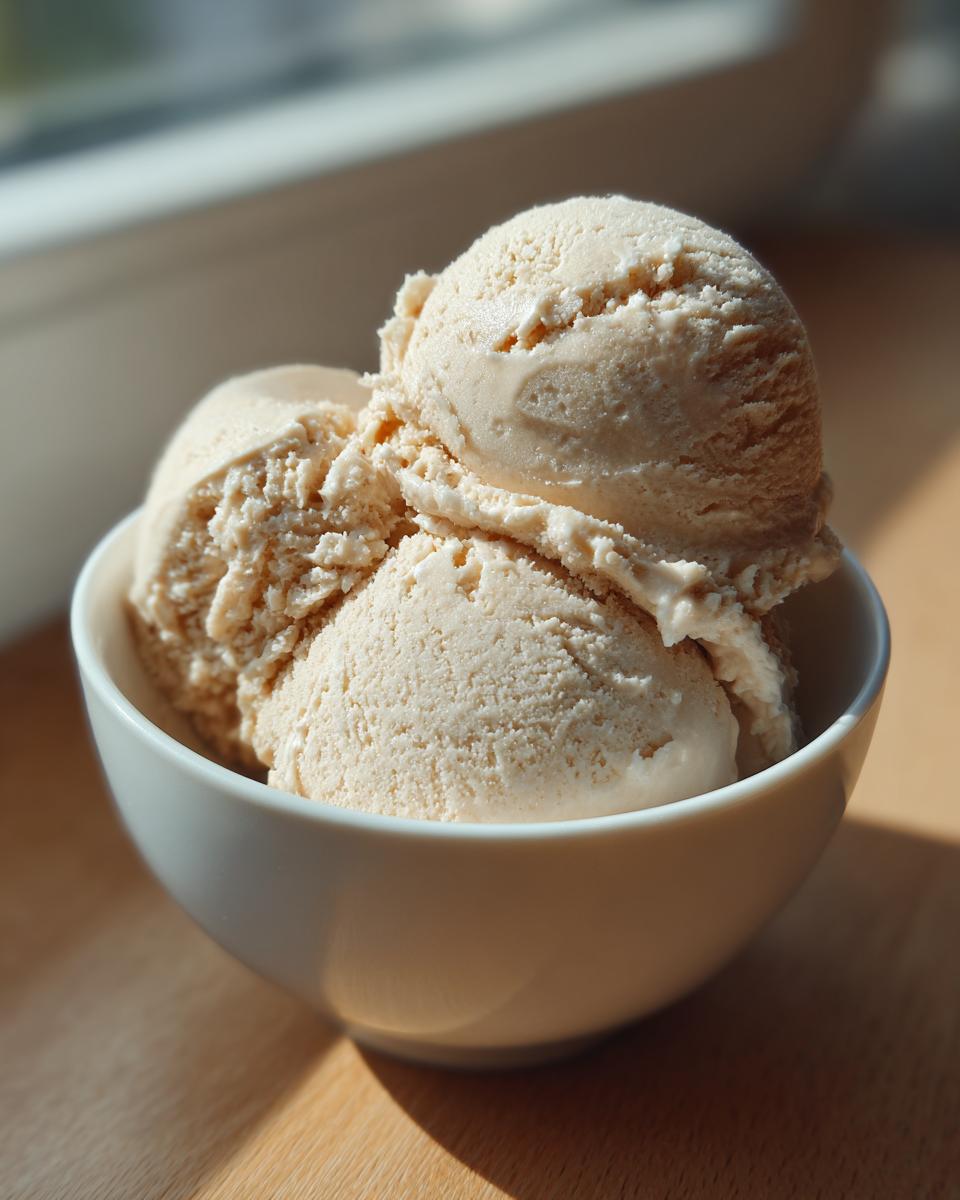
Now that you have this incredible, high-protein vanilla base, the fun really begins! This is where you can personalize your **cottage cheese ice cream** to match whatever flavor mood you’re in. Since the base is quite neutral, it takes on mix-ins beautifully. If you want something fruity, try swirling in some thick strawberry puree or even a small amount of homemade blueberry jam right before that final freeze. You can even try making a coffee-flavored version!
This flexibility is what makes this such a fantastic base for **summer frozen treats**. My kids love when I fold in mini chocolate chips right before it goes into its final chill!
Creating a Chocolate Cottage Cheese Dessert
If you’re looking for a rich, decadent vibe, chocolate is the way to go. In the blender, right along with the cottage cheese and vanilla, add about two or three tablespoons of good quality unsweetened cocoa powder. Since cocoa is bitter, you’ll probably need to bump up your sweetener by an extra teaspoon or so to balance it out. Taste the mixture before freezing to make sure it hits that perfect **Chocolate Cottage Cheese Dessert** level of sweetness you want!
For more fruity inspiration that pairs beautifully with dairy, check out my easy strawberry muffins recipe—though this ice cream flavor is way faster! And if you love nut butters, you simply must look at this peanut butter variation online.
Tips for Success with Cottage Cheese Ice Cream
I’ve made this probably twenty times now—sometimes for me, sometimes for parties—and I’ve learned a few tricks to skip the frustration and get straight to the creamy goodness. Don’t feel like you have to live through every mistake I made!
First, the lump situation. If your blender is fighting you, stop, scrape down the sides, and give it another powerful blast. You need 100% smoothness to get that great texture, or you’ll just taste that grainy texture later. You can see some great tips on texture over at Slimming Violet!
Second, remember that resting time before scooping? It’s not optional! If you try to scoop it straight from the deep freeze, it will shatter. Let it sit on the counter for at least five glorious minutes. This brings out the creaminess we worked so hard for. Think of it like letting a good loaf of bread cool down before slicing—it just sets everything right.
Finally, if you are tempted to use non-fat curds because you’re watching calories—please don’t on your first try! Even for a **high protein ice cream**, the fat helps carry the flavor and ensures a genuinely soft scoop. If you want better texture next time, try my trick for my super moist pumpkin bread; it relies on similar moisture retention principles!
Storing and Reheating Your Cottage Cheese Ice Cream
Okay, you’ve made the best **cottage cheese ice cream** ever, and you have leftovers (if you’re stronger than I am!). You absolutely must put it into an airtight container for storage. If you don’t, those pesky freezer smells will creep in, and you’ll start seeing little crunchy ice shards forming on top. No thank you!
We don’t really “reheat” ice cream, of course, but if you pull it out and it’s rock solid after sitting in the freezer for days, just let it thaw on the counter for about 10 minutes. If the texture gets a little wonky after refreezing once or twice, don’t fret! Just throw the remaining bits back into the blender for 30 seconds with a tiny splash of milk, and boom—back to creamy perfection!
If you love easy make-ahead treats, you should definitely try my easy apple pie bars recipe for another simple dessert option!
Frequently Asked Questions About Protein Packed Treats
I get so many questions about this recipe because people are often nervous about combining cottage cheese and dessert! Here are the big ones I hear all the time regarding these **protein packed treats**.
Does this cottage cheese ice cream actually taste like cottage cheese?
This is the million-dollar question! Nope, not if you blend it correctly! When you follow the blending instructions—and I mean *really* blend it until it’s silky smooth—the texture and flavor totally transform. The salt and vanilla are working overtime to mask any hint of that savory flavor. If you are eating chunks, though, yes, you’re going to taste it. So, trust the blender!
Can I swap cottage cheese for plain Greek yogurt?
You can try, but I really don’t recommend it for beginners! Greek yogurt is much tangier and has a different protein structure when frozen; it tends to get icier much faster than this base does. If you want a truly **creamy homemade ice cream**, stick with the cottage cheese for this recipe. If you want a yogurt-based alternative, you might be better off looking for a specific recipe for that, like my protein ice cream post!
How can I easily make this a Keto or Low Carb Ice Cream option?
That’s a great thought! To keep this very low carb, you need to swap out the maple syrup for a zero-calorie granular sweetener like monk fruit or erythritol. You can find great guides on adjusting quantities for this over at Viola Recipes. Just be sure to dissolve the crystals completely during blending!
What’s the difference between this and regular low-calorie ice cream?
Regular low-calorie ice creams often rely on gums and stabilizers to maintain that creamy texture when they have very little fat. Our **healthy frozen dessert** relies on the high protein content of the cottage cheese itself to give it structure. That means more natural thickness and fewer weird chemical names on the ingredient label!
Estimated Nutritional Snapshot for Cottage Cheese Ice Cream
Now, let’s talk numbers, because it’s wild how much goodness is packed into this simple scoop! Since we’re aiming for that **healthy frozen dessert** vibe, I ran the numbers based on the base recipe—using the full-fat cheese and a standard sweetener. This is what we are looking at per serving (and remember, this recipe yields about four generous scoops, so enjoy them!)
- Serving Size: 1/2 cup
- Calories: 160
- Protein: 18g (Yes, you read that right! That’s serious payoff!)
- Fat: 6g
- Carbohydrates: 10g
- Sugar: 8g
- Saturated Fat: 3g
- Sodium: 250mg
- Fiber: 0g
I have to throw in a quick disclaimer, though, because you know I always want you to cook with confidence and know exactly what you are eating! These figures are just estimates based on standard grocery store brands for that original **cottage cheese ice cream** base. If you use almond milk instead of regular milk for thinning, or switch to a zero-calorie sweetener like erythritol, those sugar and carb counts will drop even further, making it an even better **low calorie sweet treat**!
If you’ve got leftovers but need ideas for dinner first, check out my guide to easy weeknight dinners!
PrintViral High-Protein Cottage Cheese Ice Cream (No-Churn Base)

Make this unbelievably creamy, high-protein cottage cheese ice cream right in your blender. This easy, no-churn recipe delivers a satisfying frozen dessert that tastes indulgent but keeps it light.
- Prep Time: 10 min
- Cook Time: 0 min
- Total Time: 6 hours 10 min
- Yield: 4 servings 1x
- Category: Dessert
- Method: No Churn/Blender
- Cuisine: American
- Diet: Vegetarian
Ingredients
- 2 cups cottage cheese (full-fat recommended for best texture)
- 1/4 cup sweetener (like maple syrup or preferred sugar substitute)
- 1 teaspoon vanilla extract
- 1/4 teaspoon salt
Instructions
- Place the cottage cheese, sweetener, vanilla extract, and salt into a high-powered blender or food processor.
- Blend the mixture until it becomes completely smooth and creamy. Stop and scrape down the sides as needed to ensure no lumps remain. This step is key for a smooth texture.
- Transfer the blended mixture to a freezer-safe container, such as a loaf pan or airtight container.
- Cover the container tightly with a lid or plastic wrap pressed directly onto the surface of the mixture to prevent ice crystals.
- Freeze for at least 4 to 6 hours, or until firm enough to scoop like traditional ice cream.
- When ready to serve, let the cottage cheese ice cream sit on the counter for 5 to 10 minutes to soften slightly before scooping.
Notes
- For a richer, more indulgent texture, use full-fat cottage cheese. For a lower-fat option, use low-fat, but the final texture may be slightly icier.
- If you own a Ninja Creami, process the mixture in the machine after freezing for an extra smooth, soft-serve consistency. You may need to add a splash of milk if the mixture is too dense for the Creami.
- Add mix-ins like chocolate chips, peanut butter swirls, or fresh berries during the last 10 minutes of freezing or just before serving.
Nutrition
- Serving Size: 1/2 cup
- Calories: 160
- Sugar: 8
- Sodium: 250
- Fat: 6
- Saturated Fat: 3
- Unsaturated Fat: 3
- Trans Fat: 0
- Carbohydrates: 10
- Fiber: 0
- Protein: 18
- Cholesterol: 20