
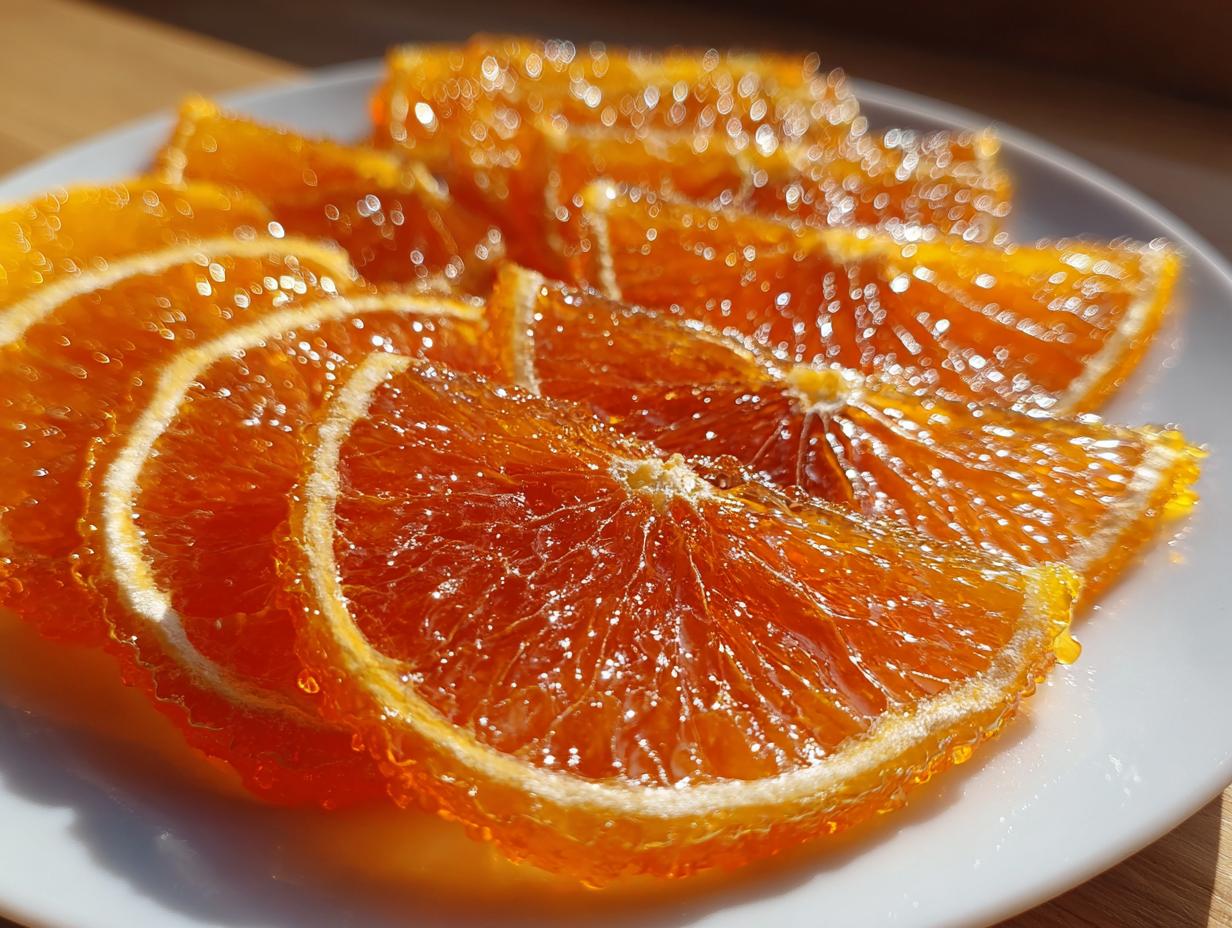
There is something wonderfully nostalgic about homemade treats, isn’t there? When the holidays roll around, or maybe just on a dreary Tuesday when you need a splash of sunshine, few things beat the glow of candied fruit. When I first tried making candied orange slices years ago, I was so nervous about making them tough or bitter. But trust me, this method is almost foolproof! It transforms simple, bright citrus into chewy, glossy jewels perfect for sprinkling over a cake or just snacking on straight from the jar. We’re going to walk through exactly how to get that stunning, translucent finish without any fuss. If you’re looking for an elegant homemade candy that truly looks like it took days, you have come to the right place. See all my favorite ways to use beautiful homemade treats here: delicious dessert recipes.

- Why This Is the Best Easy Citrus Candy Recipe for Homemade Candied Orange Slices
- Gathering Ingredients for Perfect Candied Orange Slices
- How to Make Candied Orange Slices Step-by-Step
- Tips for Success When Making Candied Orange Slices
- Variations: Chocolate Dipped Candied Orange Slices
- Serving Suggestions for Your Glossy Orange Slices Dessert Topping
- Storing Your Homemade Candied Orange Slices
- Frequently Asked Questions About Candied Orange Slices
- Rate This Simple Sweet Orange Slices Recipe
Why This Is the Best Easy Citrus Candy Recipe for Homemade Candied Orange Slices
I know that making candied fruit can sound intimidating, but I promise you, these candied orange slices are truly the best easy citrus candy recipe out there. We only use three basic pantry staples—oranges, water, and sugar—and the method is just simmering! Forget long treks to specialty shops for pretty garnishes. This recipe gives you that gorgeous, glossy orange slices dessert topping texture we all crave.
The goal here is that perfectly chewy orange fruit candy that shines like glass. By ditching fancy equipment, we keep this accessible for everyone, even if you’re just trying out making fruit candy for the first time. It’s satisfying, simple, and so impressive!
Quick Look at Homemade Candied Orange Slices
- Prep Time: 15 min
- Cook Time: 60 min
- Yield: About 30 slices
Gathering Ingredients for Perfect Candied Orange Slices
Let’s pull everything together before we start cooking! The beauty of homemade candied orange slices is that you probably have most of this already hanging around the house. We aren’t dealing with anything complicated here, which really contributes to why this is such an easy treat to conquer. Clarity is key, so make sure you measure your sugar and water precisely for the best simple syrup results.
For the oranges, I always reach for good, sturdy Navel oranges. They have a nice thickness to their peel that stands up beautifully to the simmering process. If you happen to grab oranges with a thinner rind—maybe some Cara Cara or Valencia oranges—that’s totally fine, but you might find they get tender a little quicker, so just keep an eye on them!
- 3 large navel oranges
- 3 cups granulated sugar
- 3 cups water
Ingredient Notes and Substitutions for Candied Orange Slices
When it comes to the sugar, please use standard granulated sugar for this recipe. That’s what gives us the perfectly glossy, firm set when they finally dry. Don’t try to swap it out for brown sugar or a liquid sweetener here; we need that specific crystal structure for the candy coating to form correctly.
If your oranges have really thick pith—that white part under the skin—just know they will take a little longer in the simmering stage to become truly translucent candied peel. That’s okay! Patience is our secret weapon in this recipe. If you are already dreaming ahead about dipping these beautiful slices in chocolate, you’ll want to make sure you have about 4 ounces of good semi-sweet or dark chocolate ready for later on. We’ll cover exactly how to do that transformation in the variations section!
How to Make Candied Orange Slices Step-by-Step
Okay, now for the fun part! Once you have your ingredients lined up, making these candied orange slices is actually very straightforward. It’s mostly hands-off time, but you have to be precise with the slicing and the simmering. This is where you’ll see the white pith go from opaque to absolutely jewel-like. Remember what I said about expertise? The first boil is non-negotiable—it cooks out that sharp bitterness that can ruin a batch of homemade candy. Don’t skip it!
We are going to work in three main stages: prepping and pre-cooking, the long simmer in the syrup, and the final drying period. Have a wire rack handy because we need airflow to get that perfect, non-sticky finish. If you want to practice your baking confidence with another reliable recipe while these simmer, you can always try out my recipe for super moist pumpkin bread: easy super moist pumpkin bread recipe.
Preparing the Oranges and the Initial Blanching
First things first, give those three oranges a really good scrub under the tap. We aren’t peeling them, so let’s get any wax or residue off! Trim off the very tips of the stem and blossom ends. Now, using your sharpest knife, slice the oranges thinly. You are aiming for about 1/8 of an inch thick. Thicker slices are harder to candy evenly, and too thin and they might fall apart while simmering.
Place all those pretty rounds into a medium saucepan and cover them completely with plain cold water. Bring that water up to a rolling boil over high heat, let it bubble away for exactly five minutes, and then dump that water thoroughly down the drain. That initial boiling process is what saves your sweet orange slices recipe from tasting too intense!
Simmering the Simple Syrup Orange Slices
Now we make the magic happen! Return the blanched orange slices to the clean saucepan. Now we mix up equal parts sugar and water: 3 cups of granulated sugar and 3 cups of water. It should look like a lot of liquid, but the oranges will absorb it.
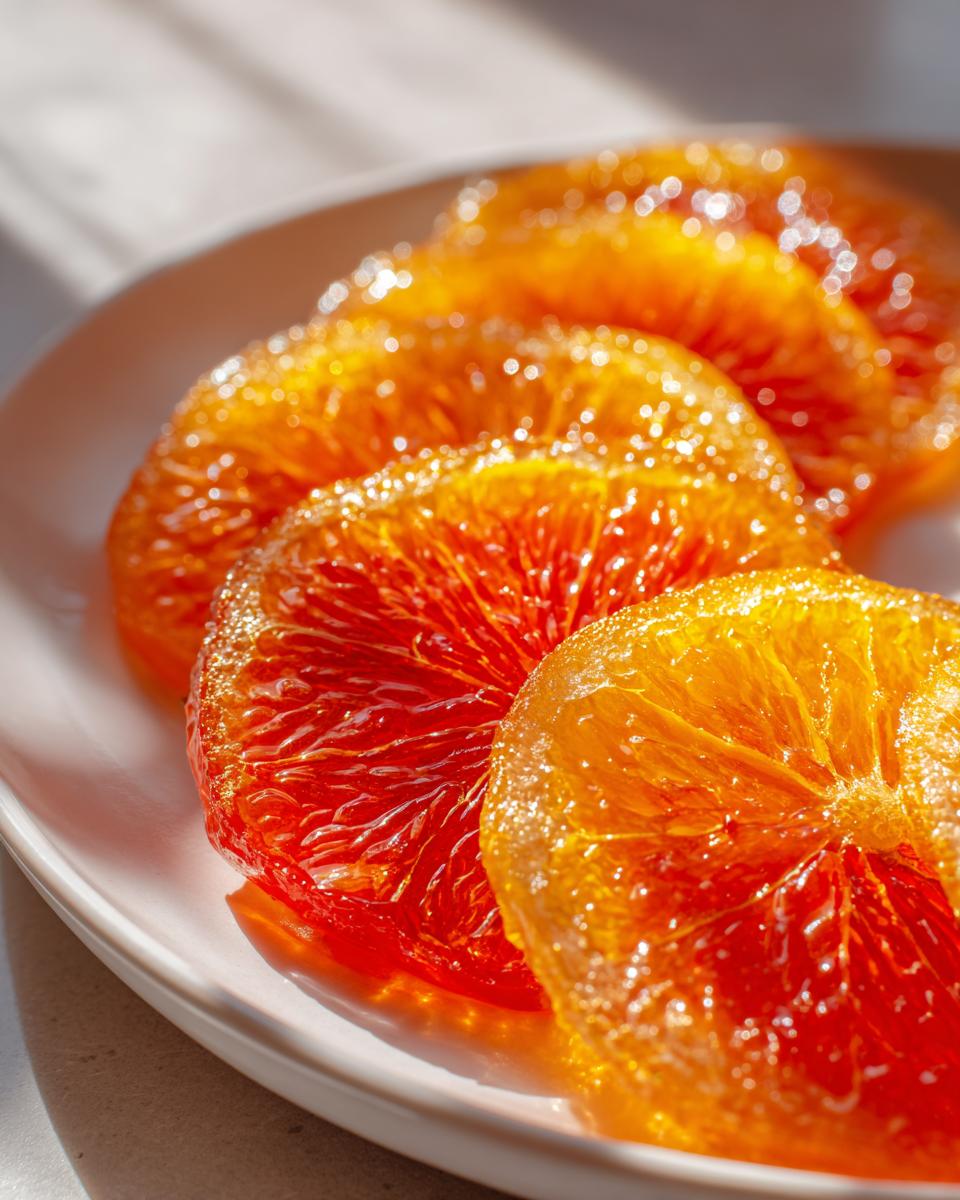
Stir gently over medium heat until every last grain of sugar dissolves—we don’t want any grainy bottoms! Once it’s clear, drop the heat way down to low. We need a very gentle simmer, uncovered, for about 45 to 60 minutes. The heat needs to be low enough that the water isn’t steaming away too fast, but high enough to permeate the fruit. Keep simmering until those slices turn beautifully translucent candied peel, looking almost like stained glass. This slow process is what guarantees that lovely, soft chew.
Drying Your Candied Orange Slices Properly
Once they are perfectly tender, you have to handle them gently! Use tongs or a slotted spoon to carefully lift the slices out of the syrup, letting every last drop drip back into the pot. Set up a wire rack over a baking sheet—this catches any extra drips. Lay the glossy orange slices dessert topping pieces on the rack in a single layer. They absolutely cannot touch!
This drying process is crucial for achieving that true candied texture. Let them sit out on your counter, uncovered, for a minimum of 12 hours. Honestly, overnight, undisturbed, is best. If you try to rush this step, they will stay sticky and soft, and we want chewy! We’ll talk about rolling them in sugar later, but for now, just let the air do its work.
Tips for Success When Making Candied Orange Slices
Now that you’ve mastered the simmering part—which is honestly where most people get tripped up—I want to share a couple of extra pointers that really elevate these homemade candied orange slices from “good” to “absolutely stunning.” These little tricks are things I learned after ruining a few early batches! We want that perfect, jewel-like look every time, right?
Addressing common pitfalls is just part of the home cooking journey. For instance, don’t try to rush the drying! If you place warm, sticky slices into a sealed container, they’ll just sweat and dissolve back into sticky clumps. We need them dry and ready to be eaten as a citrus snack recipe or carefully decorated.
Also, if you notice your syrup getting awfully dark during that hour-long simmer, that means your heat is too high. Pull it back! We want minimal evaporation and maximum tenderizing. If you’re looking for another way to finish off a sweet treat, you might want to check out how to make perfect cookie icing for contrast!
Saving and Reusing the Leftover Simple Syrup Orange Slices Syrup
Don’t you dare throw away that beautiful leftover liquid! What you’re left with is the most amazingly flavorful, citrus-infused simple syrup. This is pure gold, my friends, and it has so many uses beyond just being a thick, sweet syrup.
I use this leftover mixture constantly during the summer. It’s fantastic stirred into a big pitcher of iced tea—it adds such a bright lift. If you’re making cocktails, a splash of this syrup in a gin fizz or a simple vodka soda makes it taste like a fancy, bespoke drink, no extra effort required! It really cuts down on waste, and honestly, using it is the easiest way to get more flavor out of your cooking session. Just pop the leftover syrup into a clean jar and keep it in the fridge; it lasts for weeks!
Variations: Chocolate Dipped Candied Orange Slices
Once your candied orange slices are fully dry and beautifully chewy, you can stop right there, or you can take them straight into the decadent zone! This is easily my favorite way to serve them, especially around the holidays. Transforming them into chocolate dipped orange slices takes just a few extra minutes but makes them feel like truly elegant homemade candy.
You just need about 4 ounces of good quality dark or semi-sweet chocolate. Melt it carefully—I usually do this in short bursts in the microwave, stirring well between each time so it doesn’t seize up on me. Once everything is smooth, take each dried orange slice and dip about half of it into the melted chocolate. Don’t go too deep; we want to see some of that sunny orange peeking out!
Place the dipped slices back on that same wire cooling rack we used before. If you’re feeling extra fancy, a tiny sprinkle of flaky sea salt on the chocolate while it’s still wet is magical. Let them sit until the chocolate is completely set. Keep an eye on my recipe for a fantastic chocolate sauce recipe if you decide you want a thinner drizzle instead of a full dip!
Serving Suggestions for Your Glossy Orange Slices Dessert Topping
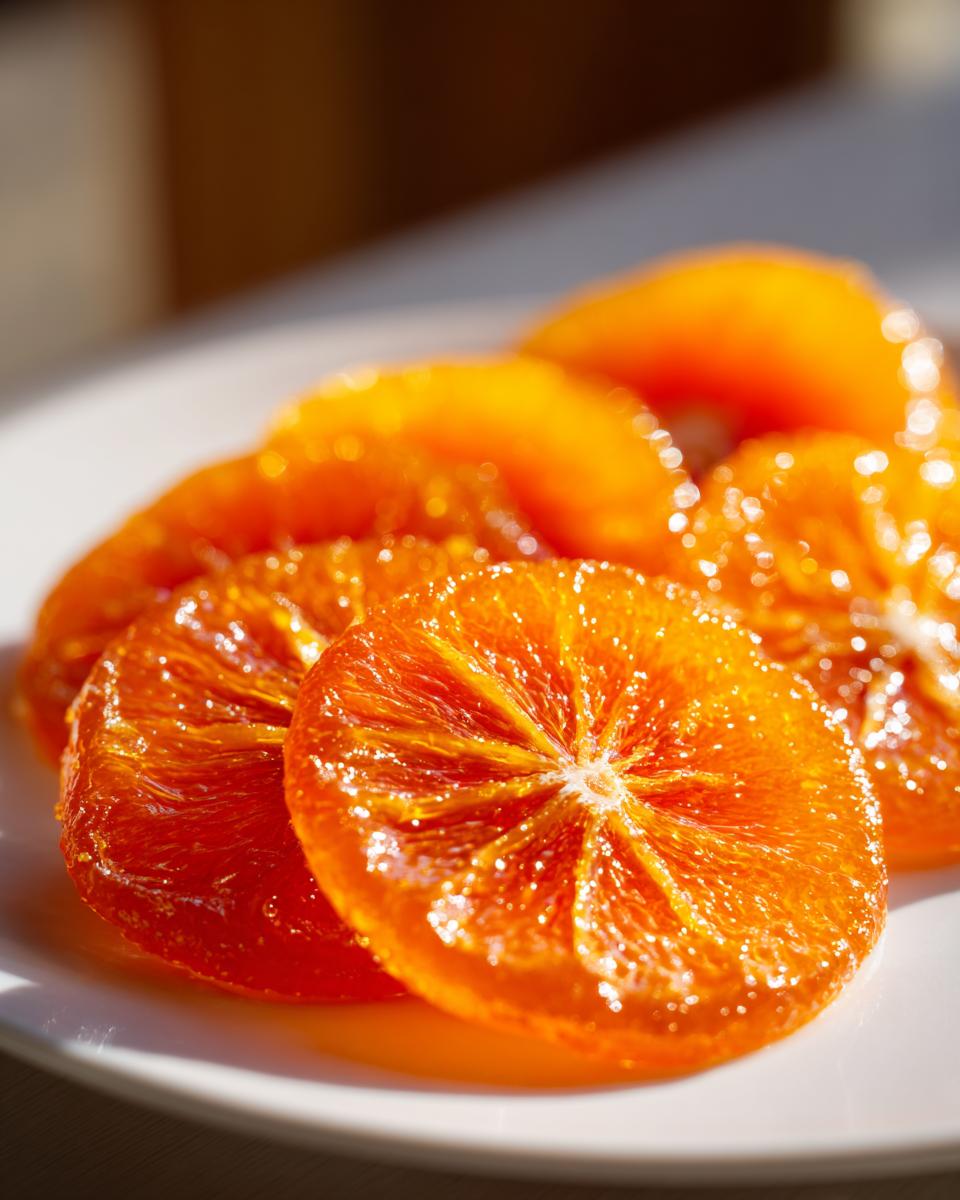
So, you’ve got these gorgeous, jewel-toned candied orange slices drying, or maybe you’ve even dipped them in chocolate! What on earth do you do with them now? Honestly, they are delicious just munching on them straight from the cooling rack, but the real fun is using them to elevate your everyday baking. They truly make everything look like it came from a fancy European bakery.
The primary role for these beauties, in my opinion, is as a stunning candied orange garnish. Imagine slicing up a rich chocolate loaf cake or one of my creamy cheesecakes—like this Turtle Cheesecake Recipe—and topping it with a few delicate, shiny orange rounds. The color contrast alone is just breathtaking. They bring instant elegance to even the simplest desserts.

These slices are incredible additions to cheese or charcuterie boards too. The intense, sweet-tart flavor cuts through rich cheeses perfectly. They also look fantastic tucked into holiday shortbread cookies or crumbled slightly over ice cream for unexpected bright orange dessert ideas. And don’t forget cocktails! A slice placed right on the rim of a Negroni or an Old Fashioned makes for a very sophisticated presentation. There are so many wonderful ways to use these; just don’t let them stay hidden in the jar too long!
Storing Your Homemade Candied Orange Slices
Once your beautiful candied orange slices are completely dry—and I mean truly dry, not even a little tacky—it’s time to put them away until you’re ready to use them. If you’ve managed to keep yourself from eating them all on the first day, congratulations! Proper storage is what keeps them from turning into a sticky mess, especially now that you’ve put so much work into getting that glossy finish.
The most important thing when storing fresh, sugary candy like this is keeping humidity out. You absolutely need an airtight container. A nice glass jar with a tight-fitting lid works perfectly, or even a sturdy, high-quality zip-top bag sealed well will do the trick in a pinch. Don’t use plastic containers that might sweat; condensation is the enemy of a good candy!
Keep those containers stored at a cool room temperature, somewhere dark in your pantry is ideal. If you store them in a very cool basement or basement pantry, even better, as long as it’s dry. If you try to refrigerate them, well, I’ve learned the hard way that the cold makes them sweat when they come back to room temperature, and they end up moist again. Keep them out on the counter or in the pantry, and they should stay perfect for several weeks. If you notice they start feeling softer than you’d like, you can always spread them out on a clean rack for a few hours to dry out again before sealing them back up!
Frequently Asked Questions About Candied Orange Slices
I always get questions about these beautiful slices, which makes sense because they look so fancy! People want to know if they can play around with the recipe or if they have to follow my instructions exactly. Don’t worry about being 100% precise all the time—cooking is flexible, especially once you know the core technique!
It’s worth pointing out that once you get the hang of the simmering and drying process for these candied orange slices, you can start applying the method everywhere. If you’re looking for quick ideas for dinner while you wait for these to dry, hop over and see what I make on busy weeknights: easy weeknight dinners.
Can I use lemons or limes instead of oranges for this easy citrus candy recipe?
You absolutely can! This whole process works beautifully for other citrus fruits. If you try this recipe out as an easy citrus candy recipe using lemons or even grapefruits, just keep in mind that the rinds have different thicknesses. Thinner-skinned fruits like lemons might cook through faster than the oranges, so definitely start checking them for tenderness around the 35-minute mark.
What is the trick to getting truly translucent candied orange slices?
This is the big one! The absolute trick for that perfect, glass-like, translucent candied peel look comes down to two things, which we touched on, but let’s emphasize them. First, you must simmer them very slowly, uncovered, allowing the sugar syrup to completely penetrate the pith without boiling all the liquid away. Second, and this is just as important: they have to be completely, fully dried after simmering. If they have any moisture clinging to them, they stay opaque and sticky. Be patient with that 12-hour drying time!
How long do homemade candied orange slices last?
Since we are using so much sugar, these homemade candied orange slices are naturally preserved quite well. If you store them correctly—in that airtight container away from heat and humidity—they should easily last for several weeks, sometimes even up to a month, at room temperature. Just remember my warning: avoid the fridge! If they ever feel a little less chewy than you remember, just lay them out on a tray for a few hours to freshen up.
Rate This Simple Sweet Orange Slices Recipe
Well, we made it! You now have a jar full of glossy, jewel-like citrus treats. I hope you really enjoyed the process of turning those humble oranges into something so elegant. Whether you just sprinkled these sweet orange slices over a simple pound cake or you went all-out and made those decadent chocolate dipped orange slices, I want to hear all about it!
Sharing our successes—and maybe the occasional funny kitchen mishap—is what this community is all about. It helps me know I’m giving you the best advice, and it helps other cooks feel encouraged to try making their own batches of holiday citrus treats too.
If you followed along, please take a moment and give this recipe a star rating right below. And for the topping, I would absolutely love it if you left a comment telling me what you used yours for! Did you garnish a cheesecake? Did you use them in a festive wreath? Or did you just eat them straight out of the jar like I always do? Let me know!
PrintEasy & Glossy Candied Orange Slices: Perfect for Garnish and Gifting

Make sweet, chewy candied orange slices using a simple syrup method. These glossy citrus rounds are perfect for decorating cakes, serving as homemade candy, or gifting during the holidays.
- Prep Time: 15 min
- Cook Time: 60 min
- Total Time: 75 min
- Yield: About 30 slices 1x
- Category: Dessert
- Method: Simmering
- Cuisine: American
- Diet: Vegetarian
Ingredients
- 3 large navel oranges
- 3 cups granulated sugar
- 3 cups water
Instructions
- Wash the oranges well. Slice the oranges thinly, about 1/8 inch thick. Discard the ends.
- Place the orange slices in a medium saucepan and cover them completely with cold water. Bring the water to a boil over high heat. Boil for 5 minutes, then drain the water. This step removes some of the bitterness.
- Return the orange slices to the clean saucepan. Add the 3 cups of sugar and 3 cups of water.
- Bring the mixture to a gentle boil over medium heat, stirring until the sugar dissolves. Reduce the heat to low and simmer the slices uncovered for 45 to 60 minutes. The slices should become translucent and tender.
- Carefully remove the orange slices from the syrup using tongs or a slotted spoon. Let excess syrup drip off.
- Place the slices in a single layer on a wire cooling rack set over a baking sheet.
- Allow the slices to dry at room temperature for at least 12 hours, or until they feel dry and slightly tacky.
- For a final coating, you can roll the dried slices in extra granulated sugar or use them as is.
Notes
- For chocolate dipped orange slices, melt 4 ounces of dark or semi-sweet chocolate. Dip half of each dried slice into the melted chocolate and place them back on the cooling rack to set completely.
- If you want a chewier, more intense flavor, you can dry the slices in a very low oven (200°F) for 1 to 2 hours after air drying, watching them closely.
- Save the leftover simple syrup; it makes a great citrus-flavored sweetener for cocktails or iced tea.
Nutrition
- Serving Size: 1 slice
- Calories: 85
- Sugar: 22g
- Sodium: 1mg
- Fat: 0.1g
- Saturated Fat: 0g
- Unsaturated Fat: 0g
- Trans Fat: 0g
- Carbohydrates: 22g
- Fiber: 0.5g
- Protein: 0.3g
- Cholesterol: 0mg