
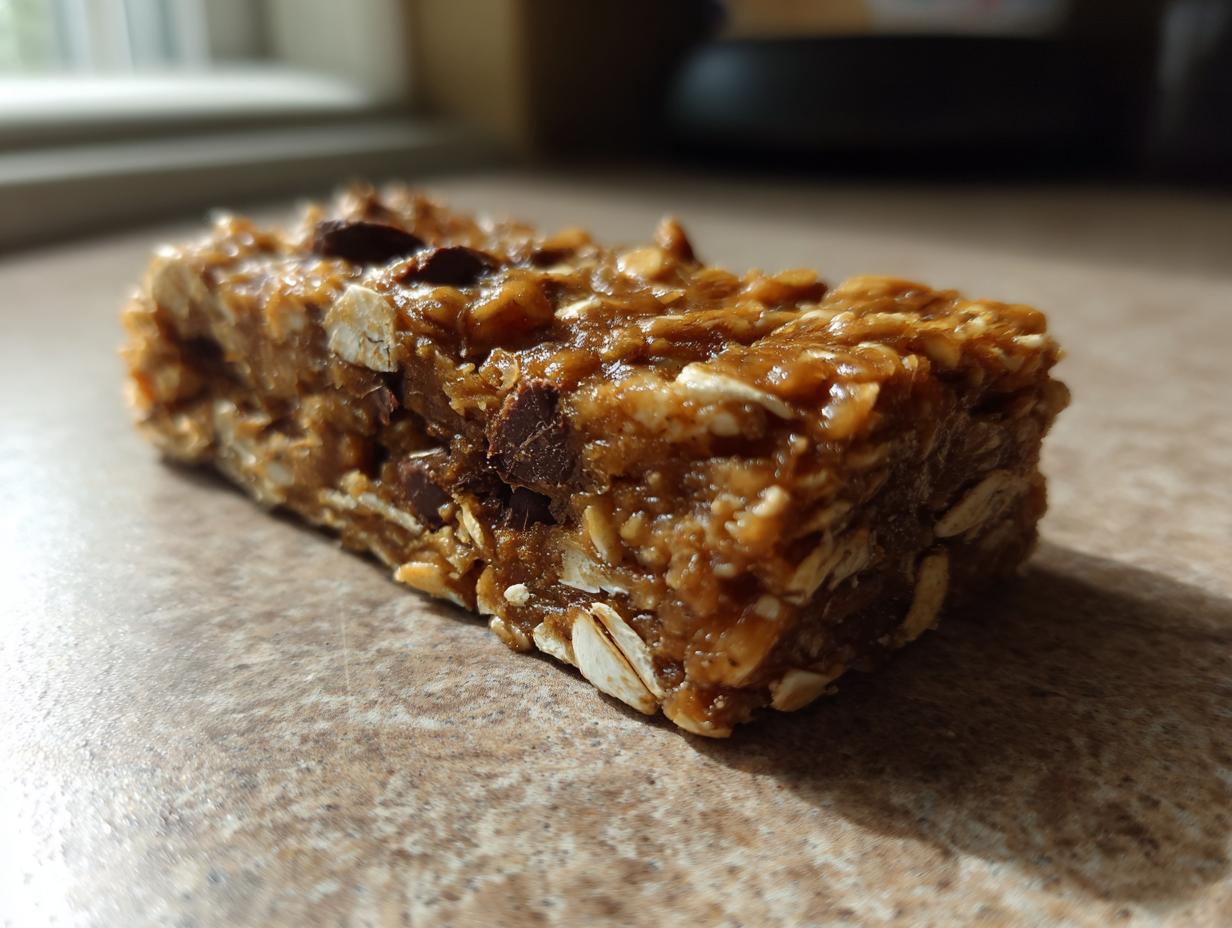
Life gets crazy, right? Between juggling a million things, finding a healthy snack that doesn’t take forever to make can feel like a mission. That’s exactly why I adore these quick protein bars. Seriously, you can whip them up in about 15 minutes, and they’re perfect for grabbing on your way out the door, whether you’re heading to the gym or just need a little energy boost. They’re no-bake, totally customizable, and just like Ellie Vance believes, they prove that delicious, feel-good food should be super accessible. No fuss, just pure snack satisfaction!
- Why You'll Love These Quick No-Bake Protein Bars
- Gather Your Ingredients for Protein Bars
- Simple Steps to Make Your Protein Bars
- Tips for Perfect No-Bake Protein Bars
- Customizing Your Protein Bars
- Making Gluten-Free Protein Bars
- Storage and Make-Ahead for Meal Prep Snacks
- Nutritional Information for Protein Bars
- Frequently Asked Questions About Protein Bars
- Share Your Creations!
Why You’ll Love These Quick No-Bake Protein Bars
These aren’t just any protein bars; they’re your new best friend for busy days:
- Ready in a flash: Seriously, about 15 minutes tops!
- Super easy to make: No oven needed, just mix and chill.
- Clean ingredients you can trust: Just simple, wholesome stuff.
- Completely customizable: Add whatever yummy mix-ins you love!
- Perfect grab-and-go fuel: Ideal for pre- or post-workout.
- Great for meal prep: Make a batch and have snacks ready all week.
Gather Your Ingredients for Protein Bars
Alright, let’s get these goodies together! You’ll need:
1 cup of rolled oats – I like using regular rolled oats, but quick oats work too if that’s what you have!
1/2 cup of your favorite protein powder. Whey or plant-based both work great here.
1/4 cup of nut butter. Peanut butter is classic, but almond or cashew butter make these taste super decadent!
1/4 cup of honey or maple syrup – this is what makes ’em a little sweet!
About 1/4 cup of milk, dairy or non-dairy, whatever you prefer.
1 teaspoon of vanilla extract – just a little splash for flavor!
And for the fun part – optional mix-ins! Think chocolate chips, some dried cranberries or apricots, chopped nuts, or even some chia seeds if you’re feeling fancy.
Simple Steps to Make Your Protein Bars
Okay, now for the fun part – putting it all together! These bars are seriously SO easy. You’ll have them ready to chill in no time at all. Trust me, this is where the magic happens, and it’s all done in about 15 minutes. First things first, grab a big bowl. Toss in your rolled oats and protein powder – give them a little whisk to make sure they’re friends.
Next, pour in the nut butter, that lovely honey or maple syrup, your milk, and the vanilla extract. Now, stir it all up! It might seem a little crumbly at first, but just keep mixing until it’s all combined into a nice, thick dough. Don’t be afraid to really get in there and mix it well. Now, if you’re adding in chocolate chips or dried fruit, gently fold them in now. Just a few turns is all it takes!
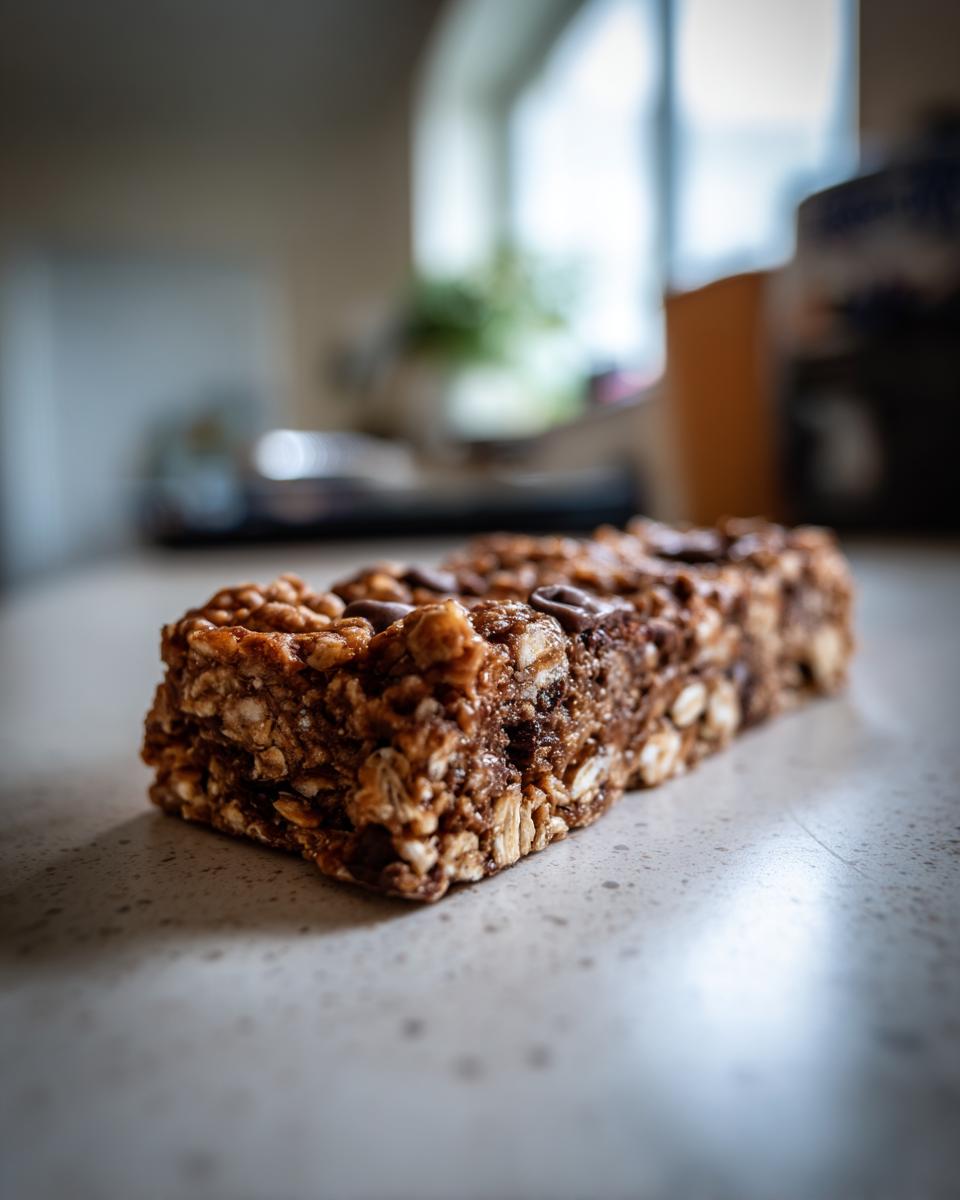
Grab an 8×8 inch baking dish. Lining it with parchment paper is a game-changer because it makes getting the bars out a breeze later. Get that mixture pressed down into the dish nice and evenly. I like to press it down firmly with the back of a spoon or even my hands (make sure they’re clean!). Pop this into the fridge for at least 30 minutes, or until it’s firm enough to cut. Once it’s set, just lift out the parchment paper, cut into your bars, and you’re done! For more no-bake tasty ideas, check out these oatmeal protein balls!
Tips for Perfect No-Bake Protein Bars
Alright, let’s make sure these bars turn out absolutely perfect every single time! It’s all about a few little tricks to get that ideal texture. Ellie always said simple is best, and these snacks are definitely proof of that! If your mixture feels a little too dry and crumbly, don’t panic! Just add another tablespoon or two of milk until it comes together nicely. On the flip side, if it’s too sticky, a little extra sprinkle of oats or protein powder can do the trick. Remember, consistency is key, so don’t be afraid to adjust that milk a tablespoon at a time until it feels just right – like a firm, pressable dough.
Customizing Your Protein Bars
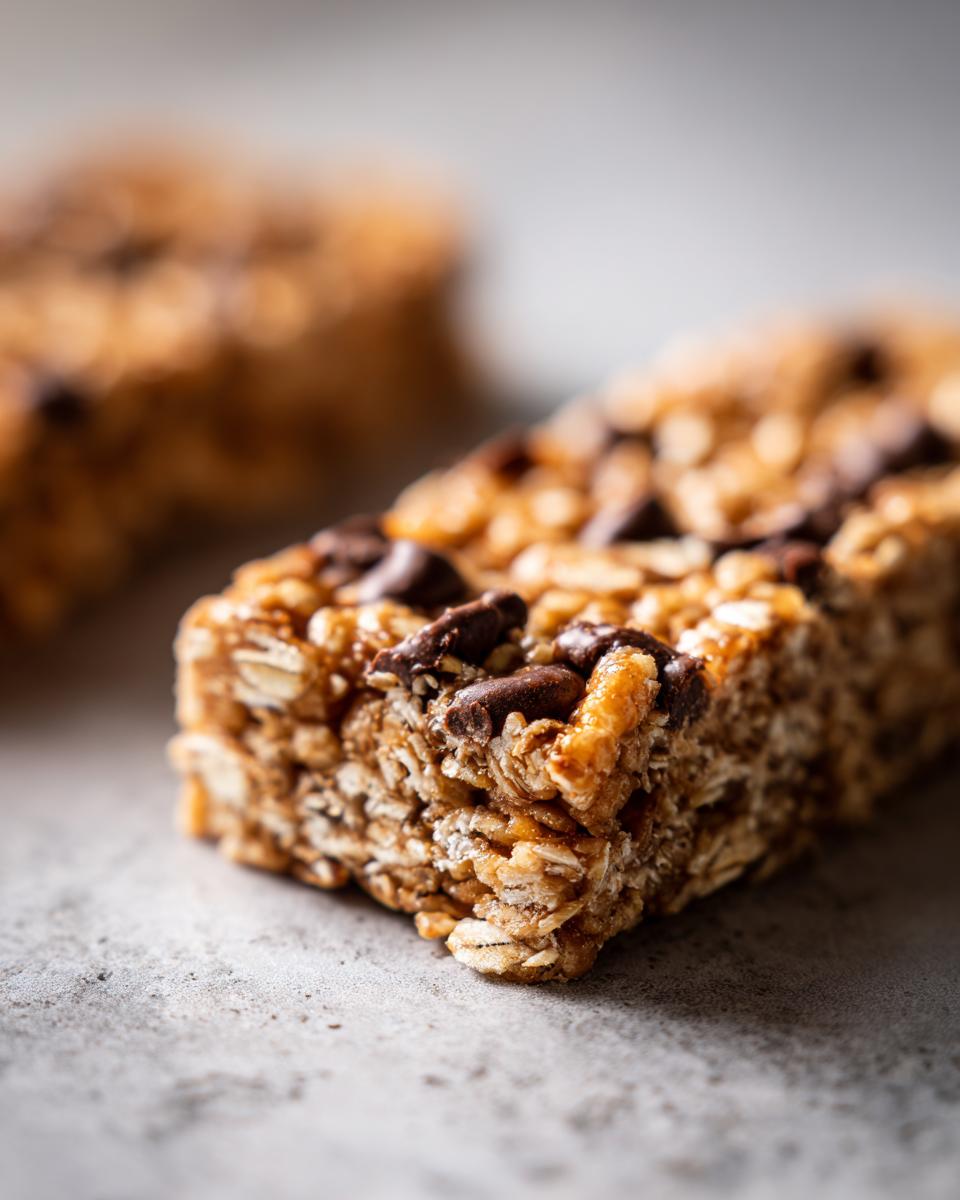
This is where you really make these protein bars your own! Since we’re all about clean ingredients snack ideas here, I love playing around with different mix-ins. Feeling classic? A handful of chocolate chips (dairy-free, of course!) is a must. Love a little chew? Dried cranberries, chopped apricots, or even some raisins are fantastic. For some crunch, toss in some chopped walnuts, almonds, or even some sunflower seeds. You can even add a sprinkle of shredded coconut or some extra chia seeds for a nutritional boost. The possibilities are endless, and it’s such a fun way to tailor them to exactly what you’re craving!
Making Gluten-Free Protein Bars
Thinking about making these gluten-free protein bars? It’s super simple! The trick is to make sure your main guys – the rolled oats and the protein powder – are certified gluten-free. Most brands will clearly label them if they are. Honestly, the rest of the ingredients like the nut butter, sweetener, milk, and vanilla are naturally gluten-free, so you’re mostly good to go. Just double-check those oats and powder, and you’ll have delicious, GF bars ready in no time!
Storage and Make-Ahead for Meal Prep Snacks
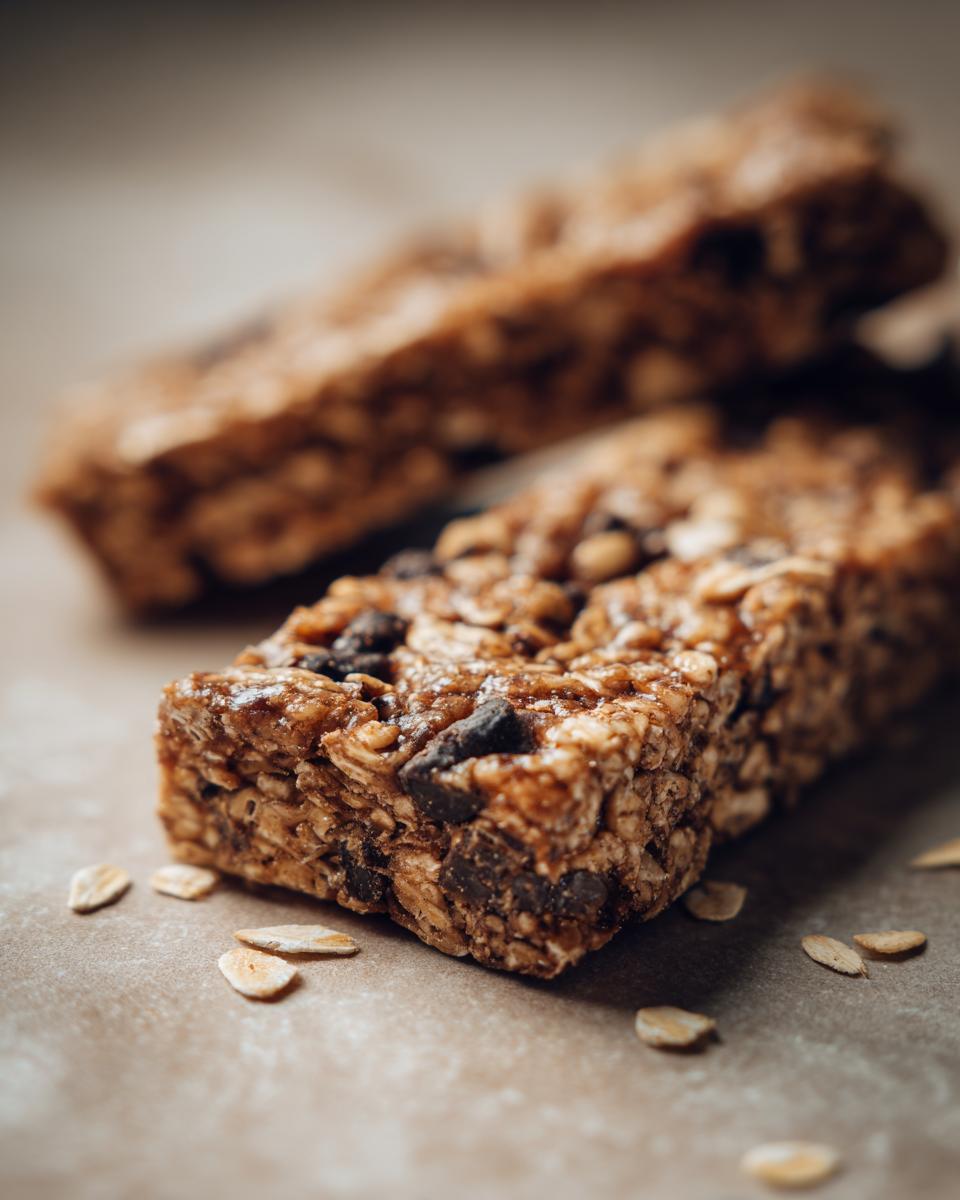
Now, let’s talk about keeping these goodies fresh so you can enjoy them all week long! Because these are no-bake bars, they really do best when they’re kept chilled. Pop them into an airtight container and store them in the refrigerator. Trust me, this keeps them nice and firm, just how you want them. They’ll stay delicious for about a week, which makes them absolutely perfect for your meal prep snacks lineup. Having these ready to go means you’ll never be caught without a healthy bite, making your weeknights a breeze – just like planning with these simplified dinner ideas!
Nutritional Information for Protein Bars
Just a heads-up, these nutrition numbers are estimates, okay? They can totally change depending on what kind of nut butter, protein powder, or mix-ins you go with. But generally, you’re looking at about 180 calories, 9g of fat (that’s mostly the good kind!), and a solid 8g of protein per bar. Plus, around 18g of carbs with 3g of fiber and 8g of sugar. They’re a fantastic healthy snack idea to keep you going!
Frequently Asked Questions About Protein Bars
Got questions? I’ve got answers! These little guys are so versatile, it’s natural to wonder about a few things. Let’s dive in! You can also find more ideas for healthy eating with easy breakfast ideas or check out these quick healthy lunch recipes.
Can I substitute the nut butter in these protein bars?
Absolutely! Peanut butter is classic, but almond butter or cashew butter work beautifully. For anyone with nut allergies, tahini or sunflower seed butter are great alternatives, keeping those yummy flavors coming!
What’s the best way to make these protein bars firmer?
If you’re looking for a firmer, more solid bar – especially for a post-workout bar – try slightly reducing the milk, maybe by a tablespoon. Also, make sure your bars are chilling for the full 30 minutes, or even a bit longer. That fridge time really makes a difference!
Are these protein bars good for meal planning?
Oh, 100%! These are total game-changers for meal planning. Because they’re so quick to make and store so well in the fridge, you can whip up a batch on the weekend and have ready-to-go snacks for the entire week. Such a lifesaver for busy schedules! For help with your plans, check out our guide on meal planning.
Share Your Creations!
I just LOVE seeing what you all come up with! If you make these easy protein bars, I’d be thrilled if you shared your experience in the comments below. Did you try a fun mix-in? Snap a pic and tag us on social media! Hearing from you and seeing your delicious creations makes my day.
PrintQuick No-Bake Protein Bars

Whip up these easy, no-bake protein bars in 15 minutes for a healthy, grab-and-go snack. Customize with your favorite mix-ins.
- Prep Time: 15 min
- Cook Time: 0 min
- Total Time: 15 min
- Yield: 12 bars 1x
- Category: Snacks
- Method: No-Bake
- Cuisine: American
- Diet: Vegetarian
Ingredients
- 1 cup rolled oats
- 1/2 cup protein powder (whey or plant-based)
- 1/4 cup nut butter (peanut, almond, or cashew)
- 1/4 cup honey or maple syrup
- 1/4 cup milk (dairy or non-dairy)
- 1 teaspoon vanilla extract
- Optional mix-ins: chocolate chips, dried fruit, nuts, seeds
Instructions
- In a large bowl, combine oats and protein powder.
- Add nut butter, honey or maple syrup, milk, and vanilla extract. Stir until well combined.
- Fold in any desired mix-ins.
- Press the mixture evenly into an 8×8 inch baking dish lined with parchment paper.
- Refrigerate for at least 30 minutes, or until firm.
- Cut into bars and store in the refrigerator.
Notes
- For gluten-free bars, ensure your oats and protein powder are certified gluten-free.
- These bars are best stored in the refrigerator for up to one week.
- Adjust the amount of milk to reach your desired consistency.
Nutrition
- Serving Size: 1 bar
- Calories: 180
- Sugar: 8g
- Sodium: 70mg
- Fat: 9g
- Saturated Fat: 2g
- Unsaturated Fat: 7g
- Trans Fat: 0g
- Carbohydrates: 18g
- Fiber: 3g
- Protein: 8g
- Cholesterol: 5mg