
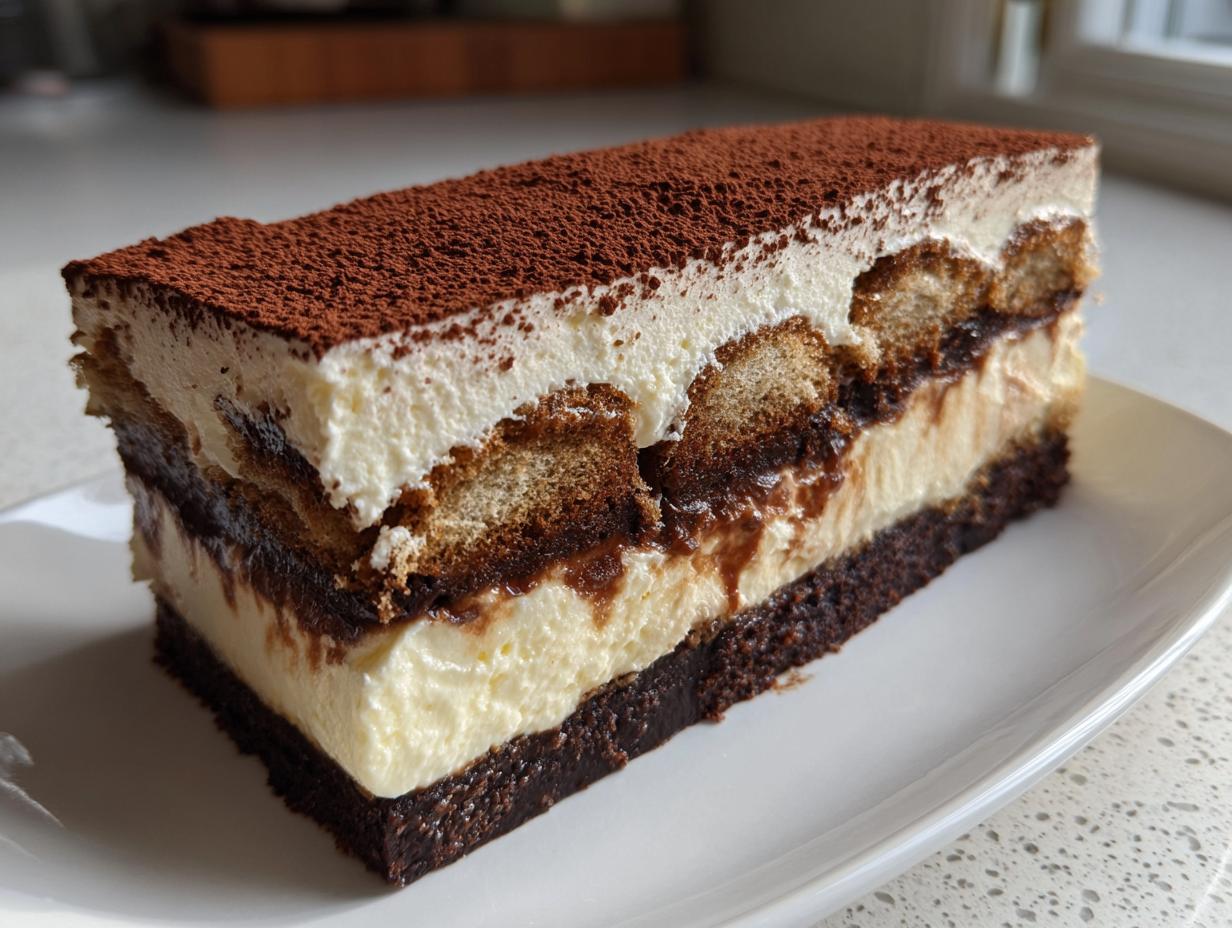
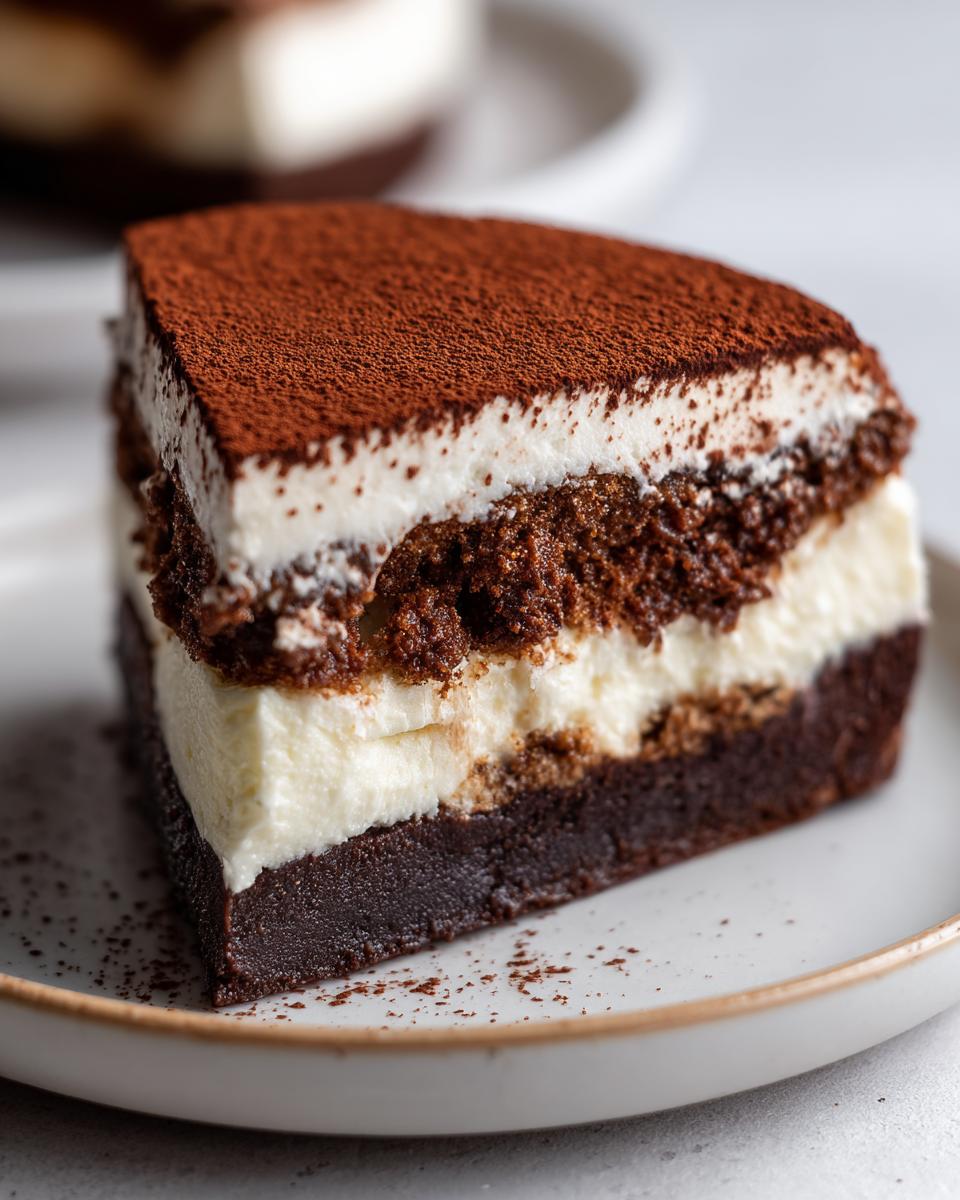
Oh, the magic of a perfect dessert mashup! Sometimes, you just can’t decide between the rich, coffee-kissed punch of tiramisu and the utterly decadent, creamy hug of a classic cheesecake, right? Well, I solved that problem once and for all. I’m so excited to share what I genuinely believe is the Best No-Bake Tiramisu Cheesecake you’ll ever make. This recipe delivers all that Italian elegance without ever needing to turn on the oven, giving you that unbelievably silky texture.
In my kitchen over at DeliceRecipe, my goal is always to bring you beautiful, impressive food that doesn’t require you to spend all day fussing. This fusion dessert lets you create something truly gourmet while keeping the process straightforward for the home cook. Trust me, this coffee-and-mascarpone beauty is going to be the star of your next party.
- Why This No Bake Tiramisu Cheesecake is Your Next Go-To Elegant Dessert Recipes
- Ingredients for the Best Tiramisu Cheesecake
- How to Prepare Your No Bake Tiramisu Cheesecake
- Tips for the Perfect Tiramisu Cheesecake
- Serving and Storing Your Decadent Cheesecake Dessert
- Addressing Common Questions About Tiramisu Cheesecake
- Nutritional Estimates for Your Tiramisu Cheesecake Dessert
- Share Your Tiramisu Fusion Dessert Experience
Why This No Bake Tiramisu Cheesecake is Your Next Go-To Elegant Dessert Recipes
When I develop recipes for DeliceRecipe, I always prioritize flavor and simplicity. That’s why this recipe is built on trust—it works perfectly every single time, which is essential when you’re planning party desserts. You get that incredible, formal look without the stress!
This Tiramisu Cheesecake Recipe really shines because it fits right into your busy schedule. It’s truly one of the best easy make ahead desserts around. You mix it, chill it, and when it’s time to serve, you have something that looks like it came from a fancy pastry shop. It’s so lovely, you might even forget how easy it was—just like my favorite cream cheese pound cake!
Key Attributes of Our Tiramisu Cheesecake Recipe
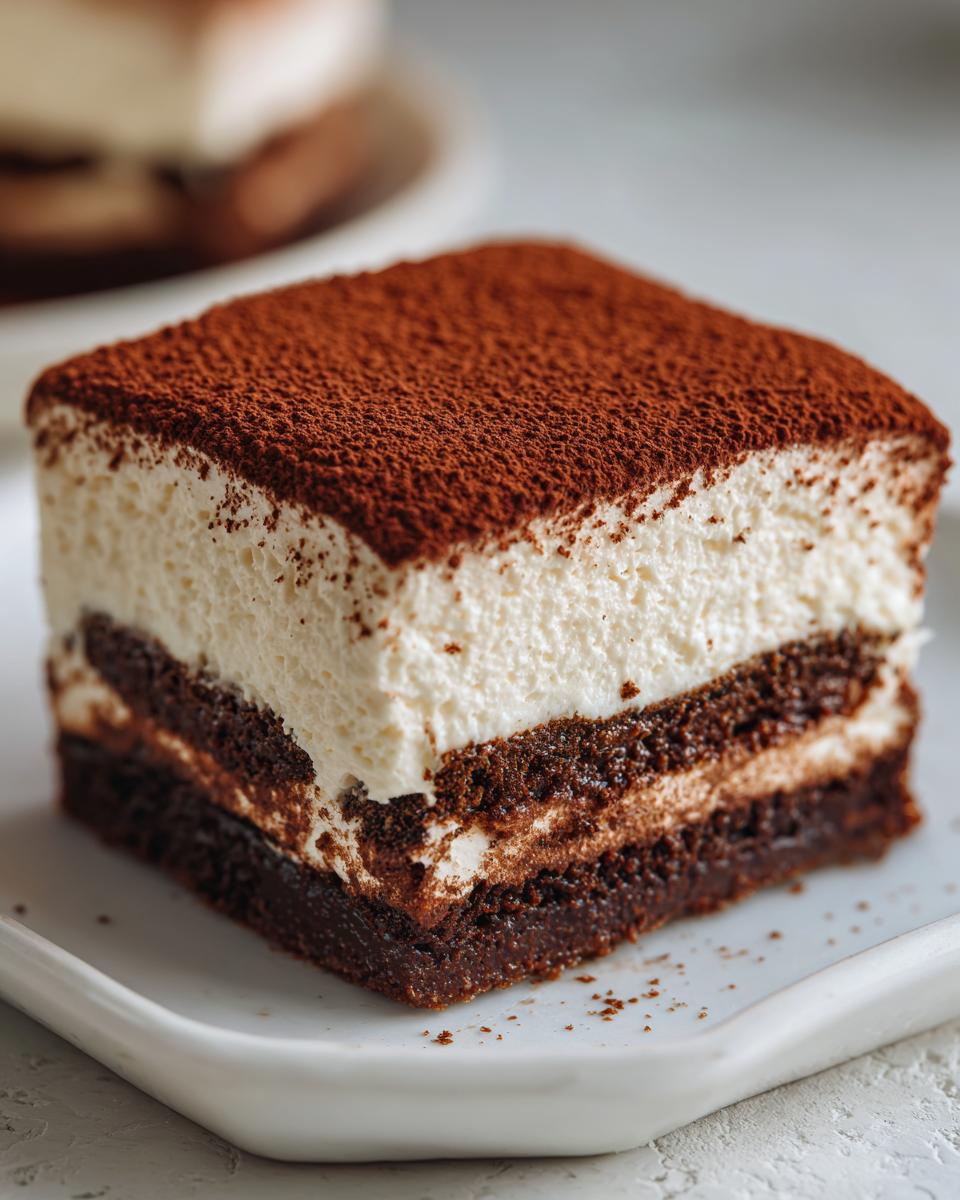
- No oven needed! This guarantees that beautiful, silky cheesecake filling texture we crave.
- Intense coffee flavor paired with luxurious mascarpone cheese gives you true Italian elegance.
- It solidifies beautifully in the fridge, making cleanup and serving simple for any event.
- It’s the perfect example of elegant dessert recipes that feel gourmet but use simple techniques.
Ingredients for the Best Tiramisu Cheesecake
So, here are the stars of the show for this magnificent No Bake Tiramisu Cheesecake. This list is strictly for the chilled, no-bake version, which means no fussing with water baths or cracking tops! The absolute most important thing you can grab is good quality mascarpone—don’t skimp here! And promise me you’ll brew some very strong espresso; that’s the coffee flavor we need to really shine through. If you want a sturdier base, you can check out my directions for making a great butter pie crust, but we’re sticking to cookies for this fusion dessert!
For the Chocolate Cookie Crust and Coffee Soak
- 1 1/2 cups chocolate cookie crumbs (like Oreos)
- 6 tablespoons unsalted butter, melted
- 1/4 cup strong brewed espresso or coffee, cooled
- 1 tablespoon coffee liqueur (optional)
For the Mascarpone Cheesecake Filling
- 16 ounces cream cheese, softened
- 1 cup granulated sugar
- 1 teaspoon vanilla extract
- 16 ounces mascarpone cheese, softened
- 1 cup heavy whipping cream, cold
- 1 package (7 ounces) ladyfingers
- Unsweetened cocoa powder, for dusting
How to Prepare Your No Bake Tiramisu Cheesecake
Alright, let’s get mixing! Since this is a no-bake wonder, our main job is temperature management and careful assembly. We want that perfect, smooth texture, so please follow these steps closely. If you’ve ever made my no-bake cookie dough cheesecake, this process will feel familiar and fun!
Creating the Chocolate Cookie Crust and Soaking Ladyfingers
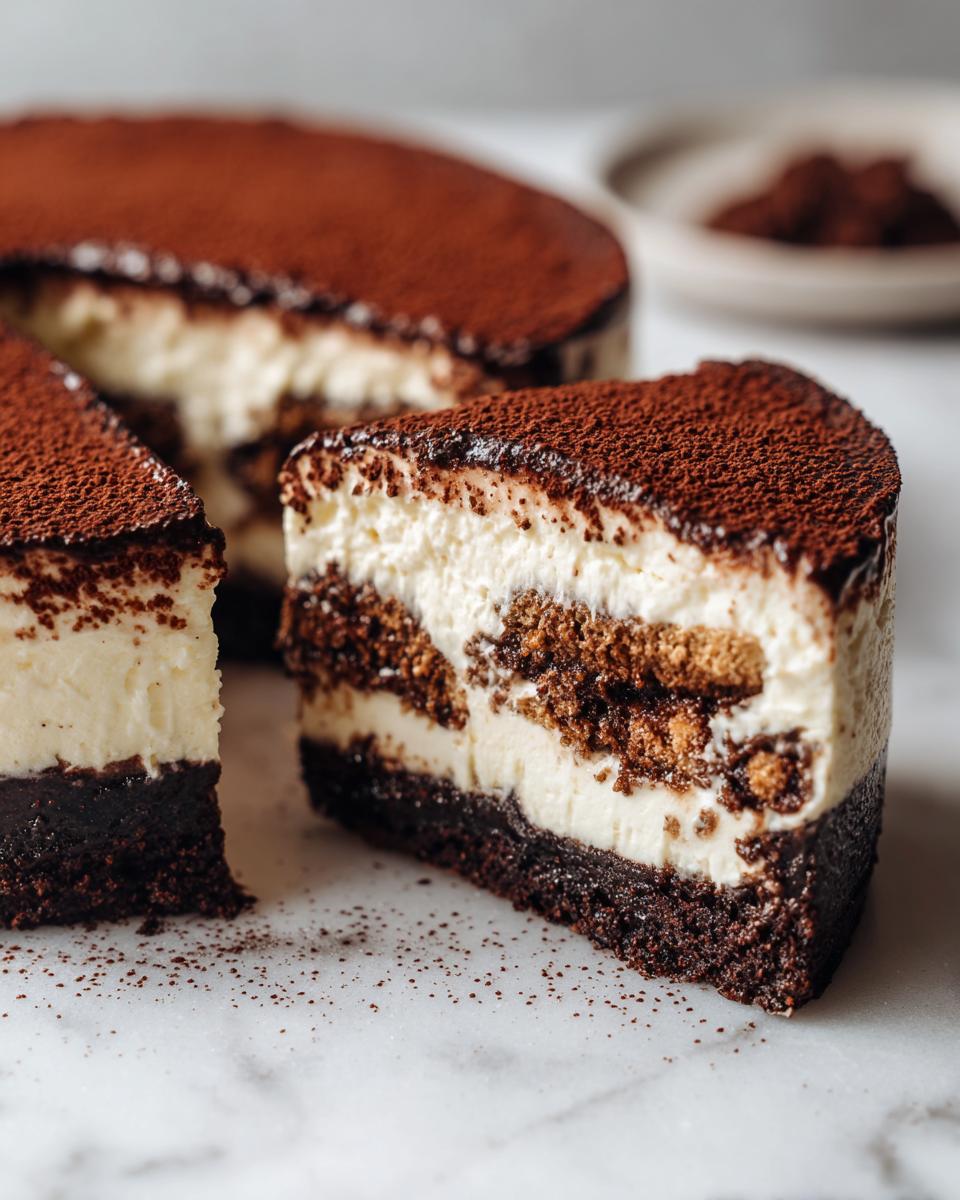
First up is the base. Just mix those chocolate cookie crumbs with the melted butter until everything looks sandy. Then press it down firmly into the bottom of your 9-inch springform pan. Give that crust a quick 15-minute chill while you get your coffee bath ready.
Now for the espresso soak—this is where the tiramisu flavor sets in! Mix your cooled espresso with the optional liqueur in a shallow bowl. Here’s my big tip: you need to dip those ladyfingers quickly! Just a quick dunk on both sides. If they sit too long, they get soggy and your layers turn to mush. We want them moist, not weeping! Lay them out quickly over that chilled crust layer.
Mixing the Silky Cheesecake Filling
Time for the creamy goodness! In a large bowl, beat your softened cream cheese with the sugar until it’s completely smooth—no lumps allowed. Then mix in the vanilla and the mascarpone cheese. You want to mix these just until they come together. Seriously, stop mixing as soon as it’s uniform!
In a separate, super clean bowl, whip your heavy cream until it forms stiff peaks—that means it holds its shape when you lift the beaters. Now, gently fold that fluffy cream into the mascarpone mixture. Folding—not beating—is crucial here! This keeps all those air bubbles intact, giving you that wonderfully silky cheesecake filling.
Assembling and Chilling the Tiramisu Cheesecake
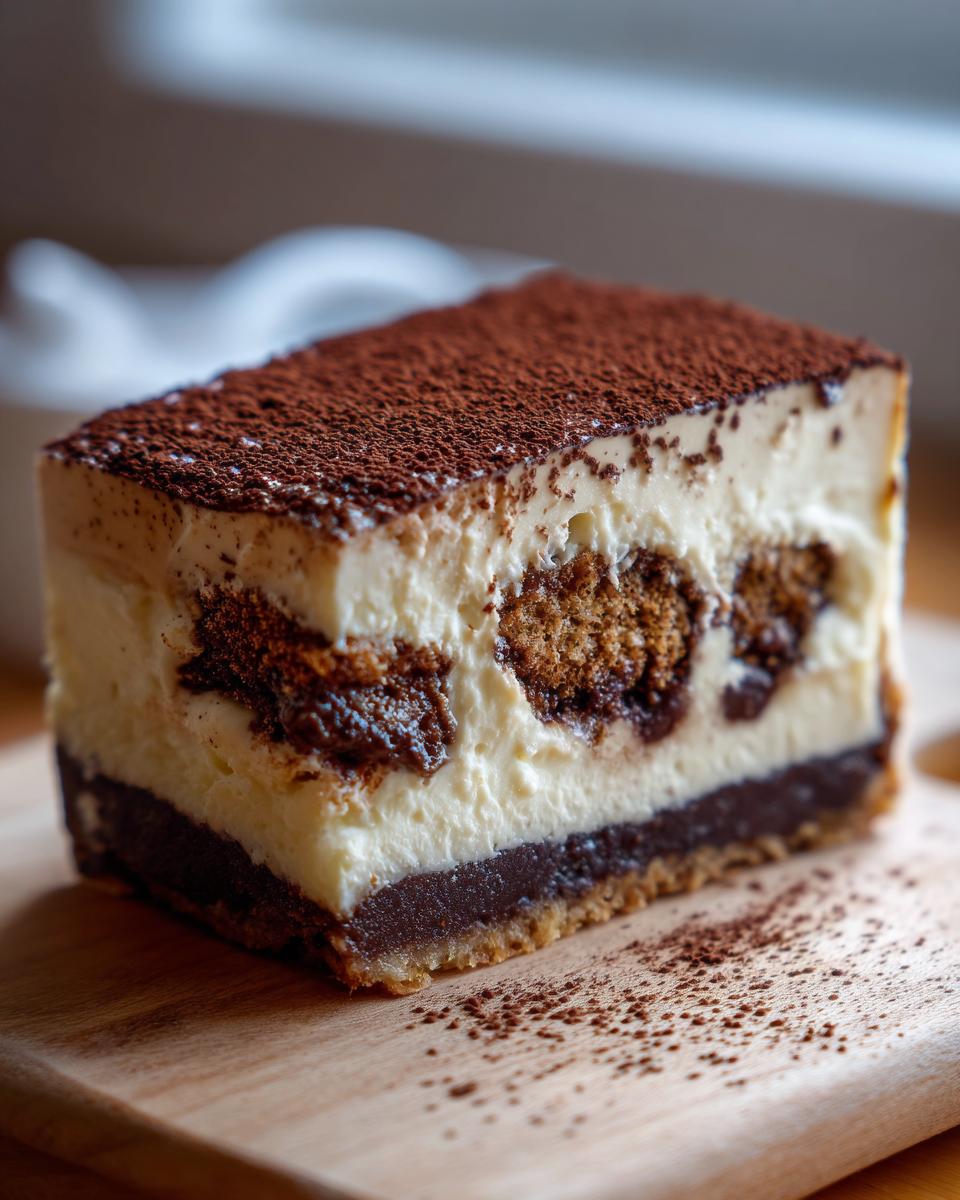
This is my favorite part! Spread half of that luscious filling right over your first layer of soaked ladyfingers. Doesn’t that look amazing already? Then, add your second layer of coffee-soaked ladyfingers. Top it all off with the remaining filling and smooth the top nicely with your spatula.
This dessert hates being rushed. Cover it gently with plastic wrap and stick it in the fridge for at least six hours, but if you can hold out until the next day, that’s even better! That long chill time lets all those lovely coffee flavored cheesecake flavors really meld together perfectly.
Tips for the Perfect Tiramisu Cheesecake
You know I always want you to get that gourmet result in your own kitchen, no matter what. Since this tiramisu cheesecake relies so heavily on coffee and mascarpone flavor, the quality of those main ingredients really makes a huge difference in the final product. Don’t be afraid to treat yourself to the good stuff here!
Ingredient Quality for Rich Tiramisu Cheesecake Flavor
For the absolute deepest, richest coffee flavored cheesecake experience, please use the darkest roast espresso you can find for dipping. I also highly recommend adding that optional splash of coffee liqueur, like Kahlúa, if you have it. It just adds this extra layer of warmth and sophistication to the whole mascarpone cheesecake profile. It’s worth the tiny extra step, honestly!
Crust Variations for Your Tiramisu Cheesecake
While I adore the dramatic look and texture of that chocolate cookie crust, sometimes you just don’t have Oreos on hand, or maybe you want something a little less intense. That’s totally fine! You can easily swap out the chocolate crumbs for standard graham crackers. Just sneak in about two tablespoons of unsweetened cocoa powder with the graham cracker crumbs and melted butter. It gives you a slightly lighter base that still ties in beautifully with the topping. It’s all about having options!
Serving and Storing Your Decadent Cheesecake Dessert
Once that chilling time is up, the best part is presentation! Before you even think about slicing into this beautiful decadent cheesecake dessert, you need the iconic finish. Carefully remove the springform ring—it should pop right off now. Then, grab your fine mesh sieve and dust the entire top surface generously with unsweetened cocoa powder. That dark, velvety coating makes this the perfect centerpiece for any array of party desserts.
Make-Ahead Convenience for Party Desserts
This is where this recipe truly earns its stripes as one of the best easy make ahead desserts. I absolutely insist you chill this for a full overnight period if you can squeeze it in. While it’s firmly set after six hours, letting it rest overnight allows the espresso from the ladyfingers to fully permeate the creamy filling. When you serve that perfectly set, coffee-kissed slice, everyone will think you spent days on it, not just 30 minutes of prep! If you need a quick fix for something else sweet later, I have a great easy cookie icing recipe too.
Addressing Common Questions About Tiramisu Cheesecake
I always get so many questions when I post about fusion desserts like this! It’s natural when you’re mixing two classics together, especially when dealing with a flavor combination as popular as the tiramisu cheesecake. People want to know if they can be flexible or if they need to stick rigidly to the plan. I’ve gathered the top things I hear about this assembly right here, keeping things simple just like we always do here at DeliceRecipe. If you loved that turtle cheesecake recipe, you’ll appreciate the easy assembly of this one!
Can I make a Baked Tiramisu Cheesecake instead?
That’s a great question! Yes, absolutely, a baked tiramisu cheesecake is totally a thing, and they are delicious with that slightly denser texture. However, the beauty of the recipe I’ve shared here is that it uses the no-bake method. That’s what gives us that instantly smooth, melt-in-your-mouth silky cheesecake filling without any need for pans or tricky baking times. We kept it easy!
What is the best coffee to use for the ladyfingers?
Seriously, don’t settle for weak coffee here! Since this is a coffee flavored cheesecake, those espresso-soaked layers are vital. You need something robust. I always insist on using strong brewed espresso if you can get it, or at the very least, a dark roast brewed very strongly. It cuts through the sweetness of the cheese filling perfectly.
How long does this Tiramisu Cheesecake last in the fridge?
Because we are using so much rich dairy—hello, mascarpone!—freshness matters. This tiramisu cheesecake keeps beautifully covered in the fridge for up to four days. But honestly? If you can manage it, the flavor gets richer on Day Two, so I try to save a slice just for myself for the next day’s breakfast!
Nutritional Estimates for Your Tiramisu Cheesecake Dessert
Okay, now I know some of you, like me sometimes, need the nitty-gritty details on what we’re serving up! While I’m firmly in the camp that a dessert like this tiramisu cheesecake is meant to be enjoyed (and enjoying it is key!), it’s good to have a baseline idea. Please remember, these numbers are only estimates based on the common ingredients used, especially since brands of cream cheese or cookies can vary wildly. Also, this estimate is per slice, based on a 10-serving yield.
For example, I always tell folks that if you use my easy blueberry scone recipe idea for a lighter base instead of the chocolate cookies, those numbers will shift a bit! But for this decadent base, here’s a rough look at one slice:
- Serving Size: 1 slice
- Calories: 450
- Sugar: 30g
- Fat: 32g (It is rich, isn’t it?)
- Protein: 8g
- Cholesterol: 95mg
See? It’s definitely a treat! But wow, is it worth every magnificent, coffee-kissed bite. Just make sure you have a little glass of strong coffee on the side when you serve this!
Share Your Tiramisu Fusion Dessert Experience
Creation in the kitchen is meant to be shared, and I truly want to hear all about your success with this Tiramisu Fusion Dessert! Did you try it for a fancy dinner party, or maybe just for a cozy weekend indulgence? There’s nothing that makes me happier than seeing your beautiful creations pop up in my inbox or gallery.
Since this is a no-bake recipe, I’m especially curious: what did you think of the texture? Did that silky cheesecake filling set up exactly as you hoped? Did you stick with the chocolate cookie crust, or did you try the graham cracker variation?
Please, please take a moment to leave a star rating right below this post! It helps other home cooks feel confident when they decide to tackle this gorgeous Mascarpone Cheesecake. And if you snap a photo of your cocoa-dusted masterpiece, tag me on social media! I love seeing how you serve up these elegant treats. Can’t wait to hear about your experience making this delight!
If you’re looking for more inspiration to bring elegance to your dessert table, be sure to check out my full collection of delicious dessert recipes. Happy baking—or rather, happy chilling!
PrintNo-Bake Tiramisu Cheesecake with Espresso-Soaked Ladyfingers
This recipe combines the creamy texture of cheesecake with the coffee and mascarpone flavors of classic tiramisu. You make this dessert without baking, resulting in a silky, elegant treat perfect for parties or holidays.
- Prep Time: 30 min
- Cook Time: 0 min
- Total Time: 6 hr 30 min
- Yield: 10 servings 1x
- Category: Dessert
- Method: No-Bake
- Cuisine: Italian Inspired
- Diet: Vegetarian
Ingredients
- 1 1/2 cups chocolate cookie crumbs (like Oreos)
- 6 tablespoons unsalted butter, melted
- 1/4 cup strong brewed espresso or coffee, cooled
- 1 tablespoon coffee liqueur (optional)
- 16 ounces cream cheese, softened
- 1 cup granulated sugar
- 1 teaspoon vanilla extract
- 16 ounces mascarpone cheese, softened
- 1 cup heavy whipping cream, cold
- 1 package (7 ounces) ladyfingers
- Unsweetened cocoa powder, for dusting
Instructions
- Prepare the crust: Combine the chocolate cookie crumbs and melted butter. Press the mixture firmly into the bottom of a 9-inch springform pan. Chill the crust for 15 minutes while you prepare the coffee soak.
- Prepare the coffee soak: In a shallow bowl, mix the cooled espresso and coffee liqueur, if using. Quickly dip both sides of the ladyfingers into the coffee mixture, ensuring they are moist but not soggy. Arrange a single layer of soaked ladyfingers over the chilled crust.
- Make the filling: In a large bowl, beat the softened cream cheese and granulated sugar until smooth. Beat in the vanilla extract. Add the softened mascarpone cheese and mix until just combined. Do not overmix.
- Whip the cream: In a separate, clean bowl, whip the cold heavy whipping cream until stiff peaks form. Gently fold the whipped cream into the mascarpone-cream cheese mixture until uniform.
- Assemble the cheesecake: Spread half of the cheesecake filling evenly over the layer of soaked ladyfingers. Add a second layer of coffee-soaked ladyfingers on top of the filling. Top with the remaining cheesecake filling, smoothing the top with a spatula.
- Chill: Cover the pan loosely with plastic wrap and refrigerate for at least 6 hours, or preferably overnight, until the cheesecake is firm.
- Serve: Before serving, carefully remove the springform ring. Dust the top generously with unsweetened cocoa powder. Slice and serve this decadent cheesecake dessert.
Notes
- For an even richer flavor, use a dark roast espresso for soaking the ladyfingers.
- If you prefer a chocolate cookie crust alternative, you can use graham crackers mixed with 2 tablespoons of cocoa powder.
- This is an easy make-ahead dessert; it tastes best when chilled for a full 12 hours.
Nutrition
- Serving Size: 1 slice
- Calories: 450
- Sugar: 30
- Sodium: 250
- Fat: 32
- Saturated Fat: 19
- Unsaturated Fat: 13
- Trans Fat: 0.5
- Carbohydrates: 35
- Fiber: 1
- Protein: 8
- Cholesterol: 95