
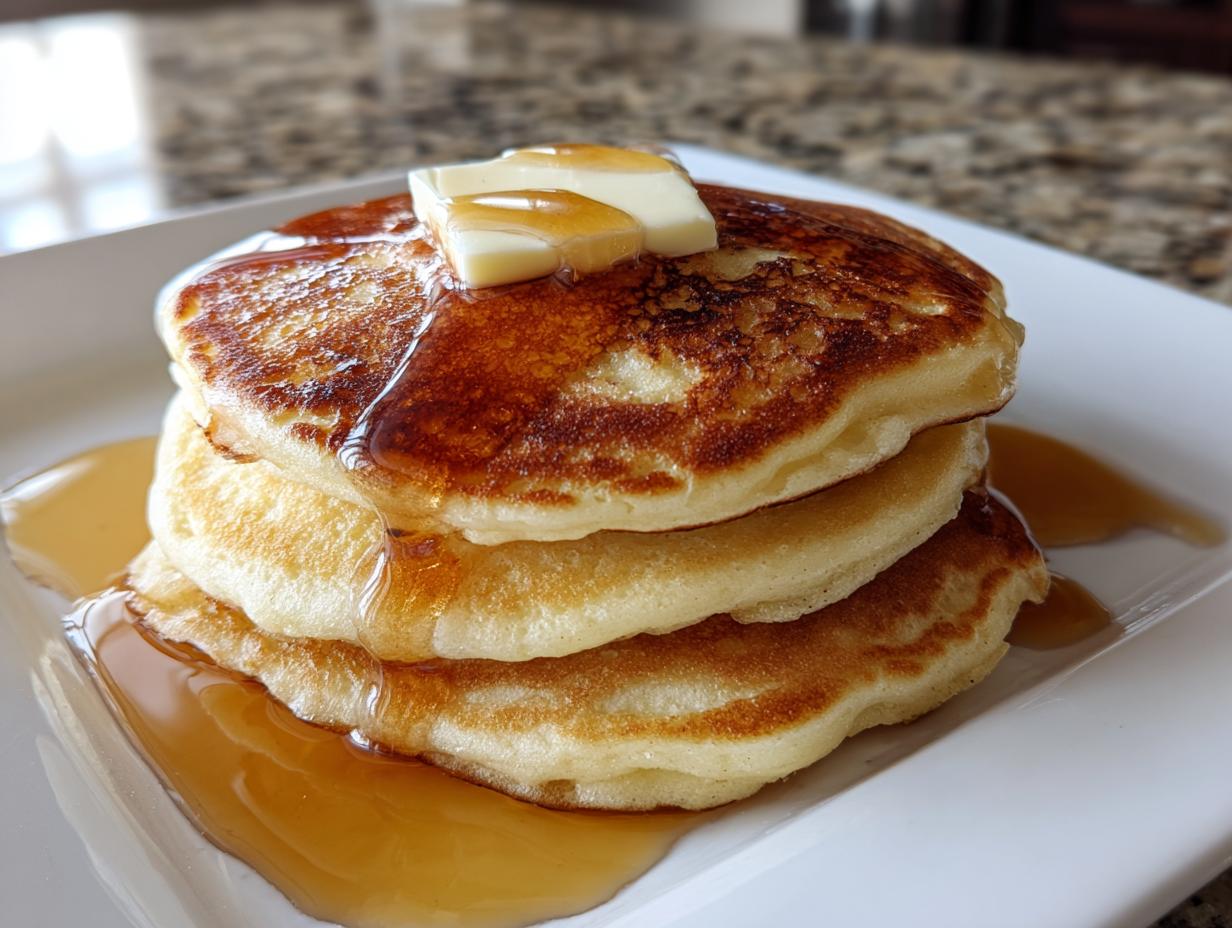
There’s just something about a stack of perfectly fluffy pancakes on a lazy weekend morning, isn’t there? It smells like pure happiness. For me, nothing beats a batch of truly old fashioned pancakes. Forget those complicated recipes that leave you stressed before you’ve even cracked an egg! This is the recipe I’ve relied on forever, the one that uses things I almost always have in my pantry – flour, baking powder, the usual suspects. It’s so darn simple and always turns out perfectly tender and delightfully fluffy. Seriously, it’s my go-to when I need a little comfort and a lot of deliciousness without any fuss. It makes my whole kitchen smell amazing, and that first bite… oh, it’s pure magic.
- Why You'll Love These Old Fashioned Pancakes
- Gather Your Ingredients for Classic Pancakes
- Mastering the Easy Pancake Batter
- Cooking Your Perfect Old Fashioned Pancakes
- Ingredient Notes and Substitutions for Homemade Pancakes
- Serving Suggestions for Your Classic Pancakes
- Make-Ahead and Freezer Tips for Effortless Meal Planning
- Frequently Asked Questions About Old Fashioned Pancakes
- Estimated Nutritional Information
Why You’ll Love These Old Fashioned Pancakes
Honestly, what’s not to love? These old fashioned pancakes are a dream come true:
- Super Easy Batter: Seriously, you just whisk a few things together. No fancy techniques needed!
- Incredibly Fluffy Texture: That secret? It’s all about not overmixing, and a little bit of magic from the baking powder.
- Pantry Staple Friendly: No need for a special grocery run. You probably have everything you need right now.
- Pure Comfort Food: They taste like a warm hug on a plate, perfect for any morning.
This is the kind of fluffy pancake recipe that becomes a family favorite, fast!
Gather Your Ingredients for Classic Pancakes
Alright, let’s get these delicious old fashioned pancakes going! You really only need the basics for this. Here’s what you’ll need to pull out:
- 1 1/2 cups all-purpose flour: Just your regular, trusty flour will do the trick.
- 3 1/2 teaspoons baking powder: This is the magic wand for fluffiness! Make sure it’s fresh.
- 1 teaspoon salt: A little salt balances out all that sweetness.
- 1 tablespoon white sugar: Just a touch to get things started.
- 1 1/4 cups milk: Any milk works here – whole milk, skim, almond milk, oat milk – whatever you’ve got. Cow’s milk gives it that classic richness, though!
- 1 large egg: This is for binding and a little bit of richness.
- 3 tablespoons butter, melted: Melt it down until it’s liquid gold.
See? Told you it was simple! Grab your whisk and your favorite bowl, and let’s make some batter!
Mastering the Easy Pancake Batter
Okay, now for the fun part – mixing up this dreamy, fluffy batter! This is where the magic really starts. Grab that big bowl, toss in all your dry ingredients – the flour, baking powder, salt, and sugar – and give them a quick whisk. This just makes sure everything is evenly distributed. Now, make a little well in the middle, like a tiny volcano, and pour in your wet ingredients: the milk, that egg, and the melted butter. Start mixing! And here’s the golden rule, the secret weapon for these old fashioned pancakes: don’t you dare overmix! Stop as soon as everything is *just* combined. Yes, a few little lumps are totally fine, even good! They mean you haven’t worked the gluten too much, which is exactly what we want for tenderness. If you’re curious about other flour types, you can check out my almond flour pancakes too!
The Secret to Fluffy Old Fashioned Pancakes
So, how do we get that super fluffy texture? It’s really all about that gentle touch when mixing. Once your dry and wet ingredients are *just* acquainted, stop stirring. Seriously, put the whisk down! If you have a minute (and who doesn’t on a weekend morning?), letting the batter sit for about 5 or 10 minutes can actually make them even fluffier. It gives the baking powder a head start and lets the flour hydrate a bit. But even if you don’t have time, just remember: lumps are your friend! I learned that the hard way after making some seriously flat pancakes years ago trying to get the batter *too* smooth. For old fashioned pancakes, a little imperfection in the batter leads to pancake perfection on the griddle. Trust me on this one!
Cooking Your Perfect Old Fashioned Pancakes
Alright, it’s time to get these beauties onto the griddle! This is where your patience with the batter really pays off. First things first, get your griddle or a good non-stick frying pan heating over medium-high heat. You want it nice and warm, but not so hot that it’s smoking like crazy. A little trick I learned from my mom for checking the heat is to flick a tiny drop of water onto it – if it sizzles and dances around before disappearing, you’re golden. Now, just give your pan a very light brush with a bit of oil or butter. You don’t need much, just enough so those gorgeous pancakes don’t stick. Trust me, you don’t want to be scraping stuck batter off your pan!
Now, scoop about 1/4 cup of that fluffy batter for each pancake onto the hot griddle. Don’t overcrowd the pan; give them some breathing room! You’ll know it’s time to flip when you see little bubbles starting to pop up all over the surface of the pancake and the edges look a little set. That’s your signal! Carefully slide your spatula underneath and give it a confident flip. Cook the other side for another minute or two until it’s a beautiful golden-brown. It’s that simple! You can do it, and soon you’ll have a stack of amazing old fashioned pancakes that look and taste like they came straight from a classic diner. If you ever need crispy sides to your meal, my potato wedges are amazing too!
Griddle Cues for Diner Style Pancakes
Getting that perfect “diner style” look is all about the heat and timing. You want a medium-high heat so the pancakes cook through without burning on the outside. If they’re browning too fast, turn the heat down a notch. If they’re taking forever and not developing any color, nudge it up a bit. Those bubbles are your best friend! When they start to form and linger on top, it means the underside is set and ready for its flip. Don’t be afraid to peek underneath with your spatula – a nice, even golden-brown color tells you everything you need to know. A really hot griddle might give you those speckled brown spots that scream “diner special,” but make sure the inside cooks too! It takes a little practice, but you’ll get the hang of it, and these old fashioned pancakes will be picture-perfect in no time.
Ingredient Notes and Substitutions for Homemade Pancakes
So, you’re ready to whip up these amazing homemade pancakes but maybe you’re out of a key ingredient? No worries at all! The beauty of this old fashioned pancakes recipe is its flexibility. Many people ask, “What if I don’t have buttermilk?” It’s super common! While real buttermilk gives a lovely tang and extra tenderness, you can totally make these without it. Just grab your regular milk – any kind works! Then, add about a tablespoon of either white vinegar or lemon juice to it. Give it a little stir and let it sit for about 5 minutes. It’ll look a little curdled, and that’s exactly what you want – it’s created your own DIY buttermilk substitute! This little trick gives you that wonderful richness. If you’re looking for more fun easy recipes, check out my quick pickled jalapenos!
Serving Suggestions for Your Classic Pancakes
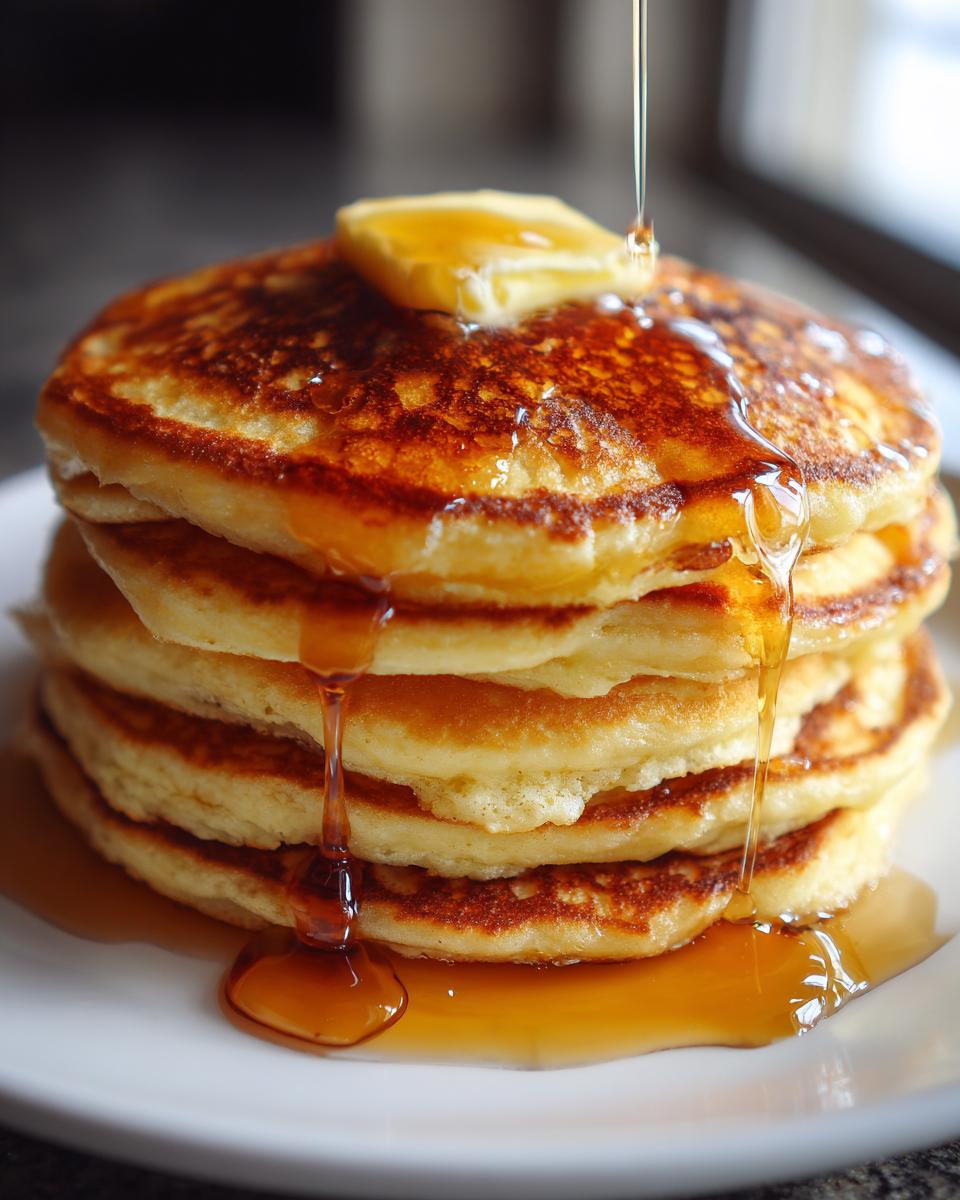
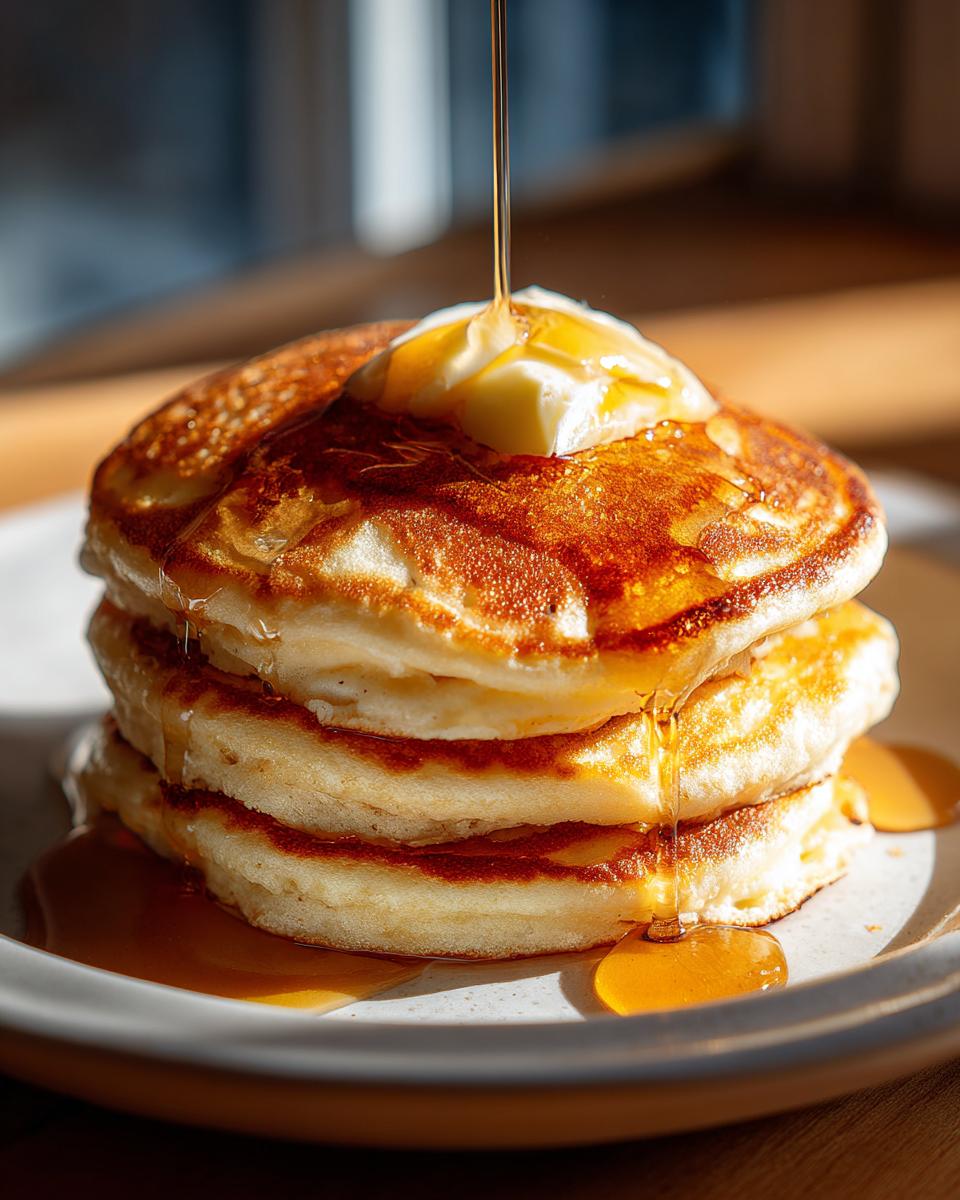
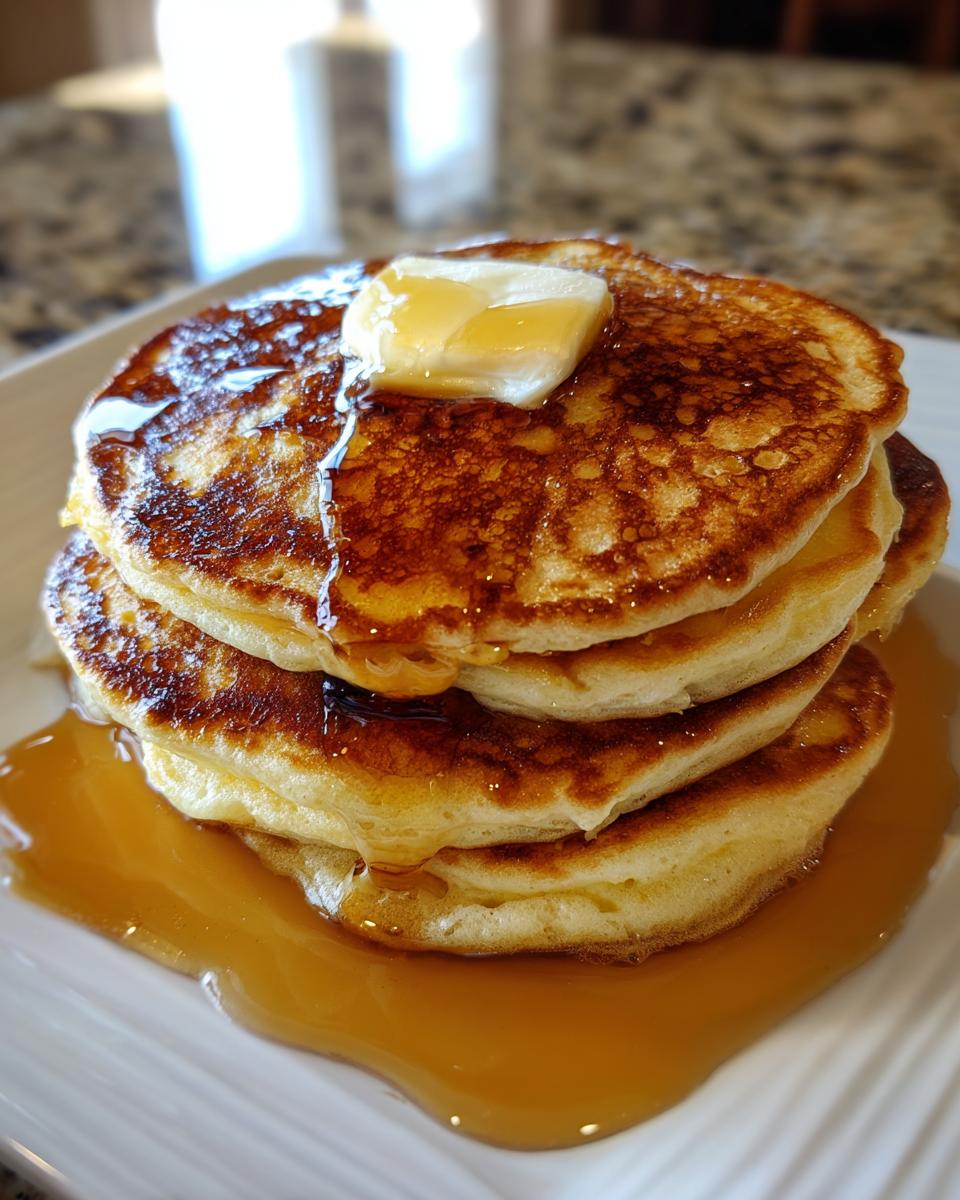
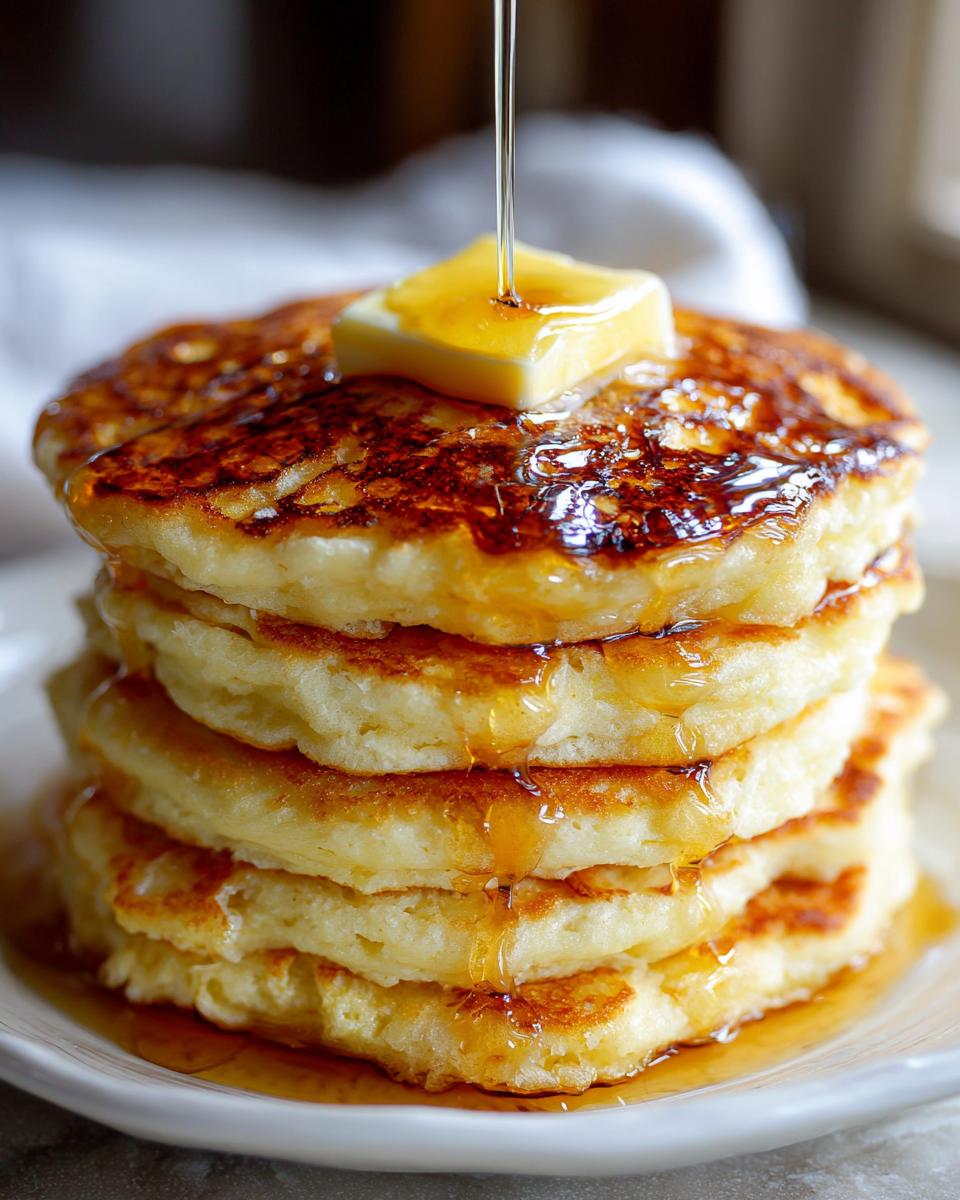
Now that you’ve got this amazing stack of fluffy, classic pancakes, what do you do with them? This is where the real fun begins! My absolute favorite has to be the simple, old-school combo: a HUGE pat of butter melting into the warm pancakes, followed by a generous drizzle of maple syrup. It’s no-fail deliciousness. For a slightly fancier touch, especially if I’m feeling a bit festive, I love topping them with some fresh berries – think juicy strawberries or a handful of blueberries. And if you’re feeling ambitious and have some time, my homemade applesauce or a spoonful of this amazing blueberry jam are just divine. It makes your weekend breakfast feel extra special!
Make-Ahead and Freezer Tips for Effortless Meal Planning
Okay, so you’ve made a glorious batch of these old fashioned pancakes, and maybe you just couldn’t eat them all (highly unlikely, but I’ll allow it!). Don’t sweat it! These freeze like a dream, making *meal planning* a breeze. Once they’re completely cooled – and this is important, you don’t want any steam making them soggy – wrap each pancake individually in a bit of plastic wrap. Then, just pop them into a freezer-safe bag or container. They’ll keep perfectly for about a month. When a pancake craving strikes (usually on a Tuesday morning, right?), just pop a few directly into the toaster on a low setting, or warm them up on a baking sheet in the oven for a few minutes. It’s like having homemade pancakes ready whenever you need them! It saves so much time, especially if you’re planning ahead for some apple pie overnight oats and need a quick breakfast option too.
Frequently Asked Questions About Old Fashioned Pancakes
Got questions about whipping up these delightful old fashioned pancakes? I’ve got answers!
Can I use self-rising flour instead of all-purpose flour and baking powder?
You *can*, but I don’t usually recommend it for this particular fluffy pancake recipe. Self-rising flour already has leavening agents (like baking powder and salt) mixed in. If you use it, your pancakes might end up a little *too* puffy, or just not have the right texture we’re going for. It’s best to stick with the all-purpose flour and separate baking powder for that perfect old-fashioned fluffiness.
Why are my pancakes always flat?
Oh, the dreaded flat pancake! It usually comes down to a couple of things. First, make sure your baking powder is fresh! If it’s old, it won’t give you that lift. Second, and this is a big one, don’t overmix the batter! I know I keep saying it, but it’s SO important. Overmixing develops the gluten too much, making your pancakes tough and flat instead of light and fluffy. A few lumps are your friend here!
How do I make my pancakes thicker?
If you like a really thick, diner-style pancake, the easiest trick is to make your batter a little thicker. You can do this by reducing the amount of milk just slightly – maybe start with a quarter cup less and add more only if needed. Also, using a bigger scoop for each pancake means they’ll naturally be thicker and taller before they spread. Patience is key – letting them cook a bit longer on the first side before flipping can also help them puff up!
Can I add mix-ins like chocolate chips or blueberries?
Absolutely! That’s one of the best parts of making homemade pancakes. Once your batter is *just* combined (remember, don’t overmix!), gently fold in your favorite mix-ins. Chocolate chips, fresh blueberries, raspberries, or even some chopped nuts are fantastic. Just be careful not to stir them in too much. A gentle fold is all they need, and they’ll be perfectly distributed for a delicious surprise in every bite!
Estimated Nutritional Information
Just a little heads-up, the nutritional info for these yummy old fashioned pancakes can change depending on what you use! But generally, you’re looking at about
- 150 calories per pancake
- Around 6g of fat (about 3g saturated)
- Roughly 4g of protein
- About 20g of carbohydrates
- And approximately 5g of sugar
These are just estimates, of course, so enjoy them knowing they’re made with love!
PrintOld Fashioned Fluffy Pancakes
A simple, foolproof recipe for classic, fluffy pancakes using common pantry ingredients. Perfect for a weekend breakfast.
- Prep Time: 10 min
- Cook Time: 15 min
- Total Time: 25 min
- Yield: 8-10 pancakes 1x
- Category: Breakfast
- Method: Griddling
- Cuisine: American
- Diet: Vegetarian
Ingredients
- 1 1/2 cups all-purpose flour
- 3 1/2 teaspoons baking powder
- 1 teaspoon salt
- 1 tablespoon white sugar
- 1 1/4 cups milk
- 1 egg
- 3 tablespoons butter, melted
Instructions
- In a large bowl, sift together the flour, baking powder, salt, and sugar.
- Make a well in the center and pour in the milk, egg, and melted butter. Mix until just combined. Do not overmix; a few lumps are okay.
- Heat a lightly oiled griddle or frying pan over medium-high heat.
- Pour or scoop the batter onto the griddle, using approximately 1/4 cup for each pancake.
- Cook until bubbles form on the surface, then flip and cook until golden brown on the other side.
- Serve hot with your favorite toppings.
Notes
- For a richer flavor, you can substitute buttermilk for regular milk.
- If you don’t have buttermilk, add 1 tablespoon of lemon juice or white vinegar to your milk and let it sit for 5 minutes before using.
- To freeze pancakes, cool them completely, then wrap individually in plastic wrap and place in a freezer bag. Reheat in a toaster or oven.
- These pancakes are great for meal planning and can be made ahead for quick breakfasts.
Nutrition
- Serving Size: 1 pancake
- Calories: 150
- Sugar: 5g
- Sodium: 300mg
- Fat: 6g
- Saturated Fat: 3g
- Unsaturated Fat: 3g
- Trans Fat: 0g
- Carbohydrates: 20g
- Fiber: 1g
- Protein: 4g
- Cholesterol: 30mg