
Are you tired of pie crusts that turn out tough, shrink away from the edge of the pan, or taste vaguely like… well, nothing? I totally get it! Making a truly flaky, tender pie dough from scratch can feel like a high-stakes gamble, especially when you’re aiming for that perfect homemade look. That’s why I’m sharing what I know is the easiest, most reliable **butter pie crust** recipe you’ll ever use. Here at DeliceRecipe, our whole focus—and the way Eleanor Vance built this site—is making sure you have foolproof methods that actually work in *your* home kitchen. Trust me, no pretense here, just incredibly buttery results.
- Why This All-Butter Pie Crust is Your New Favorite Homemade Pie Crust Recipe
- Ingredients for the Perfect Flaky Butter Pie Crust
- Step-by-Step Tutorial for Tender Pie Crust Made with Butter
- Expert Tips for the Best All Butter Pie Crust Results
- Sweet and Savory Applications for Your Butter Pie Crust
- Making Ahead and Storing Your Butter Pie Crust Dough
- Nutritional Estimates for This Classic Butter Pastry
- Frequently Asked Questions About Your Butter Pie Crust
- Plan Your Next Meal Using This Perfect Pie Dough for Beginners
Why This All-Butter Pie Crust is Your New Favorite Homemade Pie Crust Recipe
Forget those sad, store-bought discs that taste mostly like preservatives! This recipe is built on one simple fact: butter is always better. Since we skip the shortening completely, you get that rich, deep, unmistakable buttery flavor in every single bite. That’s what makes it the best all butter pie crust!
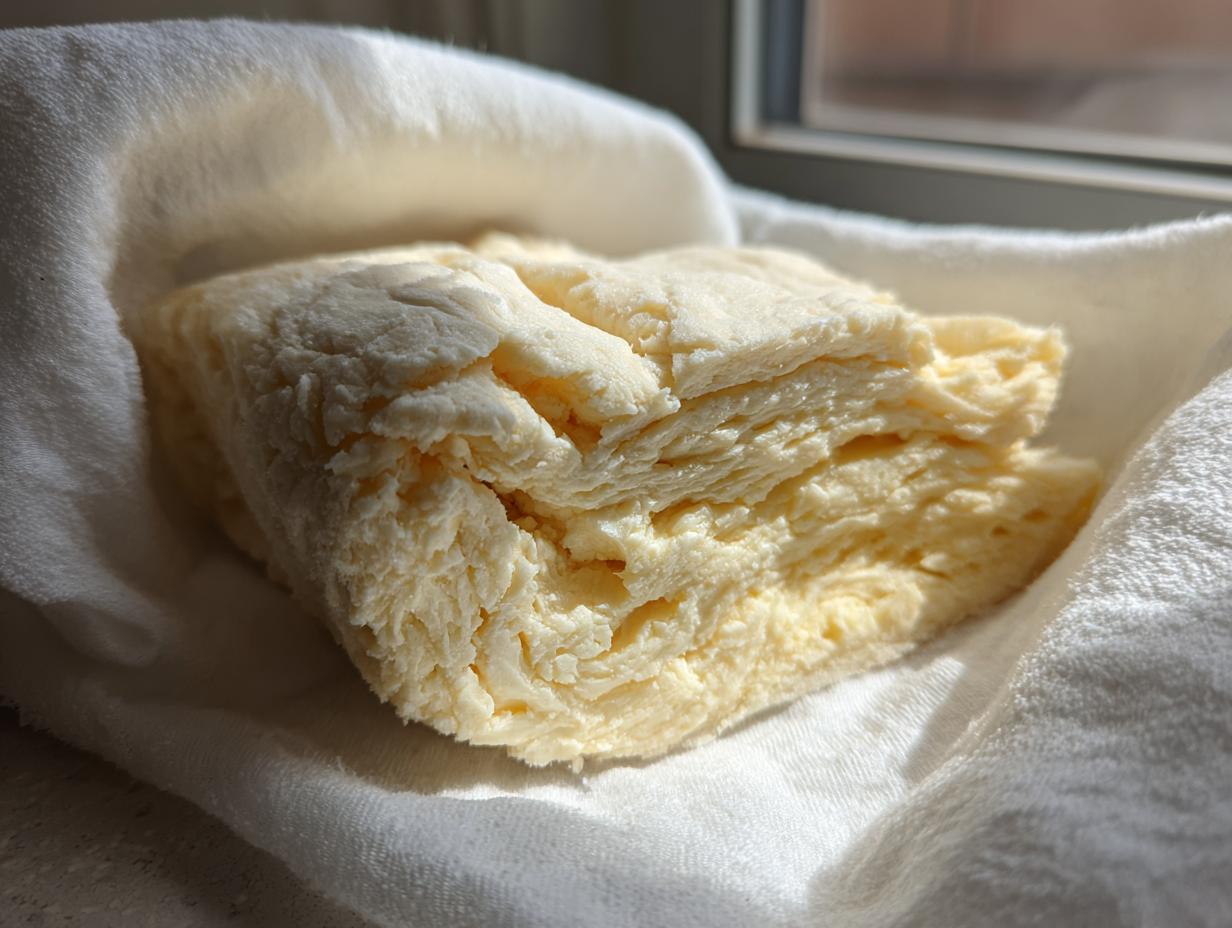
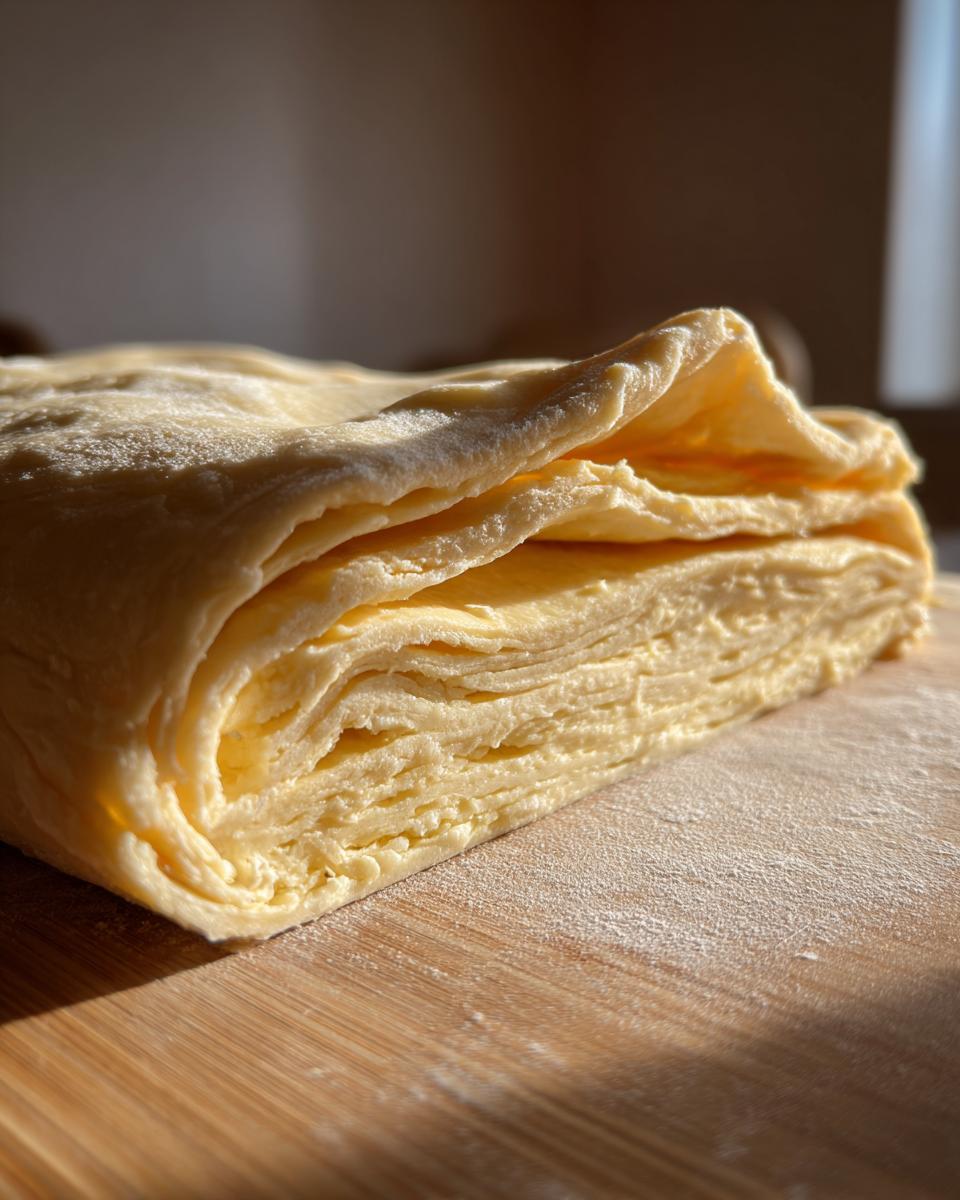
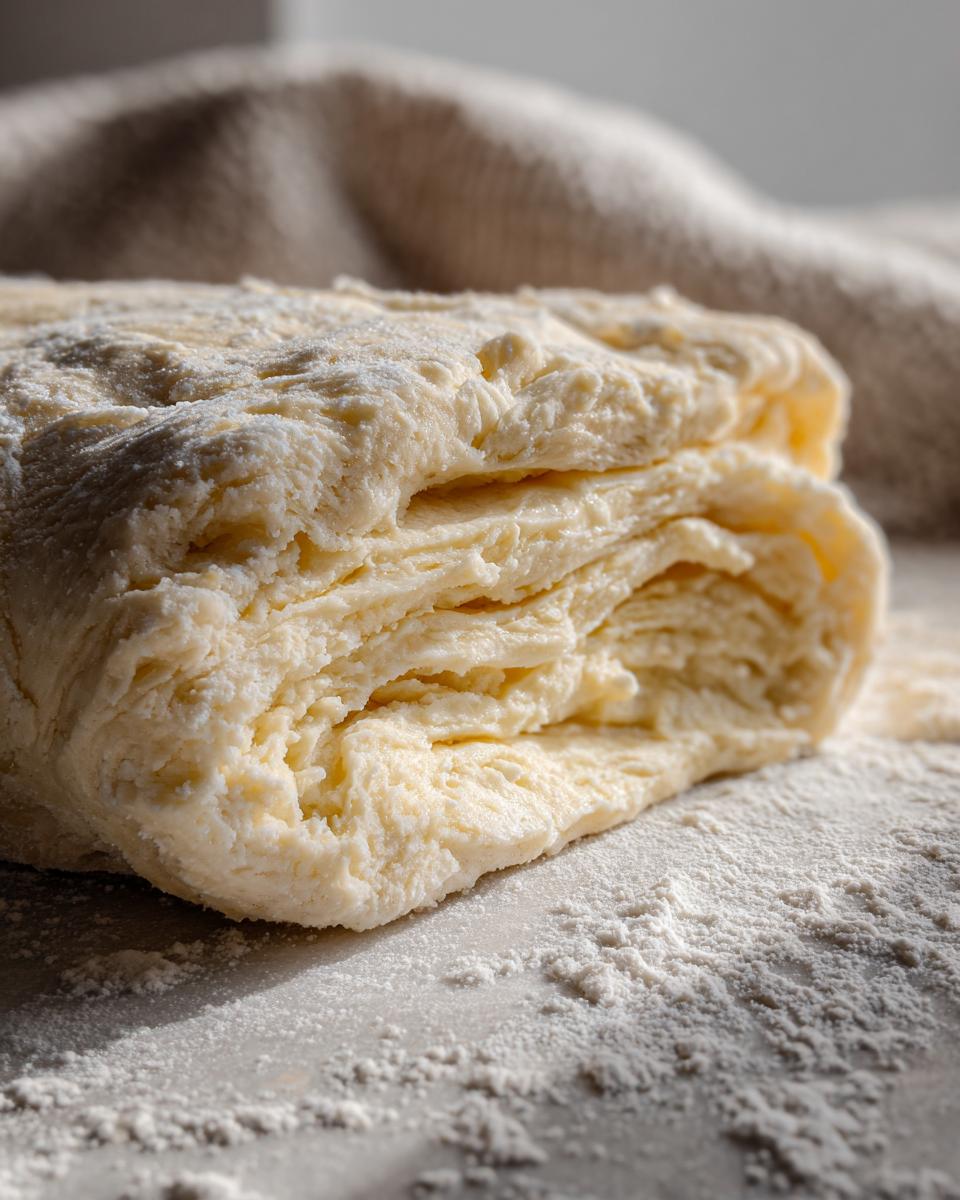
We aren’t just making a substitute; we are making a superior homemade pie crust recipe. I promise the texture is incredibly flaky and beautifully tender, which is often hard to achieve with a no shortening pie crust. Seeing those layers separate when you slice into a warm pie? That’s the magic of using all that cold butter correctly. You are going to love how this dough rolls out perfectly every time for your next big bake.
It’s the perfect base for everything, whether you’re filling it with berries or savory fillings. Feel free to check out how well this holds up in our classic homemade blackberry pie!
Ingredients for the Perfect Flaky Butter Pie Crust
Okay, so this is fantastic because we are talking about a nearly four ingredient pie crust here! Simplicity wins the day, but the quality matters tons. The absolute, non-negotiable rule for flakiness? Your ingredients need to be ice cold. I mean, almost frosty!
You need:
- 2 1/2 cups all-purpose flour
- 1 teaspoon salt
- 1 cup (2 sticks) unsalted butter, very cold and cut into 1/2-inch cubes
- 6 to 8 tablespoons ice water
See? Just four things! If your butter isn’t freezing cold and cubed up just right, those little pockets of fat won’t create steam in the oven, and you won’t get that beautiful lift we are after. Don’t skip that deep chill!
Step-by-Step Tutorial for Tender Pie Crust Made with Butter
This is where the magic happens, and I’m going to walk you through my tried-and-true method for that ultimate flaky pastry dough. Remember, gentle hands are your best tool here. We want to work quickly so that butter doesn’t even think about melting on us! We’re aiming for maximum flavor and texture.
Combining Flour and Cutting in the Butter for Your Butter Pie Crust
First off, whisk your flour and salt together really well in a big bowl. This just evens everything out. Now, drop in those little cubes of ice-cold butter. You can use your fingers for this, but honestly, if you have a pastry blender, use it! You need to cut that butter in until the mixture looks like coarse crumbs. The absolute key is leaving those pea-sized chunks of butter. Those little chunks are what turn into steam pockets, creating the flakiness in your final butter pie crust. If it looks dusty smooth, you’ve gone too far, so stop if you see those little butter gems!
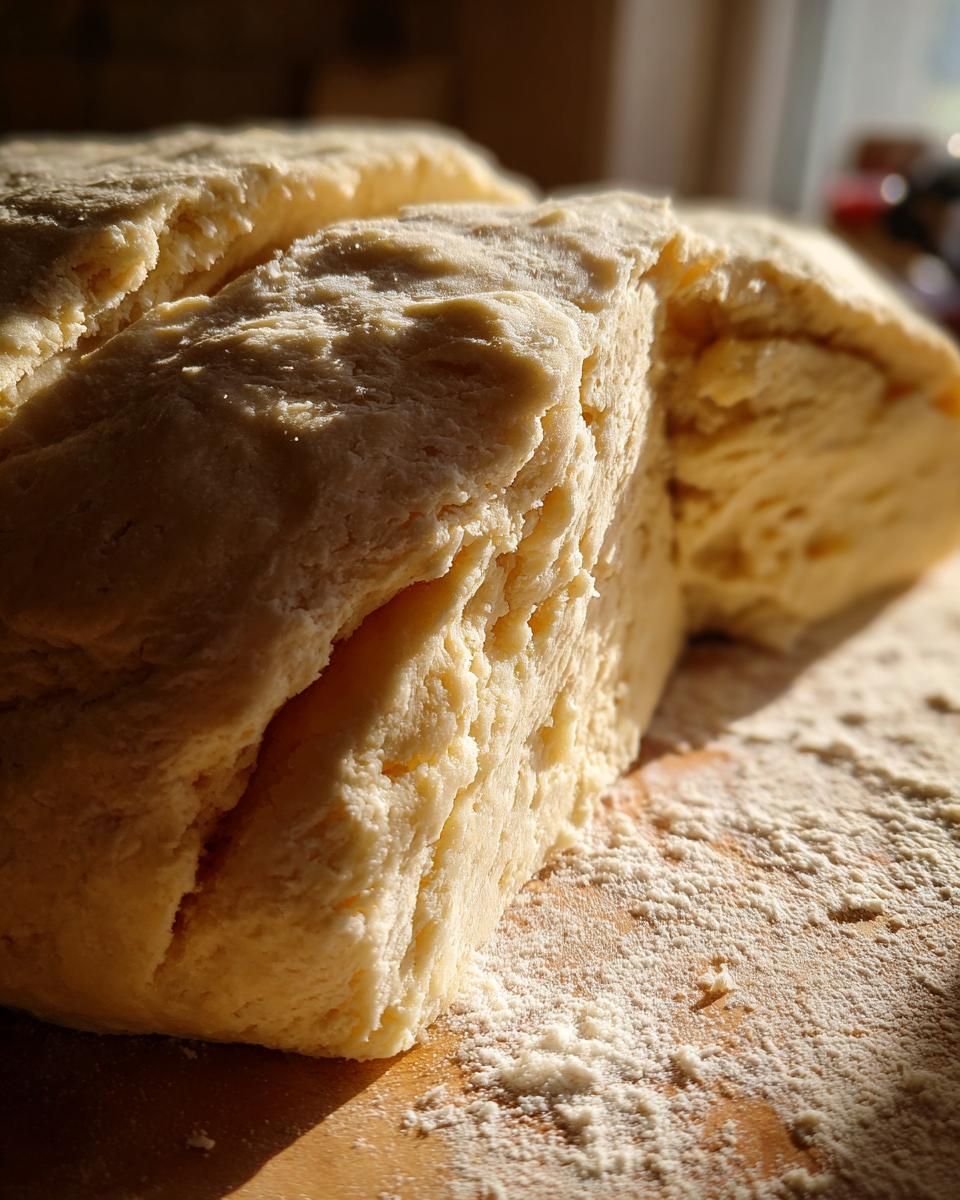
Adding Water and Forming the Dough for Your Butter Pie Crust
Time for the water—and this is where you need restraint! Sprinkle in 6 tablespoons of ice water over the crumbs and just gently toss it with a fork. Don’t stir heavily! You’re looking for that point where the dough just barely holds together when you squeeze a handful. If it seems too dry, add the extra water just one teaspoon at a time. Once it clumps, stop immediately. Divide the shaggy dough into two halves—one might be slightly bigger if you know you need more for the bottom. Flatten each half into a thick disk, wrap it tight in plastic wrap, and get it into the fridge. At least two hours of chilling is non-negotiable for a successful, easy pie crust made with butter.
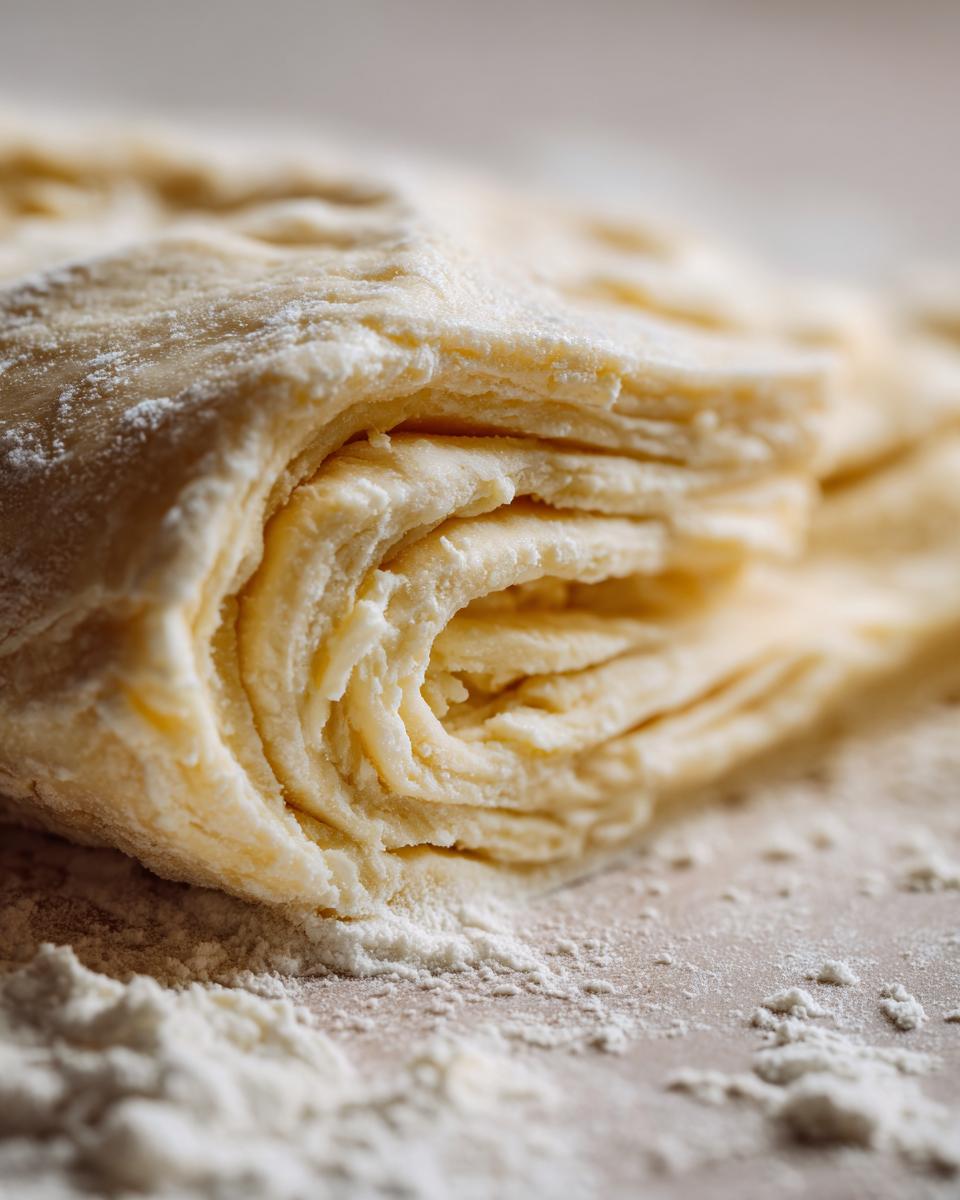
Rolling and Preparing the Butter Pie Crust for Baking
Once chilled, take one disk out onto a lightly floured surface. Roll it out from the center outwards, turning the dough frequently so it doesn’t stick. If you are making a top crust too, you’ll roll that second disk out now, creating your double crust pie dough. Gently transfer the rolled-out bottom crust to your pie plate. Trim the edges and don’t forget to crimp them nicely! Before filling it or adding that top crust, pop the whole thing back into the fridge for 30 minutes. That final chill sets the fats again, which stops shrinkage and helps your crust stay flaky when it hits the oven heat. This step makes all the difference for your easy apple pie bars!
Expert Tips for the Best All Butter Pie Crust Results
So you followed the steps, but maybe your dough is fighting you a little? Don’t panic! Achieving that tender pie crust tutorial standard takes a few tricks up the sleeve. The number one reason crusts fail is temperature, remember what I always say: cold fat equals flaky layers!
If your dough gets sticky while you’re rolling it out—maybe you’re working on a warm day or your hands are just naturally warm—literally stop what you are doing. Wrap that sticky section back up and stick it in the fridge for 15 minutes. It firms right back up, and trust me, nobody likes wrestling dough that’s turning into sticky mush. It’s better to take a quick break than to overwork the gluten. Check out how we make sure our icing stays perfect when baking, because finishing touches matter too: perfect icing results!
Also, if you’re planning ahead, this dough freezes like a dream! Just make sure it’s wrapped super tight in plastic wrap, maybe even put it in a zip-top bag so no freezer air touches it. It keeps beautifully for a couple of months. When you need it, just let it thaw overnight in the fridge. It’s one of those great homemade baking essentials that saves the day! This is way easier than trying to mix it up when you’re already stressed about getting dinner on the table.
Sweet and Savory Applications for Your Butter Pie Crust
One of the best things about mastering this wonderful buttery pie base is just how versatile it is! Honestly, I use this exact same dough recipe for about 90% of my pies, whether it’s sweet or savory. You don’t need a separate recipe for everything. That rich flavor from the butter just complements everything so nicely.
For your sweet treats, this is the ultimate sweet pie shell recipe. Imagine your favorite fruit filling bubbling up—apple, cherry, peach—and having this perfectly flaky edge catching all those drips. It’s divine. For holidays, this is what I use for my main dessert pie. It bakes up beautifully golden and holds up to saucy fillings like in our classic pumpkin pie recipe. Because it’s sturdy, it works great for blind-baking too!
But don’t let the sweetness fool you; this happens to be my go-to savory pie crust recipe as well. Seriously, think quiche! A quiche needs that rich flavor to stand up to eggs, cheese, and bacon, and this dough does the heavy lifting without getting soggy on the bottom. It’s wonderful for chicken pot pie, too, or even simple tarts.
I’ve even used leftovers to make little puff pastry look-alikes for appetizers, like those easy cranberry brie bites. Trim up some circles, brush with egg wash, bake until golden, and boom—gourmet snack in minutes. See? You’ve just unlocked not one, but a dozen uses with this one simple batch of dough!
Making Ahead and Storing Your Butter Pie Crust Dough
Because this recipe is such a fantastic staple, you absolutely should make a double batch! I find that having dough ready to go in the fridge makes weeknight cooking so much less stressful. I often make this right after making a batch of cinnamon sugar pecans, just for efficiency.
You can keep those wrapped butter disks in the refrigerator easily for up to two whole days. That’s perfect for planning Thanksgiving or Christmas baking ahead of time. If you want to keep it longer, wrap those disks super tight—I mean *airtight*—in plastic wrap and slide them into a freezer bag. They freeze beautifully for at least two months! When you’re ready to use frozen dough, just pop it straight into the fridge overnight to thaw slowly. It truly is one of those amazing homemade baking essentials that keeps your kitchen running smoothly.
Nutritional Estimates for This Classic Butter Pastry
Now, let’s talk numbers for just a second. Because this is a classic butter pie crust made with real butter and flour, it’s definitely a treat rather than an everyday staple. But hey, you deserve a beautiful, flaky crust for your hard work!
Please remember these figures are approximations based on dividing the total recipe yield into 8 servings, and how much you roll out or trim away will change things slightly. But this gives you a good guideline for budgeting those calories when you are busy with meal planning for the week!
For one slice (about 1/8th of the total crust):
- Calories: Around 280
- Total Fat: Roughly 17g (and yes, that’s mostly the good butter fat!)
- Carbohydrates: About 28g
- Protein: Around 4g
You can see it’s rich, flavorful, and definitely satisfying! That’s the trade-off for having truly flaky pastry dough made with real, honest ingredients, which is so much better than whatever is in the pre-made stuff.
Frequently Asked Questions About Your Butter Pie Crust
I know when you’re making something as important as a pie crust, you’re going to have questions! It’s smart to ask because a little knowledge goes a long way toward that perfect lattice or crimped edge. Here are a few things I get asked all the time about getting this Classic butter pastry just right.
Can I substitute the butter in this recipe?
Oh, please don’t! I know it seems like you could swap in margarine or vegetable shortening, but you really shouldn’t if you want *this* result. The whole point of this recipe is that rich flavor and texture that only real, high-quality butter can provide. Cutting in cold butter creates those distinct flaky layers because of its specific fat content and melting point. If you substitute, you are going to lose that signature flakiness we worked so hard for! Less fat structure equals a tougher crust.
Why did my butter pie crust shrink during baking?
Shrinking is almost always caused by the same thing: the dough was too warm when it hit the oven. If you skip that crucial 30-minute chill time before baking, or if the butter in your dough was soft when you rolled it, those little butter pieces melt too fast and start pulling the dough inwards. The gluten contracts too much! Don’t worry, though; just make sure that dough is nice and cold before you ever place it in the pie plate, and definitely chill the assembled shell before baking. Chilling is your secret defense against shrinkage!
How do I prevent a soggy bottom on my pie?
Nobody likes biting into a pastry that feels damp underneath the filling! For a really wet filling, like a juicy fruit pie, I highly recommend giving your bottom crust a quick partial bake, or blind-baking, before you add the filling. You can also brush the inside bottom surface with a very thin layer of egg white right after you blind-bake. That egg white solidifies and creates a beautiful moisture barrier. It works wonders for everything from fruit fillings to quiches. For more baking tips, you might enjoy my thoughts on making beautiful scones, where temperature control is just as important!
Is this dough okay for high-acid fillings?
Yes! This butter pie crust holds up wonderfully to almost everything. Because it’s a sturdy, richly flavored dough, it handles tart elements perfectly without falling apart. If you are making a lemon meringue or a rhubarb pie, this dough provides a fantastic, reliable base that won’t get completely overwhelmed by the acidity. It balances beautifully, giving you a buttery counterpoint to the tang.
Plan Your Next Meal Using This Perfect Pie Dough for Beginners
Now that you know everything about making the most incredible, flaky butter pie crust, it’s time to get baking! Seriously, once you master this bedrock recipe, you’ll feel like you can tackle anything. Having this dough in your back pocket makes meal planning for holidays or even just fun weekend dinners so much easier!
I really hope you give this a try this week. Head over to my section on easy weeknight dinners for inspiration, or maybe just start with a simple apple pie! Please come back and let me know in the comments what delicious filling you chose to put in your new favorite crust. Don’t forget to check out our general tips for effective meal planning while you’re here!
PrintFlaky All-Butter Pie Crust Recipe for Beginners
Make this simple, all-butter pie crust recipe for tender layers that stay crisp. It is easy to work with and perfect for sweet or savory pies.
- Prep Time: 25 min
- Cook Time: 0 min (for shell)
- Total Time: 2 hr 25 min
- Yield: One 9-inch double crust 1x
- Category: Baking Base
- Method: Pastry Making
- Cuisine: American
- Diet: Vegetarian
Ingredients
- 2 1/2 cups all-purpose flour
- 1 teaspoon salt
- 1 cup (2 sticks) unsalted butter, very cold and cut into 1/2-inch cubes
- 6 to 8 tablespoons ice water
Instructions
- In a large bowl, whisk together the flour and salt.
- Add the cold butter cubes to the flour mixture. Use a pastry blender or your fingertips to cut the butter into the flour until the mixture resembles coarse crumbs with some pea-sized pieces of butter remaining.
- Sprinkle 6 tablespoons of ice water over the mixture. Gently toss with a fork until the dough just starts to come together. If the dough is too dry, add the remaining water one tablespoon at a time. Do not overmix.
- Divide the dough in half. Form each half into a flat disk, wrap tightly in plastic wrap, and chill in the refrigerator for at least 2 hours, or up to 2 days.
- On a lightly floured surface, roll out one disk of dough to fit your pie plate. Place the dough into the plate. Trim and crimp the edges as desired.
- If making a double crust pie, roll out the second disk for the top crust.
- Chill the assembled pie shell for 30 minutes before baking.
Notes
- Keep all ingredients, especially the butter and water, very cold for the flakiest results.
- If the dough becomes sticky while rolling, return it to the refrigerator for 15 minutes.
- This dough works well for meal planning; it freezes well after being wrapped in plastic.
Nutrition
- Serving Size: 1/8 of crust
- Calories: 280
- Sugar: 0 g
- Sodium: 180 mg
- Fat: 17 g
- Saturated Fat: 10 g
- Unsaturated Fat: 7 g
- Trans Fat: 0.5 g
- Carbohydrates: 28 g
- Fiber: 1 g
- Protein: 4 g
- Cholesterol: 45 mg