
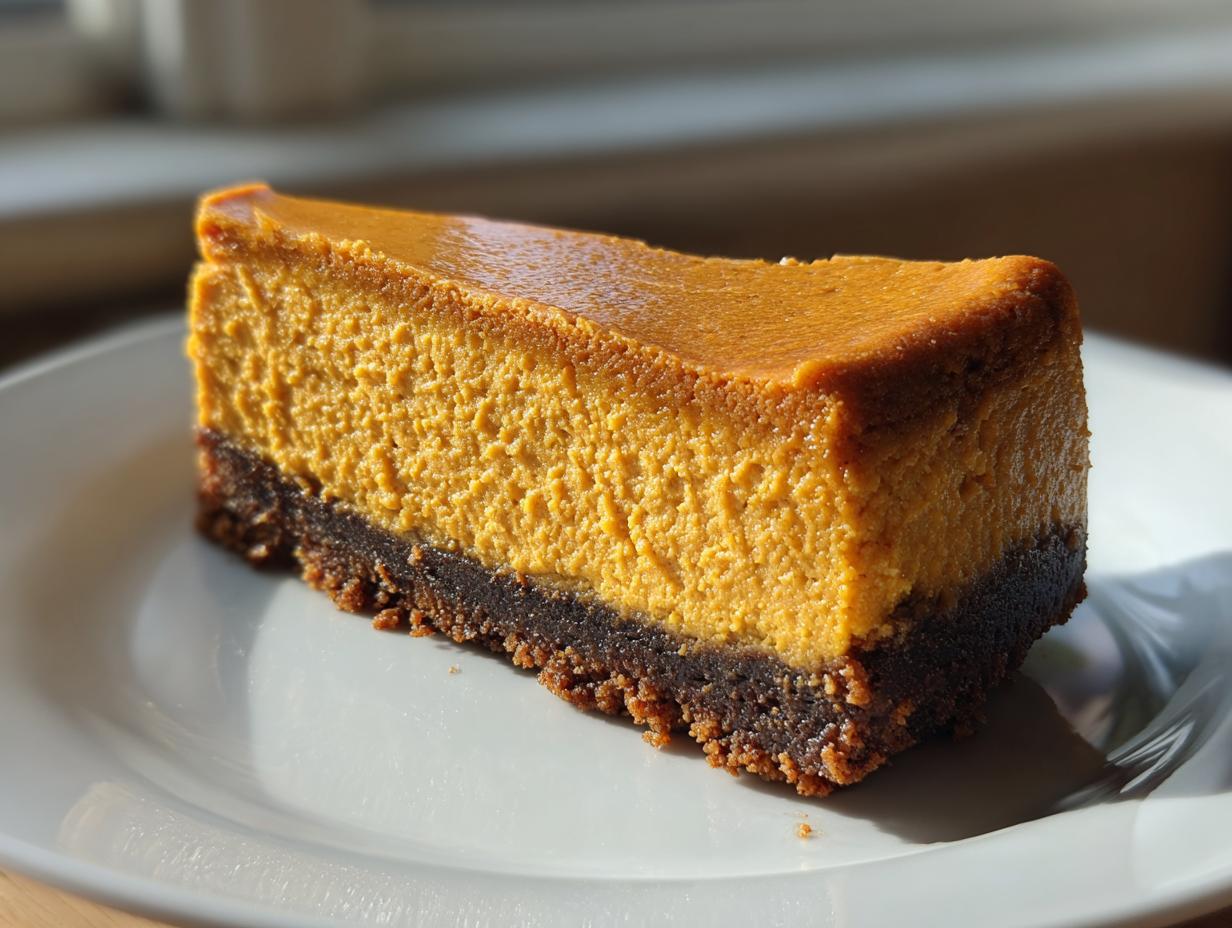
Oh, friends, is there anything better than that first cool breeze that tells you it’s officially time to break out the spices? For me, autumn isn’t truly here until I’ve got some nutmeg and cinnamon floating around the kitchen. And nothing says ‘celebration’ quite like a show-stopping centerpiece, which is why I’m so excited to share my absolute favorite holiday showstopper: the Creamy Baked Pumpkin Cheesecake with Gingersnap Crust. Forget everything you think you know about tricky cheesecakes; this recipe delivers that rich, velvety melt-in-your-mouth experience you crave, built on a crunchy, spiced foundation. This pumpkin cheesecake is my go-to when I want something truly special for Thanksgiving or a fall get-together. Trust me, this is the recipe you’ll save for years to come, just like I saved mine from my grandmother’s collection, which I’ve tweaked just a tiny bit over the years to make it foolproof for us home cooks!
We are making magic here, so before we dive into the mixing, make sure you check out my guide on how to make easy, super moist pumpkin bread—because if you love that flavor, you’ll adore this cheesecake!
- Why This Creamy Baked Pumpkin Cheesecake Recipe Works (E-E-A-T)
- Gathering Ingredients for Your Homemade Pumpkin Cheesecake
- Step-by-Step Instructions for the Perfect Pumpkin Cheesecake
- Expert Tips for the Best Pumpkin Cheesecake
- Serving Suggestions for Your Autumnal Dessert Baking
- Storing and Reheating Your Pumpkin Cheesecake
- Variations on the Classic Pumpkin Cheesecake
- Frequently Asked Questions About Making Pumpkin Cheesecake
- Share Your Autumnal Dessert Baking Results
Why This Creamy Baked Pumpkin Cheesecake Recipe Works (E-E-A-T)
So many people shy away from baked cheesecake because they think it’s too fussy, but I promise you, this is truly the Best Pumpkin Cheesecake Recipe out there, and it’s easy, provided you follow one crucial instruction! We want that holiday dessert to look stunning, right? That means resisting cracks and sinking centers. This recipe nails the rich texture and holiday appeal because we aren’t scared of a little water bath!
If you’re looking to perfect your cream cheese game across the board, you might also want to check out my thoughts on using that wonderful ingredient in a cream cheese pound cake.
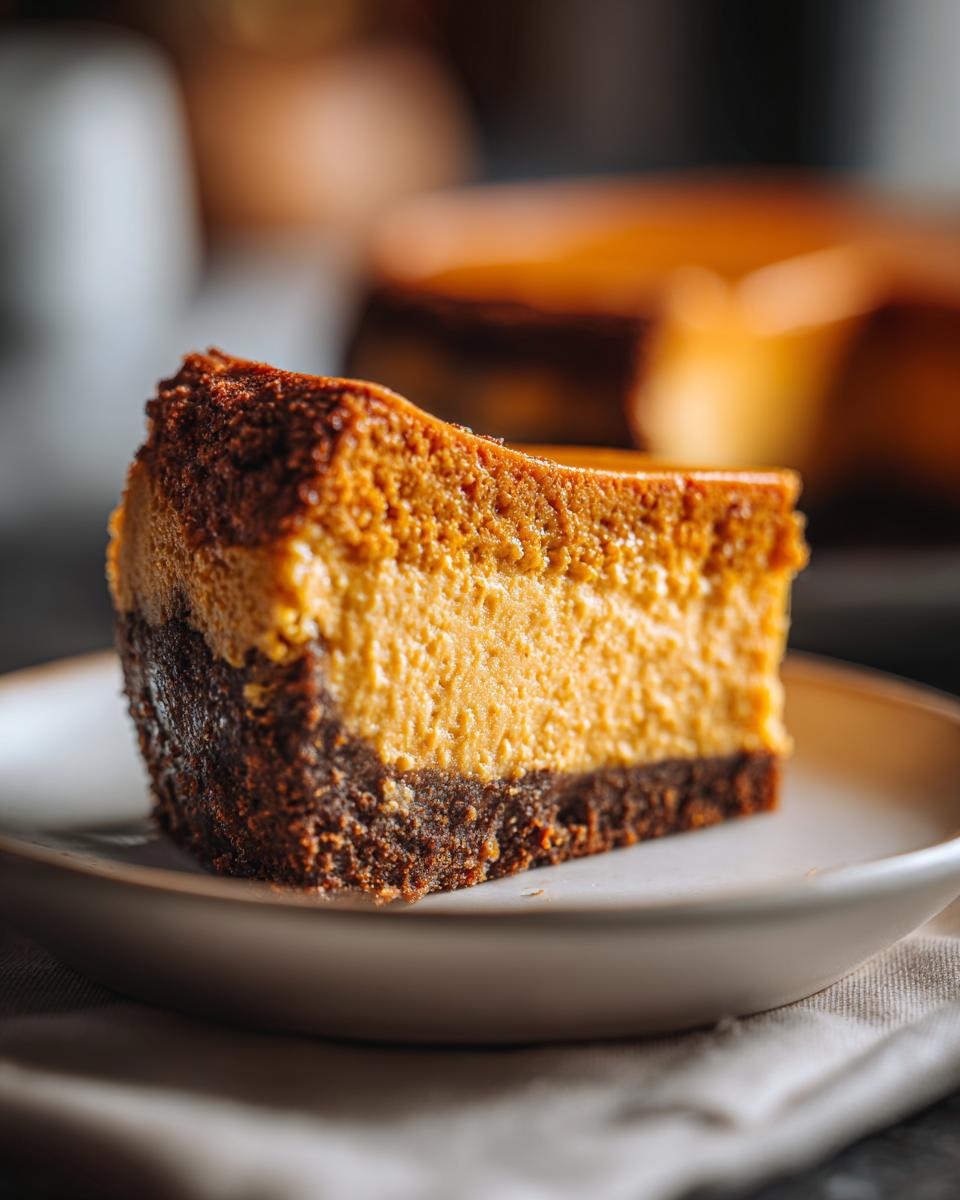
Achieving That Signature Creamy Pumpkin Cheesecake Texture
That signature Perfectly Smooth Cheesecake texture comes entirely from baking it using a gentle steam bath, or Bain-Marie. Placing the springform pan inside a larger roasting pan filled with hot water shields the delicate ingredients from direct, harsh oven heat. This humid environment is non-negotiable; it ensures even baking, which stops the edges from setting too fast and cracking the beautiful top!
Gathering Ingredients for Your Homemade Pumpkin Cheesecake
Alright, now that we’ve talked texture, let’s get down to the good stuff! We need quality players for this team to create the Homemade Pumpkin Cheesecake we dream about. Do not cheat on the cream cheese; it needs to be fully softened, and I mean truly soft. Grab your electric mixer, your spices, and let’s make sure we have everything listed out. Don’t worry about the full measurements just yet—that’s all waiting for you in the recipe card below. But having everything prepped makes the actual mixing part fly by!
If you’ve been looking for pastry secrets in general, you might enjoy my tips on making a perfect butter pie crust.
Ingredient Notes and Substitutions for Pumpkin Cheesecake
Look, the star here is the gingersnap crust, but if you absolutely must swap it out, basic graham crackers work just fine for your crust base. Just remember: the cream cheese must be at true room temperature. If it’s cold, your batter will be lumpy, and we simply can’t have a lumpy pumpkin cheesecake; we are aiming for silk! Also, use pure pumpkin puree, not pumpkin pie filling, unless you want a sugar surprise on the finished product.
Step-by-Step Instructions for the Perfect Pumpkin Cheesecake
This is the moment we’ve been waiting for—putting it all together! Remember, the key here is marrying precision with a gentle hand. We are building layers of flavor and texture. If you breeze through the cooling steps, you’ll get a beautifully set dessert that tastes like fall wrapped up in a creamy cloud. Don’t worry if the oven step seems long; the slow cool-down is where the magic happens, trust me!
If you need a little break from intense baking, check out my recipe for easy tiramisu—it’s virtually no-fuss!
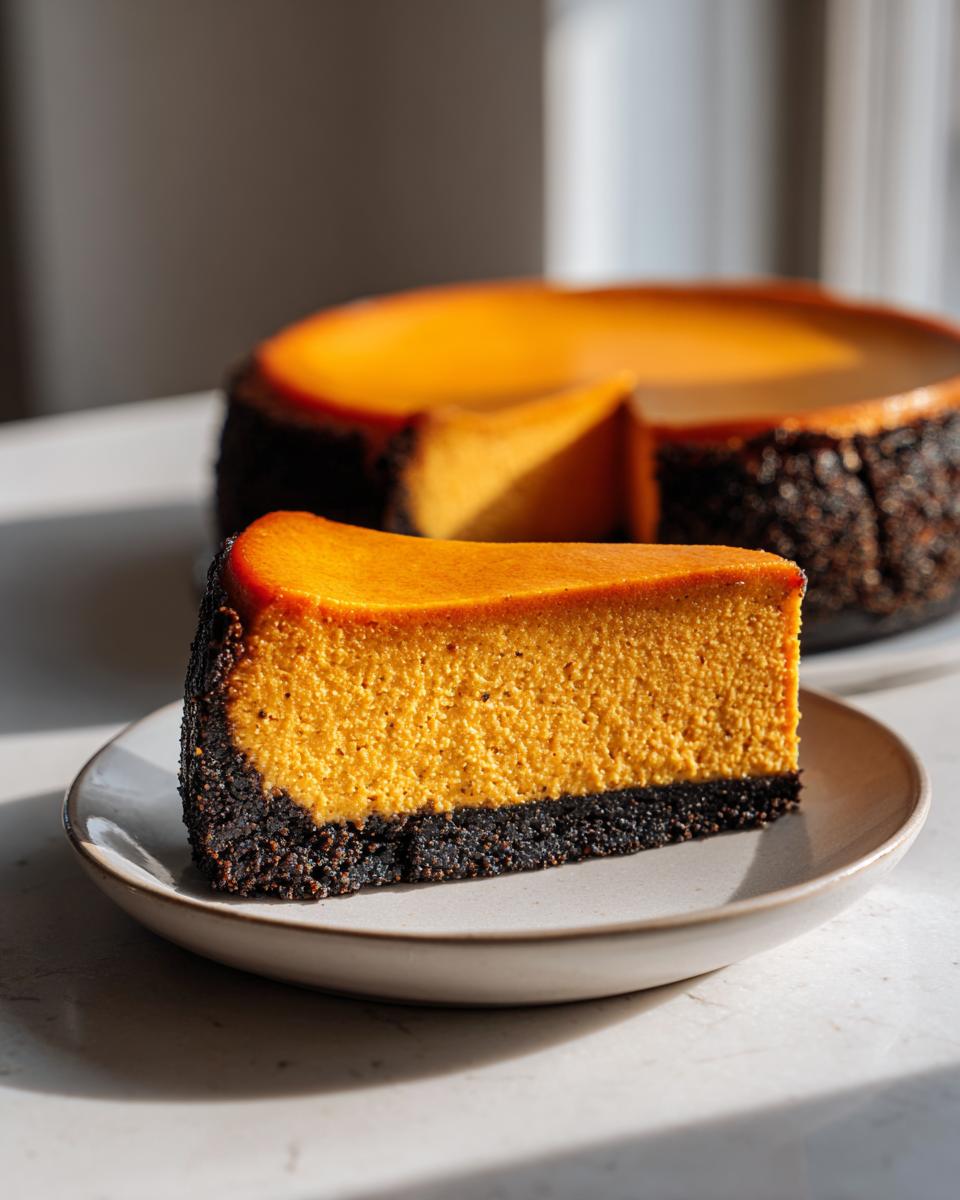
Preparing the Gingersnap Crust for Your Pumpkin Cheesecake
First thing: preheat that oven to 325°F, and wrap that springform pan like you mean it with foil! Combine your crumbs and sugar, add the melted butter, and press, press, press that mixture firmly into the bottom of the pan. We want a solid base for our pumpkin cheesecake! Then, give it a quick 10-minute bake to set it up just right before letting it cool down a little.
Mixing the Spiced Cheesecake Filling
Get that mixer going on the cream cheese until it is absolutely smooth—no lumps allowed! Only then do you mix in the sugar until combined. Now, add your beautiful pumpkin puree and all those wonderful spices that make up our Spiced Cheesecake Filling. The absolute most critical part? Add those three eggs one by one, making sure each one is just incorporated before adding the next. We want to avoid whipping air into this; excess air equals cracks later!
Baking and Slow Cooling Your Pumpkin Cheesecake
Pour your beautiful filling onto that cooled crust. Now, set the entire thing into a larger pan, and carefully pour in the hot water until it’s halfway up the side of the springform pan—that’s your water bath! Bake for about an hour until the edges are set but the middle still jiggles. Don’t pull it out yet! Turn the oven off, prop the door open, and let it sit in there for a full hour. This slow transition is how we guarantee a gorgeous, uncracked top on our pumpkin cheesecake.
Expert Tips for the Best Pumpkin Cheesecake
Now that you’ve got the overview of the mixing and baking process, let’s talk secrets. As I always say, the difference between good and truly *great* desserts is those little extra steps we take. Following this Creamy Pumpkin Cheesecake Tutorial will ensure you get restaurant-quality results every single time you bring this out for fall gatherings. We want stunning, smooth servings! If you’re looking for inspiration on other creamy successes, I highly recommend checking out my creamy roasted garlic mashed potatoes; texture is everything!
Avoiding Cracks in Your Baked Pumpkin Cheesecake
We already mentioned the two superstars: the water bath and the slow cooling in the turned-off oven. Those two steps handle about 90% of crack prevention! But the absolute key to a lump-free batter—which avoids stress points that turn into cracks later—is ensuring your cream cheese is completely at room temperature. If it’s stiff, it won’t mix well, period. I sometimes microwave mine on very low power for about 10 seconds total, just to soften the edges.
Serving Suggestions for Your Autumnal Dessert Baking
Once your beautiful pumpkin cheesecake has chilled overnight—yes, it’s worth the wait, I promise!—it’s time for the fun part: dressing her up! Since we already have that lovely kick from the gingersnap crust, we don’t need to overload it, but a little garnish goes a long way for those holiday tables. These are wonderful Thanksgiving Cheesecake Ideas that look professional but take zero extra effort.
I love keeping it classic with a dollop of fresh, lightly sweetened whipped cream right before serving. A little sprinkle of extra cinnamon or a few candied pecans look fantastic on top. If you happen to have made stovetop cinnamon applesauce, a small spoonful served alongside gives a gorgeous contrasting tartness that cuts through the richness beautifully!
Storing and Reheating Your Pumpkin Cheesecake
Because this is a rich, creamy dessert, patience is key after it comes out of the oven—it needs time to truly set up. You absolutely must let your finished pumpkin cheesecake chill in the refrigerator for at least six hours, but honestly, overnight is when it achieves peak perfection. Keep it covered tightly with plastic wrap once it’s fully cooled on the rack. Leftovers store beautifully in the fridge for up to four days, making it perfect for making ahead of your big holiday dinner!
Variations on the Classic Pumpkin Cheesecake
Even though I truly think this recipe is the pinnacle of fall indulgence, I totally get wanting to mix things up sometimes! We all have those friends who love a good hybrid dessert. Since everyone searches for ways to adapt this fabulous confection, we can easily play around with flavor profiles to keep things exciting year after year. Think about how much fun it is to try a new spin on a classic!
If you are looking for other great ways to use those autumnal spices, you must check out my recipe for apple pie bars; they are fantastic when the weather turns crisp!
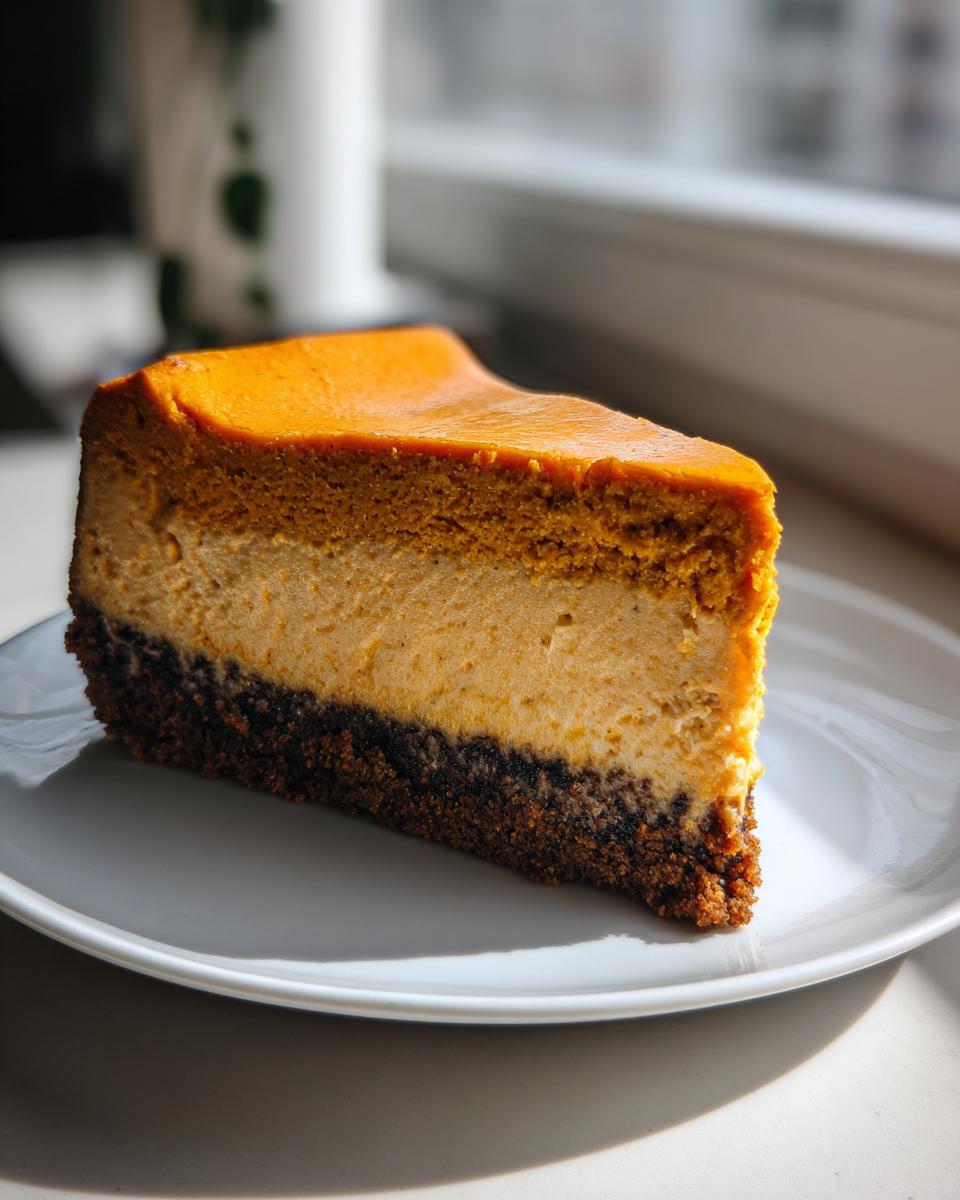
Creating a Pumpkin Swirl Cheesecake Variation
If you want something in between a straight-up pumpkin cheesecake and a standard vanilla one, try the swirl! Simply reserve about one cup of the plain vanilla cheesecake batter before you mix in the pumpkin. Pour most of the pumpkin batter in first, then dollop the white batter over it. Use a knife or skewer to gently cut through the layers a few times to create that marbled effect before baking.
If you want to see what others are doing with their pumpkin cheesecakes, take a peek at this suggestion for a classic pumpkin cheesecake recipe online.
Frequently Asked Questions About Making Pumpkin Cheesecake
I know you might have a few lingering questions after reading through all those important steps! It’s totally normal when you’re trying to nail a truly impressive dessert like this. Don’t worry about feeling silly for asking; that’s why I put this FAQ section together for you. We want you to feel confident bringing this dessert to the table, whether it’s a cozy night in or a big holiday feast. If you’re looking for more savory inspiration using easy techniques, you might want to check out my guide for easy chicken pot pie casserole!
Can I make this Easy Pumpkin Cheesecake without a water bath?
Oh, honey, I really, truly wish I could tell you yes, but I can’t! This is the barrier between a good autumnal dessert and the truly spectacular, super Easy Pumpkin Cheesecake you see in photos. If you skip the water bath, the edges cook too fast, leading to a dry, cracked top surface. Since our goal is that lush, creamy result, I strongly urge you not to skip that step. It’s the secret weapon for preventing disaster!
What is the best crust to use besides gingersnaps?
If you’re out of gingersnaps or just want a different texture, graham crackers are your next best friend! They create a lovely, classic base for the Cheesecake with Graham Cracker Crust, and they pair just as beautifully with the pumpkin spice. You should still use the same amount of melted butter and sugar called for in the main recipe. A simple shortbread cookie, crushed finely, also works wonderfully if you want something a bit more buttery!
Share Your Autumnal Dessert Baking Results
Now for the part I love the most! Seeing how you all take these old-fashioned ideas and make them beautiful in your own kitchens warms my heart. Seriously, I get so excited when you let me know how the pumpkin cheesecake turned out!
Did the gingersnap crust snap nicely? How was the texture after that long chill? Please, please leave a comment below letting me know what you thought. Your feedback helps me tweak things for future bakers, and honestly, I just love hearing from you.
If you snap a picture of your gorgeous, creamy fall dessert masterpiece, tag me over on social media! I always keep an eye out for those holiday highlights. And if you’re looking for a killer recipe for decorating cookies next time you have a little downtime, you absolutely have to try my guide for easy cookie icing—it dries perfectly hard every time!
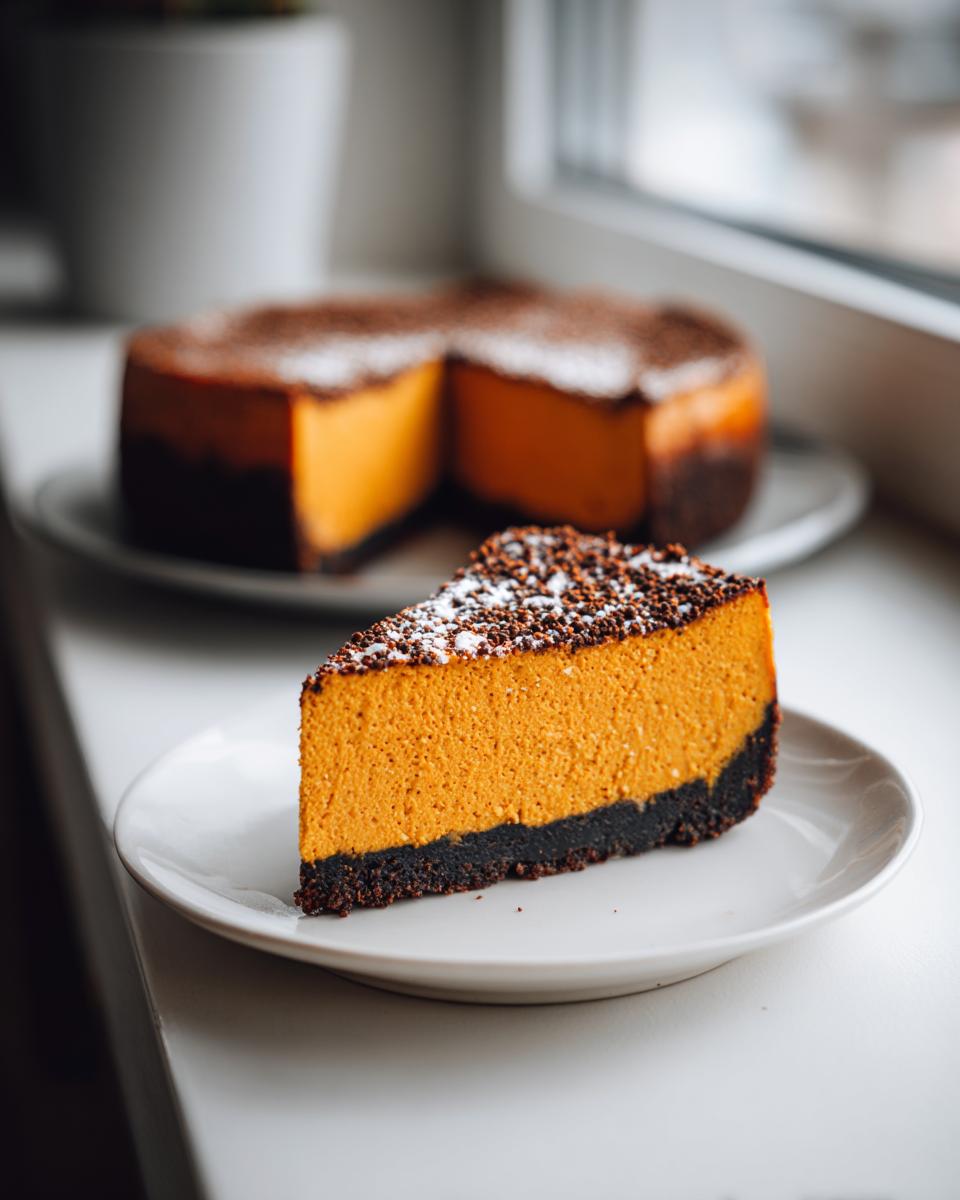
PrintCreamy Baked Pumpkin Cheesecake with Gingersnap Crust

This recipe gives you a rich, creamy pumpkin cheesecake with warm spices, set on a crunchy gingersnap crust. It is a perfect, impressive dessert for fall gatherings or Thanksgiving.
- Prep Time: 25 min
- Cook Time: 75 min
- Total Time: 100 min
- Yield: 12 servings 1x
- Category: Dessert
- Method: Baking
- Cuisine: American
- Diet: Vegetarian
Ingredients
- 1 1/2 cups gingersnap cookie crumbs
- 1/4 cup granulated sugar (for crust)
- 6 tablespoons unsalted butter, melted
- 3 (8 ounce) packages cream cheese, softened
- 1 1/2 cups granulated sugar (for filling)
- 1 (15 ounce) can pumpkin puree
- 1 teaspoon vanilla extract
- 1 teaspoon ground cinnamon
- 1/2 teaspoon ground ginger
- 1/4 teaspoon ground nutmeg
- 1/4 teaspoon salt
- 3 large eggs
Instructions
- Preheat your oven to 325 degrees F. Wrap the outside of a 9-inch springform pan tightly with heavy-duty aluminum foil.
- Combine the gingersnap crumbs and 1/4 cup sugar in a bowl. Pour in the melted butter and mix until the crumbs are evenly moistened. Press this mixture firmly into the bottom of the prepared springform pan. Bake the crust for 10 minutes. Remove from the oven and let it cool slightly.
- In a large bowl, use an electric mixer to beat the softened cream cheese until it is smooth. Add the 1 1/2 cups sugar and beat until just combined.
- Add the pumpkin puree, vanilla extract, cinnamon, ginger, nutmeg, and salt to the cream cheese mixture. Mix on low speed until everything is blended well. Do not overmix.
- Beat in the eggs one at a time, mixing only until each egg is incorporated. Scrape down the sides of the bowl as needed.
- Pour the filling over the cooled crust in the springform pan.
- Place the foil-wrapped springform pan into a larger roasting pan. Carefully pour hot water into the roasting pan until the water reaches about halfway up the sides of the springform pan. This water bath helps create a creamy texture and prevents cracking.
- Bake for 60 to 75 minutes. The edges should look set, but the center 2 inches should still jiggle slightly when gently nudged.
- Turn off the oven, but leave the cheesecake inside with the oven door propped open slightly for 1 hour. This slow cooling prevents sudden temperature changes.
- Remove the cheesecake from the water bath and foil. Let it cool completely on a wire rack. Once cool, cover and refrigerate for at least 6 hours, or preferably overnight, before serving.
Notes
- For the smoothest texture, make sure your cream cheese is fully softened to room temperature before mixing.
- If you do not have gingersnaps, you can substitute graham crackers for the crust, adjusting the sugar slightly if needed.
- This dessert is excellent when made one day ahead of when you plan to serve it.
Nutrition
- Serving Size: 1 slice
- Calories: 450
- Sugar: 35g
- Sodium: 320mg
- Fat: 28g
- Saturated Fat: 17g
- Unsaturated Fat: 11g
- Trans Fat: 0.5g
- Carbohydrates: 42g
- Fiber: 1g
- Protein: 7g
- Cholesterol: 110mg