
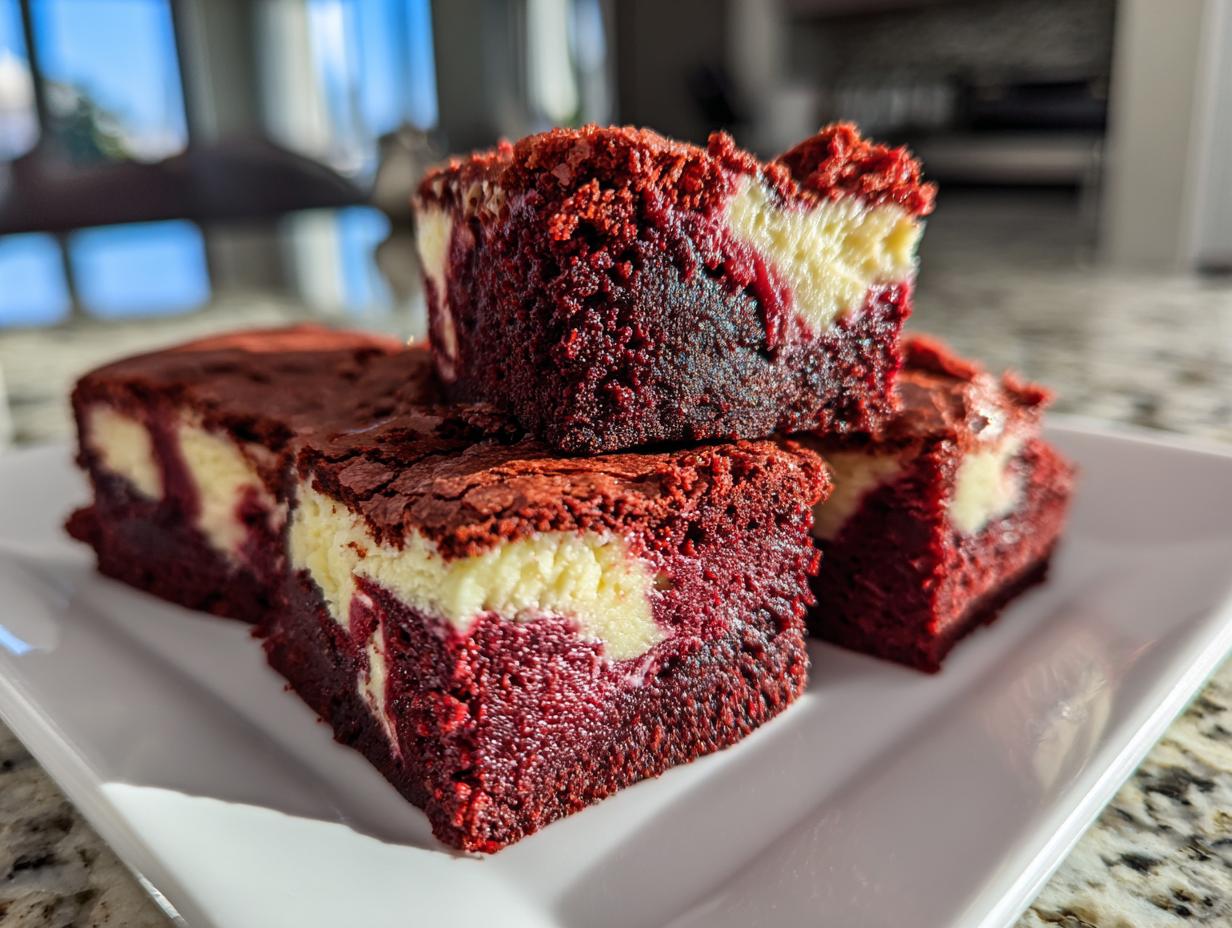
Oh, sometimes you just can’t pick a favorite, right? Why choose between a rich, fudgy brownie and a perfectly tangy slice of cheesecake when you can have both swimming happily together in one pan? That’s exactly the spirit behind these incredible red velvet cheesecake brownies. Here at DeliceRecipe, we know you want desserts that look show-stopping but don’t require you to spend all day in the kitchen. That’s my promise to you! I’m Eleanor Vance, and every recipe here, including this one, is tested until it’s foolproof. Trust me, baking these results in the most decadent, beautifully swirled bars you’ll ever see. They are so simple, yet they feel totally luxurious. You need these in your life for your next gathering or just because it’s Tuesday, and this is certainly one of the best easy dessert bars for parties you can make!
- Why You Will Love These Red Velvet Cheesecake Brownies
- Gathering Ingredients for Your Red Velvet Cheesecake Brownies Recipe
- Step-by-Step Instructions for Perfect Red Velvet Cheesecake Brownies
- Tips for the Best Fudgy Red Velvet Bars Texture
- Ingredient Notes and Substitutions for Red Velvet Cheesecake Brownies
- Serving Suggestions for Your Decadent Chocolate Desserts
- Storage and Reheating Instructions for Cream Cheese Swirl Brownies
- Frequently Asked Questions About Red Velvet Cheesecake Brownies
- Share Your Red Velvet Cheesecake Brownies Creations
Why You Will Love These Red Velvet Cheesecake Brownies
I honestly don’t know how I lived before combining these two flavor powerhouses! These aren’t just good brownies; they are an experience. I put these through the ringer in my kitchen to ensure they come out perfectly for you every single time. Here are the reasons these red velvet cheesecake brownies are about to become your new favorite thing:
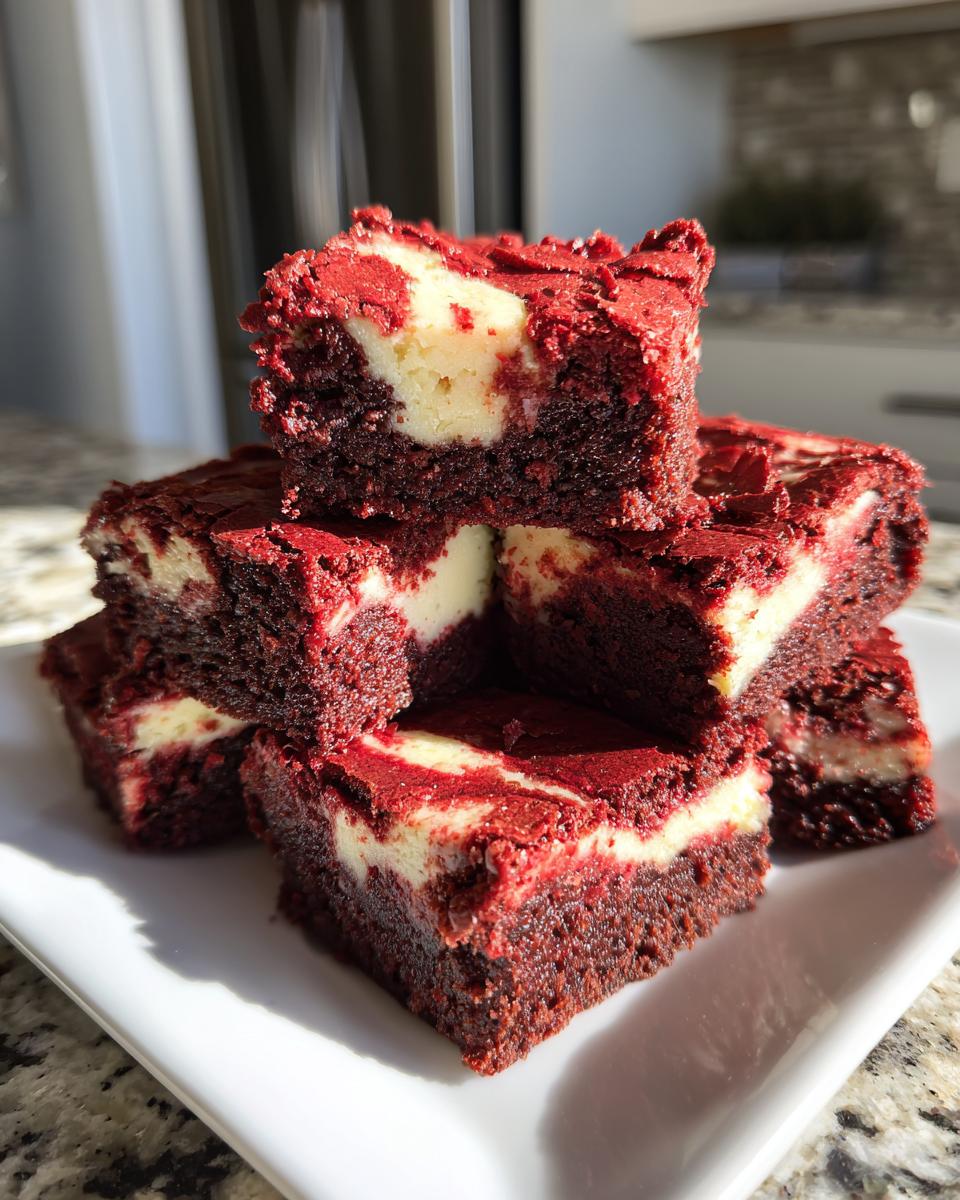
- The Ultimate Texture Combination: You get that deep, slightly chocolatey, incredibly fudgy base hugging a bright, tangy, and perfectly smooth cheesecake layer. It’s just heavenly!
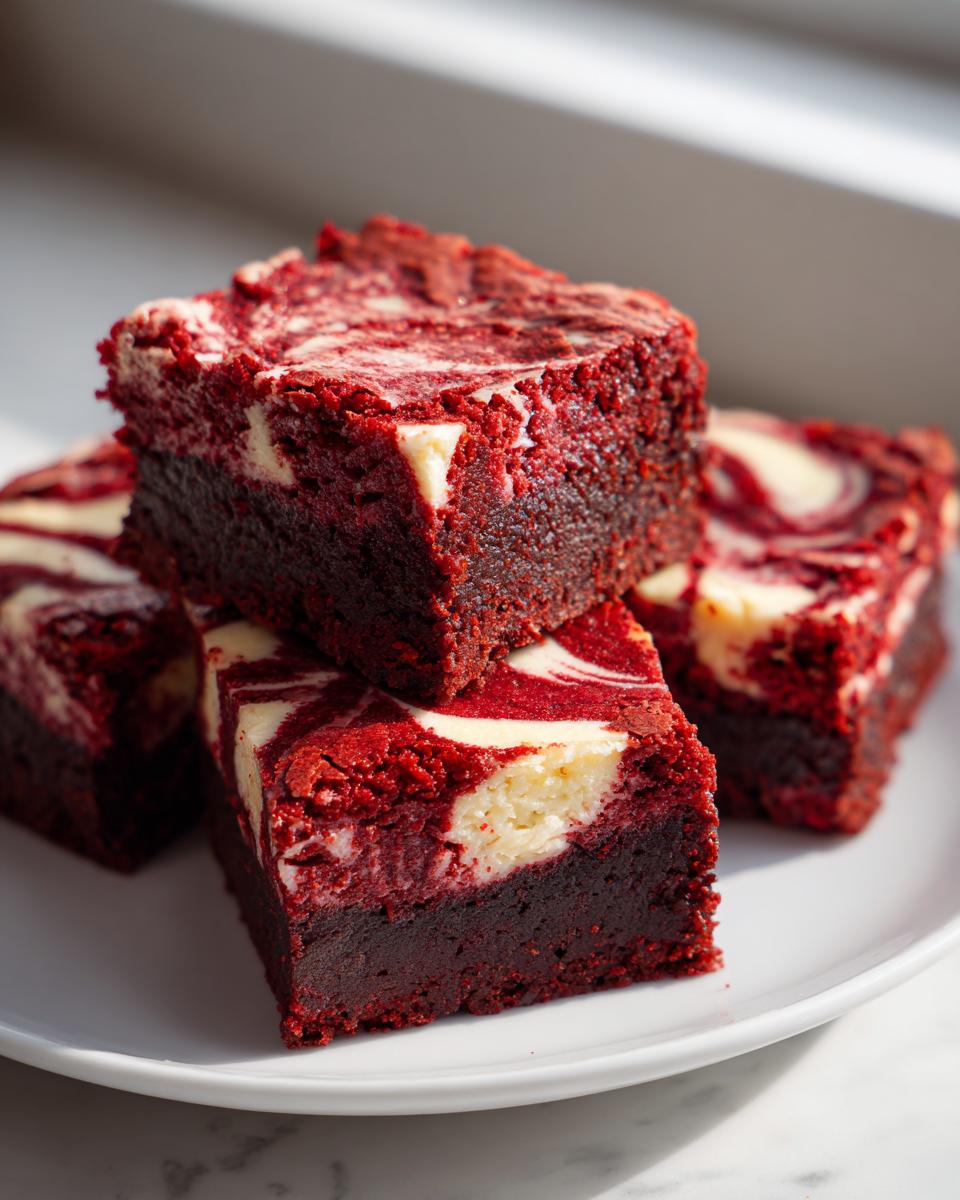
- Stunning Visual Appeal: The deep, rich red velvet contrasted with the creamy white swirl looks totally professional. They are guaranteed showstoppers for potlucks or even simple family desserts.
- So Much Easier Than You Think: Seriously! It’s just two bowls mixed separately and then swirled together. No complicated layers, no rolling dough. This is one of those delicious dessert recipes that fools people into thinking you worked twice as hard.
- Perfectly Portioned Decadence: Baking these as bars means clean squares every time. They travel well and don’t crumble apart like a layer cake might.
- Rich Yet Balanced Flavor: The cocoa powder adds just enough earthiness to ground the sharp tang of the cream cheese, so it isn’t overly sweet. It’s just rich, satisfying flavor right through and through.
- Tested and True: I made test batches until the swirl didn’t sink entirely into the batter, and the brownie stayed perfectly chewy. You can bake this recipe with total confidence!
Gathering Ingredients for Your Red Velvet Cheesecake Brownies Recipe
Gathering up what you need for these red velvet cheesecake brownies honestly takes about five minutes—that’s how approachable this recipe is! Remember what I always say: great baking starts with great ingredients, and making sure things like your cream cheese and eggs are at the right temperature is half the battle won before you even turn the oven on. I’ve broken down exactly what you need below so your shopping trip (or pantry raid!) is super easy. If you enjoy baking with cream cheese, you’ll definitely want to check out my thoughts on cream cheese pound cake too!
For the Fudgy Red Velvet Brownie Base
This is where we get that deep, rich color and that wonderful fudgy texture you’re looking for. Notice I call for Dutch process cocoa—it really gives you the best color contrast against the cheesecake!
- 1/2 cup unsalted butter, melted
- 1 cup granulated sugar
- 2 large eggs, room temperature
- 1 1/2 teaspoons red food coloring (I prefer gel, but liquid works!)
- 2 teaspoons vanilla extract
- 1/2 teaspoon salt
- 3/4 cup all-purpose flour
- 3 Tablespoons Dutch process cocoa powder
For the Creamy Cheesecake Swirl
The key here is patience! Make sure your ingredients are softened and room temperature, especially that cream cheese. It prevents lumps, which is the absolute enemy of a beautiful swirl!
- 8 ounces cream cheese, softened
- 1 large egg, room temperature (just one!)
- 1/3 cup granulated sugar
Step-by-Step Instructions for Perfect Red Velvet Cheesecake Brownies
Okay, let’s get baking! Seeing these components come together is almost as good as eating them, honestly. Don’t let the two layers intimidate you; we’re treating this like two very simple recipes that decide to get married in the middle. We want fudgy, we want creamy, and we want gorgeous ribbons. This whole process moves really quickly, especially since this is one of my favorite no-fail brownie recipe blueprints!
Preparing the Pan and Brownie Batter
First things first, let’s get that oven warmed up to 350°F (175°C). You want it ready to go when you are! Line your 9×9 inch pan with parchment paper, making sure you leave some overhang—I call this my little sling handle for lifting them out later. Keep that paper lightly greased so nothing sticks. Now, into a bowl, whisk your melted butter and the first measure of sugar. Beat in those two eggs one by one, followed by your vanilla and that vibrant red coloring. Don’t be shy with the color; we want that signature Red Velvet pop! In a separate, tiny bowl, quickly whisk the flour, cocoa powder, and salt.
When adding the dry stuff to the wet, remember my cardinal rule for fudgy brownies: mix only until you see no more white streaks of flour. You stop when it’s *just* combined. Overmixing means tough brownies, and we want chewy and decadent here!
Creating the Cream Cheese Swirl and Marbling
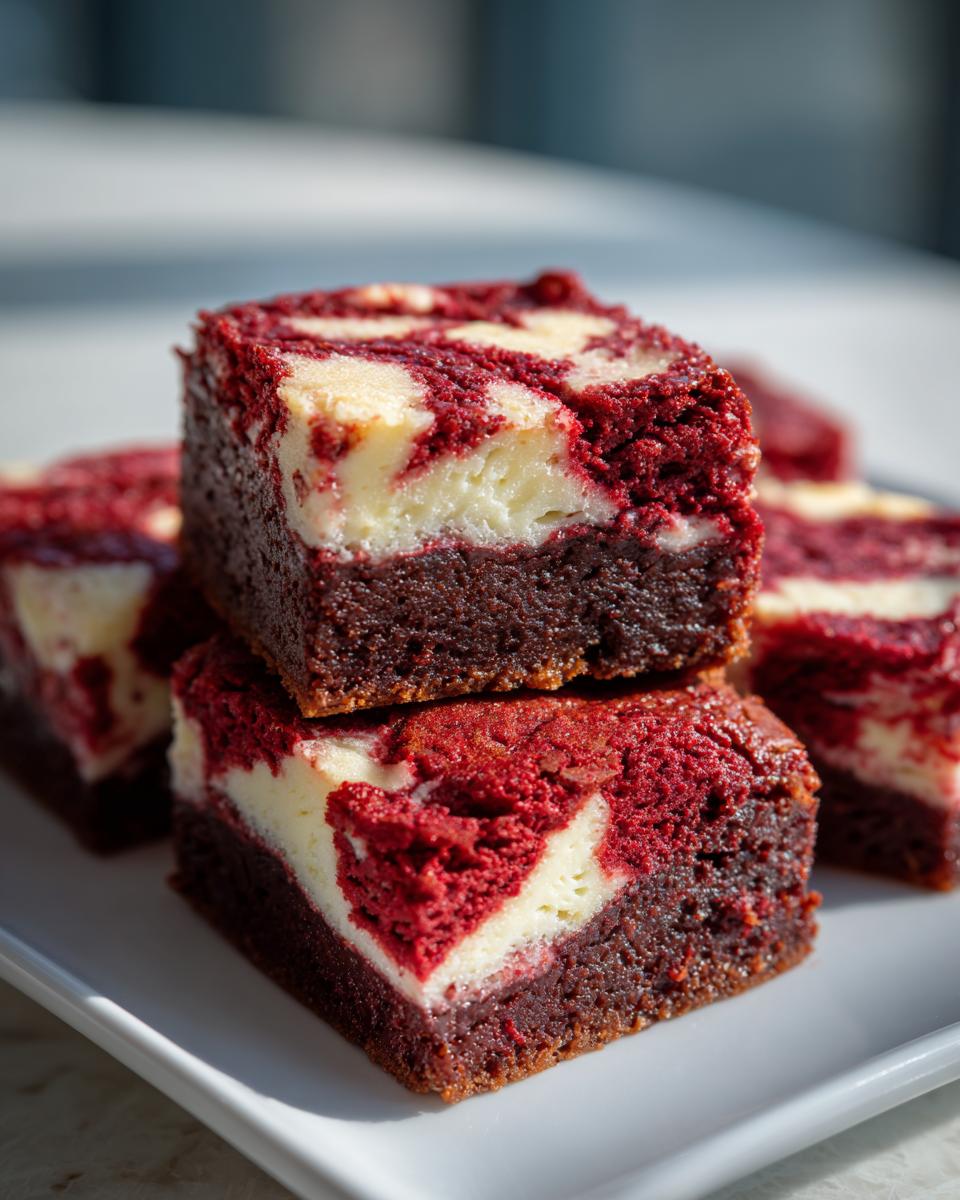
While the oven finishes heating, we tackle the creamy topping. Beat your softened cream cheese until it’s totally lump-free—that’s crucial for that silky finish. Then, whip in the third cup of sugar and the single egg until it’s smooth as velvet itself. Now, spread that beautiful red batter into your prepared pan. Next, drop little spoonfuls of the cream cheese mix randomly across the top of the red layer. Grab a butter knife or a skewer, and gently drag it through the batter, making soft figures-of-eight and swirls. Stop when you see distinct ribbons; if you smoosh it all together, you just end up with a pink giant, which we don’t want!
Baking and Cooling the Marbled Cheesecake Brownies
Pop the pan into that hot oven for about 30 to 35 minutes. You want to check the doneness carefully! The cheesecake layer should look mostly set, but when you insert a toothpick near the center, you should see moist crumbs clinging to it, not wet batter. That tiny bit of softness is what guarantees that fudgy center when these marbled cheesecake brownies cool down. This next part is the hardest, but you must do it: let them cool completely on a wire rack. If you try to cut them warm, they’ll smoosh, and we worked too hard for smooshed bars!
Tips for the Best Fudgy Red Velvet Bars Texture
Look, texture in a brownie is everything, isn’t it? If they come out cakey, I feel like I’ve been lied to! For these fudgy red velvet bars, the secret really lies in two spots: the mixing and the timing. When you mix that flour mixture in, stop as soon as it disappears. Seriously, put the spoon down! Over-developing the gluten is the number one way to make a chewy bar turn tough. Also, watch your bake time like a hawk. Those last five minutes make all the difference between chewy and overdone.
Now, for the color—we want that beautiful, deep red. While I love using gel coloring because it’s intensely pigmented and doesn’t thin out the batter, if you only have the liquid drops, just be sure to add enough until you reach a rich, deep hue that screams “red velvet!” You can check out my ultimate tips in my oreo brownies post to see how I fight dry-out conditions!
Ingredient Notes and Substitutions for Red Velvet Cheesecake Brownies
I know sometimes our pantry doesn’t cooperate, but don’t worry! We can definitely tweak these red velvet cheesecake brownies. If you only have the standard liquid red food coloring instead of gel, just use a little more of it until you get that wow factor color, but I caution you—don’t add so much that it thins out your batter too much. Conversely, if you’re out of Dutch process cocoa powder, regular unsweetened cocoa will work, but your red color might look a bit duller since the acidity changes the chemical reaction slightly.
Also, if you’re staring at a box of light brown sugar, it’ll work, but you won’t get that same depth of flavor we usually aim for in a classic red velvet. Think of these little choices as part of the fun! For more tips on making sure everything sets up nicely, even my sweet toppings, take a look at how I make easy cookie icing recipes set perfectly!
Serving Suggestions for Your Decadent Chocolate Desserts
Even though these decadent chocolate desserts are absolutely perfect all on their own, sometimes you want to dress them up just a tiny bit, especially if you’re serving them after a big dinner or for a special occasion like Valentine’s Day. Honestly, the beauty of a red velvet cheesecake brownie is that it doesn’t need much help, but a little garnish really takes it over the top for presentation!
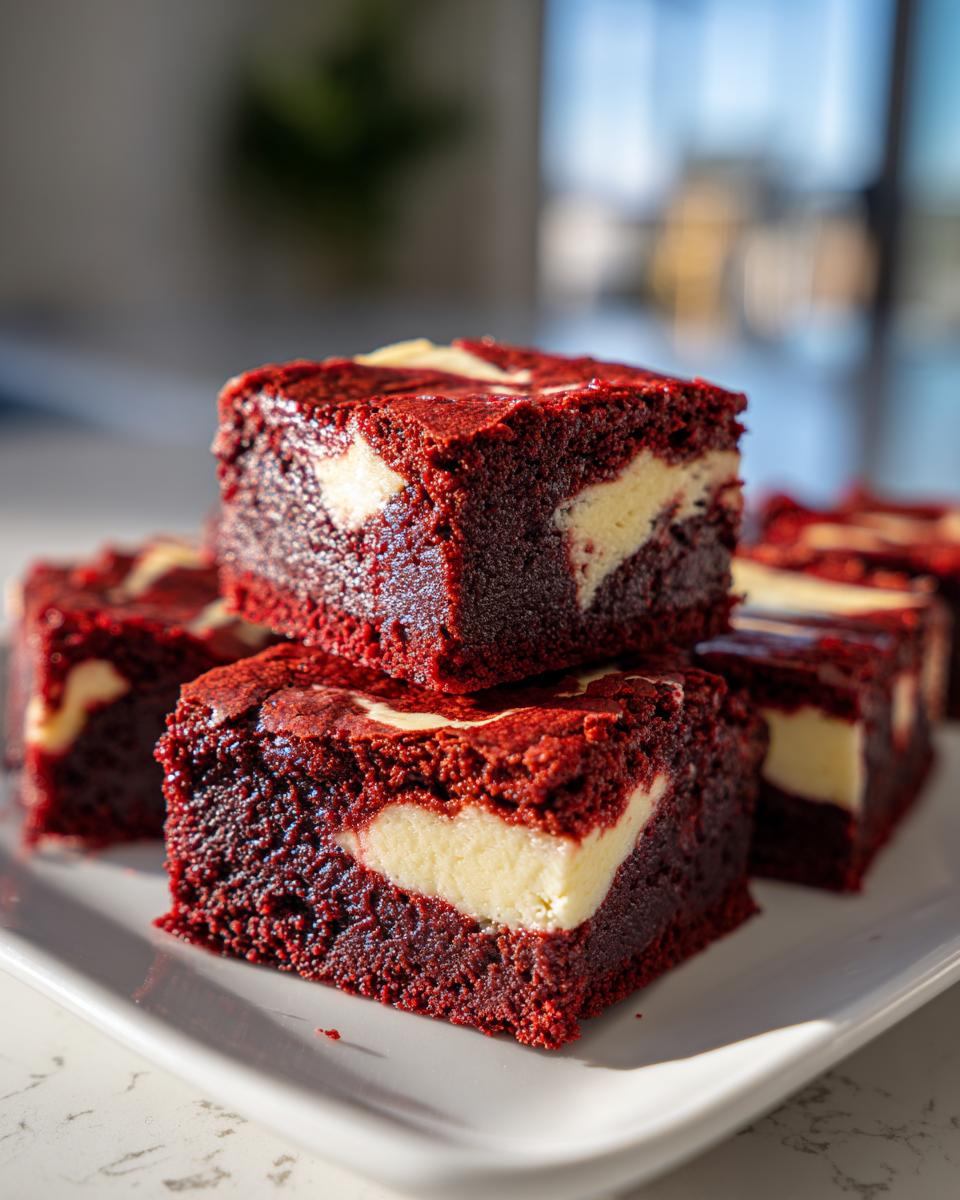
My absolute favorite way to serve these, which keeps that clean, swirled look intact, is to let them chill until totally firm, cut them neatly, and then add just a whisper of powdered sugar over the top using a fine-mesh sieve. It looks elegant and adds zero fuss. If they are slightly warm (and I mean only slightly!), the sugar melts into the cheesecake layer beautifully.
If you’re looking for something with a little more punch, you can’t go wrong pairing them with fresh fruit. Since the flavor profile is rich and chocolatey, a little tartness cuts right through! Fresh raspberries or sliced strawberries look gorgeous against that deep red color. Arrange a few berries right next to the bar on the plate.
For those of you who demand maximum indulgence—and I totally get it!—a drizzle is in order. Whip up a quick, slightly thinned chocolate ganache. You can find my go-to recipe for the chocolate sauce recipe right here. A thin zigzag drizzle right over the top after they are cut adds another layer of that deep chocolate experience. You’ll feel like you’re eating them at a fancy restaurant, I promise you!
Storage and Reheating Instructions for Cream Cheese Swirl Brownies
Nobody wants to ruin these beautiful cream cheese swirl brownies by storing them incorrectly! Since we have that lovely, creamy cheesecake layer, storage needs a little more thought than your average fudgy bar, but keeping them fresh and delicious is super simple, I promise. I want these to taste just as amazing on day three as they did coming out of the oven!
For short-term storage—say, if you plan on eating them over the next couple of days—I keep them right on the counter. Make sure they are totally cooled first! Then, place them in an airtight container. If you want to be extra protective of that beautiful swirl, place a piece of parchment paper between the layers so they don’t stick together. They usually look great on the counter for about three days, tasting perfectly chewy and tangy.
If you’re making a double batch (and you totally should be!), freezing is your best friend. Wrap the cooled and cut red velvet cheesecake brownies tightly in plastic wrap first, then tuck them into a freezer-safe bag or container. They hold up really well in the freezer for about two months. When you simply crave one later, just pull one out and let it thaw on the counter for about an hour. It thaws beautifully! If you’re curious about other desserts that freeze well, you should peek at my notes on my easy tiramisu recipe; that one freezes like a dream too!
Reheating isn’t really necessary since they are designed to be eaten at room temp or cold, but if you’re desperate for that gooey warmth, microwave one square for just 8 to 10 seconds. That little burst should soften the brownie part right up without melting the cheesecake layer into a puddle!
Frequently Asked Questions About Red Velvet Cheesecake Brownies
I get so many wonderful questions about these red velvet cheesecake brownies! It’s the best part of sharing my recipes is seeing what questions pop up when you all start baking. Here are a few common things people ask me when they’re planning to make these decadent bars. If you have any other burning questions, just drop them in the comments below, and I’ll get right back to you!
Why is my cheesecake layer cracking?
Ah, the dreaded crack! It usually comes down to just one of two things, and neither one is a total disaster, believe me. The most common culprit is overbaking. If you let the brownies stay in the oven ticking past that ‘moist crumbs’ stage, the cheesecake layer dries out and shrinks, causing cracks on the surface. Second, temperature shock! If you quickly move those super hot bars into a freezing cold kitchen, the quick temperature change can cause it to contract too fast and crack. Let them cool on the counter for a bit before chilling them, okay?
Can I use these swirled brownie recipes for Valentine’s Day baking ideas?
Are you kidding me? This is probably the BEST use for these swirled brownie recipes! The vibrant, rich red color is absolutely screaming for Valentine’s Day, a romantic anniversary dessert, or any holiday where you need a pop of color. They look so fancy, yet they are so easy to achieve, making them the ultimate impressive-but-easy bake for those special moments. I think they look fantastic dusted lightly with powdered sugar for that snowy-yet-romantic feel.
I covered a lot of my favorite tricks for making sure your bakes always turn out right in my tips for easy super moist pumpkin bread recipe, and many of those rules apply here too—especially about careful temperature checking!
Share Your Red Velvet Cheesecake Brownies Creations
Now that you’ve baked up these stunning red velvet cheesecake brownies, I absolutely have to know how they turned out! Sharing food with people you love is what this whole process is about, and for me, hearing from you all is the best part of running DeliceRecipe. I hope you felt that little spark of joy when you pulled that pan out of the oven and saw that perfect swirl. It means the world to me when you bring my recipes into your kitchens!
Please, please, please leave a comment below telling me what you thought. Did they stay fudgy? Did your swirl look gorgeous? I read every single note, and your feedback helps me make sure the next person who tries this recipe has just as good a time as you did. It’s how we support each other as home bakers!
And if you snapped a picture of those gorgeous, decadent squares sitting on your cooling rack or plated up for serving, tag me on social media! Seeing your results is the ultimate baking inspiration—it truly keeps me going. I love seeing how you serve up your treats, whether you added fresh berries or just kept them simple with a dusting of sugar. For more of my favorite recipes that always get rave reviews, check out my guide on best soft chewy cutout sugar cookies.
If you want to see how another wonderful blogger made their version, you can always check out the inspiration shared by my friends over at Comforting Recipes. Happy baking, dear friend, and enjoy every single rich, creamy bite!
PrintDecadent & Fudgy Red Velvet Cheesecake Brownies with Perfect Cream Cheese Swirl

You will make rich, fudgy red velvet brownies topped with a creamy, tangy cheesecake layer. This recipe combines two favorite desserts into one visually stunning and easy-to-make bar perfect for any gathering.
- Prep Time: 15 min
- Cook Time: 35 min
- Total Time: 50 min
- Yield: 16 servings 1x
- Category: Dessert
- Method: Baking
- Cuisine: American
- Diet: Vegetarian
Ingredients
- 1/2 cup unsalted butter, melted
- 1 cup granulated sugar
- 2 large eggs, room temperature
- 1 1/2 teaspoons red food coloring
- 2 teaspoons vanilla extract
- 1/2 teaspoon salt
- 3/4 cup all-purpose flour
- 3 Tablespoons Dutch process cocoa powder
- 8 ounces cream cheese, softened
- 1 large egg, room temperature (for swirl)
- 1/3 cup granulated sugar (for swirl)
Instructions
- Preheat your oven to 350°F (175°C). Line a 9×9 inch baking pan with parchment paper, leaving an overhang for easy removal. Lightly grease the paper.
- Prepare the brownie batter: In a medium bowl, whisk together the melted butter and 1 cup of sugar until combined.
- Beat in the 2 room temperature eggs one at a time. Mix in the red food coloring and vanilla extract until the color is uniform.
- In a separate small bowl, whisk together the flour, cocoa powder, and salt. Gradually add the dry ingredients to the wet ingredients, mixing only until just combined. Do not overmix. Spread this red velvet batter evenly into the prepared pan.
- Prepare the cream cheese swirl: In a separate bowl, beat the softened cream cheese until smooth. Add the remaining 1/3 cup of sugar and the single egg. Beat until the mixture is smooth and creamy.
- Drop spoonfuls of the cream cheese mixture over the red velvet batter in the pan.
- Use a knife or a skewer to gently swirl the cream cheese mixture into the brownie batter to create a marbled effect. Do not over-swirl; you want distinct ribbons.
- Bake for 30 to 35 minutes, or until a toothpick inserted near the center comes out with moist crumbs attached, but not wet batter. The cheesecake layer should be mostly set.
- Let the brownies cool completely in the pan on a wire rack. Cooling is important for clean cuts.
- Once cool, use the parchment paper overhang to lift the brownies out of the pan. Cut into 16 squares.
Notes
- For the fudgiest texture, avoid overbaking. The center should still look slightly soft when you remove them from the oven.
- If you want a more intense red color, increase the red food coloring slightly, but add it with the wet ingredients.
- Store cooled brownies in an airtight container at room temperature for up to 3 days, or refrigerate for up to a week.
Nutrition
- Serving Size: 1 square
- Calories: 280
- Sugar: 25
- Sodium: 150
- Fat: 16
- Saturated Fat: 9
- Unsaturated Fat: 7
- Trans Fat: 0
- Carbohydrates: 32
- Fiber: 1
- Protein: 4
- Cholesterol: 65