
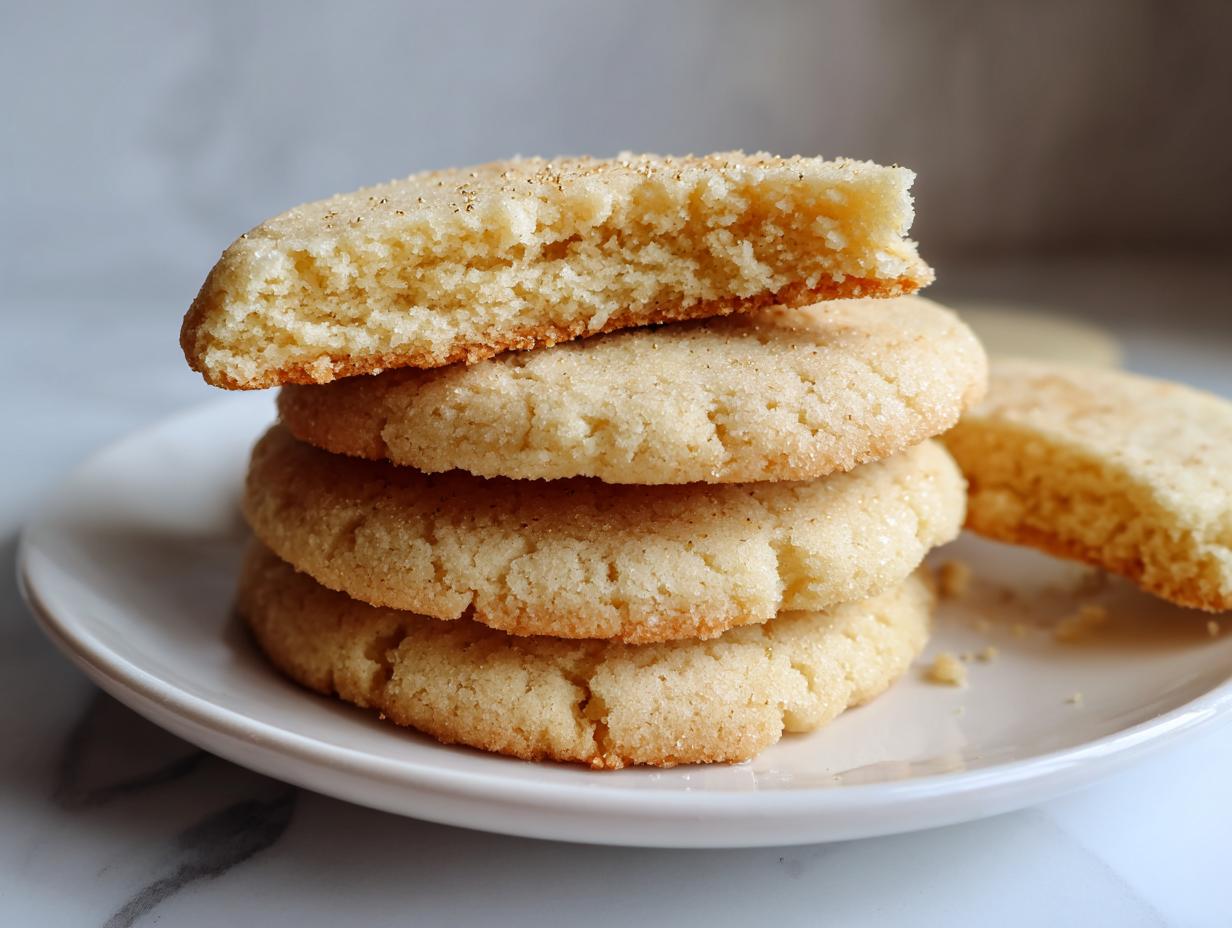
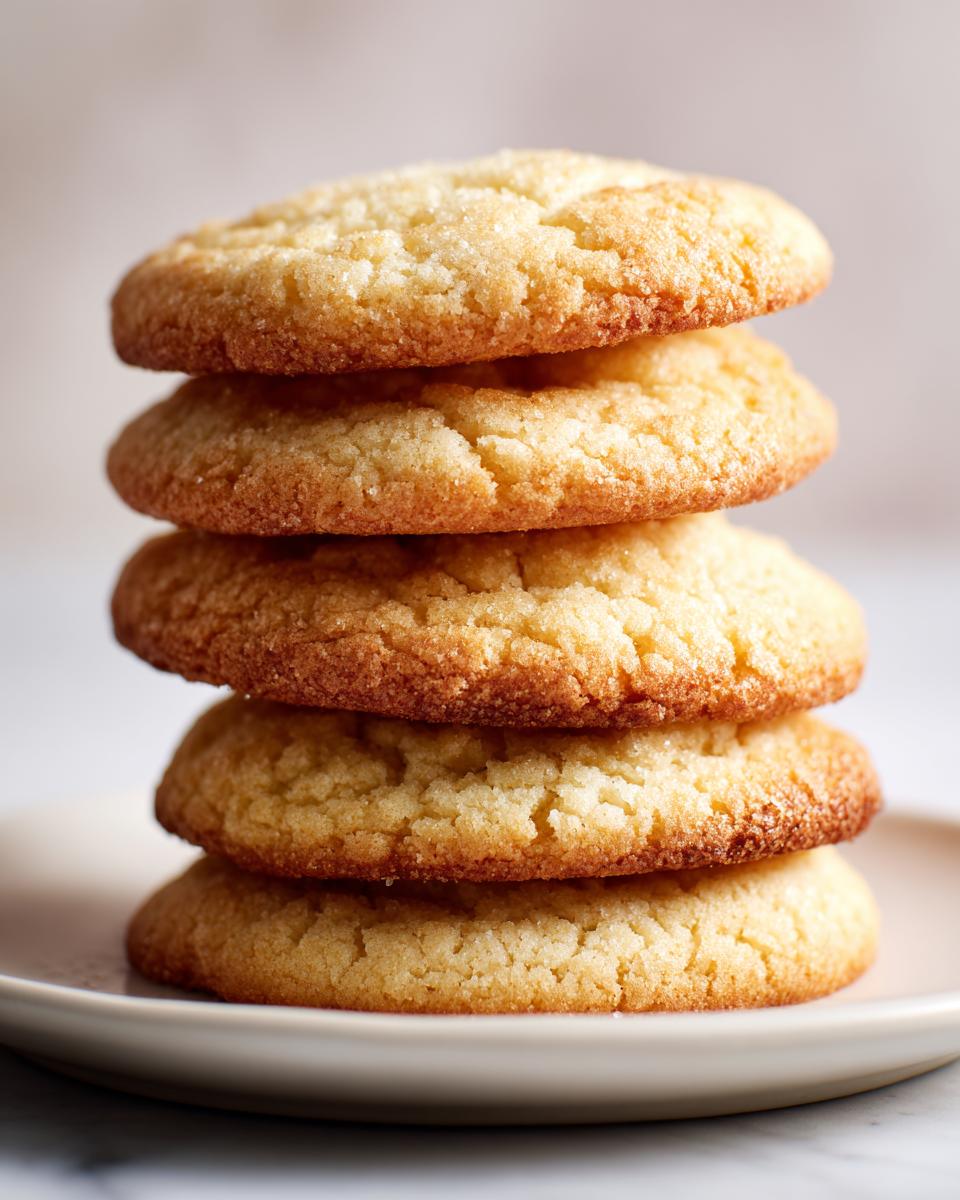
Oh, the yearly quest for the absolute perfect **sugar cookies**! You know the one I mean—the holiday cookie that’s beautifully festive when cut into shapes, yet still manages to be wonderfully soft and chewy when you bite into it? Stop looking, my friend. This recipe is it. We spent ages testing and re-testing ratios here at DeliceRecipe to make sure these **cut out sugar cookies** stay exactly how you carved them, no spreading allowed!
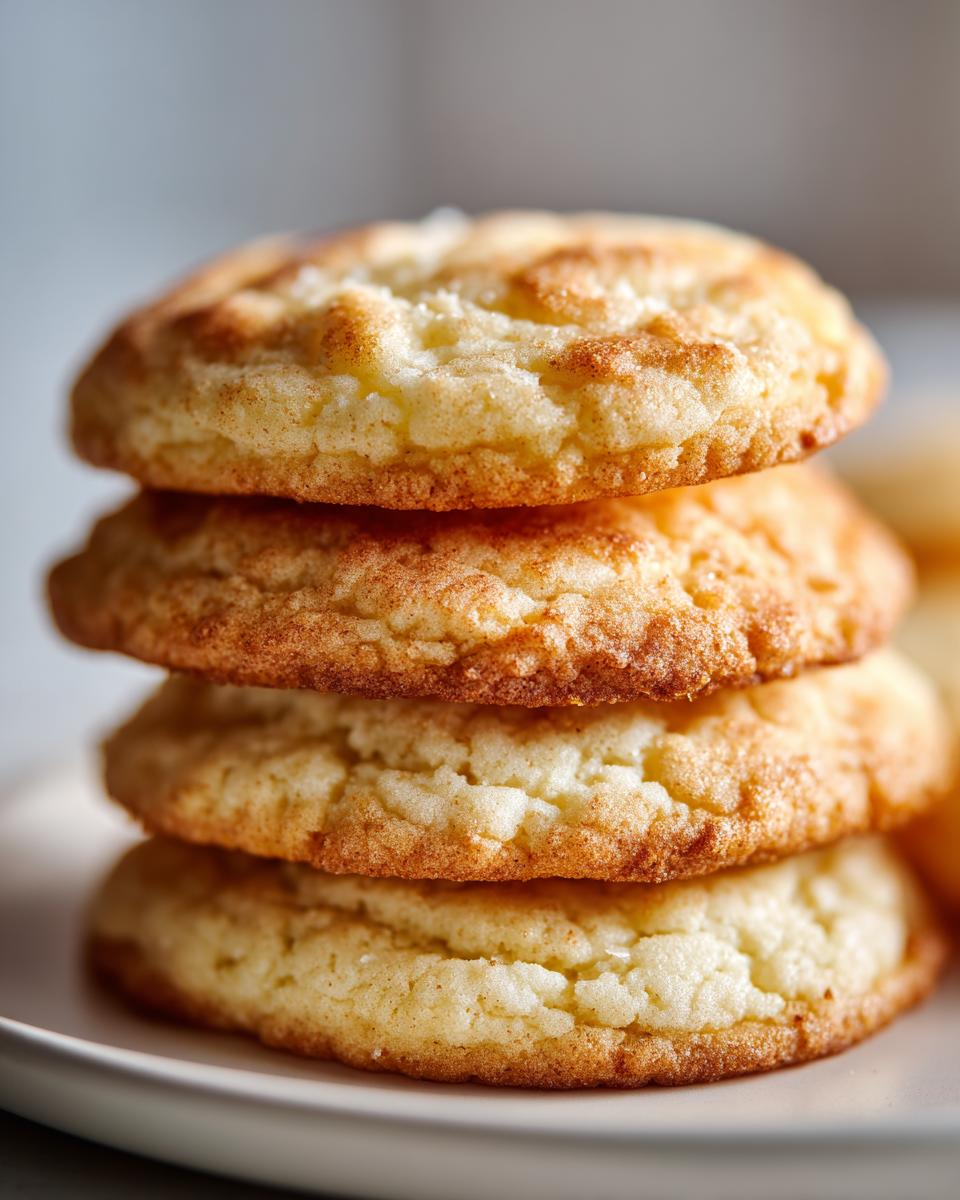
Ellie Vance, our founder, insists that every recipe here must be wonderfully reliable for the American home cook. That means we bake these **sugar cookies** until they are perfectly sweet, completely consistent, and ready for whatever frosting frenzy you have planned. Get ready to meet your new go-to recipe that delivers that dreamy bakery-style texture every single time. This recipe is packed with buttery vanilla goodness, and you can find more tips over on our ultimate guide to soft sugar cookies if you need more inspiration!
- Why This is the Best Sugar Cookies Recipe for Cutouts
- Gathering Ingredients for Perfect Sugar Cookies
- Step-by-Step Instructions for Cut Out Sugar Cookies
- Expert Tips for Perfect Sugar Cookies Success
- Making Holiday Sugar Cookies Ahead of Time
- Serving Suggestions for Your Homemade Sugar Cookies
- Frequently Asked Questions About Sugar Cookies
- Storage and Reheating Instructions for Your Sugar Cookies
- Share Your Sugar Cookies Creations
Why This is the Best Sugar Cookies Recipe for Cutouts
We didn’t just stumble upon this recipe; we wrestled it into submission until it behaved perfectly! If you’ve ever had your beautiful cookie shapes puff up and spread into sad puddles, I feel you. That heartbreak is real. We rigorously tested the ratio of butter to flour in this recipe, and I can promise you, these bakery style sugar cookies will hold their sharp edges when you roll out sugar cookies. That testing process ensures your **holiday sugar cookies** stay exactly where you put them!
Texture Profile: Soft and Chewy Sugar Cookies
The secret to achieving that perfect melt-in-your-mouth texture without sacrificing structure is all about the balance. We use a specific amount of butter combined with granulated sugar for that initial fluff, but we keep the liquid content low—that’s key! Less liquid means less spread! Because of how we develop the dough, even after baking, the cookie remains satisfyingly soft and guarantees that delicious chewy bite we all crave. Trust me, these aren’t those dry, cardboard-like cutouts!
Shape Integrity for Festive Cookie Shapes
When you’re making detailed Christmas cookies for decorating, you need dough that acts like sturdy canvas, not quicksand. That’s why chilling is non-negotiable here. Chilling the dough solidifies the fat, which stops the cookies from relaxing too much in the heat of the oven. I recommend rolling your dough right on your parchment paper, then sliding the whole piece into the fridge for about ten minutes before you even grab the cutters. You’ll get the cleanest, sharpest festive cookie shapes for all your **holiday sugar cookies**!
Gathering Ingredients for Perfect Sugar Cookies
You know how our philosophy here is all about making great food accessible? Well, these **sugar cookies** absolutely prove that point! You don’t need fancy extracts or rare items flown in from exotic lands. Nope! These are pure, classic, **basic ingredient cookies** that you probably have hanging around the pantry right now. We kept testing until Eleanor approved that everything on this list was readily available for any American home cook just whipping up a batch for fun or for the holidays.
Ingredient List for Soft Sugar Cookies
- 1 cup unsalted butter, softened
- 1 1/2 cups granulated sugar
- 2 large eggs
- 1 teaspoon vanilla extract
- 3 3/4 cups all-purpose flour
- 1 teaspoon baking powder
- 1/2 teaspoon salt
Step-by-Step Instructions for Cut Out Sugar Cookies
Mixing the Dough for Easy Sugar Cookies
Okay, get your biggest bowl out because this is where the magic starts! First step is creaming that softened butter with the granulated sugar. You have to beat this until it gets really pale and truly fluffy—like a fluffy cloud, not soupy! That aeration step is absolutely crucial for getting that soft texture later, so don’t rush it. Once it looks great, beat in your eggs one at a time, making sure each one is fully incorporated before dropping the next one in. Finally, mix in that lovely vanilla extract.
In a separate bowl, just quickly whisk your flour, baking powder, and salt together. This dry mixture needs to be waiting. Now, add the dry stuff to the wet stuff gradually, keeping the mixer speed low. Seriously, mix only until you see the last streak of flour disappear. If you overmix here, you’ll wake up tomorrow wondering why your **easy sugar cookies** are tough as leather. Nobody wants that!
Chilling and Rolling Out Your Sugar Cookies Dough
Once everything is just combined, divide that beautiful dough in half. I like to flatten each half into a disc—it chills much faster that way! Wrap them tightly in plastic wrap. You absolutely must chill this dough for at least one hour. I know, I know, waiting is the hardest part of baking cookies, but this is the secret to sharp edges! If you’re in a hurry, use the expert trick from our notes: once you roll the dough out (about 1/4 inch thick), slide the whole sheet into the fridge for about ten minutes before you even grab the cutters. That chilling step prevents spreading like nothing else!
Baking and Cooling Your Buttery Vanilla Cookies
Now for the fun part—preheat your oven to 375 degrees F (190 degrees C) and get those baking sheets lined with parchment paper. Place your festive shapes onto the sheets. I bake these **buttery vanilla cookies** for 8 to 10 minutes. If you want them super soft, pull them out closer to the 8-minute mark; they should look just slightly golden on the edges. Don’t panic if they look a little soft! Let them cool right there on the hot baking sheet for about five minutes—this lets them firm up just enough before you transfer them to a wire rack to cool completely. When they are cool, you’ll be ready for decorating! If you use royal icing for those detailed holiday designs, make sure you check out our guide on making the perfect royal icing.
Expert Tips for Perfect Sugar Cookies Success
You’ve mixed and chilled, and now you need to make sure everything goes perfectly in that crucial final stage. Baking is chemistry, right? Well, I like to think of it as trusting your instincts based on solid science! These tips are pulled straight from what I’ve learned watching countless batches come out of the oven just right. If you follow these little bits of advice, you’ll see why people call these the **best sugar cookie recipe** ever.
Ingredient Notes and Substitutions for Sugar Cookies
First off, remember that tip about the vanilla? If you plan on covering these **sugar cookies** with thick royal icing, you might want to drop the vanilla down just a tiny bit—maybe use 3/4 of a teaspoon. It’s a small tweak, but it keeps the vanilla flavor from fighting with your beautiful icing designs later on. Also, please, please, please make sure your butter and eggs are at true room temperature before you start creaming! If the butter is too cold, you won’t get that essential air whipped in, and if the eggs are ice cold, they can cause the creamed butter to curdle. Room temp is non-negotiable for that smooth emulsion that leads to amazing **chewy sugar cookies**. And hey, if you need a recipe for that icing later, you can check out my guide on easy cookie icing!
Making Holiday Sugar Cookies Ahead of Time
Listen, the holidays are chaotic enough—we don’t need the pressure of mixing cookie dough the morning of the big party! The amazing news is that this dough is fantastic for planning ahead. Remember how I said we divide it into disks? You can pop those discs right into the fridge and they’ll be perfectly good for up to three whole days. That means you can manage your baking schedule way better!
If you want to get even further ahead, you can totally freeze the dough! Wrap those chilled discs extra tightly in plastic wrap and pop them into a zip-top bag. They last great in the freezer for about three months. When you’re ready to bake your **holiday sugar cookies**, just move the frozen dough to the fridge overnight to thaw slowly. If you’re looking for other make-ahead ideas to ease the pressure, I always keep my list of make ahead holiday treats bookmarked!
What about the baked cookies? Once they are totally, completely cool—and I mean rock hard, not even slightly warm—store them in an airtight container at room temperature. They stay wonderfully fresh for a week, ready for an afternoon of decorating when you have the time!
Serving Suggestions for Your Homemade Sugar Cookies
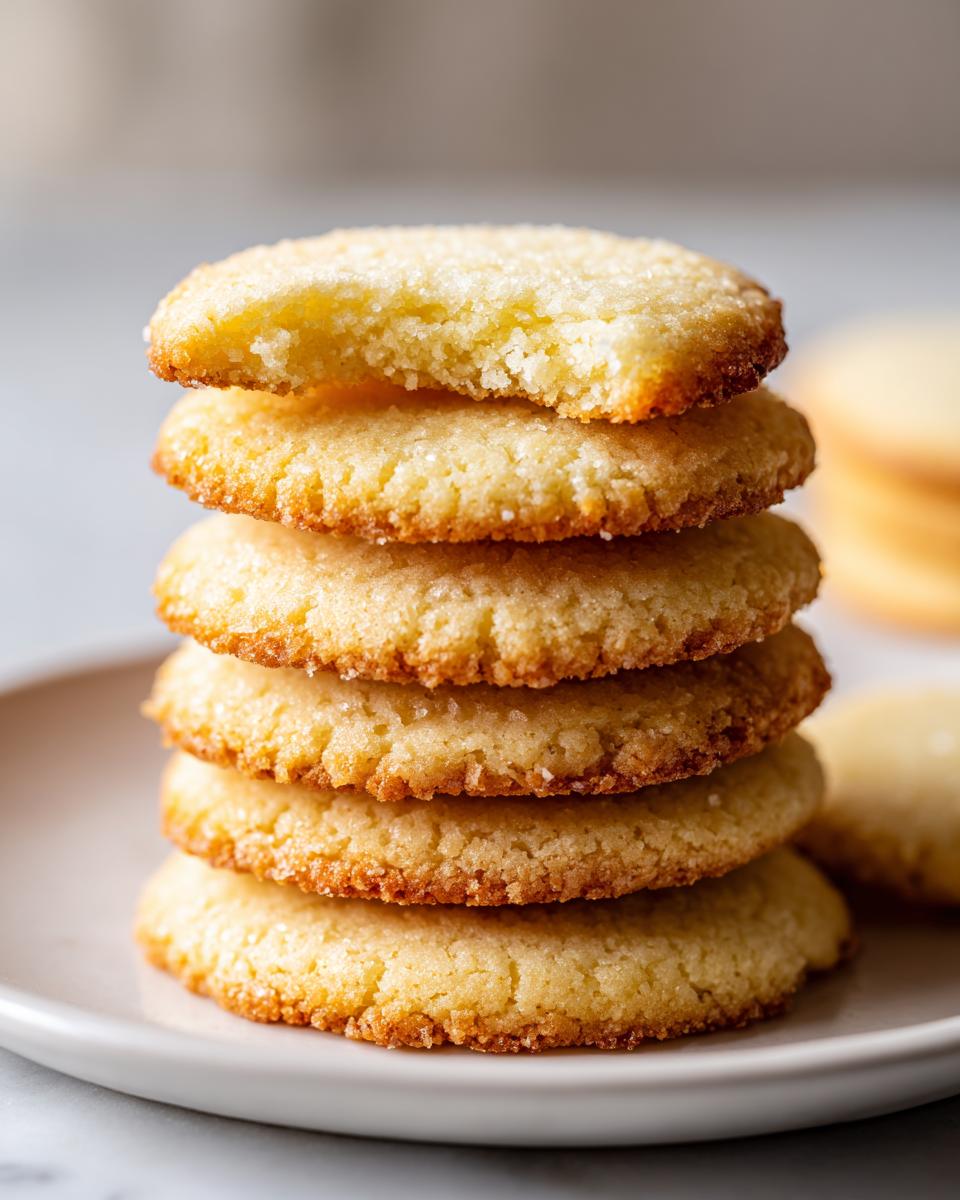
Once you’ve decorated these beautiful **homemade sugar cookies**, you might be wondering the best way to present them! Honestly, these **buttery vanilla cookies** are so flavorful on their own that they don’t need much fanfare. They are absolutely incredible alongside a hot cup of coffee in the morning or a cozy mug of spiced tea in the afternoon. For parties, I love to arrange them on a tiered platter next to some fudge or my famous easy apple pie bars for a nice textural contrast.
While these **sugar cookies** are simple, for busy weeknights, consider using meal planning services to keep dinners easy. That way, you save all your energy for the fun stuff, like making sure everyone gets enough cookies!
Frequently Asked Questions About Sugar Cookies
I get so many messages about these treats! Honestly, when you’re aiming for the absolute best **soft sugar cookies**, a few things always pop up. Don’t sweat it if your first batch has a question mark next to it; we all start somewhere. Getting those perfect shapes requires a tiny bit of know-how, but once you nail these few points, you’ll be churning out **easy cookie decorating ideas** in no time!
Troubleshooting Spreading in Cut Out Sugar Cookies
This is the most common worry, hands down! If your **cut out sugar cookies** are spreading, 99% of the time it’s dough temperature. Make absolutely sure your dough is chilled thoroughly—both before rolling and right after you cut out the shapes. Pop those cut shapes onto the baking sheet and give them a final 10-minute chill in the fridge before they hit the oven. Also, make sure your oven thermometer is accurate! If the oven isn’t hot enough, the butter melts before the dough sets, and *poof*—say goodbye to your clean edges!
What is the best icing for these sugar cookies?
If you plan on doing any serious decorating, like drawing tiny candy canes or intricate patterns, you need stability. For that, you absolutely must use Royal Icing. It dries hard and seals in that beautiful cookie texture underneath. If you want a simple glaze that dries firm but is softer to eat, you can check out the recipe for my easy cookie icing recipe that hardens perfectly.
Storage and Reheating Instructions for Your Sugar Cookies
The best part about these **sugar cookies** is how long they last, making them a dream for meal planning around the holidays! For undecorated cookies, keep them in a single layer or separated by parchment paper in a truly airtight container right on your counter. Room temperature is totally fine for up to a week—yes, even a full week and they stay soft!
If you’ve already iced them, wait until that frosting is completely set hard before stacking or storing. Then, place them carefully in an airtight container. They are great for about three days, although I rarely find any remaining after day two!
Share Your Sugar Cookies Creations
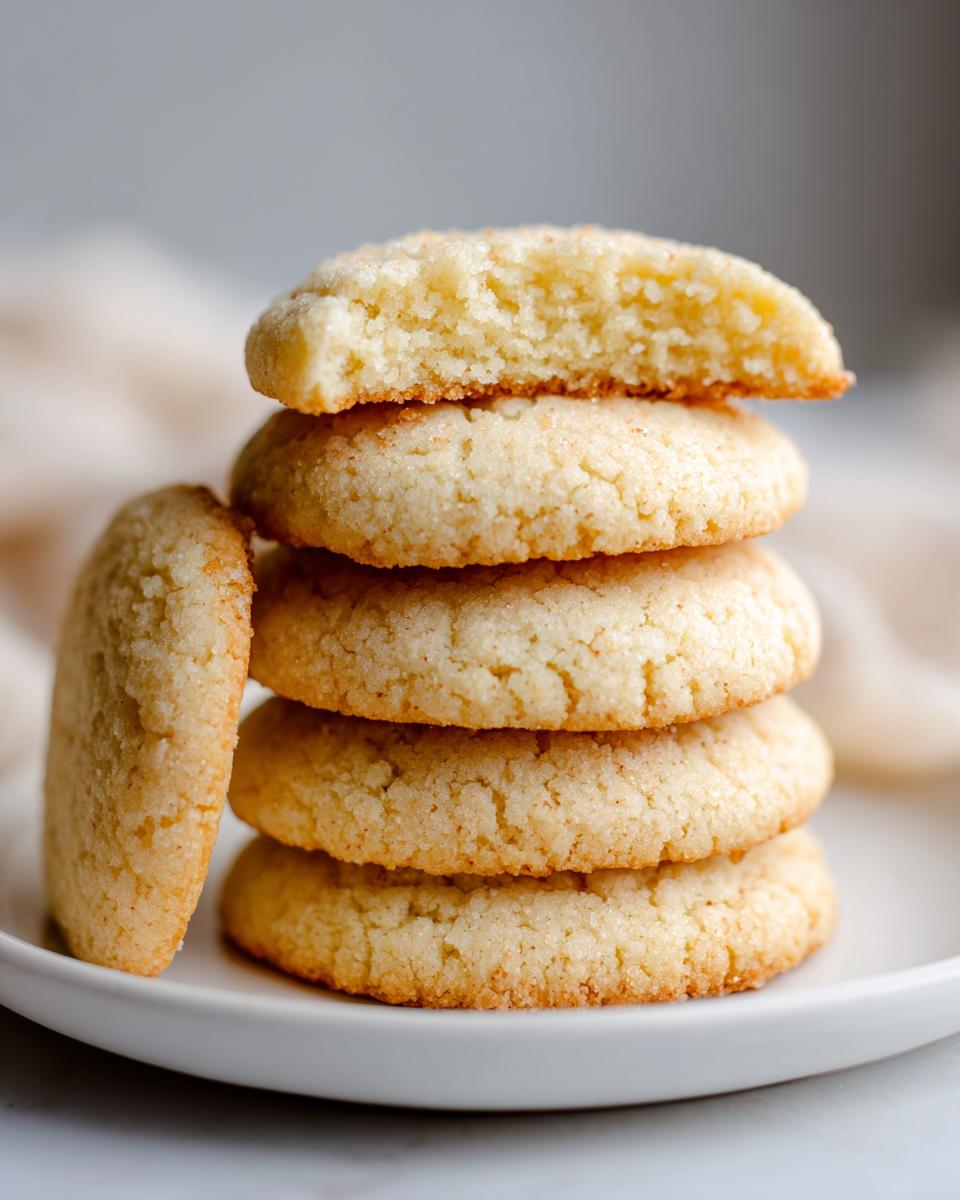
Now you have the absolute best recipe for **sugar cookies** that are soft, chewy, and hold their shape like champions! Seriously, I can’t wait to see what you make. Did you stick strictly to classic stars and circles, or did you go wild with those festive cookie shapes?
When you’ve finished your decorating marathon—and please tell me how your **easy cookie decorating ideas** turned out—I really want to hear about it! Head down to the comments below and give this recipe a rating. Tell me if they were chewy enough, how sharp your cutouts stayed, and what color frosting you ended up using!
If you snapped a picture of your beautiful pile of **homemade sugar cookies**, please tag us! Sharing your baking triumphs brightens my day and shows everyone else just how easy these **buttery vanilla cookies** really are. If you have any last-minute questions that I somehow missed, feel free to use our contact page!
PrintThe Best Soft and Chewy Cutout Sugar Cookies
Make bakery-style sugar cookies that are soft, chewy, and hold their shape perfectly for decorating. This easy recipe uses basic ingredients for a classic holiday treat.
- Prep Time: 25 min
- Cook Time: 10 min
- Total Time: 1 hour 35 min
- Yield: 3 dozen 1x
- Category: Dessert
- Method: Baking
- Cuisine: American
- Diet: Vegetarian
Ingredients
- 1 cup unsalted butter, softened
- 1 1/2 cups granulated sugar
- 2 large eggs
- 1 teaspoon vanilla extract
- 3 3/4 cups all-purpose flour
- 1 teaspoon baking powder
- 1/2 teaspoon salt
Instructions
- In a large bowl, cream together the softened butter and granulated sugar until light and fluffy.
- Beat in the eggs one at a time, then mix in the vanilla extract.
- In a separate bowl, whisk together the flour, baking powder, and salt.
- Gradually add the dry ingredients to the wet ingredients, mixing on low speed until just combined. Do not overmix.
- Divide the dough in half, flatten each half into a disk, wrap in plastic wrap, and chill for at least 1 hour.
- Preheat your oven to 375 degrees F (190 degrees C). Line baking sheets with parchment paper.
- On a lightly floured surface, roll out one disk of dough to about 1/4 inch thickness. Use cookie cutters to cut out shapes.
- Place the cutouts onto the prepared baking sheets. Reroll scraps as needed.
- Bake for 8 to 10 minutes, or until the edges are lightly golden. For softer cookies, bake closer to 8 minutes.
- Let the cookies cool on the baking sheet for 5 minutes before transferring them to a wire rack to cool completely before decorating.
Notes
- For the best shape retention when cutting out cookies, chill the rolled-out dough on the baking sheet for 10 minutes before baking.
- If you plan on using royal icing for detailed decorating, consider slightly reducing the vanilla extract to 3/4 teaspoon to keep the cookie flavor subtle.
- This dough is excellent for meal planning; you can prepare it ahead of time and keep it chilled for up to three days.
Nutrition
- Serving Size: 1 cookie
- Calories: 140
- Sugar: 12
- Sodium: 85
- Fat: 7
- Saturated Fat: 4
- Unsaturated Fat: 3
- Trans Fat: 0
- Carbohydrates: 18
- Fiber: 0
- Protein: 2
- Cholesterol: 30