
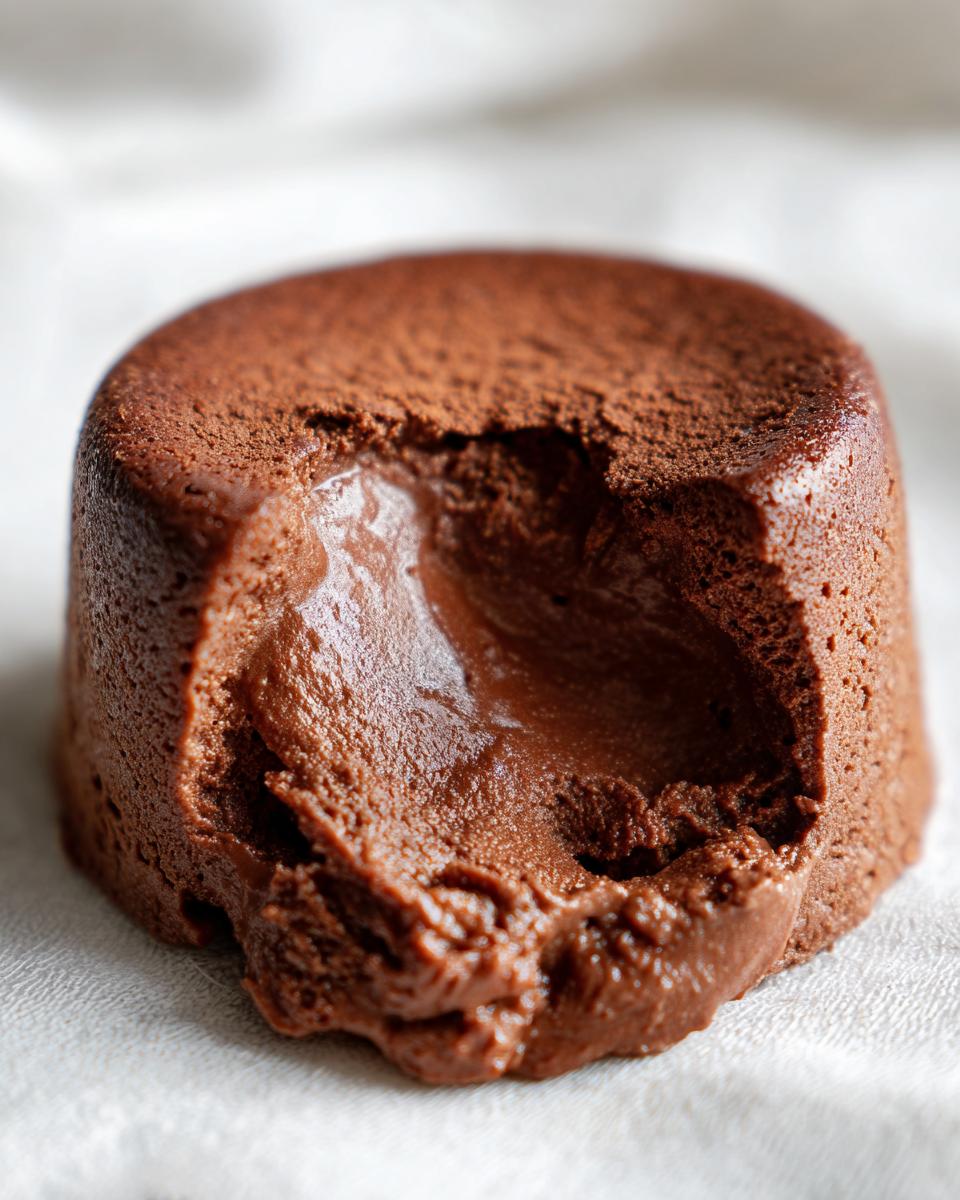
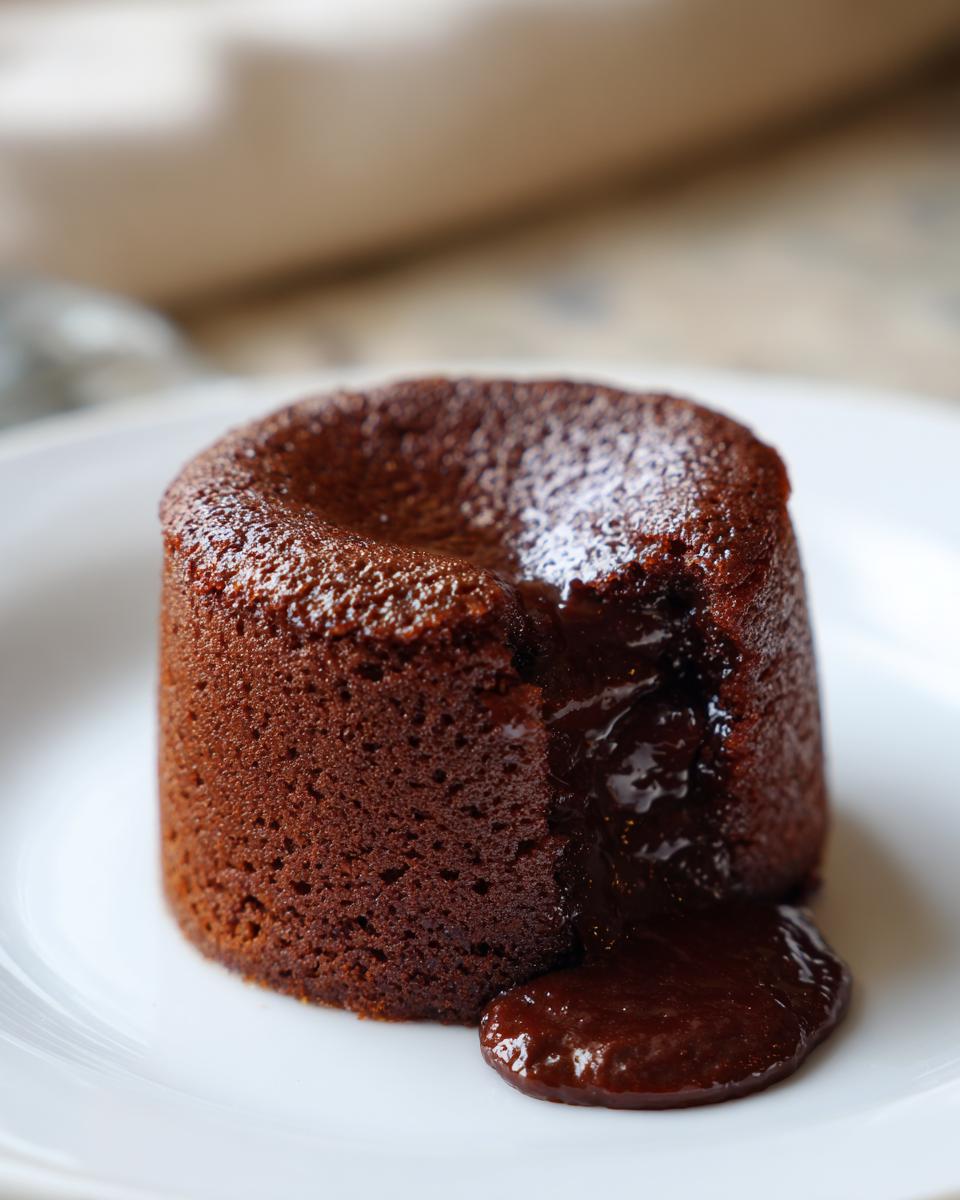
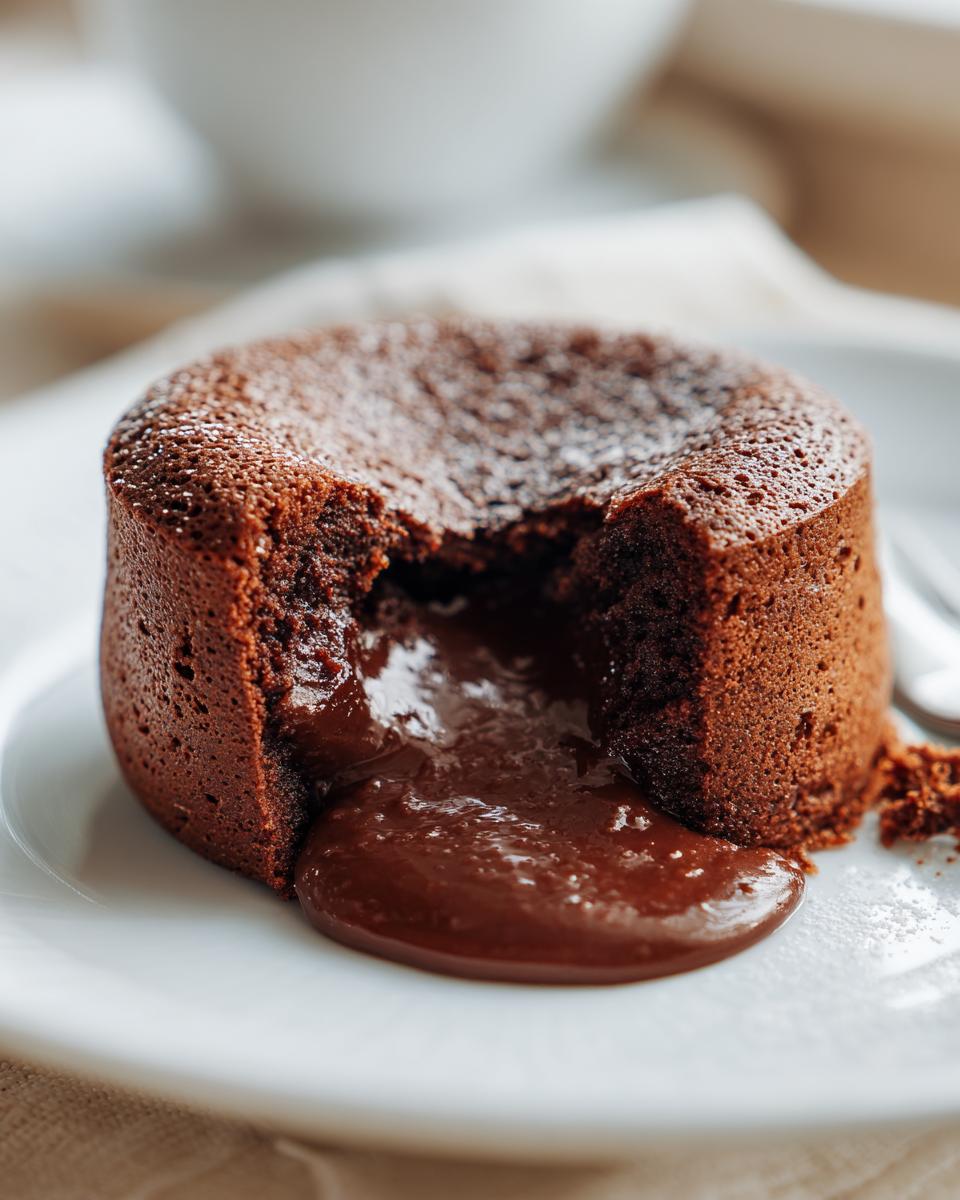
There’s nothing quite like pulling a rich, comforting dessert out of the fridge on a dreary afternoon. Forget those dusty boxes on the shelf, trust me! When I want true chocolate satisfaction, I lean on what I know works—the tried-and-true, from-scratch method that gives you pure velvet in a bowl. This recipe for Creamy Old-Fashioned Homemade Chocolate Pudding is hands-down the best way to get that deep cocoa flavor and unbelievably rich chocolate dessert experience. It might seem old-fashioned, but making this simple chocolate pudding is just pure connection back to those cozy moments in the kitchen—the kind of food my grandmother always made when we gathered.
- Why This Creamy Chocolate Pudding Recipe is a Family Favorite Dessert
- Ingredients for the Best Chocolate Pudding
- How to Make Velvety Chocolate Pudding From Scratch: Stovetop Pudding Instructions
- Tips for Achieving the Creamiest Chocolate Pudding Texture
- Serving Suggestions for Your Chocolate Dessert
- Storage and Reheating for Homemade Chocolate Pudding
- Frequently Asked Questions About Making Chocolate Pudding
- Nutritional Estimate for This Homemade Chocolate Pudding
- Share Your Creamy Chocolate Pudding Experience
Why This Creamy Chocolate Pudding Recipe is a Family Favorite Dessert
Honestly, once you make this homemade chocolate pudding, you’ll toss the boxed stuff. The reason I rely on this version continually is twofold: the texture and the flavor depth. We are talking about a truly creamy chocolate pudding, unlike anything you get from a box. It’s that rich, velvety pudding that just hugs your spoon, making it the perfect comfort food dessert for any evening.
I remember making a huge batch of this a few years ago when we had unexpected guests over for an impromptu dinner—everyone, from my teenage nephews to my oldest friends, just went silent staring into their bowls. It just happens! It’s simple, it’s from scratch, and it tastes exactly like the best parts of childhood. If you’re looking for easy dessert ideas that feel incredibly special, this is it. It’s ready faster than you think, too!
Ingredients for the Best Chocolate Pudding
Getting the best flavor in this chocolate pudding really comes down to using good quality ingredients. You don’t need anything fancy, which is what I love about this stovetop pudding recipe! Everything you need should already be in your pantry, except maybe the whole milk and those egg yolks. We use standard unsweetened cocoa powder, but if you want that truly deep, dark color, you might consider using a Dutch-processed variety next time you make a chocolate sauce recipe.
For four lovely servings, gather up these simple things: 1/4 cup unsweetened cocoa powder, 3/4 cup granulated sugar, just 1/4 teaspoon of salt, 1/3 cup of cornstarch to get that proper thickness, 2 cups of whole milk, 2 large egg yolks, 2 tablespoons of unsalted butter, and 1 teaspoon of vanilla extract. Seriously, that’s it for a rich chocolate dessert!
Ingredient Notes and Substitutions for Perfect Chocolate Pudding
Listen, I nearly always use whole milk here. That extra fat is what makes this pudding so incredibly luscious and contributes so much to that creamy chocolate pudding texture we’re chasing. If you absolutely must use something else, half-and-half would probably work in a pinch, but don’t go lower fat than that, or it won’t set quite right!
As for the cocoa, if you find the flavor isn’t hitting hard enough, try using Dutch-processed cocoa powder instead of natural unsweetened. Dutch-processed is milder and richer, giving you that intense backdrop flavor that makes this homemade chocolate pudding so satisfying. And please, make sure that vanilla extract is the *real* stuff—it really does make a difference when you’re just using a few ingredients!
How to Make Velvety Chocolate Pudding From Scratch: Stovetop Pudding Instructions
Alright, ready to see how this magic happens right on your stove? This is where we turn simple pantry staples into that gorgeous, luxurious velvety pudding. You’re going to want a good, sturdy whisk for this whole process. First things first, grab your medium saucepan. Before we add any liquid, whisk together all the dry stuff: the cocoa powder, sugar, salt, and that essential cornstarch. This prevents those awful lumps when the milk goes in, which is key for any pudding from scratch!
Once those dry ingredients are perfectly blended—no streaks allowed—slowly start whisking in the whole milk. Take your time here! We want a smooth, even base before we create any heat. When it looks totally smooth, set the pan over medium heat. Now comes when you have to pay attention! You need to stir constantly. I mean it—don’t walk away to check your phone! Keep that whisk moving around the bottom and edges for about 8 to 10 minutes until the mixture really starts to thicken up and you see those first happy little bubbles breaking the surface. This is the activation process for the cornstarch in your stovetop pudding.
If you ever make a fruit compote or something similar on the stove, like my recipe for easy stovetop cinnamon applesauce, you know the drill: perpetual stirring is crucial! Once it’s bubbling lightly, that’s your cue to lower the heat way down to low. Now we move to the egg yolks. Don’t just dump them in, or you’ll end up scrambling them right in your dessert! That’s where the next part comes in.
Tempering the Egg Yolks for Smooth Chocolate Pudding
To temper the yolks, gently scoop about half a cup of that hot pudding into a small bowl with your two yolks. Whisk that immediately and vigorously! This slow introduction of heat coaxes the yolks to warm up without seizing. Carefully pour that tempered yolk mixture right back into the main saucepan, still whisking continuously. Cook it just for one more minute until it gets very thick, then get it off the heat right away.
Finally, stir in that butter until it’s completely melted and glossy, followed by that teaspoon of glorious vanilla. Pour your beautiful, easy chocolate pudding into serving dishes. For the absolute best texture and to stop that dreaded film from forming on top, immediately press a piece of plastic wrap *directly* touching the surface of the pudding in each bowl. Then, chill them for at least two hours. That chilling time is non-negotiable for the perfect set!
Tips for Achieving the Creamiest Chocolate Pudding Texture
We’ve made it through the cooking, but the final result hinges on a couple of small, important habits if you want that ultimate velvety pudding experience. My best advice for texture starts right at the bottom of the pan. No matter how much you stir during cooking, always use a heavy-bottomed saucepan if you have one. Thinner pans let the heat build up unevenly, and you risk scorching that yummy bottom layer, which of course, ruins the whole batch then!
Secondly, pay attention to the bubble! When the pudding says it’s done cooking after adding the eggs, make sure it’s truly thick before you pull it off the heat. The cornstarch needs that full activation time; that’s what sets the pudding firm, not just the chilling. If you pull it too soon, it’ll weep water later on.
Finally, don’t cheat the resting time. That minimum of two hours in the fridge is where it locks in that perfect, smooth texture. And while we are talking about flavor boosters, always spring for the good vanilla. A nice quality extract makes a subtle difference over those imitation kinds, giving your chocolate dessert that final, polished touch. If you’re looking for other ways to execute perfect finishes, check out my guide on easy cookie icing—it’s all about technique!
Serving Suggestions for Your Chocolate Dessert
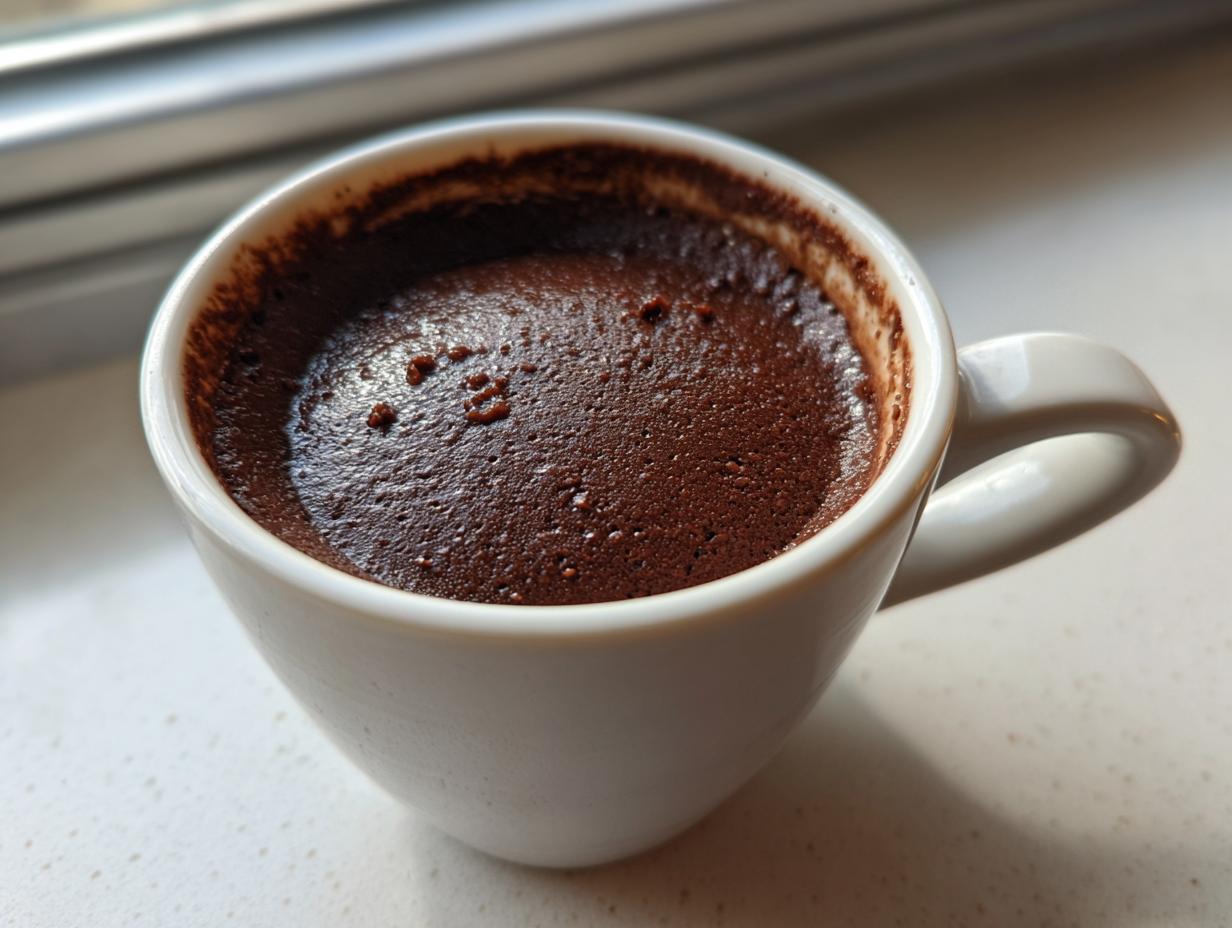
Once your chocolate pudding has chilled properly and set into that perfect, silky mound, the real fun begins: the topping! This recipe is incredible all by itself—a truly decadent chocolate dessert served plain in a little vintage teacup is just heavenly. But if you’re dressing it up for company, I have a few favorite tricks.
You cannot go wrong with a big dollop of fresh, unsweetened whipped cream on top. The lightness cuts through the richness of the chocolate perfectly. If you’re feeling a bit fancy, a small scattering of flaky sea salt right over the top enhances that cocoa flavor in the most surprising way. Fresh raspberries or sliced strawberries add a fantastic tart contrast, too.

This recipe slides beautifully into layered trifles, or you can use it as the base for a wonderful, quick easy tiramisu recipe if you swap out the coffee soak! It’s so versatile; you’ll find yourself making batches constantly just for fun weeknight treats.
Storage and Reheating for Homemade Chocolate Pudding
Good news—this chocolate pudding keeps beautifully, provided you seal it up right! Make sure that plastic wrap stays snug against the surface, and you can keep it in the fridge for about three to four days. It actually seems to get even richer the second day, which is lovely! Now, I have to tell you, reheating this style of pudding isn’t really my jam. Because we use cornstarch and egg yolks for that thick, velvety pudding texture, warming it back up usually breaks the structure a bit and it won’t return to that perfect consistency. Stick to eating it cold; that’s when it shines brightest!
Frequently Asked Questions About Making Chocolate Pudding
Folks always have questions when making something new from scratch, even something as classic as chocolate pudding! I’ve gathered up the ones I hear the most often. Don’t worry if you’re new to stovetop cooking; these little tips will help you get that perfect batch on your first try.
Can I make this chocolate pudding recipe without egg yolks?
Ah, the yolks! They really are crucial for that deep color and the rich, luxurious binding quality that makes this pudding so wonderful. Strictly speaking, you could omit them if you absolutely needed to, but you’d lose a lot of that classic texture. If you must skip them, I’d suggest adding an extra tablespoon of cornstarch to the dry ingredients to help compensate for the lost thickening power. Just know it won’t be quite as decadent, but it will still be a lovely, easy chocolate pudding.
How do I prevent a skin from forming on my chocolate pudding?
This is the number one thing people ask about when making pudding from scratch! It happens because the moisture on the surface cools and evaporates faster than the pudding underneath, creating that rubbery layer. The trick is to stop that air contact. After you pour the hot pudding into your bowls, take a piece of plastic wrap—the good, close-clinging kind—and physically press it right onto the surface of the pudding. It stops any evaporation. Take it off right before you serve, and you’ll have smooth silk underneath!
Is this considered a quick pudding recipe?
Well, compared to baking a whole cake, yes, it’s incredibly fast! We’re talking maybe 10 or 12 minutes actively cooking on the stove. While it does need about two hours of chilling time to really firm up, your active time is very low. So, while it’s not instant, I absolutely consider this a quick pudding recipe when you factor in that the total prep and cook time is under 30 minutes. It’s great for those I-need-a-sweet-treat-tonight moments!
If you’re looking for other fast solutions for dinner or dessert, pop over and check out my guide to easy weeknight dinners—sometimes you just need speed!
Nutritional Estimate for This Homemade Chocolate Pudding
We all love to indulge, and sometimes knowing what’s tucked inside that comforting bowl helps us enjoy it even more! Since this is a classic, rich recipe, it certainly has some sugar and fat—that’s what makes it taste so divine. But if you want to know what you’re digging into here in your chocolate pudding, here are the estimates based on the standard recipe amounts. Remember, these numbers rely heavily on the type of milk you choose (full-fat whole milk really pushes the fat content up, naturally!).
- Serving Size: 1 serving
- Calories: 280
- Sugar: 35g
- Sodium: 150mg
- Fat: 10g (Saturated Fat: 6g)
- Carbohydrates: 43g
- Protein: 7g
Now, please take this with a grain of salt—or rather, a grain of sugar! These figures are just estimates calculated using standard commercial ingredients. If you use a different brand of cocoa powder, or maybe sneak in some half-and-half instead of whole milk, those numbers will shift a bit. If you’re looking for lighter ideas without sacrificing flavor in other bakes, you might want to look at my easy super moist pumpkin bread recipe for comparison!
Share Your Creamy Chocolate Pudding Experience
Well, that’s it! You’ve made something truly wonderful. This chocolate pudding isn’t just a recipe; it’s a little piece of kitchen comfort I truly hope you love as much as my family does. It’s so rewarding seeing how this simple, from scratch pudding turns into such a decadent treat!
So, I would absolutely love to hear from you! Did you try it plain? Did you add a swirl of peanut butter or some vanilla whipped cream? Did you run into any snags? Pop down into the comments below and let me know how your velvety pudding turned out. Be sure to give the recipe a rating—five stars if you think it deserves it, because that helps other home cooks find this comforting classic!
If you snap a picture of your beautiful bowls of pudding (and seriously, who wouldn’t?), please tag me on social media; seeing your results is what keeps me energized in the kitchen every day. You can always reach out via my contact page if you have super specific recipe questions, too. Happy scooping!
PrintCreamy Old-Fashioned Homemade Chocolate Pudding

Make this rich, velvety chocolate pudding from scratch. This stovetop pudding uses simple pantry staples for a comforting dessert that beats any boxed mix.
- Prep Time: 10 min
- Cook Time: 15 min
- Total Time: 25 min
- Yield: 4 servings 1x
- Category: Dessert
- Method: Stovetop
- Cuisine: American
- Diet: Vegetarian
Ingredients
- 1/4 cup unsweetened cocoa powder
- 3/4 cup granulated sugar
- 1/4 teaspoon salt
- 1/3 cup cornstarch
- 2 cups whole milk
- 2 large egg yolks
- 2 tablespoons unsalted butter
- 1 teaspoon vanilla extract
Instructions
- In a medium saucepan, whisk together the cocoa powder, sugar, salt, and cornstarch until combined.
- Gradually whisk in the milk until the mixture is smooth.
- Place the saucepan over medium heat. Cook, stirring constantly with a whisk, until the mixture thickens and begins to bubble. This usually takes 8 to 10 minutes.
- Reduce the heat to low. In a small bowl, whisk the egg yolks lightly. Scoop about 1/2 cup of the hot pudding mixture into the egg yolks while whisking constantly to temper them.
- Pour the tempered egg yolk mixture back into the saucepan, whisking continuously. Continue to cook for 1 minute, stirring constantly, until the pudding is very thick. Do not let it boil rapidly.
- Remove the saucepan from the heat. Stir in the butter and vanilla extract until the butter is fully melted and incorporated.
- Pour the pudding into individual serving bowls or a single larger dish. Press plastic wrap directly onto the surface of the pudding to prevent a skin from forming.
- Chill in the refrigerator for at least 2 hours, or until completely cold and set.
Notes
- For a richer flavor, use dark or Dutch-processed cocoa powder.
- If you prefer a thinner pudding, reduce the cornstarch to 3 tablespoons.
- This recipe is a great base for a quick no bake dessert; serve with whipped cream or fresh berries.
Nutrition
- Serving Size: 1 serving
- Calories: 280
- Sugar: 35
- Sodium: 150
- Fat: 10
- Saturated Fat: 6
- Unsaturated Fat: 4
- Trans Fat: 0
- Carbohydrates: 43
- Fiber: 2
- Protein: 7
- Cholesterol: 75