
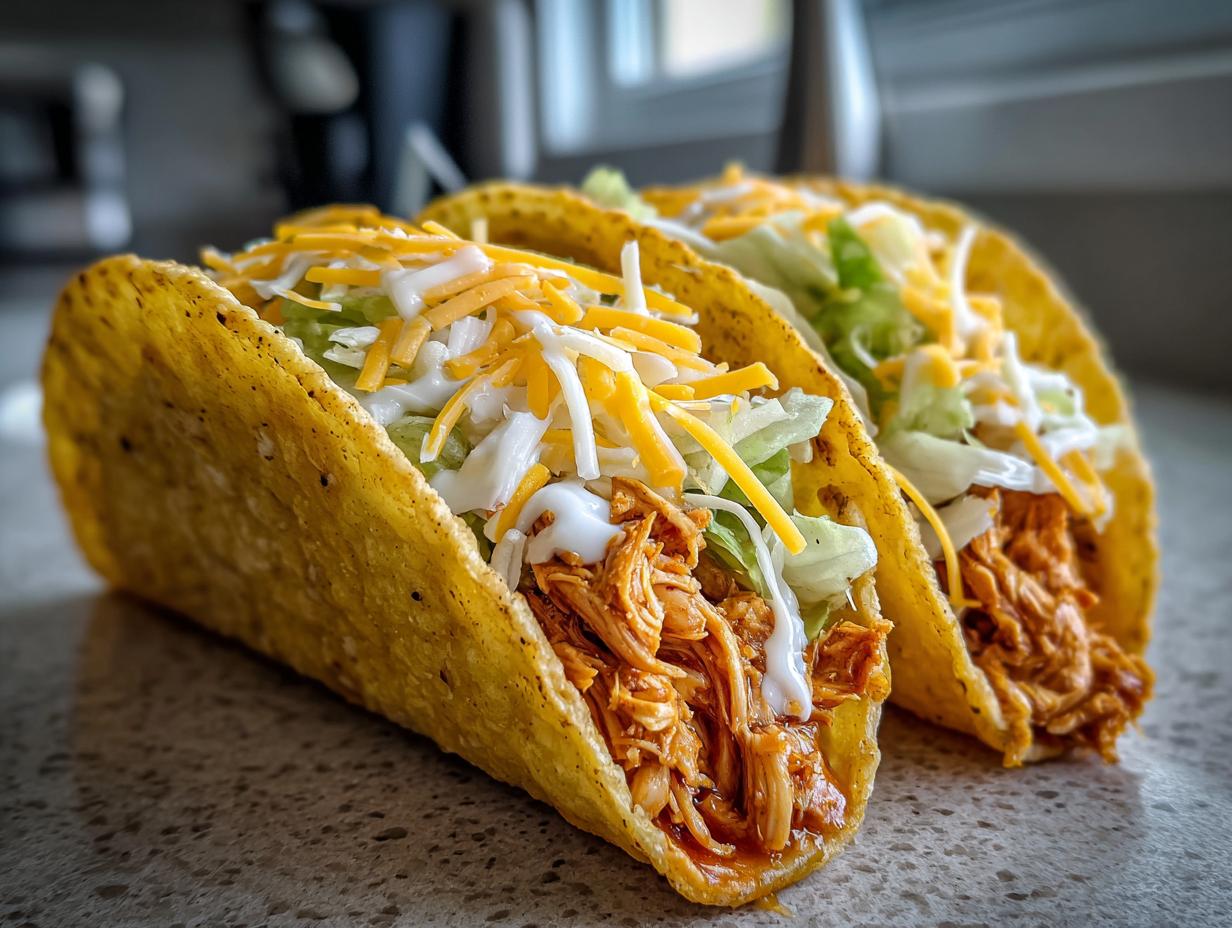
Oh, hello there! If you’re anything like me, the thought of cheesy, crunchy chicken tacos makes your tummy rumble with happiness. There’s just something so perfect about that satisfying crunch giving way to tender, seasoned chicken and melty cheese, right? This recipe is my go-to because it’s ridiculously fast – we’re talking seriously quick weeknight dinner territory, or even better, a guaranteed win for family taco night! It’s born from all those little kitchen experiments Ellie and I do, aiming for maximum flavor without the fuss. Trust me, these aren’t your average tacos; they’re a little bit magic, designed with real home cooks in mind.
- Why You'll Love These Crispy Chicken Tacos
- Gather Your Ingredients for Perfect Chicken Tacos
- Essential Equipment for Making Chicken Tacos
- Step-by-Step Guide to Oven Baked Tacos
- Tips for Success with Your Chicken Tacos
- Serving and Storing Your Shredded Chicken Tacos
- Frequently Asked Questions About Chicken Tacos
- Estimated Nutritional Information for Chicken Tacos
- Share Your Crispy Chicken Taco Creations!
Why You’ll Love These Crispy Chicken Tacos
Friends, you are going to *adore* this recipe. Here’s why:
- Super Speedy: Seriously, we’re talking dinner on the table in under 30 minutes. Perfect for those crazy weeknights!
- Effortlessly Easy: Minimal chopping, maximum flavor. Even the kids can help assemble these.
- Irresistibly Crispy: That crunch is everything! We’ve got a little trick to get them perfectly golden.
- Family Taco Night Favorite: Loads of flavor, totally customizable with all your favorite toppings. Everyone makes them their own!
- Versatile Filling: Great for more than just tacos – think taco salads or bowls too!
Gather Your Ingredients for Perfect Chicken Tacos
Alright, let’s get down to business! To whip up these amazing chicken tacos, you’ll want to gather a few simple things. The star of the show is about 1 pound of cooked shredded chicken – honestly, grabbing a rotisserie chicken from the store is my secret for making this super quick! Then we’ve got our flavor team: about a tablespoon of olive oil, a good teaspoon of chili powder, half a teaspoon of cumin, and then just a pinch each of garlic powder and onion powder. Don’t forget salt and pepper to taste, of course!
For the tacos themselves, grab about 8-10 taco shells. Hard or soft, it’s totally up to you! And the cheese? You’ll need a cup of shredded Monterey Jack. Oh, and for those optional-but-highly-recommended toppings to make them really shine, think classics like shredded lettuce, diced tomatoes, chopped onions, your favorite salsa, a dollop of sour cream, or some creamy avocado slices. So simple, right?
Essential Equipment for Making Chicken Tacos
To get these delicious chicken tacos on your table, you don’t need a whole fancy setup. Just a good old medium skillet for heating up that chicken and getting it all flavorful is key. You’ll also want a baking sheet – this is where the magic happens for getting those shells perfectly warm and crispy. And, of course, you’ll need a spatula or spoon for stirring and serving!
Step-by-Step Guide to Oven Baked Tacos
Alright, time to get these amazing oven baked tacos into your life! It’s simpler than you think, and trust me, the payoff is HUGE. We’re talking a delicious, crispy meal that’ll have everyone asking for seconds. Let’s dive in!
Preparing the Savory Shredded Chicken Filling
First things first, let’s get that chicken seasoned up perfectly. Grab your skillet and pop in that tablespoon of olive oil. Heat it up over medium heat. Now, add your pound of cooked shredded chicken – remember, rotisserie is your best friend here for speed! Let it warm through for just a couple of minutes. Then, sprinkle in that chili powder, cumin, garlic powder, onion powder, and a good pinch of salt and pepper. Stir it all around and let it cook for another minute until you can really smell all those yummy spices waking up. That’s it! Super flavorful chicken filling, ready to go.
Crisping Your Taco Shells for Maximum Crunch
Now for the fun part: getting those shells nice and crispy! If you’re using those classic hard taco shells, lay them out on a baking sheet. Pop them into your preheated oven (that’s 375°F, remember?) for about 5 to 7 minutes. You just want them warm and a little bit grabby, you know? If you’re using soft tortillas, just give them a quick warm-up according to the package directions. For an extra little oomph of crispiness on the hard shells, you can give them a *super* light brush with a little extra olive oil before they go in. Nobody likes a soggy taco shell, right?
Assembling and Baking Your Delicious Chicken Tacos
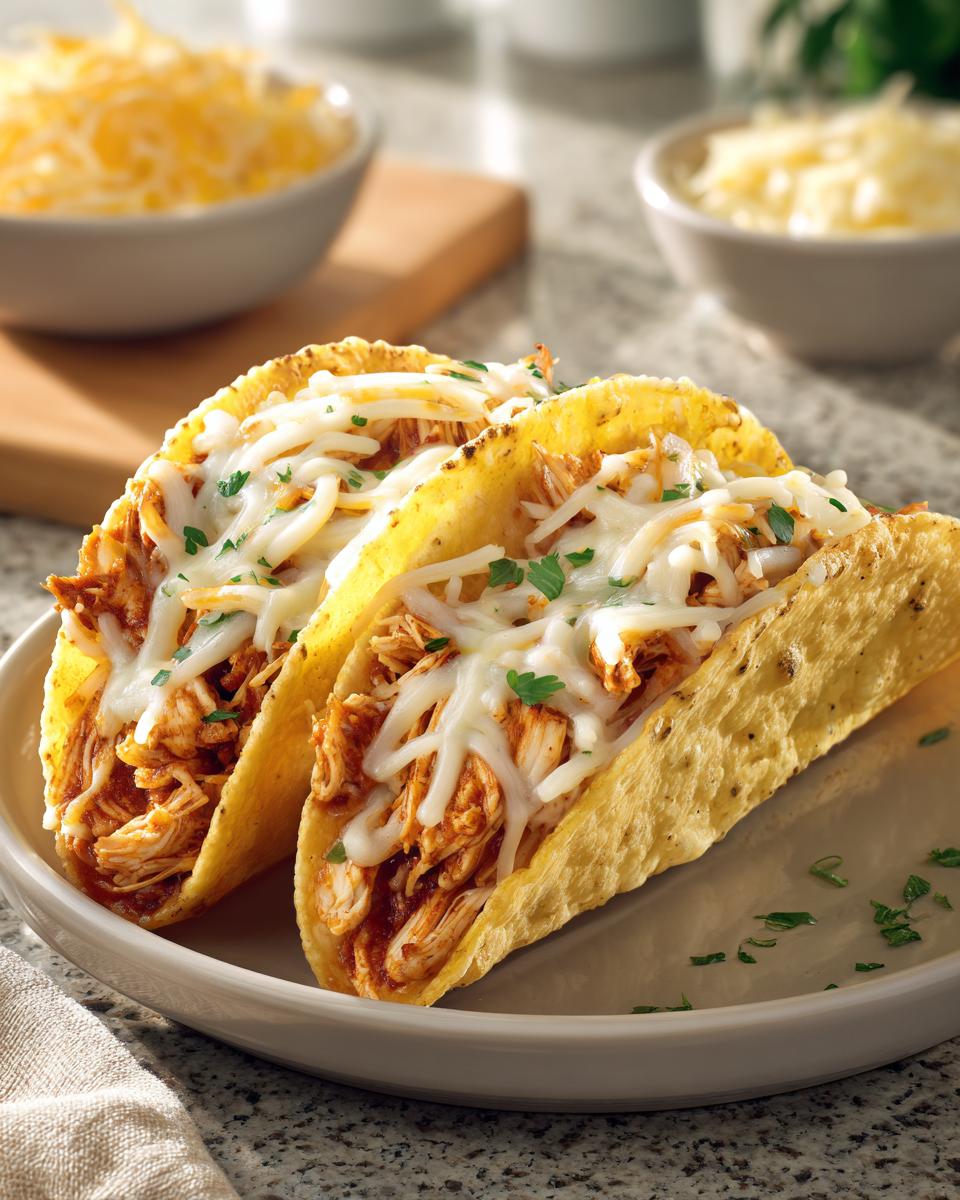
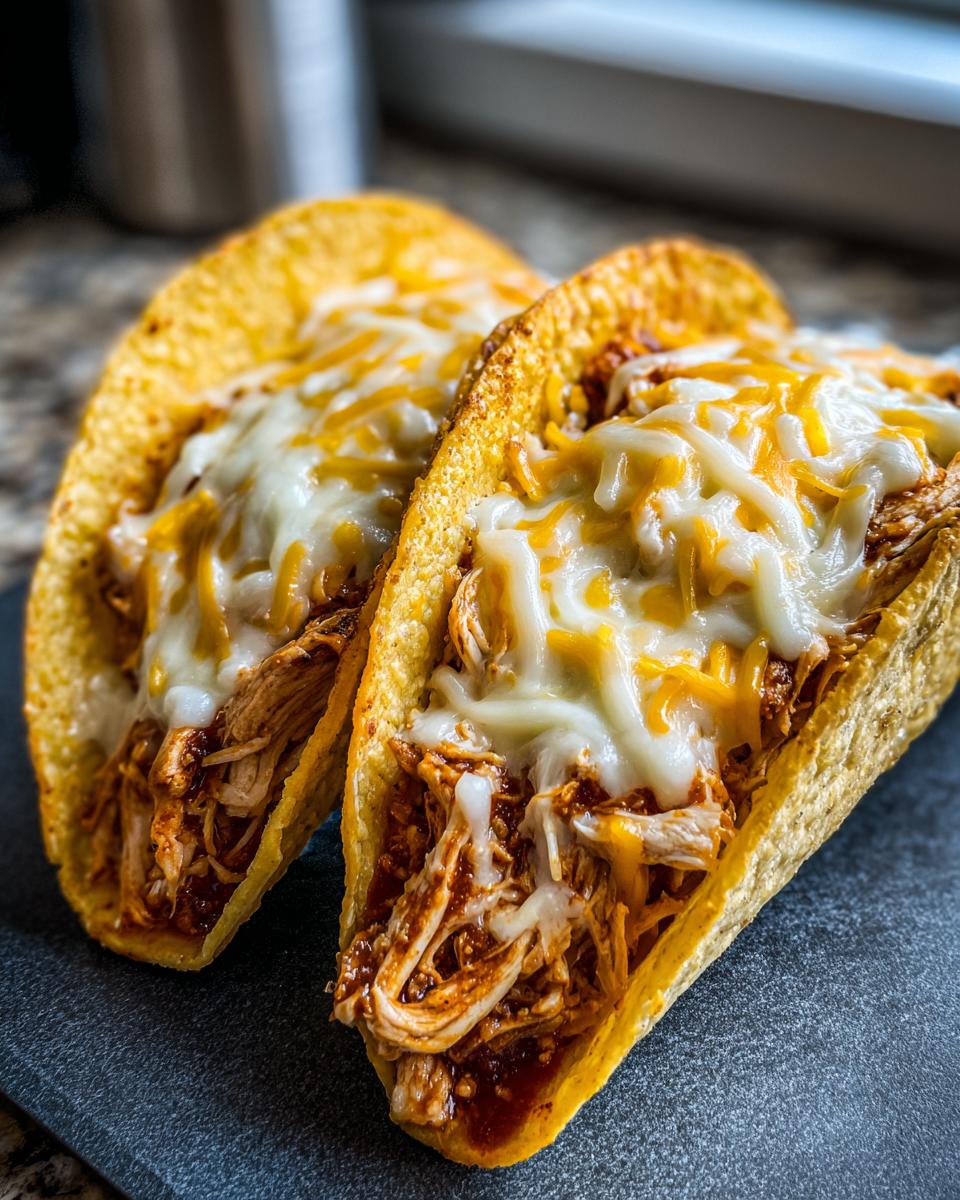
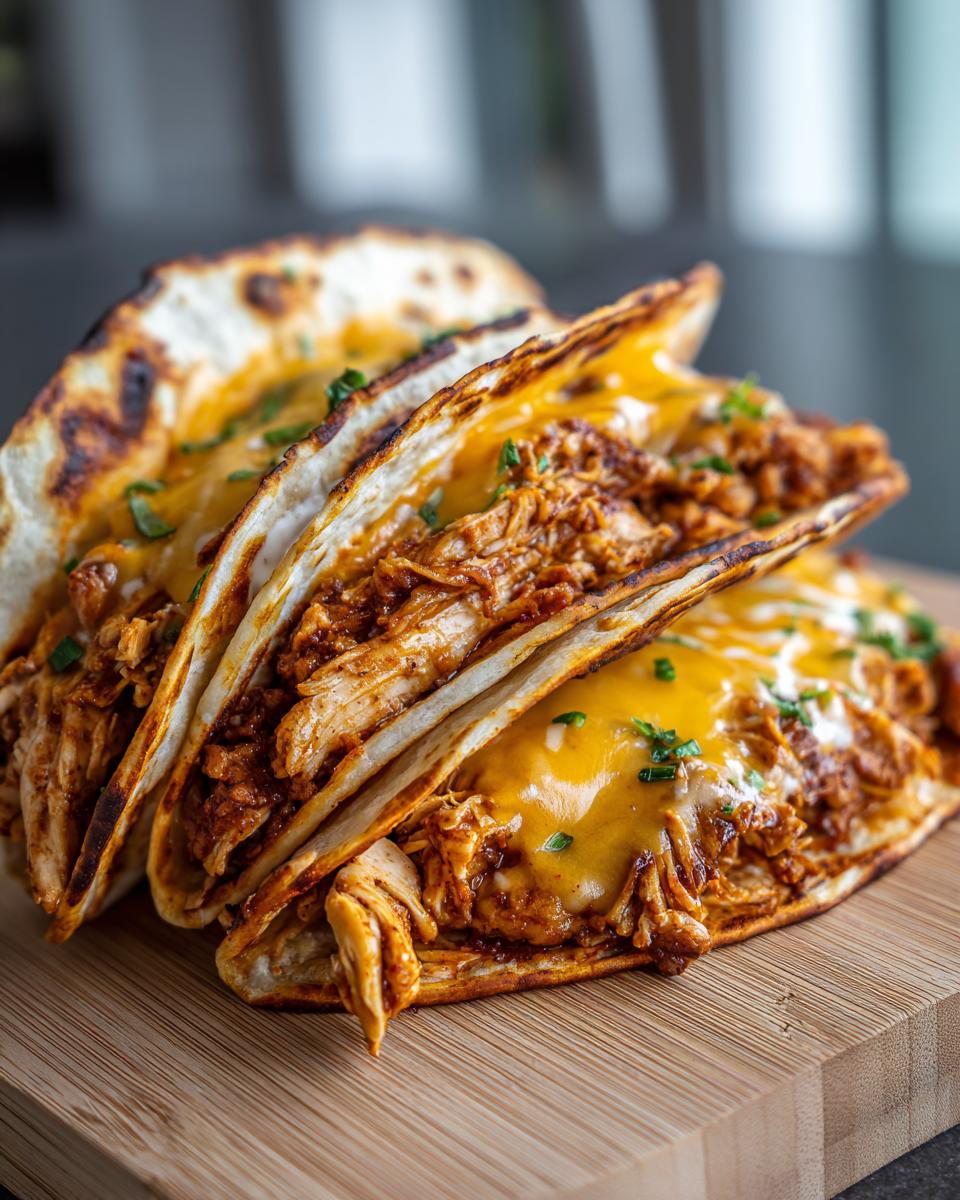
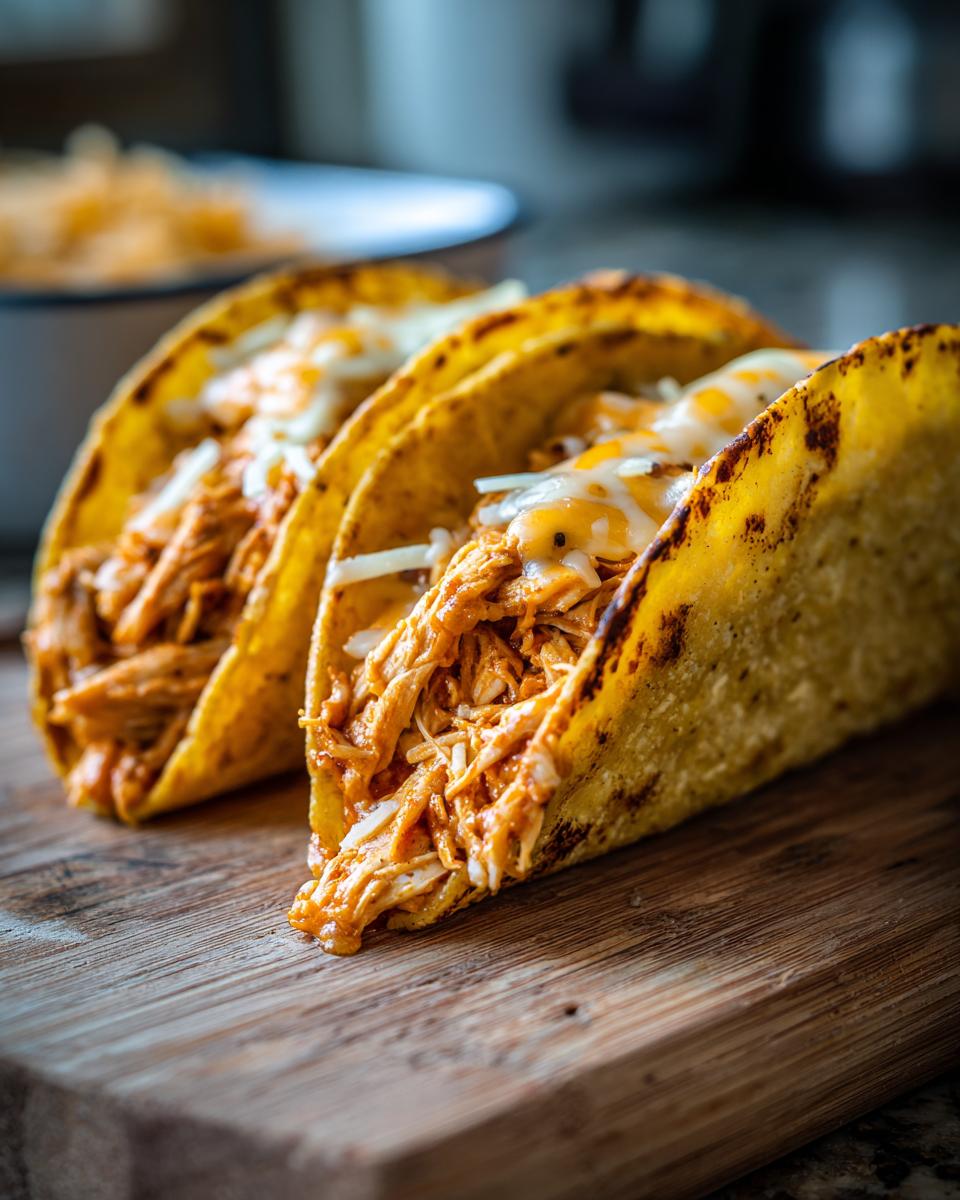
Okay, almost there! Carefully take those warmed taco shells out of the oven. Now, spoon that delicious seasoned shredded chicken into each shell. Don’t be shy, fill ’em up! Once they’re all filled, it’s cheese time. Sprinkle a generous amount of that shredded Monterey Jack cheese over the chicken in each taco. Pop the baking sheet back into the oven for just another 3 to 5 minutes. You’re looking for that cheese to be perfectly melted and gooey and bubbly. That’s the money shot right there for these incredible chicken tacos!
Tips for Success with Your Chicken Tacos
You know, making these chicken tacos is already pretty breezy, but I’ve picked up a few little tricks over the years that just make them *even* better. First off, that seasoned chicken filling? You can totally make that ahead of time! Just whip it up, let it cool, and store it in an airtight container in the fridge. Then, when taco night rolls around, all you have to do is reheat it in the skillet – bam! Dinner is basically done.
And if you’re looking to really impress, or just make life easier for yourself, set up a little “taco bar”! Just put out bowls of all your favorite toppings – the lettuce, tomatoes, onions – and let everyone build their own perfect taco. It’s fun, interactive, and nobody complains because they built it themselves! It’s also a lifesaver if you’re feeding a crowd or planning a little party. Trust me, it’s a game-changer.
Serving and Storing Your Shredded Chicken Tacos
Okay, once those cheesy beauties are out of the oven, serve them up immediately while they’re hot and crunchy! These are fantastic arranged on a platter with all your favorite fixings nearby. Setting up a whole party taco bar is seriously the best way to go if you have a few friends or the family over. Everyone loves picking their own toppings!
Got leftovers? No worries! Just let the chicken filling cool and store it in an airtight container in the fridge for about 3 days. You can also store any leftover assembled, un-melted tacos separately from the toppings you haven’t used yet. To reheat, just pop the chicken back in a skillet for a few minutes until warm, and reheat your shells separately, or give the assembled tacos a quick warm-up in the oven (watch that cheese doesn’t burn!).
Frequently Asked Questions About Chicken Tacos
Got questions about these amazing chicken tacos? You’ve come to the right place! We’ve whipped up some answers to common queries to make your family taco night even more of a breeze.
Can I make these chicken tacos spicier?
Oh, absolutely! If you love a little heat like I do, just add a pinch or two of cayenne pepper to the chicken mix, or even some chopped jalapeños! A drizzle of your favorite hot sauce when serving always does the trick, too.
What are the best make-ahead tips for family taco night?
My biggest tip is to prep the shredded chicken filling completely and store it in the fridge. You can also chop up all your toppings – lettuce, tomatoes, onions – ahead of time and keep them in separate containers. It seriously cuts down on the work when it’s dinner time!
Are there gluten-free options for these chicken tacos?
Yes, you certainly can! Most hard taco shells are naturally gluten-free, so just double-check the packaging. You can also easily find gluten-free soft tortillas made from corn or other grains. This recipe is super adaptable for our gluten-free meal plan friends!
Estimated Nutritional Information for Chicken Tacos
Okay, so nobody’s counting every single calorie when we’re having this much fun, right? But just so you know what you’re working with, here’s a ballpark for what you’re looking at per serving (that’s usually about 2 tacos, give or take depending on how generously you fill them!).
- Calories: Around 350
- Fat: About 18g (with 6g being saturated)
- Protein: A solid 25g
- Carbohydrates: Roughly 20g
- Sodium: Around 450mg
Remember, these numbers are just estimates! They can totally wiggle around depending on whether you use a rotisserie chicken that’s a little fattier, how much cheese you pile on, or what toppings you go wild with. We tried to keep it straightforward, but feel free to adjust based on your choices!
Share Your Crispy Chicken Taco Creations!
Alright, you’ve made these incredible crispy chicken tacos, and I’m dying to know how they turned out! Did you discover a new favorite topping? Did the family devour them in minutes? Drop a comment below and let me know your go-to additions, or better yet, snap a pic and tag us on social media! We absolutely love seeing what you create in your kitchens!
PrintCrispy Baked Chicken Tacos

Enjoy quick and easy crispy chicken tacos with shredded chicken and your favorite toppings. Perfect for a fast weeknight dinner or a fun family taco night.
- Prep Time: 10 min
- Cook Time: 15 min
- Total Time: 25 min
- Yield: 4 servings 1x
- Category: Dinner
- Method: Baking
- Cuisine: Mexican-inspired
- Diet: Vegetarian
Ingredients
- 1 tablespoon olive oil
- 1 pound cooked shredded chicken (rotisserie chicken works well)
- 1 teaspoon chili powder
- 1/2 teaspoon cumin
- 1/4 teaspoon garlic powder
- 1/4 teaspoon onion powder
- Salt and pepper to taste
- 8–10 taco shells (hard or soft)
- 1 cup shredded Monterey Jack cheese
- Optional Toppings: shredded lettuce, diced tomatoes, chopped onions, salsa, sour cream, avocado
Instructions
- Preheat your oven to 375°F (190°C).
- In a skillet, heat the olive oil over medium heat. Add the shredded chicken and cook for 2-3 minutes until heated through.
- Stir in the chili powder, cumin, garlic powder, onion powder, salt, and pepper. Cook for another minute until fragrant.
- If using hard taco shells, arrange them on a baking sheet and bake for 5-7 minutes until warm and slightly crispy. If using soft tortillas, warm them according to package directions.
- Fill each taco shell with the seasoned shredded chicken.
- Top generously with shredded Monterey Jack cheese.
- Return the filled tacos to the oven for 3-5 minutes, or until the cheese is melted and bubbly.
- Serve immediately with your favorite fresh toppings.
Notes
- For extra crispy shells, you can lightly brush them with oil before baking.
- Prepare the shredded chicken and seasoning mixture ahead of time for even faster assembly.
- Consider setting up a taco bar with all the toppings so everyone can customize their own tacos.
- This recipe is a great base for a party taco bar, offering a simple and crowd-pleasing filling.
Nutrition
- Serving Size: 2 tacos
- Calories: 350
- Sugar: 3g
- Sodium: 450mg
- Fat: 18g
- Saturated Fat: 6g
- Unsaturated Fat: 12g
- Trans Fat: 0g
- Carbohydrates: 20g
- Fiber: 2g
- Protein: 25g
- Cholesterol: 70mg