
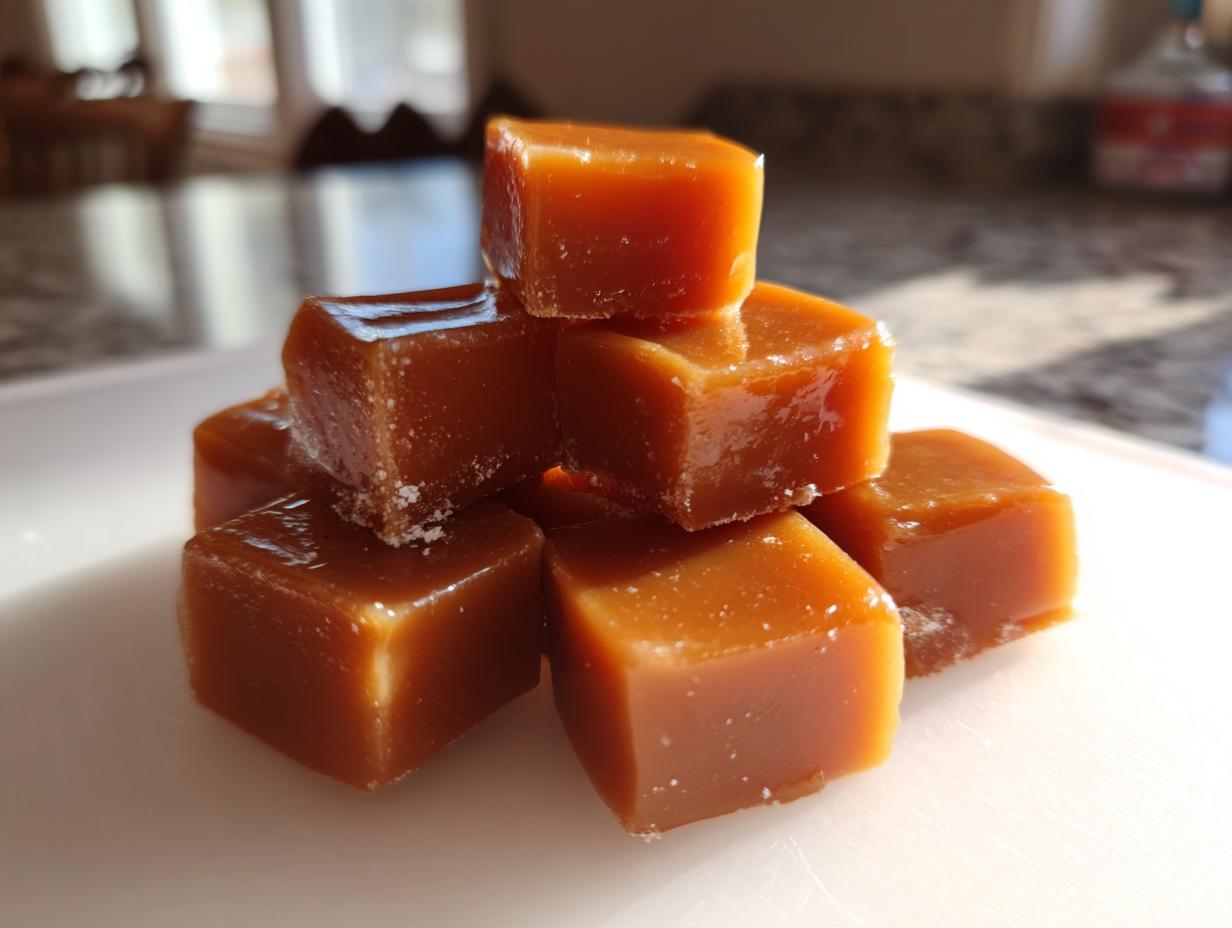
Oh, the magic of making something decadent right on your own stovetop! There’s just nothing better than that rich, buttery aroma filling your kitchen. I’m Ellie from DeliceRecipe, and I promise you, making incredible homemade caramel doesn’t require hours of standing over a tricky pot or wrestling with a candy thermometer. We are going for the best of both worlds here: beautifully soft, chewy candy squares *and* a luscious sauce you can drizzle over absolutely everything. My philosophy, echoed across the work you see on my About Page, is all about flavor married to simplicity. If you can stir confidently, you can conquer this recipe!
- Why This Homemade Caramel Recipe Stands Out (Best Homemade Caramel)
- Simple Ingredients for Perfect Caramel
- How to Make Stovetop Caramel Sauce and Soft Chewy Caramels
- The Quick Microwave Caramel Candy Method
- Serving and Storing Your Homemade Caramel
- Troubleshooting Common Caramel Issues
- Frequently Asked Questions About Making Caramel
- Estimated Nutritional Data for This Caramel Recipe
- Share Your Homemade Caramel Creations
Why This Homemade Caramel Recipe Stands Out (Best Homemade Caramel)
Honestly, what I love most about this recipe is that it strips away all the intimidating parts of caramel making. We skip the specialized tools and the stress. You get real, authentic chewiness and flavor without needing to know the exact temperature of boiling sugar. That’s why this is truly the Best Homemade Caramel you’ll ever try! If you ever need a centerpiece for a fall event, these flavors work perfectly, almost as well as my caramel apple crescent rolls.
- Truly No Thermometer Required: We rely on sight—that beautiful amber color—which is much friendlier for beginners. Trust me on the color!
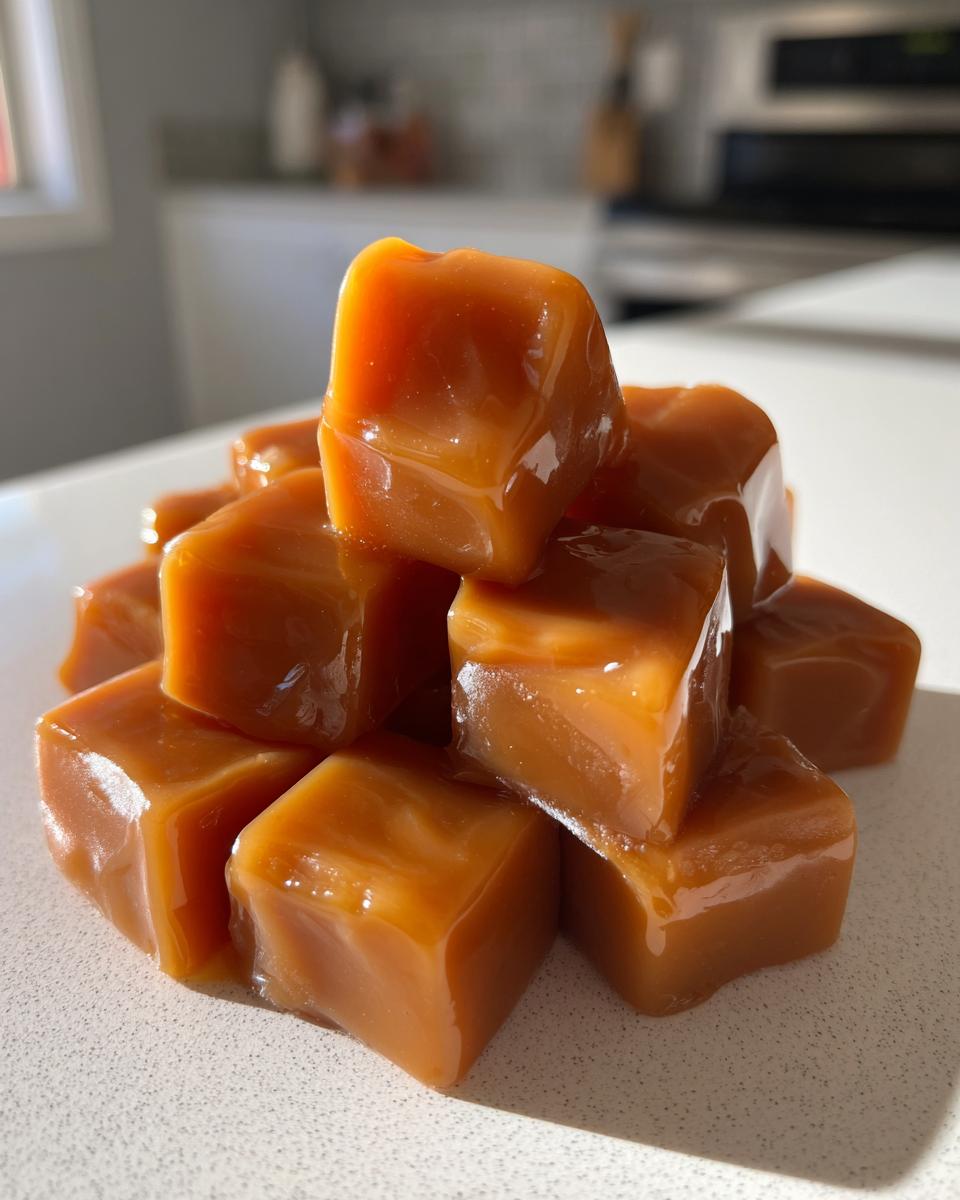
- Two Treats in One Batch: Why choose? You can pour half into a pan for soft candy and use the rest right away for a sauce.
- Rich, Classic Texture: This recipe delivers that satisfyingly buttery texture you’re chasing.
Quick Dessert Toppings and Gifting Potential
This versatility is key! If you need a fantastic last-minute addition to your weeknight spread, the sauce is your answer. It turns plain pancakes or a scoop of vanilla ice cream into something special instantly. Think of it as your emergency supply of Quick Dessert Toppings. If you opt for the candy, just wrap those squares up tight in wax paper. They look beautiful and taste even better, making them perfect for holiday tins or just surprising neighbors!
Simple Ingredients for Perfect Caramel
The absolute best part about this spectacular homemade caramel is that you probably already have everything sitting in your pantry or fridge! Seriously, we aren’t asking you to hunt down exotic flavorings for this one. We keep it classic, buttery, and foolproof. Here is exactly what you need for your batch, whether you plan on cutting it into squares or pouring it over your next dessert.
- 1 cup Granulated Sugar
- 1/2 cup Light Corn Syrup
- 1/2 cup Heavy Cream
- 1/4 cup Unsalted Butter
- 1/2 teaspoon Salt (optional, for salted caramel)
Ingredient Notes and Substitutions for Your Caramel
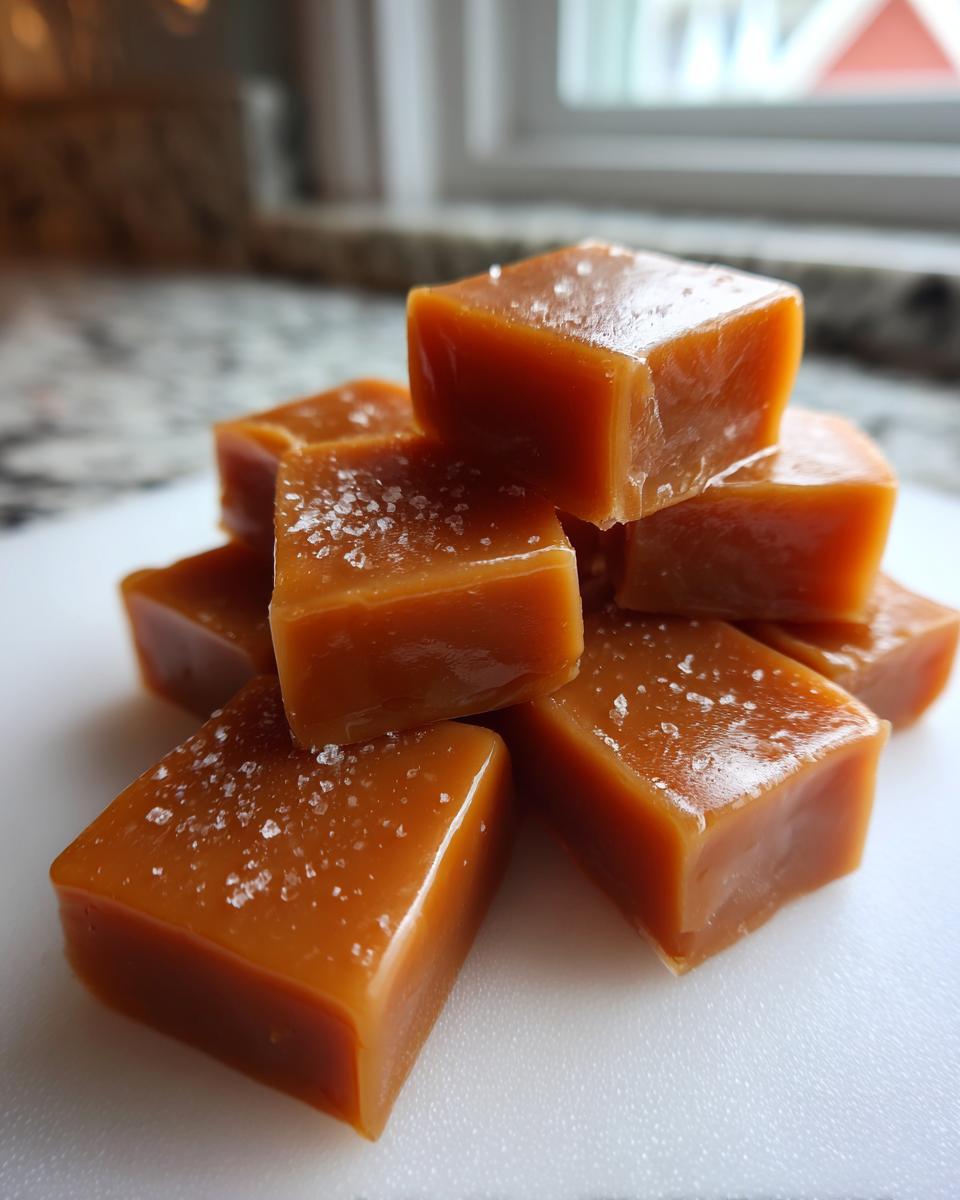
I want to pause here for a real quick second about that corn syrup. Don’t skip it! Light corn syrup is our secret weapon against graininess; it basically keeps the sugar crystals from getting fussy and seizing up on you. If you only have dark corn syrup, you can swap it in, but be aware the final caramel will have a deeper, slightly more molasses-heavy flavor. And if you’re making the fantastic salty version—hello, Salted Caramel Drizzle!—that salt goes in right at the very end, just after the butter melts. It balances the sweetness perfectly, I promise.
How to Make Stovetop Caramel Sauce and Soft Chewy Caramels
Okay, deep breaths! This is the exciting part where the magic happens—turning boring sugar into glorious caramel. First things first: prep your pan if you’re making candy, or find a heat-safe jar for the sauce. We start this on the stovetop. Combine your sugar and corn syrup in a heavy, thick-bottomed pot. Stir only until the sugar dissolves over medium heat. Once it’s smooth, stop stirring immediately! You just let it bubble away until it hits a gorgeous, deep amber—think rich maple syrup, not dark espresso. This takes patience, but don’t walk away!
When that color is right, pull the pan off the burner. Time for the serious safety step: slowly, slowly, pour in the heavy cream while whisking like mad. It will bubble up HUGE, almost threatening to boil over, which is totally normal. Keep whisking until that chaos settles down and it looks smooth again. Then, whisk in your butter until it melts completely. If you are making the sauce, you are basically done; pour it out and let it cool a touch before using it over those wonderful pancakes!
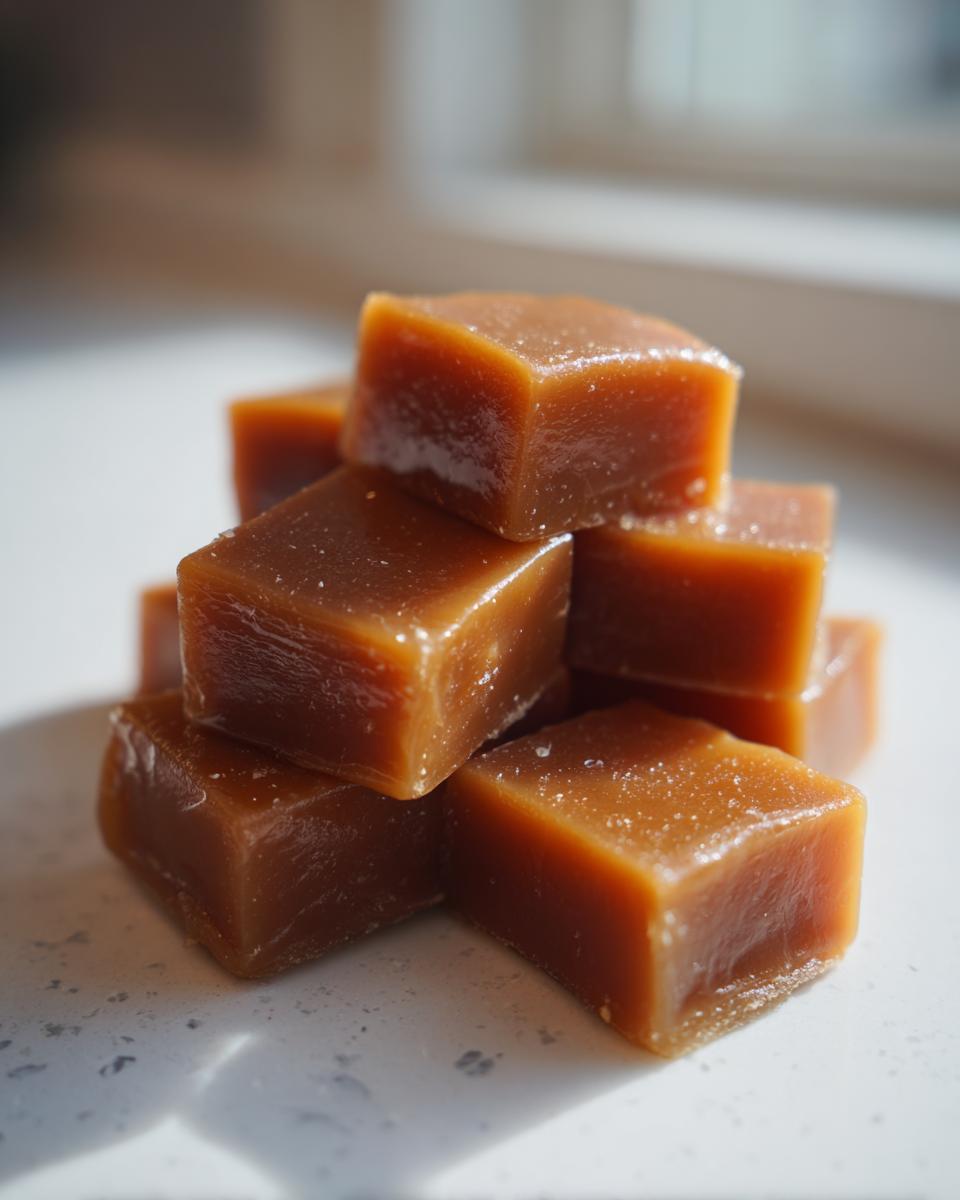
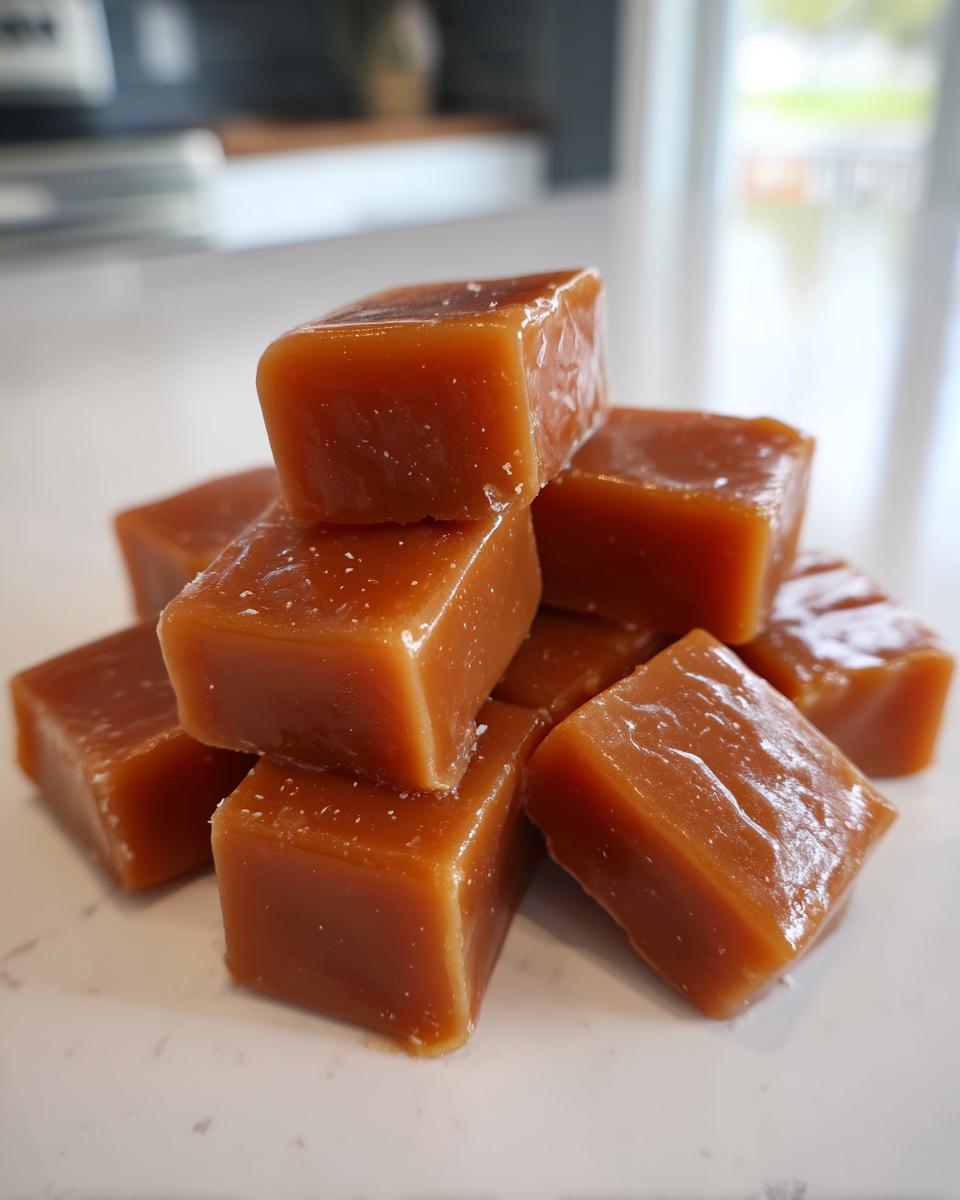
If you’re making the squares, pour that liquid gold into your lined pan. Let it chill out completely before you cut it. We can’t rush perfection, right?
Expert Tips for Beginner Caramel Making
Listen, making your first batch of caramel can feel like a science experiment gone wrong, but I’ve got your back. The #1 thing to remember for successful Beginner Caramel Making is patience while heating the sugar. You *must* let it reach that beautiful amber stage. If it’s too light, your caramel will just taste sweet, not complex. Also, when you add that cream back in (remember how much it foams?), stay calm. That giant surge of bubbles is just the hot sugar reacting to the dairy. If you’re nervous, check out a visual guide for the cream step, but otherwise, just whisk with confidence!
The Quick Microwave Caramel Candy Method
Now, I know some of you look at a saucepan and immediately think, “Nope, too much opportunity for scorching!” I totally get it. If you’re short on time or just prefer to keep things super simple, we can absolutely whip up those soft, chewy caramel squares using the microwave. This method is fantastic for when you suddenly decide you need a homemade treat!
You’ll combine your sugar, corn syrup, and heavy cream in a sturdy, microwave-safe glass bowl—make sure that bowl is large because it expands a lot! Microwave it in short bursts, maybe two or three minutes at a time. You have to stir it really well in between each round. You’re looking for that same deep, beautiful brown color we aimed for on the stovetop.
Once you hit that color, pull the bowl out, and quickly whisk in the butter and salt off the heat, just like we did before. Pour that mixture straight into your prepared pan. If you want to try another quick sweet treat, my cinnamon sugar donut holes are another kitchen savior, but for pure, buttery candy bliss, this microwave method is hard to beat when you need speed. You can learn more about these fast microwave caramels too!
Serving and Storing Your Homemade Caramel
Now that we have this gorgeous, rich caramel—either the chewy candy or the luxurious sauce—we need to talk about putting it to good use and keeping it fresh! For the soft caramel squares, wrapping is everything. Why? Because they are happy to stick to whatever they touch, so make sure each square is individually wrapped in wax paper. This keeps them fresh and makes them perfect for gifting. You can find some amazing ideas on how to decorate those gifts over at Sally’s site, especially if you made the salted version here.
For the sauce, pop it into a clean, airtight jar and tuck it into the fridge. It thickens up once it chills, but that’s okay! When you want to use it as Caramel for Desserts, just take out what you need and gently warm it on the stove or in short bursts in the microwave until it pours beautifully again. This sauce elevates basically any of the dessert recipes you’ve been eyeing!
Troubleshooting Common Caramel Issues
Even when we aren’t using a thermometer, sometimes things can go a little sideways, and that’s totally fine! Our goal is to make you super confident in your abilities, even with this No Thermometer Caramel method. The two biggest concerns I hear about are burning or getting that awful grainy texture. If you see a dark spot starting to form at the bottom of your pan while the sugar is melting, pull it off the heat immediately! Give it a gentle swirl, let it cool slightly, and put it back. Don’t panic; that tiny bit of burnt sugar can usually be rescued.
If your gorgeous final caramel turns out gritty instead of silky smooth, that means the sugar crystallized on you. This usually happens if you stirred *after* the sugar dissolved, or if there was stray sugar splashed on the sides of the pot that introduced crystals back into the melt. Next time, make sure you only stir to dissolve, and use a wet pastry brush to wash down the sides of the pot if you see any dry sugar clinging there before it starts boiling!
Frequently Asked Questions About Making Caramel
I get so many wonderful questions after people try their first batch of homemade caramel! It’s usually about texture or color, because that’s where the stress points are for most home cooks. Don’t worry about these little bumps; we can work through them together so your next batch is absolutely perfect. I’ve pulled together the most common ones I see, whether you are aiming for the rich dessert sauces or the holiday candies!
Can I use this recipe for Salted Caramel Drizzle?
Absolutely, yes! That’s the easiest swap you can make. If you want that amazing Salted Caramel Drizzle flavor, just make sure you stir in your 1/2 teaspoon of salt right after the butter melts in step 5. That hint of salinity cuts through the sweetness so beautifully. Honestly, once you taste this rich, buttery sauce, you’ll never go back to the jarred stuff again. It just tastes happier, somehow!
How long does Homemade Caramel Sauce last?
Because we use heavy cream and butter—real dairy—the sauce needs to be treated with respect. Once cooled completely, pop it into a sealed jar and keep it in the fridge. You should be good for about two to three weeks. If it seems a little stiff when you pull it out, don’t panic! Just warm up what you need on the stovetop or in 15-second bursts in the microwave until it flows freely again. It’s fantastic on everything from quick healthy lunches toppings to your favorite cookies.
What if my caramel mixture turns grainy?
Oh, the dreaded grain! That means you got sugar crystallization, which is the number one frustration when making caramel. It usually happens because a tiny dry sugar crystal got introduced into the liquid sugar *after* it started melting, kind of like a seed that makes the rest of the sugar follow suit. If it happens mid-cook, stop stirring, maybe add a tiny splash more water, and gently swirl the pan to smooth things out. But the real fix is prevention: only stir until the sugar dissolves, and leave it alone after that!
Estimated Nutritional Data for This Caramel Recipe
Okay, I know my philosophy here at DeliceRecipe is all about eating food that makes you happy and brings people together, like planning out a fun weekly meal planning schedule. But I also believe in being totally honest about what’s in the treats we make! Since this recipe balances out to make about 36 squares of that soft, buttery caramel, I wanted to give you a quick look at the numbers based on one of those delicious squares.
Please just take these numbers with a giant grain of salt—literally! These are just estimates based on the ingredients we used, and if you swap in different butter or heavy cream, those metrics will shift. But it gives you a good ballpark for when you’re enjoying this homemade goodness in moderation!
- Serving Size: 1 square candy
- Calories: Roughly 100
- Sugar: 15g (That’s where the magic comes from!)
- Fat: 4g
- Carbohydrates: 16g
- Protein: 0g
- Sodium: About 30mg (A little more if you go heavy on the salt!)
Enjoy responsibly, my friends. A homemade treat like this should absolutely be savored, not stressed over!
Share Your Homemade Caramel Creations
Well, that’s it! You’ve officially made incredible, rich, buttery caramel from scratch. Now, the single best part of home cooking is seeing what the rest of you create! I really, truly, honestly want to know how this turned out for you. Did you stick to the soft, chewy candy route? Did you wrap up those little gems and stack them high for gifting? Or are you drowning your Tuesday night in glorious Homemade Caramel Sauce?
Please jump down to the comments section and leave a rating for the recipe. Even more importantly, tell me how you used it! Did you drizzle it over one of your favorite easy weeknight dinners (kidding, mostly!)? Was it fantastic on ice cream or maybe straight off the spoon when no one was watching? Knowing that my recipe helped you make something joyful is what this whole site is about. Happy cooking, and keep those sweet creations coming!
PrintEasy Homemade Caramel: Soft Candy and Versatile Sauce Recipes (No Thermometer Needed!)
Learn to make rich, buttery caramel from scratch. This guide provides simple methods for both soft, chewy caramel candy and a quick, pourable salted caramel sauce, requiring minimal ingredients and no candy thermometer.
- Prep Time: 10 min
- Cook Time: 15 min
- Total Time: 25 min
- Yield: About 36 caramels or 1.5 cups sauce 1x
- Category: Dessert
- Method: Stovetop
- Cuisine: American
- Diet: Vegetarian
Ingredients
- 1 cup Granulated Sugar
- 1/2 cup Light Corn Syrup
- 1/2 cup Heavy Cream
- 1/4 cup Unsalted Butter
- 1/2 teaspoon Salt (optional, for salted caramel)
Instructions
- Prepare your pan: Line an 8×8 inch baking pan with parchment paper, lightly greasing the paper. If making sauce, prepare a heat-safe jar or container.
- Combine sugar and corn syrup in a heavy-bottomed saucepan over medium heat. Stir constantly until the sugar dissolves completely.
- Stop stirring once the sugar dissolves. Allow the mixture to boil until it reaches a deep amber color, about 8 to 12 minutes. Watch closely to prevent burning.
- Remove the pan from the heat. Carefully and slowly whisk in the heavy cream. The mixture will bubble vigorously. Whisk until smooth.
- Whisk in the butter until fully melted and incorporated. If using, stir in the salt now.
- For Caramel Candy: Pour the hot caramel into the prepared 8×8 pan. Let it cool completely at room temperature for at least 2 hours, or until firm.
- Cut the cooled caramel slab into squares. Wrap each square individually in wax paper for storage or gifting.
- For Caramel Sauce: If you want a thinner sauce, you can stop here and let it cool slightly before using. For a thicker sauce, return the mixture to low heat and simmer for 1 to 2 minutes, stirring constantly.
- Pour the sauce into a heat-safe jar. The sauce will thicken as it cools. Store covered in the refrigerator. Reheat gently on the stovetop or in the microwave before serving.
Notes
- For the candy, if you prefer a microwave method, combine sugar, corn syrup, and cream in a microwave-safe bowl. Microwave in short bursts (2-3 minutes), stirring between each, until the mixture reaches a deep brown color. Whisk in butter and salt off the heat.
- This sauce is excellent drizzled over ice cream or used in meal planning for sweet treats.
- If you are looking into weight loss programs, use this sauce sparingly as a controlled indulgence.
Nutrition
- Serving Size: 1 square candy
- Calories: 100
- Sugar: 15g
- Sodium: 30mg
- Fat: 4g
- Saturated Fat: 2.5g
- Unsaturated Fat: 1.5g
- Trans Fat: 0g
- Carbohydrates: 16g
- Fiber: 0g
- Protein: 0g
- Cholesterol: 10mg