
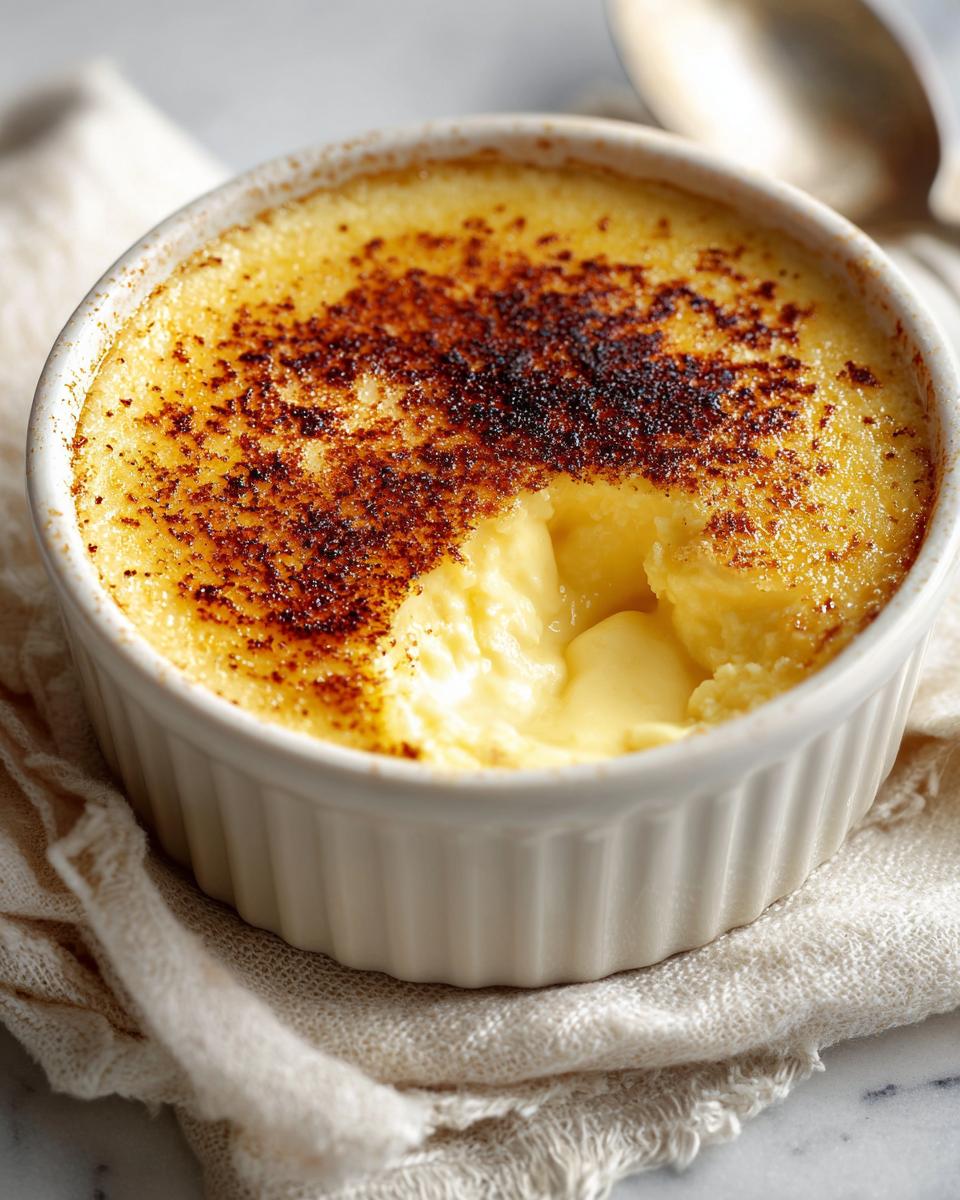
Are you ready to ditch those grainy, rubbery desserts forever? Getting that perfectly silky, creamy texture in a baked good can really feel intimidating, but trust me, it doesn’t have to be! My whole goal here at DeliceRecipe, inspired by the home-cooking philosophy Ellie Vance built, is to make sure every recipe works flawlessly for you, the real home cook. That’s why I’m sharing this absolute favorite: the Fail-Proof Creamy Egg Custard. It’s classic, it’s gorgeous, and it’s designed so even if it’s your first time ever making an egg custard, you’re going to nail that smooth, luxurious melt-in-your-mouth goodness. No stress, just simple perfection!
- Why This Fail Proof Egg Custard Recipe Works (Expert Tips)
- Ingredients for the Classic Egg Custard Recipe
- Step-by-Step Instructions for Easy Baked Custard
- Making an Old Fashioned Custard Pie Variation
- Tips for Success with Your Creamy Dessert
- Serving Suggestions for Warm or Chilled Custard
- Storage and Reheating Instructions for Homemade Egg Pudding
- Frequently Asked Questions About This Fail Proof Egg Custard
- Estimated Nutrition Facts for This Vanilla Custard Treat
Why This Fail Proof Egg Custard Recipe Works (Expert Tips)
You might think making a classic baked dessert is tricky, but that’s why I call this recipe fail-proof! The key to a creamy dessert that tastes like something pulled from an old cookbook isn’t just the ingredients; it’s the heating method. We are using a very gentle technique so that your eggs set slowly and evenly, meaning no lumps or curdles whatsoever. This makes it such a fantastic Dessert for Beginners!
It’s designed to give you that perfect, luxurious result every single time you try this egg custard.
Achieving Silky Smooth Custard Texture
Listen closely: the secret to that silky smooth custard texture starts right at the beginning. When you whisk the eggs? Don’t go crazy! Too much air whipped in before the milk gets there will bake up bubbly and porous. After mixing everything, take a spoon and gently skim off any tiny bubbles floating on top. That quick skim removes the potential surface imperfections.
The Importance of the Water Bath for Your Egg Custard
This is non-negotiable for a perfect egg custard. We bake everything standing in hot water—that’s called a water bath, or *bain-marie*. The water acts as a buffer zone. It keeps the temperature around your ramekins consistent and low, preventing the direct, harsh oven heat from scrambling your delicate egg mixture. It’s the key to that beautiful, even setting.
Ingredients for the Classic Egg Custard Recipe
Wow, the ingredient list is what makes this such a fantastic, Quick Homemade Dessert because everything here is probably already in your fridge or pantry! We’re sticking to the old-fashioned blueprint here for maximum flavor. You’ll need four beautiful large eggs, which build the structure of our custard. Then grab about half a cup of regular granulated sugar, and just a tiny pinch of salt to balance everything out. The liquid star here is two full cups of whole milk—don’t skimp on that fat if you want that creamy dessert feel!
Finally, to give it that classic warm finish, we wrap things up with one teaspoon of pure vanilla extract, and make sure you have some ground nutmeg ready because we sprinkle that right on top before baking. See? Super straightforward, which just proves you don’t need a complicated grocery trip to make something truly special.
Step-by-Step Instructions for Easy Baked Custard
Okay, let’s get this baking! Since this is a recipe designed to be a foolproof dessert, we are going to follow these steps precisely. Don’t rush the setup, because that water bath—which feels a little extra—is going to save your delicious egg custard from turning into scrambled eggs. Patience here equals that amazing, creamy dessert outcome you’re dreaming of.
Preparing the Oven and Setting Up the Water Bath
First things first: get your oven warming up nice and slow to 325 degrees Fahrenheit. While that comes up to temperature, grab your large baking pan—the one deep enough to hold your little ramekins without spilling over. Now, you need to set up the water bath right away. Place your four small oven-safe bowls or ramekins inside this big pan. We fill this pan with hot water later, so get your hot water ready to go now.
Mixing the Simple Milk Custard Base
In a separate bowl, take your four eggs and whisk them just until the yolks and whites combine. Do not beat them like you’re trying to whip cream! Seriously, don’t incorporate too much air; we want smooth, not fluffy! Next, whisk in your sugar and salt until that grit disappears. Gently—and I mean gently—whisk in your milk and vanilla until you have a beautiful Simple Milk Custard. Grab a spoon and scoop off any foam resting on the top surface; that step is crucial!
Baking and Checking Doneness of Your Egg Custard
Now, pour that lovely liquid into your waiting ramekins inside the big pan. Carefully add the hot water to the pan until it hugs the sides of the ramekins halfway up. Sprinkle the tops lightly with nutmeg for that lovely Nutmeg Spiced Custard finish. Bake this for about 40 to 50 minutes. You’ll know your egg custard is done when the edges look set, but the very center still has a tiny, adorable wiggle when you gently nudge the pan. Don’t overcook it!
Making an Old Fashioned Custard Pie Variation
I know, I know! While this recipe is perfect on its own as a simple baked pudding, I hear you all wanting that pie! If you’re looking for an Old Fashioned Egg Custard Pie Recipe, you are in luck because the base mixture you just made is exactly what you need!
To switch gears, skip putting it in ramekins. Instead, you’ll need a 9-inch pie shell that’s already pre-baked—we want that crisp, Buttery Flaky Crust Pie foundation ready to go. Pour that entire batch of egg custard right into the shell. You might need a tiny bit more milk if the shell is very deep, but generally, this is the exact ratio needed for a glorious pie!
Bake it following the low-and-slow method in the water bath until it sets, which might take slightly longer than the ramekins. It’s such a comforting dessert and an easy way to turn this classic recipe into a showstopper pie!
Tips for Success with Your Creamy Dessert
We are aiming for success here, making sure this turns out to be a genuine No Fail Dessert every single time you try it! The biggest tip that separates a great egg custard from a slightly disappointing one? It all comes down to the dairy and the cooling process. Seriously, do not substitute the whole milk unless you absolutely have to. That fat content is what gives you that rich mouthfeel we’re after, preventing that watery texture that sometimes creeps into low-fat baked custards.
My second piece of non-negotiable advice is about cooling. Once the custards come out of the oven—and remember, they should still have that little bit of a wiggle—you must get them out of that hot water bath right away! Set them on a wire rack to cool completely to room temperature before they even think about dipping into the fridge. This stops the residual heat from the ramekin walls from continuing to overcook the edges, keeping your final egg custard perfectly creamy.
Serving Suggestions for Warm or Chilled Custard
One of the best things about this classic dessert is that it’s flexible! Whether you need a little comfort right now or you like keeping things cool, this dish works. If you are sitting down on a chilly evening, serving your Warm or Chilled Custard slightly warm is heavenly. That gentle heat really brings out the vanilla notes.
But let’s be real, chilled is amazing too—it firms up beautifully! For presentation, I typically stick to what we did before baking: a final, tiny whisper of that ground nutmeg on top right before serving. If you want a bit more flair, a few fresh berries or a light drizzle of caramel sauce are simple additions that elevate this treat instantly without any fuss!
Storage and Reheating Instructions for Homemade Egg Pudding
We baked this gorgeous Homemade Egg Pudding to perfection, and you want it to stay that way! For the ultimate creamy texture, you absolutely must chill it down. Let the ramekins cool on the counter first, but plan on at least two solid hours in the refrigerator before you even think about digging in. This chilling time is crucial for the structure.
To store any leftovers—if you even have any!—just cover those little bowls tightly with plastic wrap. They keep beautifully in the fridge for about three to four days. When you want to enjoy that heavenly egg custard again, you can eat it straight from the cold or let it sit on the counter for about 15 minutes to take the chill off. Honestly, reheating this particular egg custard isn’t necessary if you follow the cooling guidance; it’s just as good cold!
Frequently Asked Questions About This Fail Proof Egg Custard
Can I use skim milk instead of whole milk in this egg custard?
You certainly can, but I have to give you my honest opinion! While you can substitute skim milk, it really won’t give you the texture we are aiming for here. This recipe thrives on the fat content of whole milk to achieve that beautiful, rich, creamy dessert outcome. Skim milk makes it lighter, sure, but it can sometimes result in a slightly more delicate set that might curdle easier. For this fail-proof egg custard, stick to whole milk if you want that classic indulgence!
How do I know if my egg custard is done baking?
This is the most important question! Forget fully setting up; that means you’ve gone too far and we are headed toward a rubbery texture. Take the pan out when the edges look solid and opaque, but when you gently reach in and wiggle the dish, the very center should still wobble slightly, like firm Jell-O. That’s the sweet spot! Residual heat from the baking dish will cook that center to perfection as it cools down outside the oven. Overbaking ruins the creamy dessert!
Is this recipe suitable for meal planning?
Oh, this is absolutely a lovely option when you’re thinking about meal planning! Since this is such a Quick Homemade Dessert to assemble—only about 15 minutes of active prep—it checks off the dessert box early in the week. You make it Monday, chill it, and then you have a delicious, satisfying dessert ready to pull out anytime your [best meal delivery services] order shows up or whenever you have a busy night later in the week. It holds up great in the fridge, so it’s a fantastic piece of advance preparation!
Estimated Nutrition Facts for This Vanilla Custard Treat
Now, I know you aren’t making this Vanilla Custard Treat for health reasons, but it’s only fair to be transparent about what’s going into that gorgeous, creamy base! Based on the ingredients we used—four eggs, whole milk, and that sugar—here’s a general idea for one serving.
Per serving, you’re looking at roughly 210 calories, 22 grams of sugar high up there, and about 11 grams of protein. Fat content is around 7 grams total. Remember, these numbers are just estimates because how you serve it (maybe with a side pie crust for dipping!) changes things. But you can trust that this old-fashioned recipe uses quality components to deliver a satisfying spoonful every time.
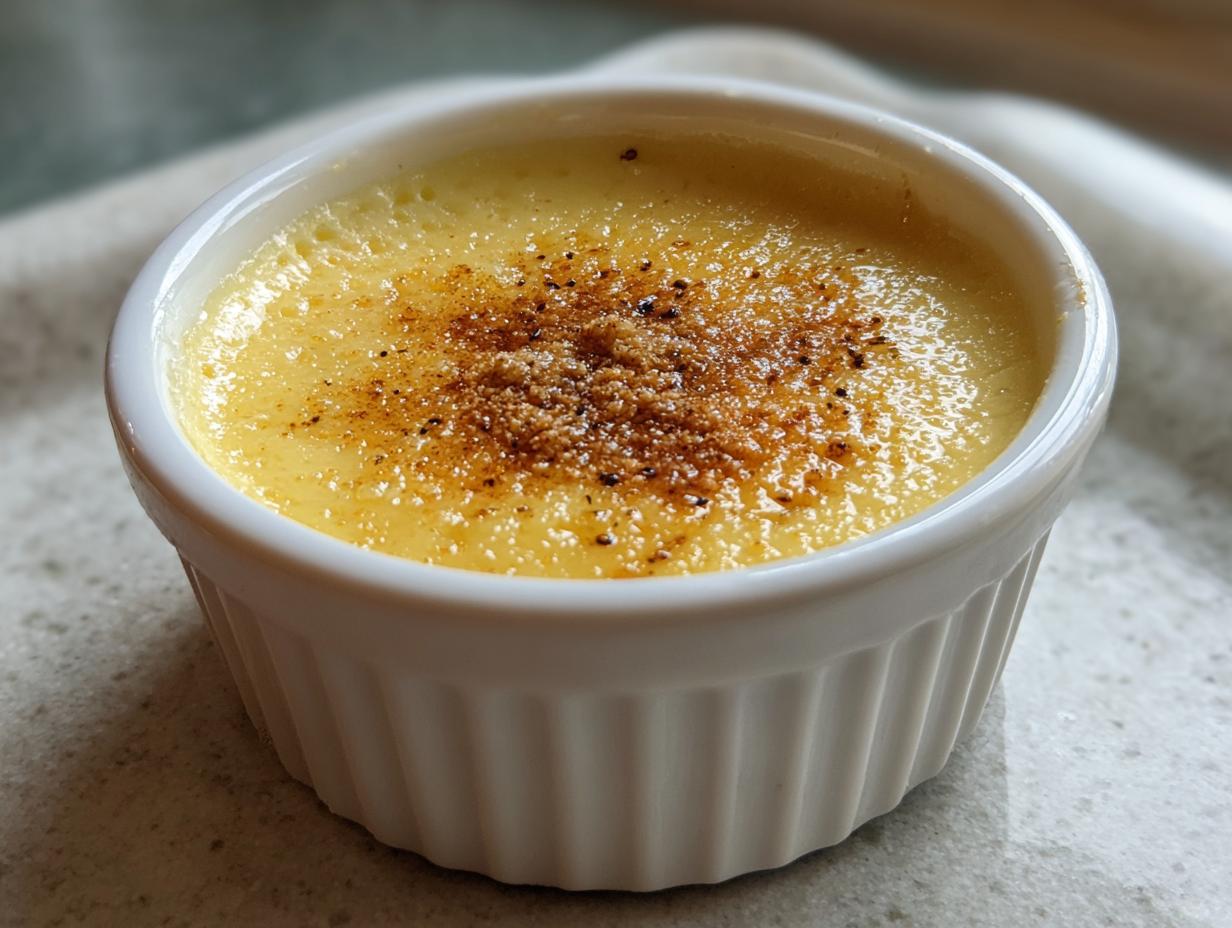
PrintFail-Proof Creamy Egg Custard (Classic Baked Pudding)
Make a creamy, silky-smooth classic egg custard dessert using simple ingredients. This old-fashioned recipe is designed to be fail-proof, perfect for beginners, and delicious served warm or chilled.
- Prep Time: 15 min
- Cook Time: 50 min
- Total Time: 1 hour 5 min
- Yield: 4 servings 1x
- Category: Dessert
- Method: Baking
- Cuisine: American
- Diet: Vegetarian
Ingredients
- 4 large eggs
- 1/2 cup granulated sugar
- 1/4 teaspoon salt
- 2 cups whole milk
- 1 teaspoon vanilla extract
- 1/4 teaspoon ground nutmeg (for topping)
Instructions
- Preheat your oven to 325 degrees Fahrenheit (160 degrees Celsius). Place a water bath setup in a large baking pan.
- In a medium bowl, whisk the eggs until they are just combined. Do not over-whisk to avoid incorporating too much air.
- Whisk in the sugar and salt until dissolved.
- Gently whisk in the milk and vanilla extract until fully mixed. Skim off any foam from the surface using a spoon.
- Pour the custard mixture into four 6-ounce ramekins or small oven-safe bowls.
- Carefully place the filled ramekins into the prepared baking pan. Pour hot water into the pan until it reaches halfway up the sides of the ramekins.
- Sprinkle the top of each custard lightly with ground nutmeg.
- Bake for 40 to 50 minutes, or until the edges are set but the center still has a slight jiggle when gently shaken.
- Carefully remove the ramekins from the water bath. Let them cool on a wire rack to room temperature.
- Chill the custards in the refrigerator for at least 2 hours before serving.
Notes
- For a truly fail-proof result, use whole milk for the richest texture.
- If you prefer an Egg Custard Pie, pour this mixture into a pre-baked 9-inch pie shell and bake until set, adjusting time as needed.
- This recipe is a great alternative to complex meal planning; it is a quick homemade dessert.
Nutrition
- Serving Size: 1 ramekin
- Calories: 210
- Sugar: 22
- Sodium: 110
- Fat: 7
- Saturated Fat: 4
- Unsaturated Fat: 3
- Trans Fat: 0
- Carbohydrates: 24
- Fiber: 0
- Protein: 11
- Cholesterol: 160