
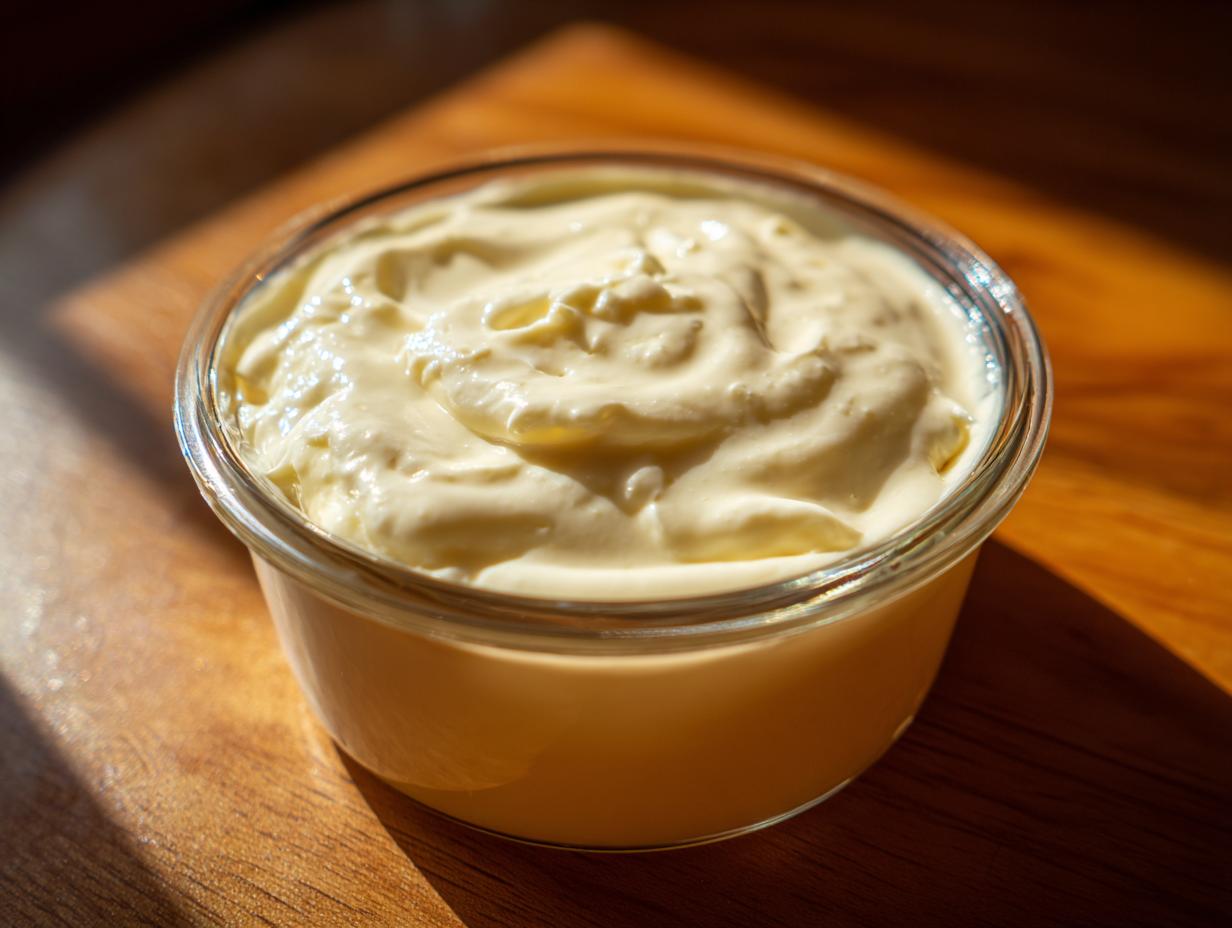
Okay, I have to tell you about my absolute go-to sauce: homemade garlic aioli. Trust me, once you make it yourself, you’ll wonder how you ever lived without it. This isn’t just fancy mayonnaise; it’s a creamy, dreamy flavor bomb that can totally transform a simple sandwich, make roasted vegetables sing, or give your seafood an instant gourmet makeover. I remember first trying to nail this recipe years ago, and it’s a perfect example of founder Ellie Vance’s philosophy here at DeliceRecipe – simple ingredients coming together to create something truly spectacular. It’s so easy to whip up this creamy garlic sauce from scratch, and the taste is out of this world!

- Why You'll Love This Easy Garlic Aioli
- Gather Your Ingredients for Homemade Garlic Aioli
- Step-by-Step Guide to Making Creamy Garlic Sauce
- Tips for the Best Garlic Aioli
- Serving Suggestions for This Versatile Condiment
- Storage and Make-Ahead Tips for Garlic Aioli
- Frequently Asked Questions About Garlic Aioli
- The Deets: What's in This Magic Sauce
- Share Your Homemade Garlic Aioli Creations!
Why You’ll Love This Easy Garlic Aioli
Seriously, making your own garlic aioli is a game-changer. You’ll fall in love with this recipe because:
- It’s ridiculously easy to make – seriously, a few minutes and you’re done!
- The flavor is HUGE. Fresh garlic, creamy texture, pure deliciousness.
- It’s SO versatile! Think sandwiches, fries, roasted chicken, veggies… everything!
- It’s way better than anything you can buy in a jar.
Gather Your Ingredients for Homemade Garlic Aioli
Making fantastic garlic aioli is all about starting with good stuff. Here’s what you’ll need to grab:
- 1 large egg yolk, at room temperature (this is important for emulsifying!)
- 1 teaspoon Dijon mustard
- 1 tablespoon fresh lemon juice (fresh is best, trust me!)
- 1 clove garlic, super finely minced or even made into a paste
- 1/2 cup olive oil (a lighter one works well here)
- 1/4 cup vegetable oil (or any neutral-flavored oil you have)
- Salt, to taste (don’t be shy!)
- Black pepper, to taste (freshly ground is always superior)
Step-by-Step Guide to Making Creamy Garlic Sauce
Alright, let’s get this amazing garlic aioli magic happening! It sounds fancy, but it’s honestly so straightforward. My favorite way to make this creamy garlic sauce is by hand because I like to feel that gorgeous emulsion coming together.
First things first: grab a medium-sized bowl. You want to whisk together that room-temperature egg yolk, your Dijon mustard, that bright pop of lemon juice, and your finely minced garlic. Get it all blended up until it looks nice and uniform. This is where all the flavor starts to build!
- In your bowl, whisk together the egg yolk, Dijon mustard, lemon juice, and minced garlic until it’s all nicely combined.
- Now, for the crucial part! You’re going to start slowly, slowly drizzling in your olive oil and vegetable oil. I mean, like, literally a few drops at a time at first. Keep whisking *constantly*. This is what makes it emulsify and turn into that luscious sauce. Patience here is key!
- As it starts to thicken up – and trust me, it will! – you can gradually increase the oil drizzle a little bit. Keep whisking until you’ve used up all the oil and you have a thick, creamy aioli. It should look like mayonnaise, but way better.
- Taste it! Add salt and black pepper until it’s just perfect for you.

My personal observation, echoing Ellie’s philosophy on mastering simple techniques, is that the slow addition of oil is non-negotiable for that perfect silky texture. Once you’ve mastered this, you’ve basically conquered homemade aioli!
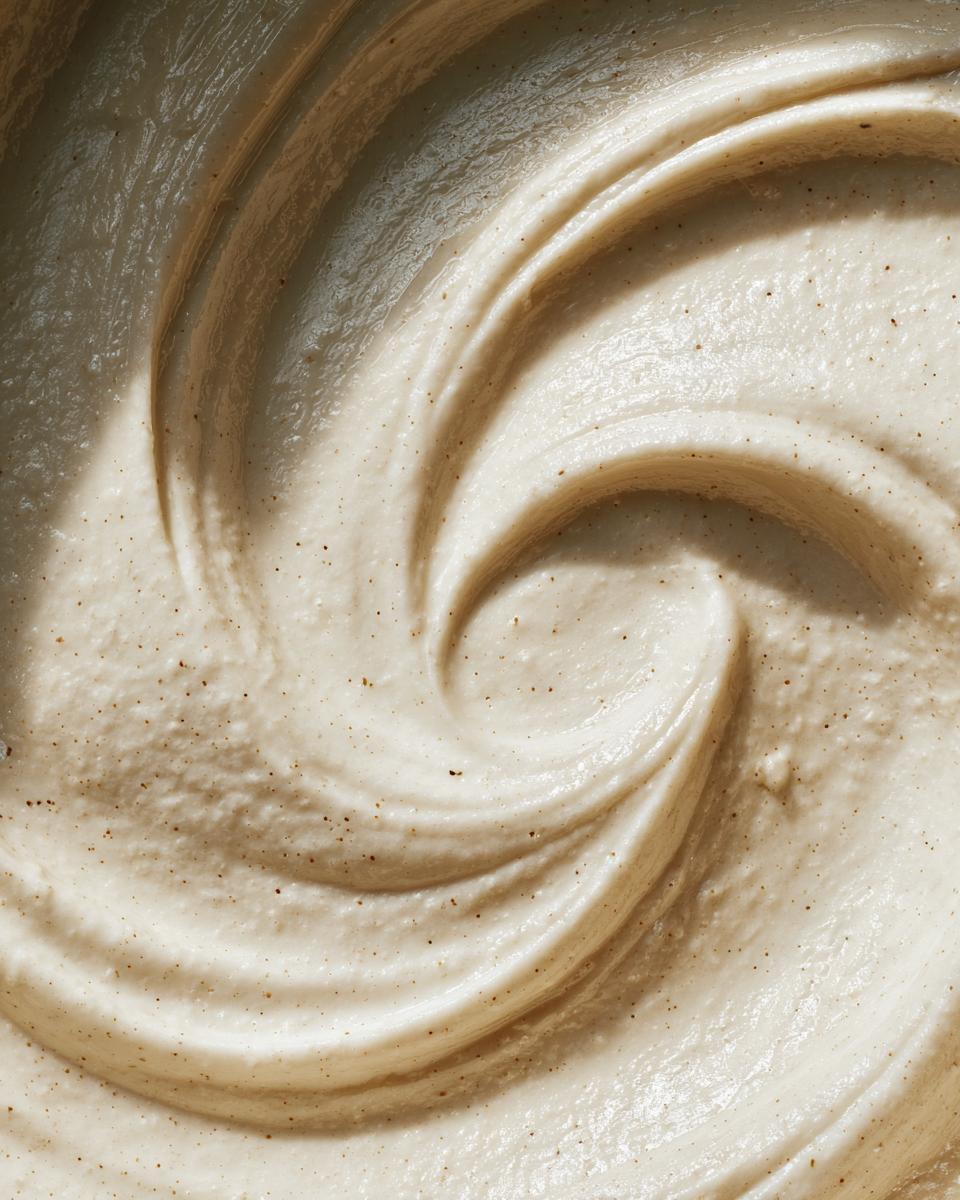
The Emulsification Process for Perfect Garlic Aioli
This is the heart of making that gorgeous garlic aioli. Emulsification is just a fancy word for getting two things that don’t normally mix – like oil and that egg yolk mixture – to happily combine and create something smooth and creamy. The secret? Slowly, slowly, slowly adding the oil while whisking like mad. If you add the oil too fast, especially at the beginning, it’ll just sit on top and you’ll end up with oily garlic goo instead of aioli. If you’re ever worried about yours breaking or separating, don’t panic! You can try rescuing it by starting with a fresh egg yolk in a clean bowl and slowly whisking the broken mixture into it, a teaspoon at a time. For an even easier time, you can totally use an immersion blender or a small food processor – just start with the yolk mixture and slowly stream in the oils while blending.
Tips for the Best Garlic Aioli
Alright, let’s talk about making your garlic aioli absolutely perfect, every single time. It’s all about a few little tricks that totally elevate it from good to *wow*. For starters, make sure your egg yolk and lemon juice are at room temperature. Cold ingredients just don’t want to play nice when you’re trying to emulsify, and we want them to be best friends! Ellie always said room temperature ingredients are the secret to a smooth foundation, and she’s totally right. Regarding the oils, I like a mix of olive and a neutral oil like vegetable. You can totally use just olive oil, but sometimes a lighter oil keeps the flavor from being too overpowering, leaving more room for that garlicky goodness. If your aioli looks a bit… split… don’t throw it out! Just start over with a fresh spoonful of egg yolk in a clean bowl and *very* slowly whisk your broken sauce into it. It’s a lifesaver!
Ingredient Spotlight: The Role of Garlic in Garlic Aioli
Let’s be real, the star of the show here is that garlic! Using super fresh garlic is non-negotiable for the best flavor in your garlic aioli. I like to mince it very, very fine or even mash it into a paste with the side of my knife. This really helps release all those amazing aromatic oils. You can even grate it on a microplane if you want maximum flavor diffusion!
Flavor Variations for Your Homemade Garlic Aioli
Once you’ve mastered the basic garlic aioli, the fun really begins! Want to jazz it up for a specific dish? I love adding a tablespoon of fresh chopped parsley or chives right at the end for a pop of color and freshness. A tiny pinch of cayenne pepper can give it a nice little kick if you’re feeling adventurous. For a smoky vibe, a dash of smoked paprika is amazing. You can even add a squeeze of lime instead of lemon for a different citrusy twist. The possibilities are endless for these gourmet sauce recipes!
Serving Suggestions for This Versatile Condiment
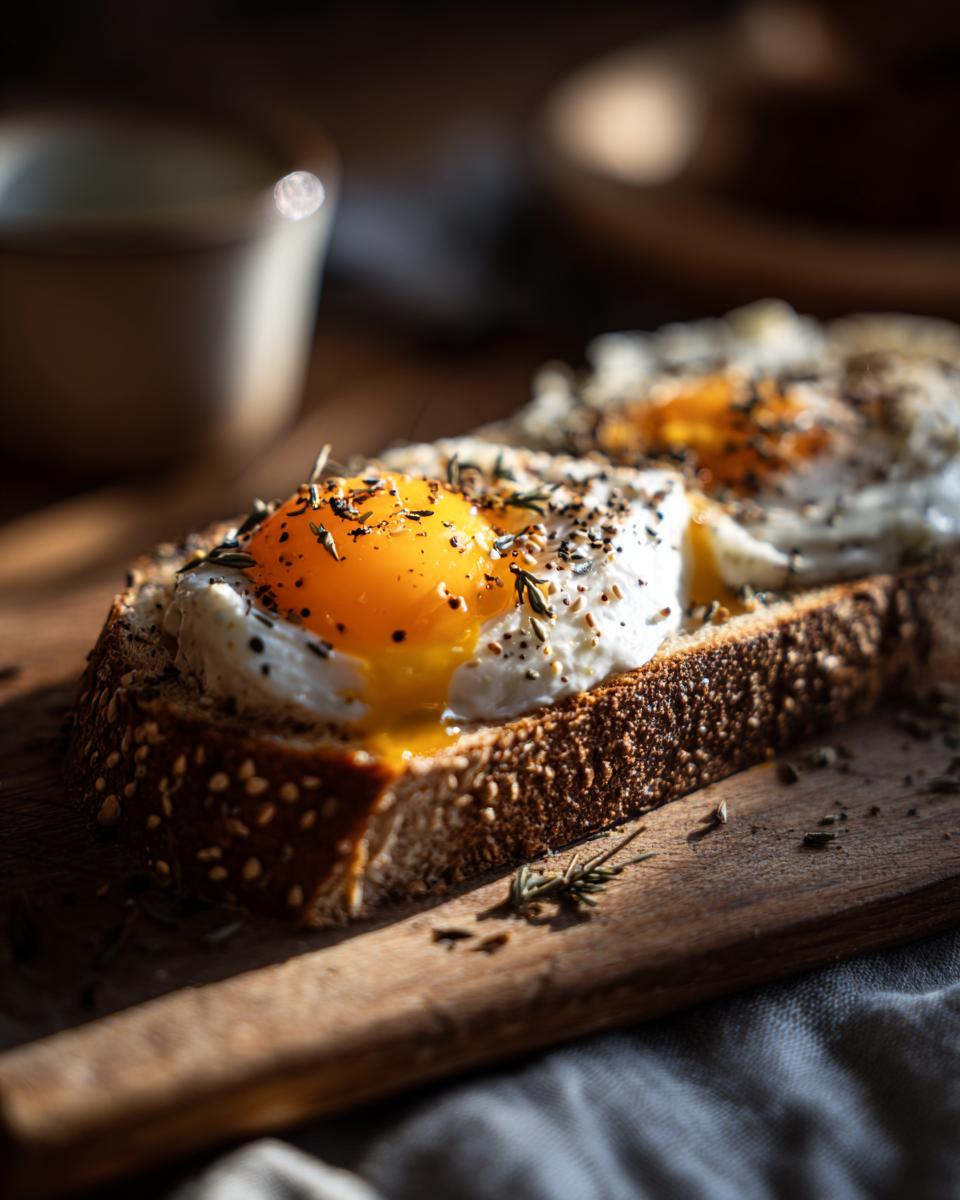
Oh my goodness, where do I even start with how to use this incredible homemade garlic aioli? It’s truly a miracle worker in the kitchen. Think about slathering it on any kind of sandwich or wrap – it instantly turns a basic lunch into something you might get at a fancy cafe. It’s one of my favorite sandwich spread recipes. We’re talking burgers, grilled cheese, roasted turkey… you name it!
And vegetables? Forget boring steamed broccoli. A drizzle of this aioli takes roasted Brussels sprouts, asparagus, or even just some crispy oven fries to a whole new level. It’s also amazing as a dipping sauce for seafood like shrimp or calamari, giving it a little Mediterranean flair. It’s just one of those fantastic versatile condiment recipes that makes everything taste a little bit more special, a little bit more gourmet. Seriously, try it on everything!
Storage and Make-Ahead Tips for Garlic Aioli
So you’ve made this glorious garlic aioli, and you’re wondering how long it’ll last and if you can prep it ahead. Absolutely! What I love about this recipe is that it’s fantastic to make a little batch ahead of time. Just spoon your beautiful, creamy creation into a clean, airtight container. Pop it in the fridge, and it should stay lovely for about 3 days. Any longer than that, and the raw egg yolk really isn’t at its best, and nobody wants that! Just be sure to give it a little stir before you use it.
Frequently Asked Questions About Garlic Aioli
I get asked a lot of questions about making my garlic aioli, and honestly, most of them come from situations I’ve totally been in myself! Here are a few common ones that pop up:
Q: Can I use pre-minced garlic from a jar for my aioli?
Oh boy, this is a big one! While you *can*, I really, really don’t recommend it if you want the best flavor. Jarred garlic has a different, often more muted or even metallic taste, and it just doesn’t pack the same punch as fresh. For that vibrant, fresh flavor in your homemade garlic aioli, always go for fresh cloves. Mince them super fine or mash them into a paste. Your taste buds will thank you!
Q: Oops! My aioli separated. What went wrong and how can I fix it?
Don’t panic! This happens to the best of us, usually because the oil was added too quickly, or the ingredients weren’t at the right temperature. To try and save it, grab a clean bowl. Put a fresh egg yolk (or even just a teaspoon of Dijon mustard) in the clean bowl and whisk it up. Then, start adding your separated mixture back in, just a teaspoon at a time, whisking constantly. It should slowly come back together into a beautiful, smooth creamy garlic sauce. It’s like magic!
Q: How long does homemade garlic aioli last, and how should I store it?
Because this recipe uses a raw egg yolk, it’s best to enjoy your fresh garlic aioli within about 3 days. Make sure you store it in a clean, airtight container in the refrigerator. It’s a good idea to give it a little stir before each use. So, while it doesn’t hang around forever, it’s so quick to make that you can whip up a fresh batch whenever you need it. Remember to reach out if you have other questions through our contact page!
Q: Can I make this aioli without raw eggs?
You know, you can! If you’re concerned about using raw eggs, there are a couple of ways to adapt. Some people use aquafaba (the liquid from a can of chickpeas) as a binder, or even a base of silken tofu for a vegan version. However, the texture and flavor profile will be a bit different from the classic egg-based aioli. For this specific recipe, sticking to the egg yolk is key for that traditional creamy richness.
The Deets: What’s in This Magic Sauce
Now, I know you’re probably curious about what’s *actually* in this glorious garlic aioli. It’s pretty straightforward, honest! Keep in mind these are just estimates, ’cause who’s measuring down to the milligram in their home kitchen, right? The exact numbers can totally change depending on the specific oils and even the size of your egg.
For roughly a 2-tablespoon serving:
- Calories: Around 180
- Total Fat: About 20g
- Saturated Fat: Roughly 3g
- Unsaturated Fat: Around 17g
- Cholesterol: Around 20mg
- Sodium: About 100mg
- Total Carbohydrates: Just 1g
- Sugar: 0g
- Protein: About 1g
Pretty minimal carbs and sugar, which is great for all sorts of diets! It’s mostly healthy fats from those lovely oils.
Share Your Homemade Garlic Aioli Creations!
Okay, now it’s YOUR turn! I’d absolutely LOVE to hear how your garlic aioli turns out. Did you slather it on a sandwich? Dip some fries in it? Let me know in the comments below! If you give this recipe a go, please consider leaving a star rating – it really helps other home cooks find it. And if you snap a pic, tag us on social media! You can find our privacy policy here, but honestly, seeing your delicious creations makes my day!
PrintEasy Homemade Garlic Aioli

A simple recipe for creamy, flavorful garlic aioli that enhances sandwiches, vegetables, and seafood.
- Prep Time: 10 min
- Cook Time: 0 min
- Total Time: 10 min
- Yield: 1 cup 1x
- Category: Condiments
- Method: No-Cook
- Cuisine: Mediterranean
- Diet: Vegetarian
Ingredients
- 1 large egg yolk
- 1 teaspoon Dijon mustard
- 1 tablespoon fresh lemon juice
- 1 clove garlic, minced
- 1/2 cup olive oil
- 1/4 cup vegetable oil
- Salt, to taste
- Black pepper, to taste
Instructions
- In a medium bowl, whisk together the egg yolk, Dijon mustard, lemon juice, and minced garlic until well combined.
- Slowly drizzle in the olive oil and vegetable oil, whisking constantly, until the mixture emulsifies and thickens into a creamy sauce.
- Season with salt and black pepper to your liking.
- Serve immediately or store in an airtight container in the refrigerator for up to 3 days.
Notes
- For a smoother consistency, you can use an immersion blender or food processor.
- Add a pinch of cayenne pepper for a little heat.
- Incorporate fresh herbs like parsley or chives for added flavor and color.
Nutrition
- Serving Size: 2 tablespoons
- Calories: 180
- Sugar: 0g
- Sodium: 100mg
- Fat: 20g
- Saturated Fat: 3g
- Unsaturated Fat: 17g
- Trans Fat: 0g
- Carbohydrates: 1g
- Fiber: 0g
- Protein: 1g
- Cholesterol: 20mg