
There is just something truly magical about slicing into a loaf of homemade bread—that crackling crust, the soft, chewy interior, and that unmistakable tangy note. If you’ve ever dreamed of achieving that authentic flavor without running to the store for commercial yeast, I’m here to tell you it’s totally within reach! The secret, friend, lies in cultivating your very own sourdough starter. Don’t let those intimidating baking shows scare you; this is absolutely the easiest, most reliable guide for a first time sourdough starter. I promise, we’re going to start this journey with just flour and water, and I’ll be right here guiding you every single bubbly step of the way.
- Why You Need Your Own Sourdough Starter For Beginners
- Gathering Supplies for Your Sourdough Starter Instructions
- The 7-Day Process: How to Make Sourdough Starter Easy
- Tips for Success: Perfecting Your Sourdough Starter Feeding Schedule
- How to Feed a Sourdough Starter Once It Is Active
- Sourdough Starter Troubleshooting Common Issues
- Using Your Active Sourdough Culture in Recipes
- Frequently Asked Questions About Your Simple Bread Starter Recipe
- Next Steps for Your Baking Journey
Why You Need Your Own Sourdough Starter For Beginners
Now, I know you might be thinking, “Ellie, why put in all that effort when I can just grab a packet of yeast?” Trust me, once you taste the difference, you’ll never go back! Creating your own sourdough starter for beginners gives you complete control over your loaf. It connects you directly to the beautiful, ancient process of natural fermentation.
- Unmatched Flavor: That deep, complex tang just isn’t possible with instant yeast.
- Natural Ingredients: It’s literally just flour and water—you know exactly what’s in your bread!
- Better Texture: This natural culture develops a structure that commercial yeast just can’t replicate.
Flavor Development in Your Homemade Bread Starter Guide
Commercial yeast is fast and reliable, but it’s a one-trick pony. Wild yeast, the kind you capture in your jar, works slowly, and that slow, cool fermentation is what builds those incredible, slightly acidic, delicious flavor compounds. It’s the key to that signature, sophisticated taste in your finished bread.
Gathering Supplies for Your Sourdough Starter Instructions
Before we even mix our first spoonful of flour into water, we need the right stage set! Getting your basic equipment ready is crucial for success when following these sourdough starter instructions. Remember, we’re capturing wild yeast, and these little guys are sensitive! Don’t worry, you probably already own most of this stuff.
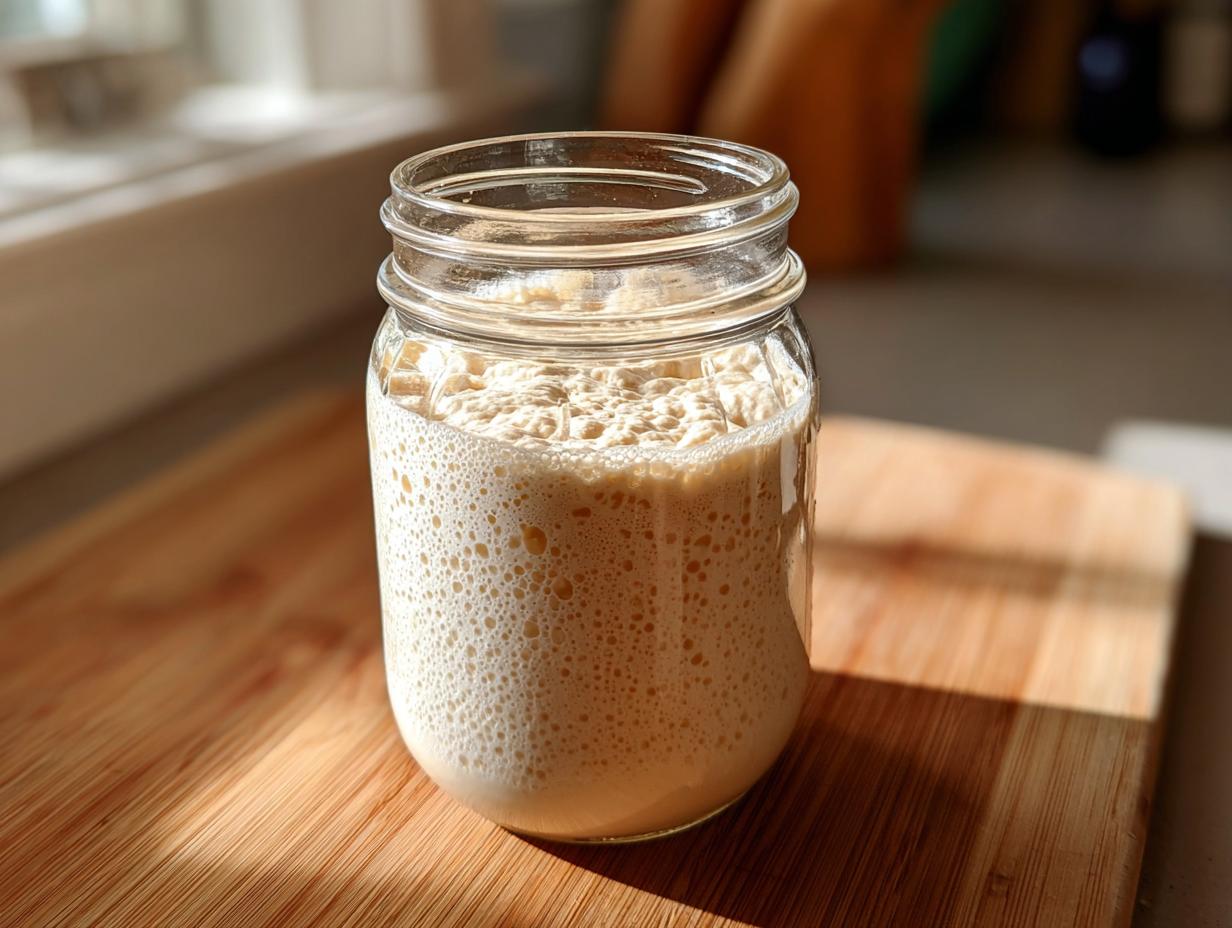
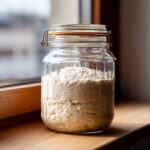
First, you need a container. I prefer a wide-mouth glass jar—maybe a quart-sized Mason jar. You need something clear so you can actually see what’s happening inside! You also need a lid that sits *loosely* on top or maybe some cheesecloth secured with a rubber band. We need air exchange, not an airtight seal. And here’s a big one: grab a small kitchen scale if you have one. Measuring by weight—grams—is so much more accurate than volume scoops, especially when you’re dealing with wild yeast!
Ingredient Clarity: Flour and Water Starter Essentials
The quality of your ingredients matters immensely here. We aren’t baking bread yet, but we are feeding the future yeast! Do not use standard tap water if it has a strong chlorine smell; chlorine tends to fight off the wild bacteria we are trying to encourage. If you can, use filtered or spring water that is room temperature. Seriously, don’t use ice cold water!
When it comes to flour, we start strong. For the very first day, I absolutely insist you start with something hearty like whole wheat or rye flour. Those whole grains are packed with the microorganisms we need to kickstart the whole process. Once things are bubbling happily (we’ll get there!), you switch over to a good quality unbleached all-purpose flour for the daily feedings. If you are curious about how different flours affect the final product, check out what others have found works for their initial mix right here.
The 7-Day Process: How to Make Sourdough Starter Easy
Alright, this is where the real fun begins! We are diving into the week-long commitment to create your very own sourdough starter. You can absolutely make this happen, even if you’ve never baked with natural yeast before. Remember, this is a process of patience! Think of yourself as a gentle cultivator welcoming wild yeast into your kitchen. We aren’t forcing anything; we are encouraging those little microbes to bloom. While you wait for the miracle to happen, keep your mixture tucked away in a spot that stays between 68 to 75 degrees Fahrenheit—a slightly warmer spot, like on top of the fridge, can really help things along!
Don’t be tempted to rush ahead! Sticking to the feeding schedule is the best way to ensure you get that magnificent, ready-to-use **active sourdough culture** later on. If you need a gorgeous visual reminder of what the progress should look like, this guide is fantastic as a reference point. Check out these lovely steps here.
Days 1–3: Initial Activation of Your Sourdough From Scratch
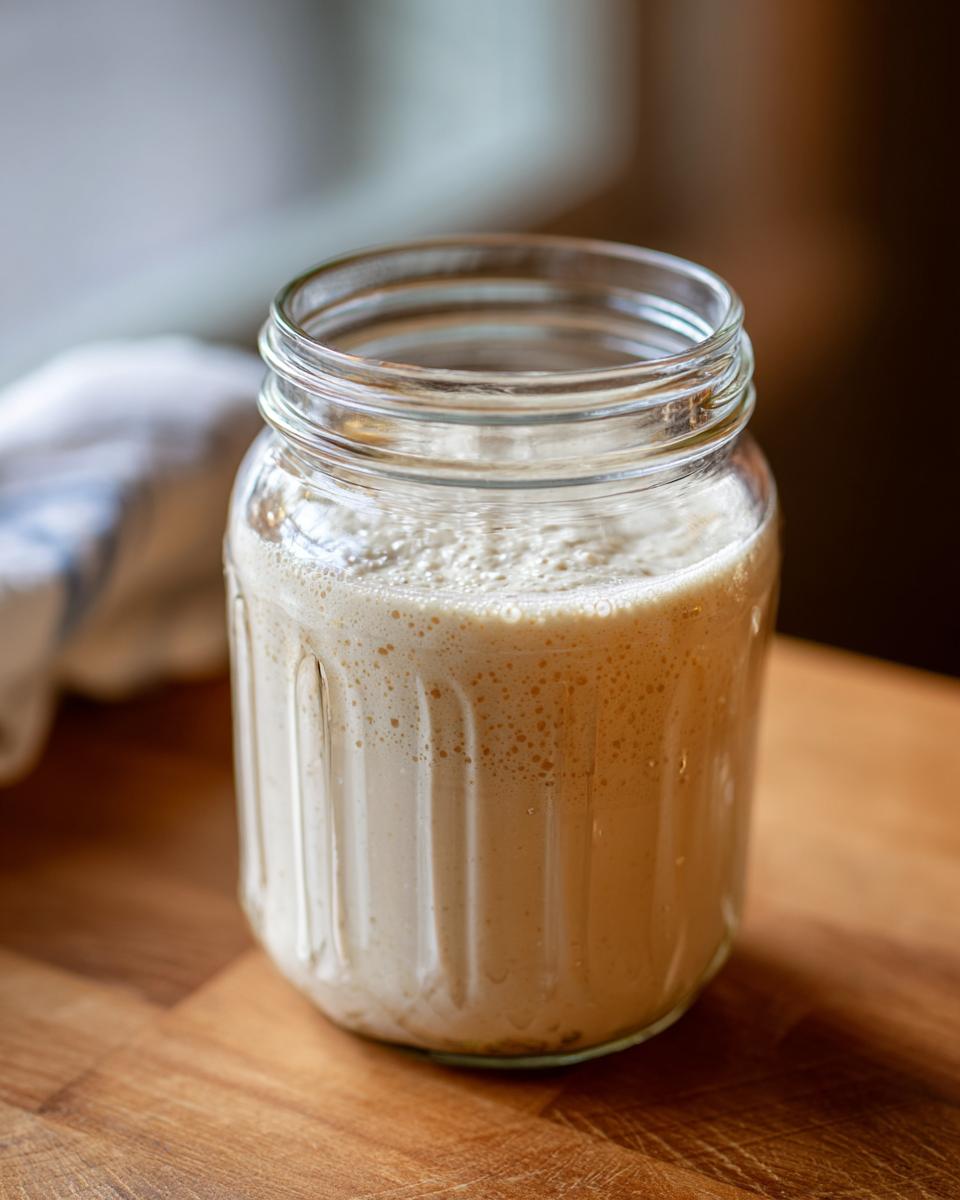
Day one is the simplest: mix up 50 grams of your hearty whole wheat or rye flour with 50 grams of room temperature water inside your clean jar. Stir it until you can’t see any dry flour bits—that’s it! Cover it loosely. When Day 2 rolls around, we start the discard. This sounds scary, I know! But we have to make room for fresh food so the strongest yeast can thrive. Scoop out about half (around 50g), and feed the remaining half with 50g of all-purpose flour and 50g water. You might see tiny bubbles—yay! Day 3 is more of the same discard and feed routine. You might notice it smells a bit vinegary or even cheesy by now. Don’t panic! That’s just the initial bacteria having a party. This is completely normal for your sourdough from scratch creation.
Days 4–7: Establishing a Bubbly Sourdough Starter Rhythm
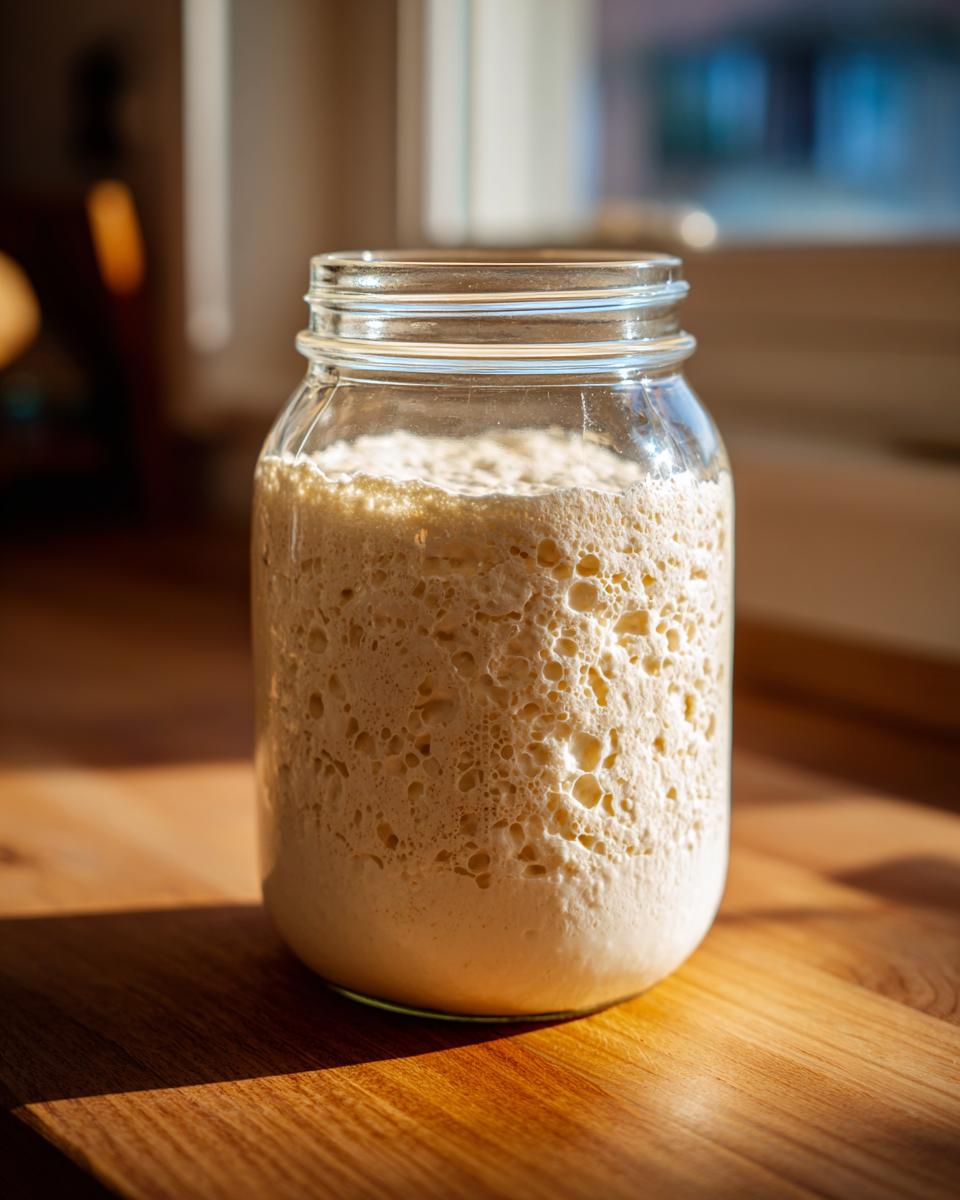
Around Day 4, if you are seeing good activity, it’s time to step up the frequency. We move to feeding twice per day, every 12 hours, sticking to a very straightforward 1:1:1 ratio (equal weights of starter, flour, and water). This heavy feeding schedule helps push out the less friendly bacteria and builds strength fast. You are looking for consistency now—does it reliably double in volume within 4 to 8 hours after feeding? If the answer is yes, congratulations! You are well on your way to that glorious, bubbly sourdough starter. If you need to see photos of what success looks like, the folks over at Farmhouse on Boone have some excellent shots illustrating the rise.
Tips for Success: Perfecting Your Sourdough Starter Feeding Schedule
Listen, even when you follow the sourdough starter feeding schedule perfectly, sometimes your starter just throws a tiny little tantrum. That’s okay! This isn’t math; it’s biology, and nature has its own rhythm. A big tip I learned the hard way myself when I first tried to make a homemade bread starter guide is temperature. If your kitchen is chilly—say, below 68°F—that yeast is going to sleep in. If that happens and your starter looks sluggish, don’t just keep feeding it the same amount. I had one go totally dormant on me for two days last winter until I finally moved it onto the top shelf of my pantry, right above the oven vent. Instant wake-up call!
Another great thing to play with, once things are stable, is your feeding ratio. Most people stick to 1:1:1, but if you need more time between feedings, or if your starter peaks way too fast, you can experiment with a less dense ratio, like 1:2:2 or even 1:3:3. Thinking about adjusting those ratios gives you so much control over the fermentation time. You can see some of the science behind those adjustments over at Pantry Mama’s article, which really helped me understand why tweaking the flour and water amounts matters. Just remember to keep notes, like you’re recording a science experiment!
If you ever feel like you’re getting ahead of yourself, or you just want a little more reassurance about consistency, checking out the step-by-step visuals here** can sometimes calm those first-time jitters.
How to Feed a Sourdough Starter Once It Is Active
Okay, deep breath! You did it. You have a thriving, happy, bubbly culture! That means the creation phase—the daily hustle—is over, and now we move into the fun part: maintenance and baking. Congratulations! You finally know how to feed a sourdough starter when it’s healthy. The method you use now depends entirely on how often you plan to bake your bread.
If you are going to bake every day or every other day, you can just keep the jar right on your counter. You’ll need to feed it daily, usually in the morning, using that 1:1:1 ratio (or whatever ratio works best for your house temperature). Think of it like keeping a pet that just needs flour and water instead of kibble!
But let’s be real, most of us don’t bake daily. That’s where the refrigerator comes in handy! Storing your sourdough starter in the cold slows down the fermentation process almost to a stop. This is a huge relief when life gets busy. If you’re going to store it, I always suggest giving it one really good, strong feed right before you tuck it in for a nice long nap. I usually feed mine a 1:2:2 ratio before chilling, just to make sure it has plenty of fresh food.
Transitioning to Maintaining Sourdough Starter
When your starter is living in the fridge, you really only need to discard and feed it once a week. Seriously, that’s usually all it asks for! If you forget one week, don’t stress out. Just pull it out, feed it, and see if it perks up over the next 12 hours. If it smells a little funky or has a layer of dark liquid on top—that’s called ‘hooch’—just pour that off, give it a fresh feed, and it should be fine. It just means your starter was hungry!
The trickiest part, which trips up even seasoned bakers, is remembering to wake it up before you bake. You can’t just scoop cold starter from the fridge and expect it to raise a beautiful loaf. You need to ‘awaken’ the culture. Pull it out on baking day, discard down, feed it normally (say, 1:1:1), and let it sit on the counter until it reliably doubles again—usually about 6 to 8 hours. Once it crests that peak, it’s perfectly active and ready to go into your dough for that amazing rise. It’s the same process as restarting our initial creation, just on a smaller scale! You can find some great ideas on what to bake once it’s ready, like this wonderful pumpkin bread recipe here.
Sourdough Starter Troubleshooting Common Issues
Even when you follow every single step for your sourdough starter instructions, things sometimes go sideways. That’s just the nature of working with living things! Please don’t panic if you run into a hiccup; that’s why we troubleshoot. The goal here is a happy, active culture, and knowing what to look for is half the battle in sourdough starter troubleshooting.
The most common issue I hear about is sluggishness—maybe your starter isn’t doubling anymore, or it peaked hours ago and hasn’t budged. If this happens, try this trick: switch back to that hearty rye or whole wheat flour for two full feedings. Those complex carbohydrates usually give the yeast a necessary jolt of energy! Another common sight is ‘hooch,’ that dark liquid that sometimes appears on top of the starter. It’s just alcohol, a sign your starter is hungry. Pour it off, stir well, and feed it a slightly larger meal than usual.

Now, the one thing you cannot ignore is mold. If you see pink, black, or fuzzy spots, I am so sorry, but you need to get rid of that jar and start fresh. Mold means bad bacteria have taken over, and it’s not safe to try and save compromised starter. But honestly, if you keep your jar clean and keep feeding it regularly, you should rarely, if ever, see that problem!
Using Your Active Sourdough Culture in Recipes
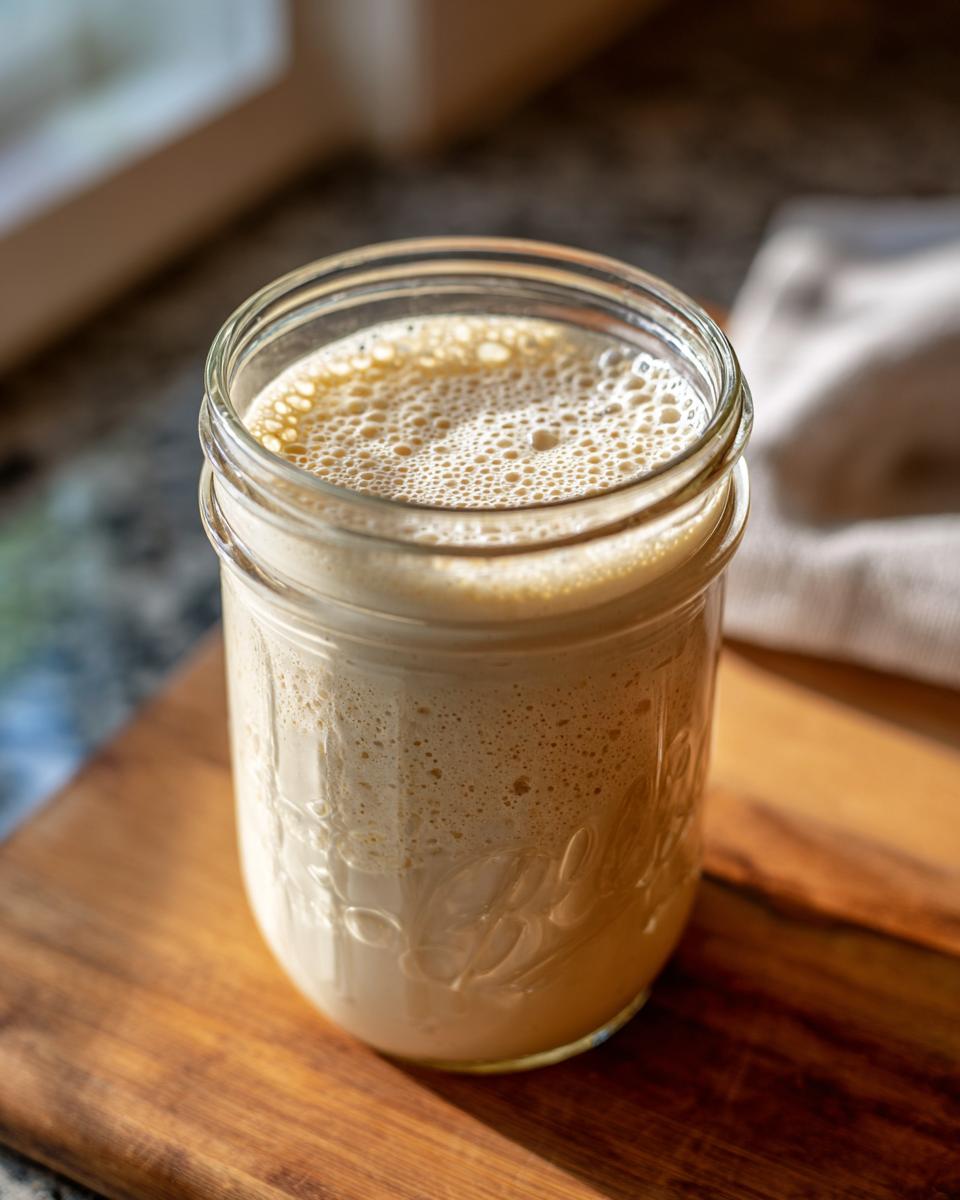
Isn’t that the best feeling? You’ve nurtured this little jar of flour and water for a week, and now you have a lively, bubbly, ready-to-go powerhouse for baking! You’ve successfully created an active sourdough culture. It took some attention, for sure, but now you’ve got the golden key to incredible homemade bread waiting right on your counter.
Once your starter is consistently doubling within just a few hours of a fresh feeding—that’s your signal that it’s at its peak activity and full of life—it’s ready to be measured out for whatever deliciousness you’re planning. Don’t let it sit past that peak for baking, though! If it collapses back down entirely, you’ve missed the window, and you should wait for it to rise again and feed it again before trusting it with a full batch of dough.
This starter works just like commercial yeast, but with so much more personality! You’ll simply substitute the required amount of active starter for the yeast in your chosen recipe. I’ve been having the best luck lately going back to basics and making a beautiful rustic loaf like the one over here. It really lets that natural sourdough flavor shine through. Trust me, once you get that first loaf out of the oven, you’ll be hooked on using your own culture!
Frequently Asked Questions About Your Simple Bread Starter Recipe
I know starting out with a flour and water starter can feel overwhelming, but honestly, most of the questions folks have are simple once you know the answer! I built this starter journey to be forgiving, but I want to make sure you feel totally confident with your new pet. Here are some of the things I hear most often when people are working on their **homemade bread starter guide**.
How long does it really take to see the first bubbles?
Oh, the bubble watch! Everyone gets so excited waiting for that first sign of life. For your **sourdough starter for beginners**, you might see a few tiny pinpricks of activity within 24 hours, especially if your kitchen is warm. But don’t get discouraged if you see nothing until Day 3 or even Day 4. That initial slow period is when the hard-working bacteria are setting up shop. If you stick to the sourdough starter feeding schedule outlined above, those obvious bubbles indicating an **active sourdough culture** will show up once you get into the twice-daily feeding rhythm!
Can I just use regular bleached all-purpose flour instead of unbleached?
You totally *can*, but I really advise against it for the initial creation phase. Bleached flour has been highly processed, and that process strips away some of the natural microbes we are trying to capture when we make a **sourdough starter from scratch**. For that first week, stick to unbleached all-purpose flour after the initial whole wheat kick-off. Once your starter is really strong and established, you can experiment, but for a **simple bread starter recipe**, use the unbleached kind to give yourself the best shot at success.
What should I do if I miss a scheduled feeding?
Life happens, right? If you are meant to feed your starter at 8 AM but you don’t get to it until 2 PM, don’t panic! This happens to me all the time! That hungry starter might have a layer of hooch on top—that little puddle of dark liquid. Just pour that off, give it a good stir, and then feed it as you normally would. It might peak a little faster that day, but it will recover quickly. It’s much more resilient than people think! If you’re worried about keeping your starter happy when you’re busy, I have a great tip for making quick Irish soda bread when I need a break from yeast entirely!
My starter smells like acetone! Is that normal for maintaining sourdough starter?
That sharp, nail-polish remover smell, or sometimes just very intense vinegar, is super common when you are first learning **how to feed a sourdough starter**, especially around days 3 and 4. That pungent smell means the lactic acid bacteria are very active, but they are starting to run out of food before the next scheduled feed. It’s essentially telling you, “I’m hungry!” In this case, instead of waiting 24 hours between feeds, jump ahead to twelve-hour feedings until that sharp smell mellows out into a pleasant, yogurt-like tang. Stick with it!
Next Steps for Your Baking Journey
I truly hope you look at that jar of bubbling goo on your counter not as a chore, but as a little friend you’ve brought to life! That tangible, fizzy result is the absolute best reward for your week of consistent care. You have proven you can create magic from just two simple ingredients, and that is a huge skill unlock right there. Now that you know the secrets to building a reliable sourdough starter, the world of incredible, homemade bread is wide open to you!
Don’t be shy about sharing your achievement! I absolutely love hearing about how everyone’s cultures develop—did yours smell like gym socks on Day 3? Did it double perfectly on Day 6? Head over to the contact page and let me know how your creation process went down. Your feedback helps me make this guide even better for the next person starting their sourdough from scratch adventure. Happy baking, friend!
PrintHow to Make a Sourdough Starter From Scratch for Absolute Beginners
Learn the simple, step-by-step process to create your own active sourdough starter using only flour and water. This guide provides a clear feeding schedule to help you cultivate your natural yeast culture for homemade bread.
- Prep Time: 5 min
- Cook Time: 0 min
- Total Time: 7 days (active creation period)
- Yield: 1 active sourdough culture 1x
- Category: Baking Foundation
- Method: Natural Fermentation
- Cuisine: American Home Baking
- Diet: Vegan
Ingredients
- 100g Whole Wheat Flour or Rye Flour (for initial activation)
- 100g Unbleached All-Purpose Flour (for ongoing feeding)
- 100g Unchlorinated Water (room temperature)
Instructions
- Day 1: Mix 50g of whole wheat or rye flour with 50g of room temperature water in a clean glass jar. Stir until no dry flour remains. Cover loosely and leave at room temperature (68-75°F) for 24 hours.
- Day 2: You may see little to no activity. Discard half of the mixture (about 50g). Add 50g of all-purpose flour and 50g of water to the remaining starter. Mix well, cover loosely, and wait 24 hours.
- Day 3: You might see some bubbles or smell a sour/vinegary scent. This is normal. Discard half. Feed with 50g of all-purpose flour and 50g of water. Wait 24 hours.
- Day 4: Activity should increase. If you see significant bubbles, you can switch to feeding twice a day (every 12 hours) using a 1:1:1 ratio (e.g., 50g starter, 50g flour, 50g water). Discard half before each feeding.
- Day 5 – 7: Continue feeding twice daily using the 1:1:1 ratio with all-purpose flour and water. Look for consistent doubling in volume within 4-8 hours after feeding. The smell should become pleasantly tangy, not sharp or foul.
- Day 8+: When your sourdough starter consistently doubles in size after feeding and is full of bubbles (a bubbly sourdough starter), it is active and ready to use for baking. You can now transition to maintaining it or storing it in the refrigerator.
Notes
- Use unchlorinated water; chlorine can inhibit yeast growth.
- Maintain a consistent room temperature between 68 to 75 degrees Fahrenheit for best results when starting.
- If your starter seems sluggish, try switching back to whole wheat flour for a few feedings to boost activity.
- For long-term storage, feed your starter, let it peak, then place the jar in the refrigerator. Feed it once a week.
Nutrition
- Serving Size: N/A (Culture)
- Calories: 0
- Sugar: 0
- Sodium: 0
- Fat: 0
- Saturated Fat: 0
- Unsaturated Fat: 0
- Trans Fat: 0
- Carbohydrates: 0
- Fiber: 0
- Protein: 0
- Cholesterol: 0