
Oh, friends, do I have a secret for you today! If you’re like me, when those perfect summer strawberries are calling your name, you want that fresh, vibrant sunshine flavor locked away instantly. Forget standing over a hot stove worrying about bubbling, messy canning lids; we’re skipping all that drama!
I’m sharing my absolute favorite, ultra-easy, no-cook recipe for strawberry freezer jam. This is the definition of beginner-friendly. As Eleanor Vance always insists here at DeliceRecipe, the best cooking comes from reliable methods that don’t demand your entire afternoon. This method keeps every bit of that pure, fresh berry taste intact. Trust me, once you try this simple fruit preservation method, you won’t look back. For more unbelievably easy home baking inspiration, you should definitely check out my recipe for easy blueberry scones from scratch!
- Why This Easy Strawberry Freezer Jam Recipe Works (No Cook, No Fuss)
- Gathering Ingredients for Your Strawberry Freezer Jam
- Step-by-Step Instructions for Quick Strawberry Preserves
- Tips for the Best Strawberry Freezer Jam Texture
- Creative Ways to Use Your Fresh Strawberry Spread
- Storage and Shelf Life for Your Homemade Freezer Jam Recipe
- Frequently Asked Questions About Making Jam Fast
- Recipe Details and Yield for This Simple Fruit Preservation
- Understanding the Estimated Nutrition for Your Strawberry Freezer Jam
Why This Easy Strawberry Freezer Jam Recipe Works (No Cook, No Fuss)
Why mess with tradition when nature has already given us perfection? The beauty of this specific strawberry freezer jam is that we don’t cook it at all! Traditional methods boil the fruit, which is great if you love that deep, cooked-down flavor, but here our goal is maximum freshness. We are just mixing, resting, and freezing!
It’s incredibly fast, and that speed actually helps us capture the berries exactly as they taste right off the vine. It’s such a simple way to preserve summer, and I know you’ll love how quickly you can have easy breakfast ideas ready to go!
Maximum Fresh Strawberry Flavor
Because we skip the stove completely, these strawberries keep their bright, almost raw, burst of flavor. It truly tastes like you just took a bite out of a fresh berry, just spreadable! That’s why I love this method for berries—they are too delicate to boil away their magic.
A True Beginner Jam Recipe
If you’ve looked at canning equipment and gotten overwhelmed, guess what? You don’t need any of it here! This recipe is set using sugar and a touch of lemon juice, making it fantastic for anyone looking to try jam without pectin. No complex sterilization, no water baths, just excellent results.
Gathering Ingredients for Your Strawberry Freezer Jam
Okay, let’s talk supplies because the beauty of this recipe lies in its simplicity. We aren’t hiding the berries behind a mountain of commercial pectin that costs a fortune! For this batch, using about four cups of lovely, ripe strawberries, we just need four essential pieces.
Make sure your fruit is hulled first, then give those berries a good, coarse mash. Pulse them gently if you use a food processor—we want texture, not baby food! You’ll need:
- 4 cups fresh strawberries, hulled and crushed
- 4 cups granulated sugar (Yes, all that sugar helps it set!)
- 1 tablespoon fresh lemon juice
That’s it! See how easy? Having these ready to go is the first step toward making your strawberry muffins better next week when you top them with this homemade jam. Precision is key when you aren’t cooking, so measure carefully!
Step-by-Step Instructions for Quick Strawberry Preserves
Now that we have our ingredients gathered, let’s jump right into making this **strawberry freezer jam**. Since we aren’t cooking, the process is wonderfully hands-off once you get the wet and dry ingredients mixed. You’ll move from bowl to freezer in under 20 minutes of active time. Follow these steps exactly, and you’ll have vibrant, fresh jam ready in no time! It truly is the fastest way to quick stovetop cheesy rice, only, well, it’s jam!
Preparing the Fruit and Sugar
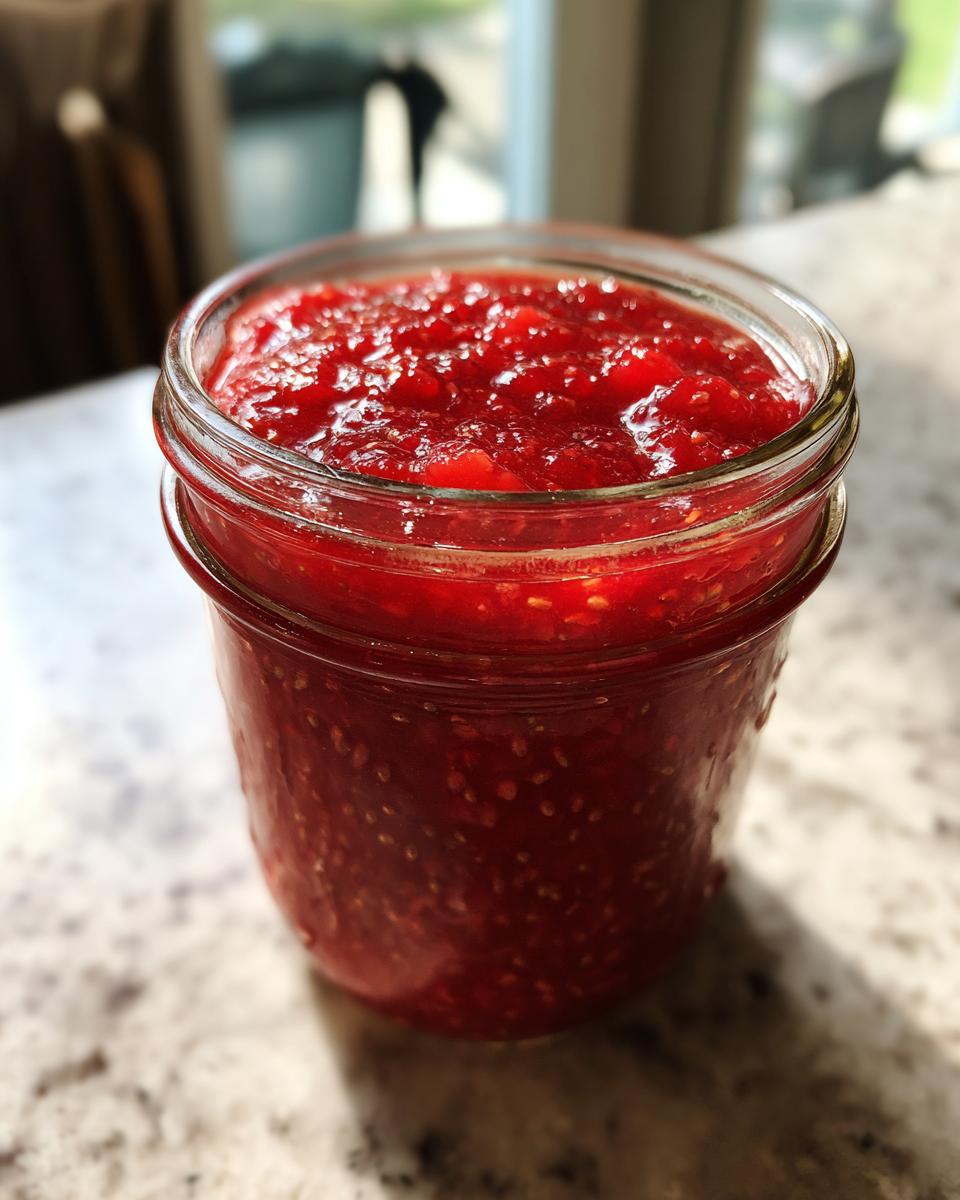
First up is prepping those lovely red berries. Take your 4 cups of hulled strawberries and crush them until you have a chunky, wet mixture. I love using a potato masher for this—it feels wonderfully rustic! Once they are mashed down, dump in the 4 cups of sugar. Stir that up well, and this is an important waiting game: let it sit for 15 minutes! Stir it every few minutes during this time. You’ll notice the mixture starts thickening up because the sugar is pulling the juice out. This is the magic making your **easy strawberry freezer jam** happen!
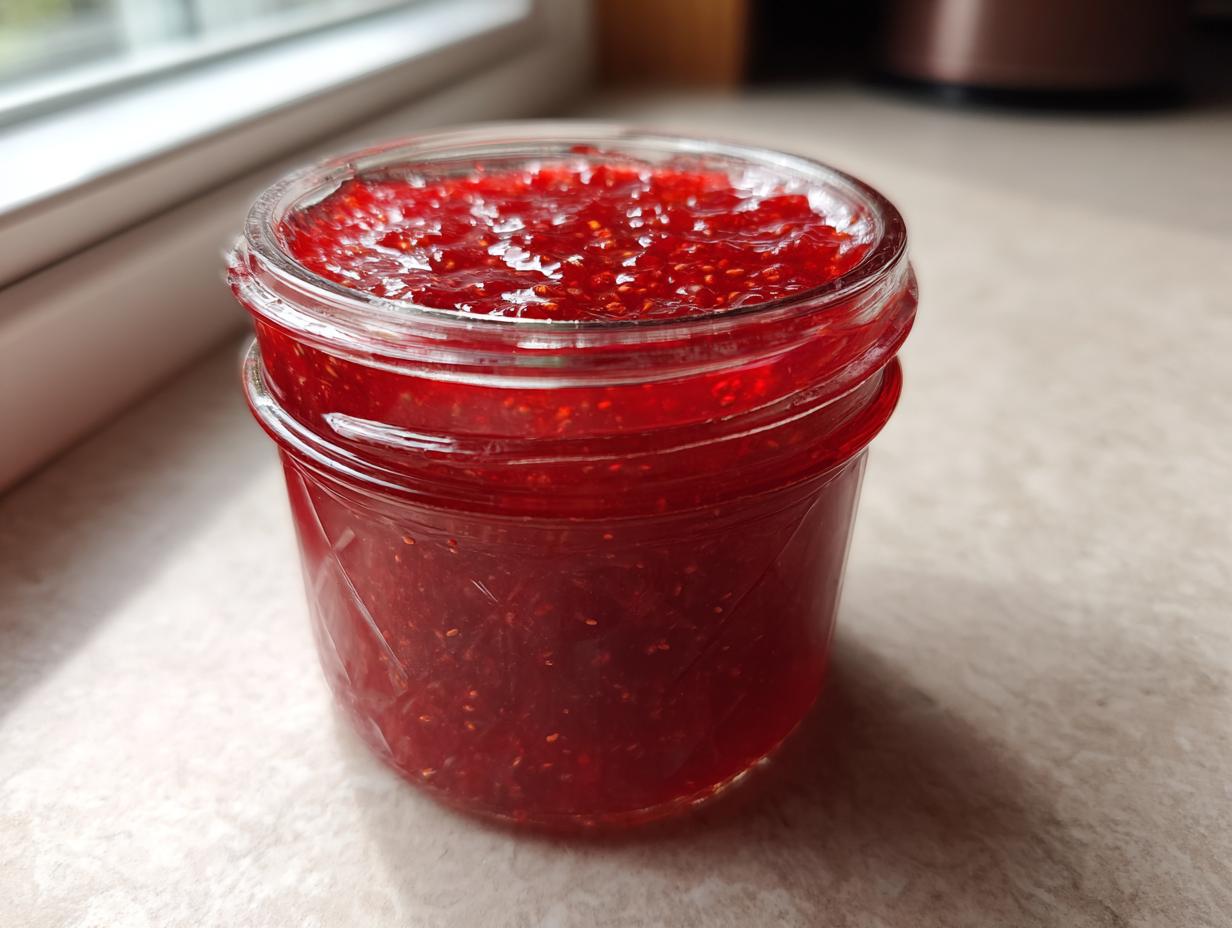
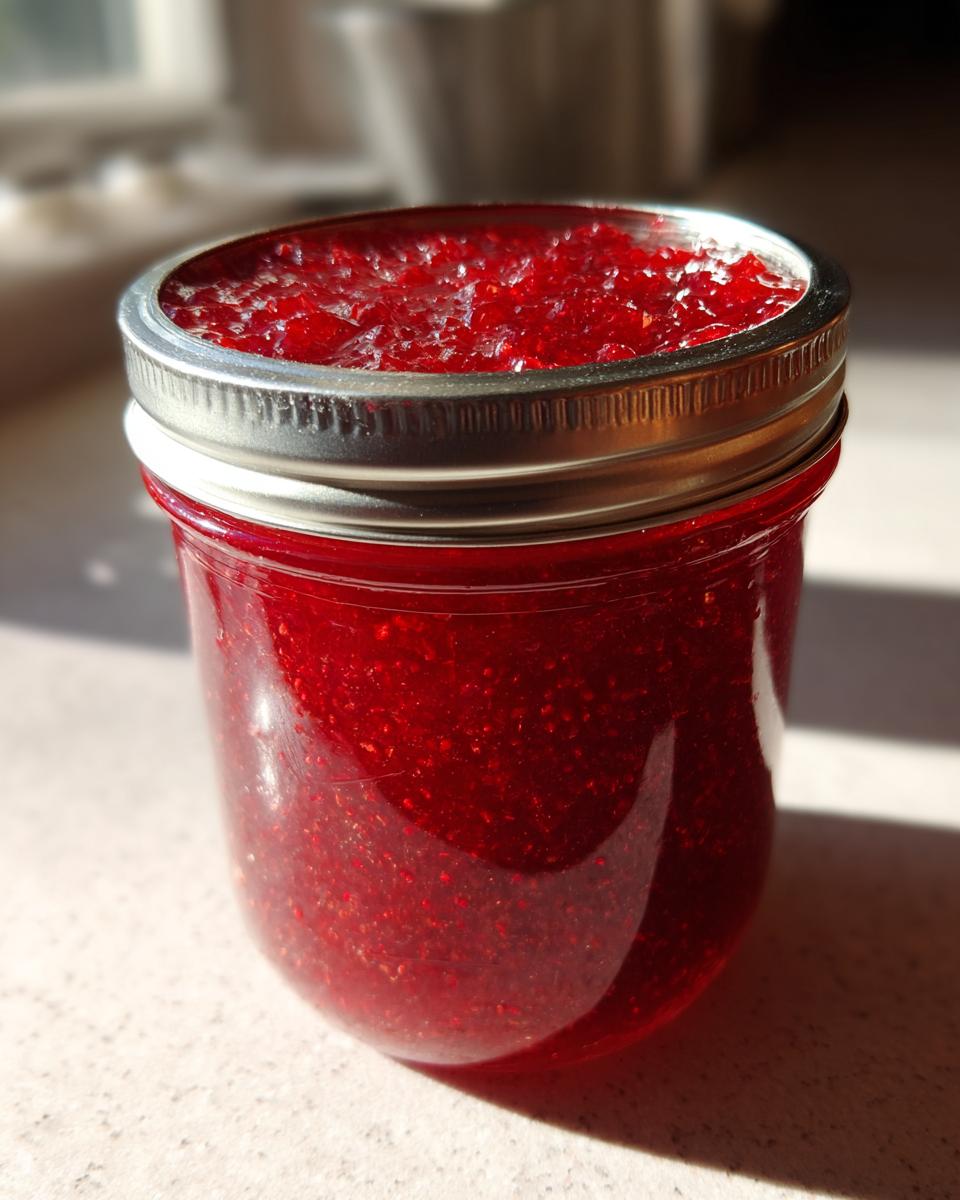
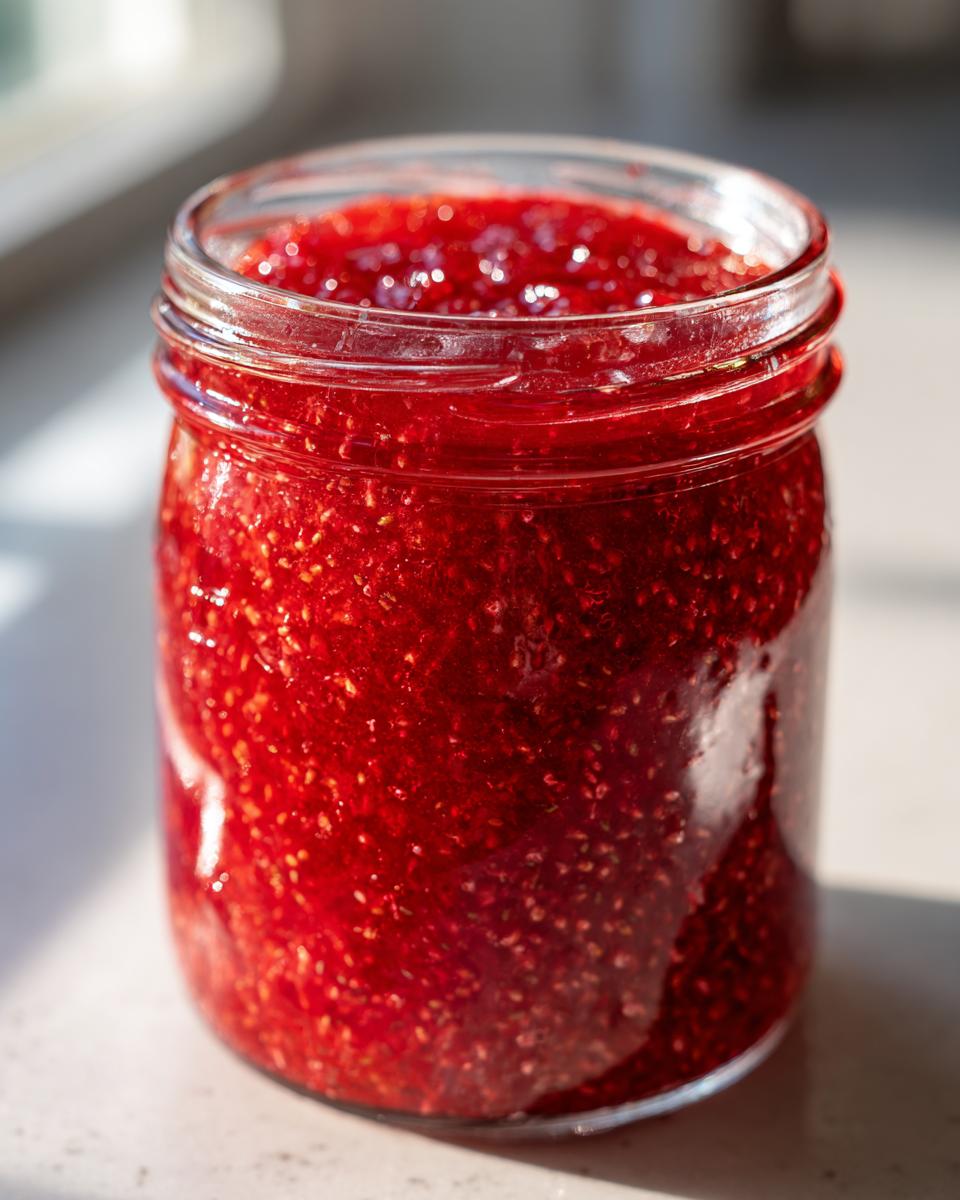
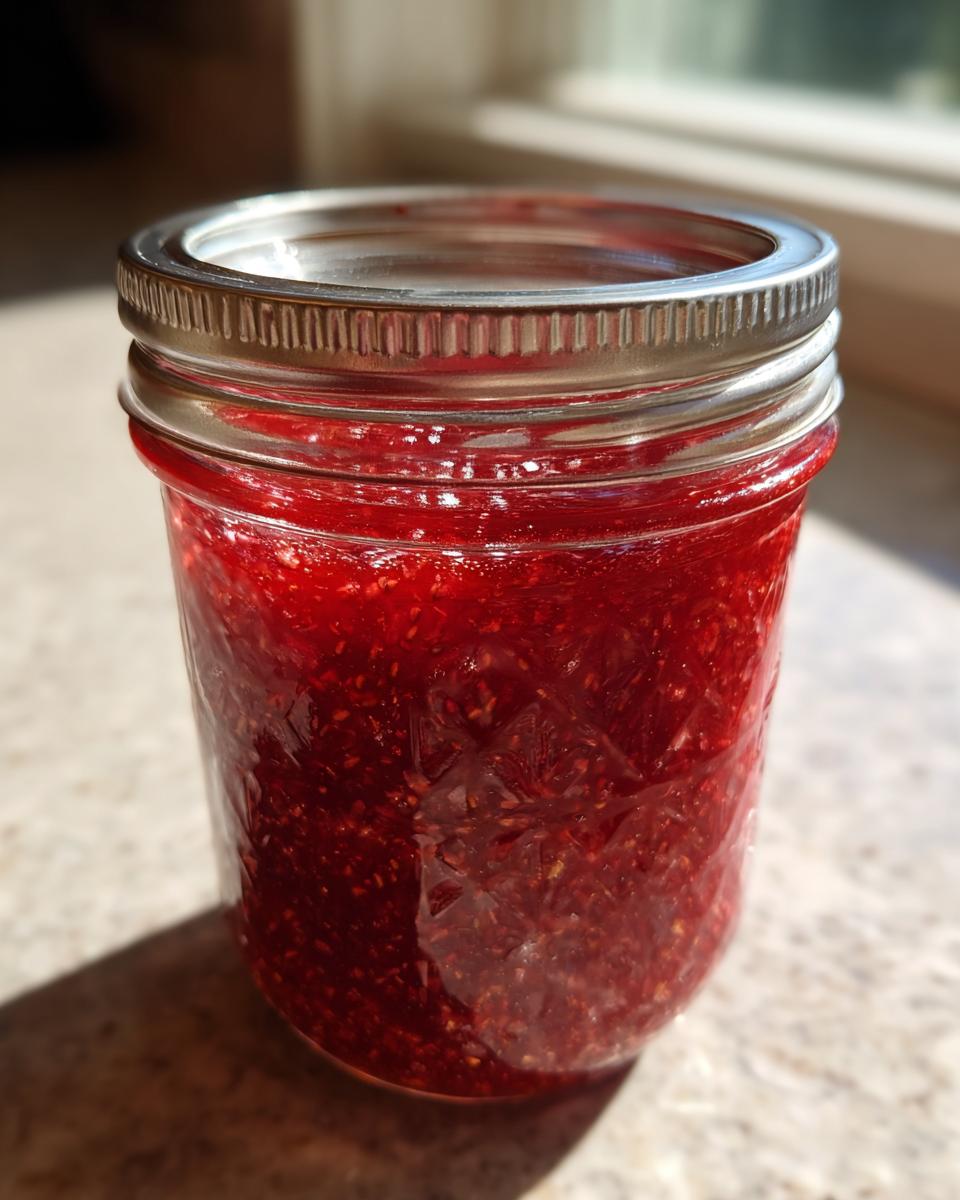
Jarring and Freezing Your Homemade Freezer Jam Recipe
After that 15-minute rest, stir in your tablespoon of fresh lemon juice—it wakes up the strawberry flavor nicely. Now, carefully ladle the jam mixture into your clean, freezer-safe containers. Pay close attention to the top edge; you absolutely must leave about a half-inch of space, which we call headspace, so the jam has room to expand when it freezes rigid. Once sealed tightly, let them sit on the counter until they’ve cooled completely to room temperature. Then, pop them straight into the freezer. They need at least 4 solid hours to set up properly before you break into your wonderful **homemade freezer jam recipe**!
Tips for the Best Strawberry Freezer Jam Texture
Since we skipped the commercial pectin, I know what you’re thinking: “What if my strawberry freezer jam turns out a little runny?” That’s a totally valid worry when you’re making delicious, fresh preserves at home! The good news is that our no-cook method is incredibly forgiving, and we have a couple of simple insurance policies built in. We want a jam that’s spreadable, not soup, right?
For serving ideas while you wait for it to freeze, remember this sweet topping is amazing over ice cream or swirled into your morning yogurt. And if you’re looking for more ways to enhance baked goods, you absolutely have to check out my recipe for easy cookie icing recipe hardens perfectly!
Achieving the Right Set Without Pectin
If you follow the recipe exactly, the sugar ratio usually provides a nice, soft set, but if you prefer it a tiny bit firmer—maybe you plan to gift some jars—you have two easy options. You can slightly increase the granulated sugar, maybe by another half cup, or, my preferred method, add an extra teaspoon of that bright lemon juice. That extra acid helps everything bind up just a little bit more firmly in the freezer for your jam without pectin!
Using Frozen Strawberries in Your Quick Strawberry Preserves
Oh, and here’s a great bonus tip for when fresh berries aren’t in season: This recipe is fantastic using frozen strawberries too! Just thaw them first and gently squeeze out some of the excess water before you mash them. That way, you aren’t losing all that sugar power to watery syrup, which keeps your quick strawberry preserves texture right where we want it.
If you want to see other people successfully making this same style of quick jam, have a look at this great resource here: 30-Minute Strawberry Freezer Jam: Easy No-Cook Recipe.
Creative Ways to Use Your Fresh Strawberry Spread
Well, aren’t you ready to eat it all right now? I totally get it! The scent alone is practically dangerous. But trust me, hiding this fresh flavor away until you have the perfect deployment strategy is worth it. This isn’t just for toast, although honestly, spread thickly on a warm slice of sourdough, it’s heaven.
Since this **strawberry freezer jam** is so vibrant and uncooked, it adds a fantastic brightness to things that need a little zip. Don’t just stick to breakfast spreads! Think about swirling a spoonful right into plain Greek yogurt—it tastes like a fancy dessert but takes two seconds to assemble.
I also adore using it as a topping. Drizzle it over vanilla ice cream, or use it as a quick layer in a trifle or even topping my very favorite strawberry crunch cheesecake recipe! It makes everything feel special without requiring any extra effort on your part. This jam is your secret weapon for making simple meals feel gourmet.
Storage and Shelf Life for Your Homemade Freezer Jam Recipe
Now that you’ve made your beautiful, no-cook jam, the next big question is: how do I keep this summer happiness? The best thing about this recipe is that it’s a fantastic strawberry jam canning alternative, meaning we skip all the sterilizing and water-bath paranoia! Since this jam isn’t processed with heat, its storage is purely focused on the freezer, which is why we call it freezer jam!
For the absolute best experience—when that wild, fresh strawberry scent is at its peak—you should plan to use up your jam within about six months of freezing. It will absolutely last longer than that, often up to a year, but honestly, the flavor starts to mellow out a bit after the initial six months. We want that punch of summer, remember?
When you’re ready to enjoy a jar, just pull it out of the freezer and stick it right into the fridge. It usually thaws smoothly overnight for me. If you need some fast, easy dessert ideas to celebrate having homemade preserves ready, you must try my easy tiramisu recipe!
Frequently Asked Questions About Making Jam Fast
You are doing great! We’ve made the jam, and now we just have a few last details to sort out so you can feel totally confident about your new favorite way to *preserve summer fruit*. I always get bombarded with questions after people make this for the first time because it feels almost too easy! Don’t worry, these are all standard things every home cook wonders about when trying a beginner jam recipe for the first time.
If you’re looking for some savory dishes to pair with your sweet jam, stop by my recipe for an easy chicken pot pie casserole recipe!
Can I make this recipe with less sugar for a low sugar freezer jam?
This is a huge question, especially since sugar is what helps bind the jam when we skip the pectin! You *can* reduce the sugar, which turns this into a low sugar freezer jam, but you must be aware that the set won’t be as firm. If you cut the sugar drastically, you will end up with more of a syrup. For the best texture without commercial pectin, try cutting the sugar by only one cup total, or you’ll definitely need to add commercial pectin if you want that thick, spreadable texture.
How long does it take to thaw the strawberry freezer jam before I can use it?
The best part about freezer jam is that it thaws beautifully! If you remember the night before, just move a jar from the freezer to the main part of your refrigerator. It should be soft and perfectly spreadable by morning—we call that the overnight thaw. If you forget, or you need it *right now*, you can leave the sealed jar on the counter for about 2 to 3 hours. Just don’t try to speed it up in the microwave; you’ll ruin that fresh flavor we worked so hard to save!
Is this truly a no cook strawberry jam recipe?
Yes, absolutely! I promise you, there is zero application of heat to this fruit mixture. That’s the crucial difference! We rely solely on the natural pectin found in the fruit mingling with the sugar and the acid from the lemon juice to create a soft set once it chills hard in the freezer. It’s the ultimate way to make jam fast without sacrificing that bright, fresh taste!
Recipe Details and Yield for This Simple Fruit Preservation
I know sometimes you just need the quick facts so you can measure spoons and jars correctly! Honestly, you can’t beat how quick this whole process is. We are talking less active time than brewing a pot of coffee, which is why this is my go-to summer recipe when I need to easy steak fajitas restaurant style skillet recipe but I’m in a jam-making mood!
Here’s a quick rundown of the timing and how much you can expect to get from one batch:
- Prep Time: 20 minutes
- Cook Time: 0 minutes (I told you—no cook!)
- Total Time: 20 minutes (plus freezing time, of course)
- Yield: About 4 half-pint jars
- Category: Preserves
- Method: No-Cook
Understanding the Estimated Nutrition for Your Strawberry Freezer Jam
Look, I’m not a nutritionist, and I’m never aiming for perfection here—I’m aiming for deliciousness! Because this recipe relies on fresh fruit and a good amount of sugar to help it set beautifully (remember, we aren’t using pectin!), the nutrition isn’t exactly health-food club standard. But when you look at how much flavor you get for just a couple of tablespoons, I think it’s a worthy trade-off!
I always recommend keeping these nutrition facts on hand just to be transparent, especially if you plan on gifting some jars, which is a lovely gesture. Please view these numbers as just a general guideline. They are estimates based on the standard amounts of fruit and sugar we used. Depending on the sweetness of your specific batch of strawberries, these values can shift slightly. Transparency is key to good home cooking, right?
For this recipe:
- Serving Size: 2 tablespoons
- Calories: 80
- Sugar: 20g
- Sodium: 1mg
- Fat: 0g
- Protein: 0g
- Cholesterol: 0mg
The sugar content is what really drives the setting process here, so if you were looking at that number and wanted to reduce it, please hop back up to my tips on texture—that section explains exactly what will happen if you try to make a low sugar version! If you’re looking for something lighter but still sweet, you might want to check out my recipe for an banana smoothie recipe creamy healthy quick instead!
PrintUltra Easy No-Cook Strawberry Freezer Jam
Capture the fresh taste of summer with this simple, no-cook strawberry freezer jam. This beginner-friendly recipe requires minimal ingredients and no canning, delivering vibrant fruit flavor fast.
- Prep Time: 20 min
- Cook Time: 0 min
- Total Time: 20 min
- Yield: About 4 half-pint jars 1x
- Category: Preserves
- Method: No-Cook
- Cuisine: American
- Diet: Vegetarian
Ingredients
- 4 cups fresh strawberries, hulled and crushed
- 4 cups granulated sugar
- 1 tablespoon fresh lemon juice
Instructions
- Prepare your strawberries: Crush the hulled strawberries using a potato masher or pulse briefly in a food processor until you have a coarse mixture.
- Combine sugar: In a large bowl, mix the crushed strawberries with the granulated sugar. Let this mixture sit for 15 minutes, stirring occasionally, until the sugar dissolves and the mixture thickens slightly.
- Add lemon juice: Stir in the fresh lemon juice. This helps brighten the flavor and aids in setting the jam.
- Jar the jam: Ladle the mixture into clean, freezer-safe containers, leaving about 1/2 inch of headspace at the top. Seal the containers tightly.
- Cool and freeze: Let the jars cool to room temperature on the counter. Once cool, place the containers in the freezer. The jam will be ready to eat after freezing for at least 4 hours.
Notes
- This jam tastes best when used within 6 months for optimal flavor.
- If you prefer a slightly firmer set without using commercial pectin, you can increase the sugar slightly or add an extra teaspoon of lemon juice.
- Use this homemade freezer jam on toast, swirl it into yogurt, or use it as a topping for ice cream.
Nutrition
- Serving Size: 2 tablespoons
- Calories: 80
- Sugar: 20g
- Sodium: 1mg
- Fat: 0g
- Saturated Fat: 0g
- Unsaturated Fat: 0g
- Trans Fat: 0g
- Carbohydrates: 20g
- Fiber: 0g
- Protein: 0g
- Cholesterol: 0mg