
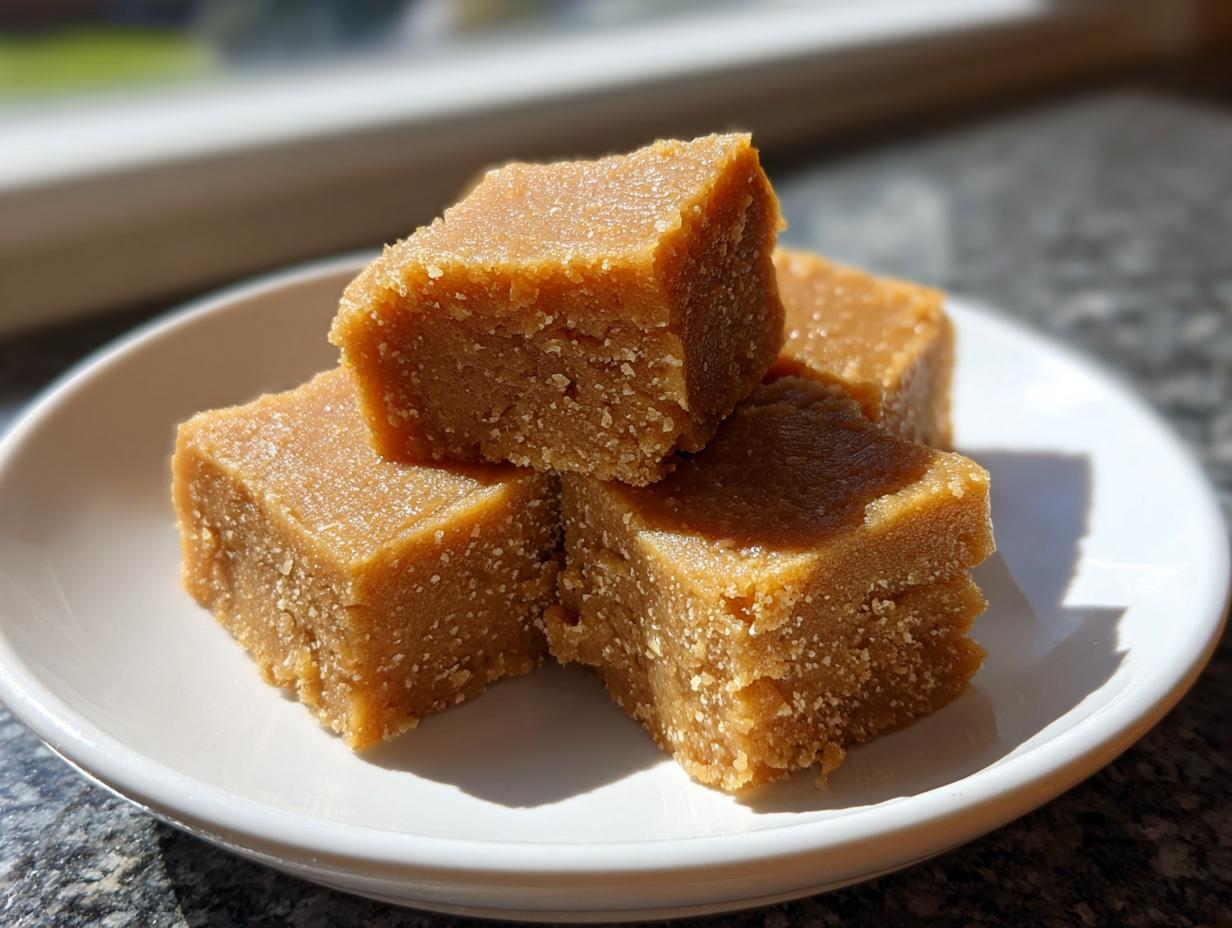
Oh, you know those sugary, melt-in-your-mouth candies that just transport you right back to Christmas mornings or Grandma’s kitchen? Forget about chocolate for a minute, because we need to talk about the absolute best nostalgic treat: penuche fudge. I swear, this isn’t just another candy; it’s tradition in a square. If you’ve tried making this before and ended up with gritty sludge—yuck!—don’t worry one bit. My version of this brown sugar fudge is pure magic. I’ve spent ages perfecting the cook time so you get that unbelievably smooth, utterly creamy fudge texture that never, ever turns grainy. Trust me, once you master this old-fashioned technique, you’ll be making it all year long.
- Why This Old-Fashioned Penuche Fudge Stands Out
- Gather Ingredients for Your Penuche Fudge Recipe
- Essential Equipment for Making Creamy Fudge
- Step-by-Step Instructions for Classic Penuche Fudge
- Expert Tips for Perfect Penuche Fudge Every Time
- Variations on the Best Penuche Recipe
- Storage and Gifting Ideas for Homemade Penuche Fudge
- Frequently Asked Questions About Penuche Fudge
- Nutritional Estimate for This Classic Candy Recipe
Why This Old-Fashioned Penuche Fudge Stands Out
Look, there are a million simple fudge recipes out there, but this penuche fudge is miles ahead because it focuses on technique, which gives us incredible results every time. Why do people go wild for this? Because it’s the definition of a melt in your mouth candy. It’s rich, it’s sweet, and it tastes like pure nostalgia.
I’ve linked to some great resources out there, like this classic recipe guide here, but my method really zeroes in on the science of sugar to guarantee silkiness.
Achieving Perfect Creamy Fudge Texture
The entire secret to this creamy fudge hinges on one thing: that candy thermometer. We’re aiming for exactly 110°F, the soft-ball stage. If you go even slightly over, you risk the sugar crystallizing later, and suddenly your smooth treat is gritty. I learned that the hard way on my first try—it was a disaster!
Rich Caramel Flavor Fudge
Since this recipe uses brown sugar as its foundation instead of chocolate, you get this amazing, deep, caramel flavor fudge. It’s robust and comforting. The combination of that caramelized sweetness with the quality butter we use makes it truly a buttery fudge masterpiece. It’s far more complex than just plain white sugar candy!
Gather Ingredients for Your Penuche Fudge Recipe
Okay, before we even think about turning on the stove, let’s make sure our pantry is stocked. The beauty of this penuche fudge is that it uses pantry staples, but the ratio is everything! Don’t substitute the sugars or the cream, or you’re going to end up with something completely different. We’re making classic brown sugar fudge here, and precision matters.
Here is exactly what you need to pull together this batch of melt-in-your-mouth candy. I like to measure everything out right into little glass bowls so I can just dump them in when the time comes:
- 2 cups granulated sugar
- 1 cup packed light brown sugar (make sure it’s packed down!)
- 1 cup heavy cream (none of that half-and-half nonsense here, we need the fat!)
- 1 tablespoon butter (definitely use real butter!)
- 1 teaspoon vanilla extract
That’s it! Only five ingredients for that wonderfully rich, caramel flavor fudge. See? It’s so simple, but every single element plays a part in ensuring that final, perfect texture.
Essential Equipment for Making Creamy Fudge
Since we are dealing with cooked sugar mixtures here, having the right gear actually makes the difference between a glossy, smooth finish and a sticky mess. Don’t skimp on setting up your station! Half the battle of making great homemade confections is having everything ready to go because once that temperature hits, you have seconds to react.
You don’t need a huge kitchen setup for this—honestly, I usually just use my favorite heavy-bottomed pot. But there are two pieces of equipment that I absolutely will not bake without when I tackle this brown sugar fudge recipe.
First, you need a good medium saucepan. I prefer a heavy-bottomed one because it distributes heat more evenly, which stops those pesky hot spots that can burn the sugar at the bottom. Trust me, burnt sugar is the worst smell!
But here’s the truly non-negotiable item if you want that melt in your mouth candy result: the candy thermometer. You simply cannot reliably hit that 110°F soft-ball stage by guessing when you drop syrup in water. It’s too risky for a creamy fudge! Invest in a reliable thermometer, clip it securely to the side of your pot (make sure the tip is submerged but NOT touching the bottom), and you will nail the texture every single time. It’s the key to succeeding with this simple fudge recipe, truly.
Also, make sure you have a sturdy wooden spoon for the beating phase later, or even a hand mixer if you want to save your arm! And, of course, parchment paper for that 8×8 pan. We want easy cleanup, not a wrestling match with sticky candy!
Step-by-Step Instructions for Classic Penuche Fudge
Alright, let’s stop admiring the ingredients and start making magic! Following the instructions precisely is how we nail that perfect, melt-in-your-mouth experience everyone raves about. This process uses patience, especially during the cooling, which is the step most people rush!
If you want to see how candy making works on a broader scale, I have a great guide on caramel candy techniques that might interest you while you wait for things to cool down later on. As for our penuche fudge, stick close to these steps, and you’ve got this in the bag!
Preparing the Pan and Initial Heating for Penuche Fudge
First thing’s first: line that 8×8 pan with parchment paper, making sure you leave plenty of paper hanging over the sides. That overhang is your handle for lifting the set fudge out later—don’t skip it! Give the paper itself a light grease.
Next, combine your sugars (both types!) and the heavy cream right in that heavy-bottomed saucepan. We are going to stir this constantly over medium heat, but only until about step three. You must stir until those sugars are totally dissolved, nice and smooth. Once it starts that rolling boil, stop stirring immediately. No touching the sides! This is step three sorted.
The Critical Cooking and Cooling Stages for Penuche Fudge
Now we bring out the star equipment—the candy thermometer. Attach it firmly and let that sugar mixture cook, untouched, until the reading hits exactly 110°F. I cannot stress this enough: 110°F is the sweet spot for that signature creamy fudge texture.
The second it hits 110°F, pull the pan completely off the heat. Stir in your butter and vanilla—that’s it for stirring for now. Now, we wait! You must let this mixture cool down until it feels only slightly warm on the bottom of the pan before you even think about whipping it. Don’t rush this! I know it’s tempting, but patience here means the difference between a shimmering slab of candy and a grainy mess. You can check out a guide on another blogger’s approach to this candy here for comparison on timing.
Beating and Setting Your Old Fashioned Fudge
Once it’s cooled down (that crucial waiting game is over!), it’s time for the final transformation. Grab your wooden spoon or set your mixer to medium. You need to beat this vigorously! Keep going until the mixture visibly changes—it loses that shiny lacquer and thickens up to look almost like peanut butter. This usually takes a solid five to ten minutes of serious mixing.
As soon as it thickens and starts looking dull, quickly pour all that luscious, old fashioned fudge into your prepared pan. Spread it quickly, because it sets fast once you stop beating it. Let it chill out completely at room temperature; no peeking in the fridge! We let it firm up naturally to get those perfect, clean-cutting squares for serving.
Expert Tips for Perfect Penuche Fudge Every Time
I’ve learned a few hard-won truths about making this penuche fudge over the years. My early attempts? They were absolutely gritty. I mean, sandy! I thought that was just how brown sugar fudge turned out sometimes. Nope! It was always me rushing that cooling step I mentioned earlier. Now that I treat the process with the respect it deserves, I get that perfectly smooth, satisfyingly creamy fudge that people ask for every single holiday.
Since we are skipping fancy additives and sticking to the classic flavors, our success lies strictly in technique. If you follow these pointers, you’ll feel like a candy-making professional! If you want ideas on how to top this wonderfully rich treat once it’s set, check out my go-to recipe for a lovely cookie icing here—it makes a fantastic swirl on top!
Here are the biggest takeaways from my experience making this nostalgic candy:
- Seriously, do not stir the sugar mixture while it is boiling! Once it hits the heat and comes to a boil, that’s it for touching it until it’s off the direct flame and has cooled slightly. Moving the crystals around while they’re super hot encourages them to form sharp edges later, and that’s exactly how you get graininess.
- If you don’t trust a thermometer—and I get it, they can be finicky—you can attempt the cold water test. That’s what my grandmother used to do for her classic candy recipes. You drop a tiny bit of the syrup into cold water; if it forms a very soft, pliable ball, you’re good. But honestly, for reliable melt in your mouth candy, just trust the thermometer. I remember one year when the kitchen felt humid, and my water test failed, but the thermometer saved my batch! You can read about another baker’s experience with this specific method over at An Organized Chaos.
- Always use real, good quality butter. Butter equals flavor and that signature richness that makes this buttery fudge so unforgettable.
Stick to these rules, and your penuche fudge will be the star of your dessert table!
Variations on the Best Penuche Recipe
While I absolutely insist that the beauty of this brown sugar fudge lies in its pure, unadulterated vanilla and butter goodness, I totally get it—sometimes you want to dress things up a little, especially when prepping for holiday fudge treats. Since the base of this candy is so incredibly reliable, it takes well to gentle additions. It’s all about adding things in after that critical beating stage, when everything has cooled down a bit.
If you’re looking to jazz up your caramel flavor fudge, think about what flavors complement warm brown sugar. Nuts are an obvious choice, but you have to be careful not to make the texture too chunky, remember we are aiming for that melt-in-your-mouth quality!
You could add about a cup of toasted pecans or walnuts right at the very end—step 8, just before or just as you transfer it to the pan. Toasting them first really deepens their natural flavor, which pairs wonderfully with the molasses notes in the brown sugar.
For a little seasonal zing, I sometimes stir in a pinch of ground cloves or allspice when I add the vanilla extract toward the end. It gives it a lovely warmth, almost like a subtle spice cake. If you love bold flavor pairings, you can even look at how flavors balance in spiced desserts, like my recipe for soft ginger cookies; that same warmth works here!
For those who enjoy a touch of booziness—and you know I always have a few grown-up versions of favorites—a teaspoon of good quality bourbon or dark rum added with the vanilla totally elevates this confection. Seriously, that little splash turns it into something truly special! You can see how other bakers like those at A Fork’s Tale integrate bourbon for a richer taste profile.
Just remember the golden rule when adding anything extra: don’t overmix it once you add the goodies in, otherwise, you risk breaking that perfect, creamy fudge structure we worked so hard to achieve!
Storage and Gifting Ideas for Homemade Penuche Fudge
Now that you’ve made this divine batch of penuche fudge, you need to know how to keep it perfect, or, more realistically, how to package it up so you can actually give some away! Honestly, this sweet brown sugar treat is so good, you might find yourself hiding the rest away in the back of the pantry just to keep it safe from yourself!
Because we used heavy cream and cooked the sugar mixture to that precise temperature, this fudge is surprisingly sturdy, which is great news for gift-giving. We want that gorgeous, melt-in-your-mouth texture to last as long as possible.
How to Store Your Creamy Fudge Squares
The best way to store this old fashioned fudge is actually *not* in the refrigerator, oddly enough! Cold temperatures can sometimes make the texture a little too hard, which fights against that lovely melt-in-your-mouth quality we worked so hard for. My recommendation is keeping them airtight at a cool room temperature.
I typically layer them in a sealed tin or a heavy container with pieces of wax paper or parchment paper between the layers. This keeps them from sticking together, which is a must! If your kitchen is super warm—say, above 70°F—then I suggest wrapping the squares individually in plastic wrap first, and *then* popping them into a container in the fridge. Just remember to pull them out about 30 minutes before serving so they can come back to room temperature.
Because of the high sugar content which acts as a natural preservative, this batch of candy will stay deliciously fresh for a good week, sometimes even ten days, if stored correctly. For longer storage, you can freeze it! Wrap squares tightly in plastic wrap, place them in a freezer-safe bag, and they last wonderfully for up to three months. You don’t even need to thaw them long; just let them soften on the counter for about 15 minutes before enjoying.
Packaging Penuche Fudge for Gifting
This makes fantastic holiday fudge treats, wrapping them up is almost as fun as eating them! Because this is a no-bake, no-fuss candy once it sets, it travels beautifully. You can cut them into neat squares, or even use mini cookie cutters if you’re feeling fancy. Remember, you want bite-sized portions of this rich, caramel flavor fudge!
For easy gifting, parchment squares and cellophane bags are your best friends. Layer the squares with wax paper in small cellophane bags and tie them off with a pretty ribbon. They look so elegant! If you are making a big basket of homemade goodies, you can also line small cardboard boxes with festive tissue paper and nestle the squares inside. This keeps them protected.
If you happen to be making other baked goods, like my favorite pumpkin loaf, make sure to keep the fudge separate, as the moisture from something very soft might interfere with the fudge’s texture over time. For serving ideas alongside your candy, you might want to try making some simple moist pumpkin bread to set out on a platter; the spice pairs perfectly with the vanilla notes in the fudge!
Frequently Asked Questions About Penuche Fudge
I know when you’re diving into a classic recipe like this, questions pop up. It’s totally natural when you’re dealing with cooked sugar! We’ve covered the core technique, but let me quickly address the most common things folks ask me about their penuche fudge so you can bake (or candy!) with complete confidence. Honestly, most issues boil down to temperature control, but let’s dig in! If you’re looking for other warm flavors to pair with this, you should check out my recipe for stovetop cinnamon applesauce!
What is the difference between Penuche and regular fudge?
That’s a fantastic question! The main difference is the sugar foundation. Regular, classic fudge is typically made using granulated white sugar, which gives it that very clean, deep chocolate flavor if you add cocoa. Our wonderful Penuche Fudge Recipe, on the other hand, is built around brown sugar. That brown sugar is what gives it that rich, deep, caramel-like taste and often leads to a slightly softer, more buttery fudge texture. It’s a whole different, but equally delicious, world of no chocolate fudge!
Can I make this easy homemade candy without a candy thermometer?
Oof, I really advise against it if you’re aiming for that perfect creamy fudge! While this is an easy homemade candy by ingredient count, the cooking time is the hard part. You need that specific 110°F soft-ball stage, and guessing is always risky. If you absolutely cannot find a thermometer, you can perform the cold water test—dropping a bit of syrup into an ice water bath until it forms a soft ball. But honestly, for such a small investment, a thermometer is the best friend you’ll have when making this classic candy recipe. It cuts out all the worry!
Why did my brown sugar fudge turn out grainy?
Nine times out of ten, graininess happens for one of two reasons related to crystal control. The first, and most common for this brown sugar fudge, is stirring the mixture while it’s boiling on the stove before you take it off the heat. Remember, we only stir until the sugar dissolves, then we leave it alone until it hits 110°F! If you agitate those super-hot sugar crystals, they grow sharp edges, and that’s what feels gritty later. The second reason is sometimes not waiting long enough for that crucial cooling period before beating. Be patient, and you’ll have that smooth, melt in your mouth candy texture instead!
Nutritional Estimate for This Classic Candy Recipe
Okay, deep breath, friends. I know we aren’t exactly making a kale salad here. This is pure, wonderful, sugary comfort in the form of penuche fudge, so we shouldn’t expect a low-calorie count! But, because I believe in being transparent, I wanted to give you a general idea of what you’re wrapping up into those beautiful little squares when you package them as holiday fudge treats.
Keep in mind that this is just an estimate, based on standard measurements for all the ingredients listed in our old fashioned fudge recipe, divided by the 36 squares the recipe yields. If you use higher-fat cream or a different brand of sugar, things might shift a tiny bit. But this gives you a good marker for a single serving of this sweet brown sugar treat.
Here is the estimated breakdown:
- Serving Size: 1 square
- Calories: 120
- Sugar: 22g
- Fat: 3g
- Saturated Fat: 2g
- Carbohydrates: 22g
- Protein: 0g
See? Not too scary for what is essentially a decadent, melt-in-your-mouth spoonful of caramelized butter and cream. It’s rich, so one of these glorious squares is usually plenty to satisfy that craving for caramel flavor fudge. Enjoy them responsibly, or just stack a few on a plate for yourself—I won’t tell!
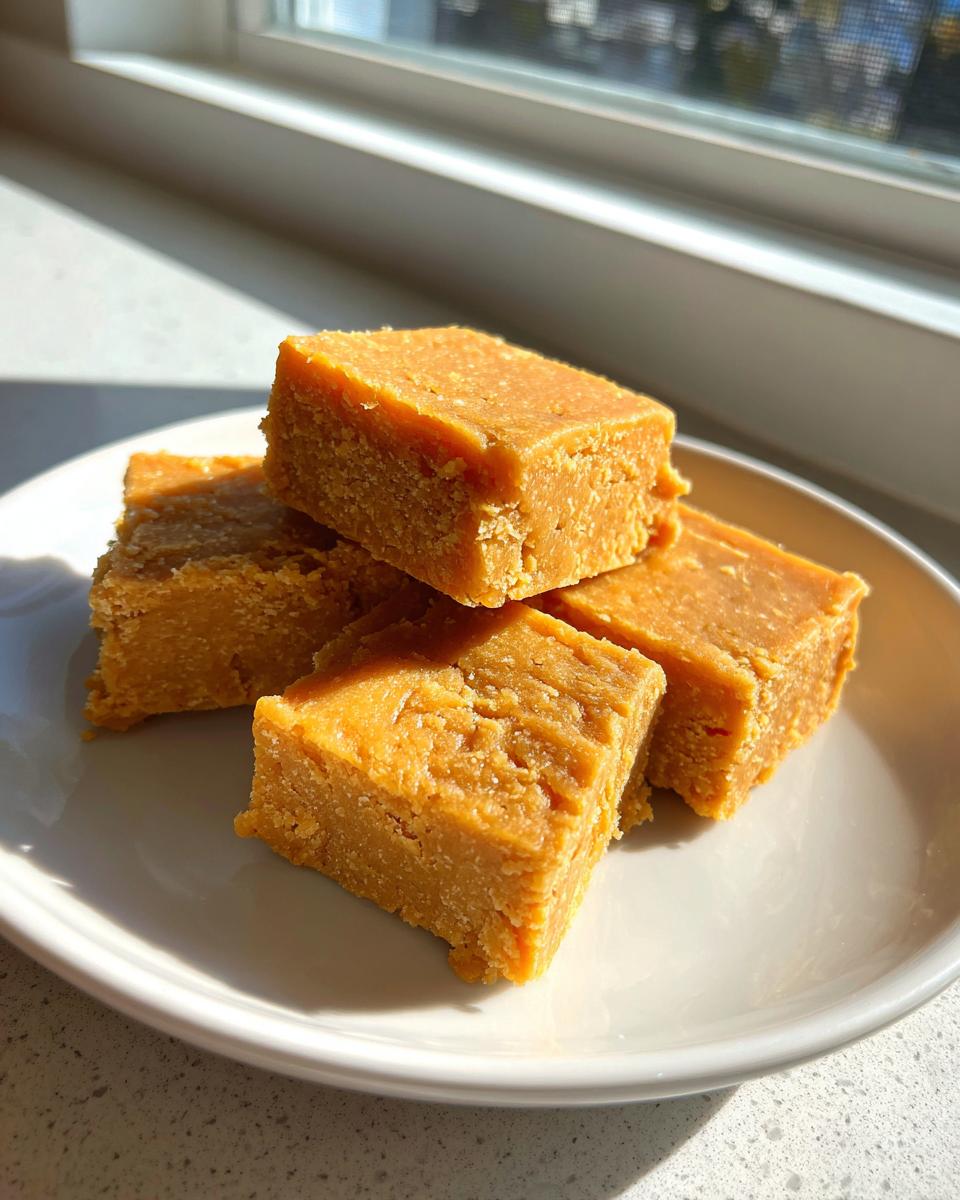
PrintOld-Fashioned Creamy Penuche Fudge (Brown Sugar Fudge)
Make this classic, old-fashioned Penuche Fudge. This brown sugar fudge delivers a rich caramel flavor and a smooth, melt-in-your-mouth texture that is perfect for gifting or holiday treats.
- Prep Time: 15 min
- Cook Time: 15 min
- Total Time: 40 min
- Yield: 36 squares 1x
- Category: Dessert
- Method: Stovetop Cooking
- Cuisine: American
- Diet: Vegetarian
Ingredients
- 2 cups granulated sugar
- 1 cup packed light brown sugar
- 1 cup heavy cream
- 1 tablespoon butter
- 1 teaspoon vanilla extract
Instructions
- Line an 8×8 inch baking pan with parchment paper, leaving an overhang for easy removal. Lightly grease the paper.
- Combine the granulated sugar, brown sugar, and heavy cream in a medium, heavy-bottomed saucepan.
- Stir the mixture over medium heat until the sugars dissolve completely. Stop stirring once the mixture boils.
- Attach a candy thermometer to the side of the pan, making sure the tip is submerged but not touching the bottom.
- Cook the mixture without stirring until it reaches exactly 110°F (soft-ball stage). This step is crucial for creamy fudge.
- Remove the pan from the heat immediately when it reaches 110°F. Add the butter and vanilla extract. Do not stir yet.
- Let the mixture cool undisturbed until it reaches about 110°F again (or until the bottom of the pan feels only slightly warm to the touch). This cooling period is important for texture.
- Once cooled, beat the mixture vigorously with a wooden spoon or an electric mixer on medium speed until the fudge loses its glossy shine and becomes thick and creamy, resembling peanut butter in consistency. This takes several minutes.
- Quickly pour the fudge into the prepared pan and spread evenly.
- Let the Penuche Fudge cool completely at room temperature until firm before cutting into squares.
Notes
- For the best texture, do not stir the sugar mixture while it is boiling until after you remove it from the heat and it has cooled slightly.
- If you do not have a candy thermometer, the traditional method involves dropping a small amount of the syrup into cold water to test the soft-ball stage, but a thermometer provides more reliable results for creamy fudge.
- This brown sugar fudge is excellent cut into small squares and packaged for holiday fudge treats.
Nutrition
- Serving Size: 1 square
- Calories: 120
- Sugar: 22g
- Sodium: 15mg
- Fat: 3g
- Saturated Fat: 2g
- Unsaturated Fat: 1g
- Trans Fat: 0g
- Carbohydrates: 22g
- Fiber: 0g
- Protein: 0g
- Cholesterol: 10mg