

Oh, you simply can’t talk about autumn without talking about that perfect, gooey sweetness that tastes like a crisp October afternoon! I’m Eleanor Vance, and when I think of fall, I think of setting up mountains of apples for dipping. Forget those sad, waxy grocery store versions where the caramel slides right off—we are making professional-level caramel apples today that actually stick! This recipe is my tried-and-true, foolproof method for achieving that coveted chewy texture. Trust me, after years of tweaking this recipe around my family gatherings, I’ve nailed the exact temperature for a perfect, non-messy coating every single time. Get ready for the best homemade batch you’ve ever tasted.
- Why This is the Best Caramel Apples Recipe for Home Cooks
- Gathering Your Ingredients for Perfect Caramel Apples
- The Foolproof Method: How to Prepare Caramel Apples
- Tips for Success with Homemade Caramel Apples
- Making Gourmet Caramel Apples with Toppings
- Storage and Reheating Instructions for Your Caramel Apples
- Frequently Asked Questions About Making Caramel Apples
- Nutritional Estimates for One Caramel Apple
- Share Your Homemade Fall Apple Treats
Why This is the Best Caramel Apples Recipe for Home Cooks
I know what you’re thinking: caramel apples are too messy or too tricky! I used to think that too. When I first tried making these for a Halloween party years ago, the caramel ended up either rock hard or dripping everywhere—it was a disaster! But learning to trust that candy thermometer was the game-changer.
That’s why this becomes the best caramel apple recipe you’ll ever use. We hit that sweet spot where the caramel is gloriously thick and chewy caramel apples are guaranteed, not brittle or runny. We tackle the biggest headache right up front: getting that caramel to actually stick to the apple skin! You won’t find flimsy coatings here. Seriously, getting that coating to stay put is what sets this recipe apart, something I learned after reading tips on how to make foolproof homemade caramel apples.
This whole process feels professional, but I promise it’s totally designed for the everyday kitchen. If you’ve ever ended up with a bowl of sad, sliding goo, fear not! If you follow the temperature guide, you’re set for success. For other easy dipping recipes, you should check out my thoughts on easy caramel candy and sauce inspiration.
Gathering Your Ingredients for Perfect Caramel Apples
Okay, gather ‘round, friends, because having the right materials is half the battle won here. We aren’t messing around with shortcuts that result in soft, sad apples. We need the good stuff! This list is exactly what you need for about six gorgeous caramel apples. Don’t forget your optional chocolate chips later, too—because why stop at just caramel?
Apple Selection and Preparation Basics
First things first: the apples. You absolutely need a firm apple here. I lean toward Granny Smith because that tartness is the perfect foil for the sweet caramel, but Honeycrisp is fantastic if you want a little more sweetness. Wash those babies really well! I mean scrub them! Then, gently remove the stems and push in your sticks firmly. This ensures a good grip!
The Foolproof Method: How to Prepare Caramel Apples
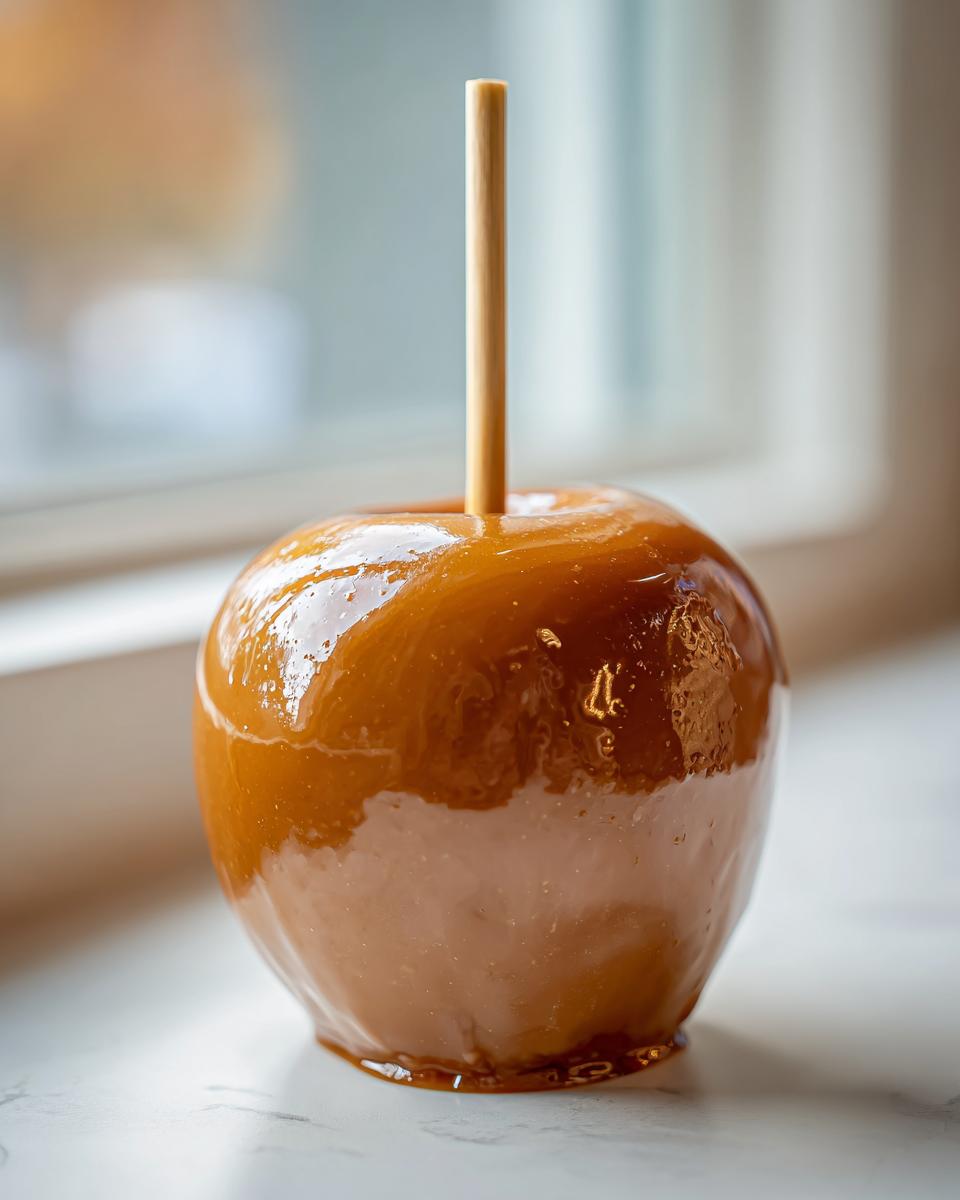
Now for the real magic! This is where we turn simple ingredients into those gorgeous, bakery-style treats. Before we even think about turning on the burner, we have to talk about one step so important I almost shout it from the rooftops: getting the caramel to stick! If you skip this, you might as well have just dipped them in thin apple juice.
Remember what I said about cleaning them? We have to go a step further to defeat the natural wax coating apples have. I call this the ‘wax melt shock.’ Take those washed and dried apples, dip each one quickly into a big bowl of hot (but not boiling) water, and pull it right out. Immediately, pat them dry again with paper towels. They should look dull, not shiny. Now they are ready for dipping! Line up your baking sheet with parchment paper or a silicone mat; trust me on the mat, it makes cleanup a breeze later.
Get your heavy-bottomed pan ready. We are building the caramel base: butter, brown sugar, corn syrup, and condensed milk go right in. Heat it over medium, stirring gently, until that sugar dissolves completely. Once it starts bubbling—that’s the boiling point—stop stirring! Now, you must just trust your candy thermometer. This is the moment that separates a great caramel apple from an okay one.
Mastering the Caramel Cooking Stage
This part demands patience, which I know isn’t always easy when you’re excited! You need to let that mixture cook, undisturbed, until the thermometer hits exactly 245 degrees Fahrenheit. This is precisely the firm ball stage. If you stop short, your caramel will never set up right and will weep all over the place. If you go too far, you’ve made candy, not soft caramel!
When that magic number hits, pull that pan *off* the heat immediately. Don’t let it sit there simmering! Stir in the vanilla and salt—carefully, it might bubble up! Now, this is key for texture: let it cool down on its own for about 5 to 10 minutes. This cooling time allows the caramel to thicken up just enough so that when you dip your caramel apples, you get that wonderfully thick, **chewy caramel apples** bite we are looking for.
The Crucial Dipping and Setting Technique for Caramel Apples
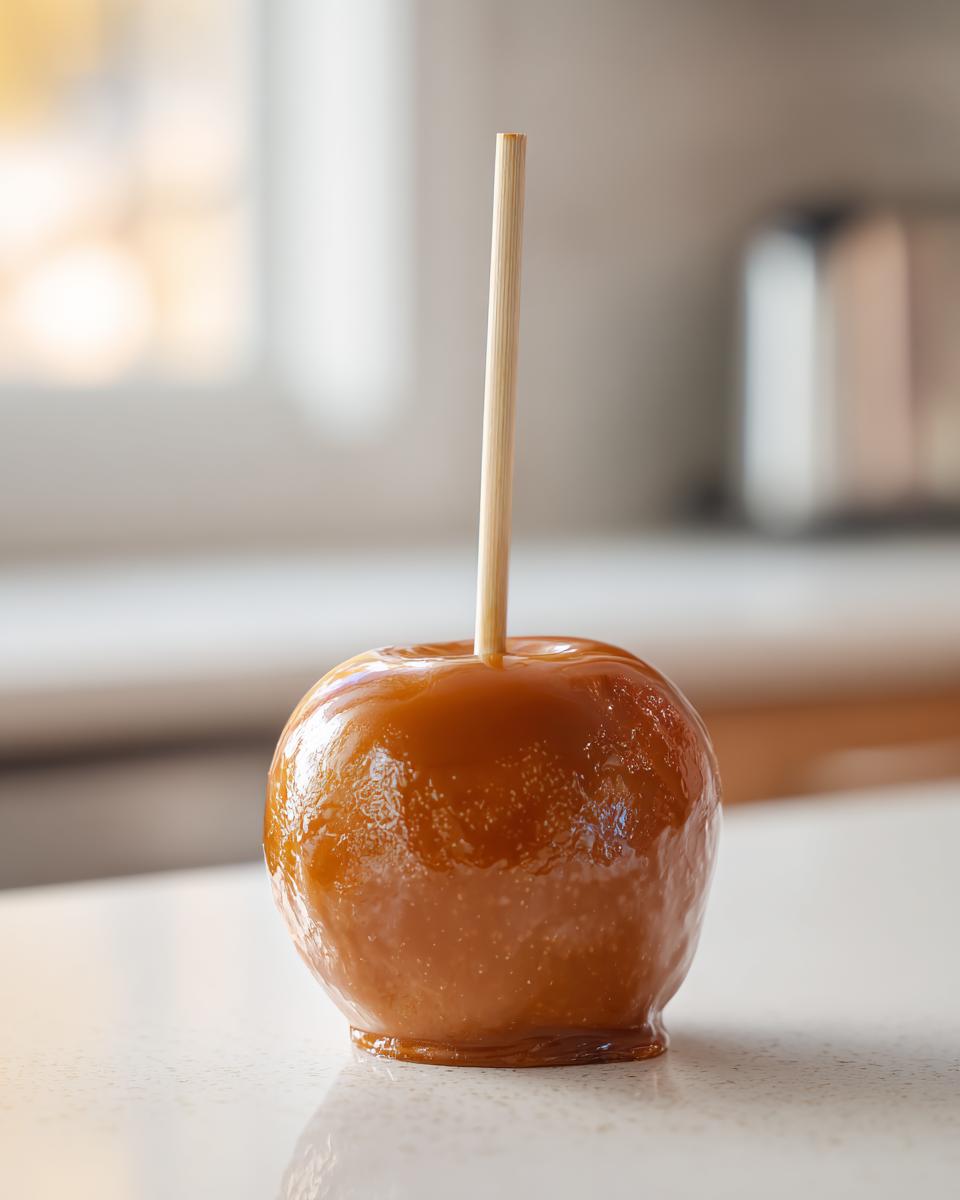
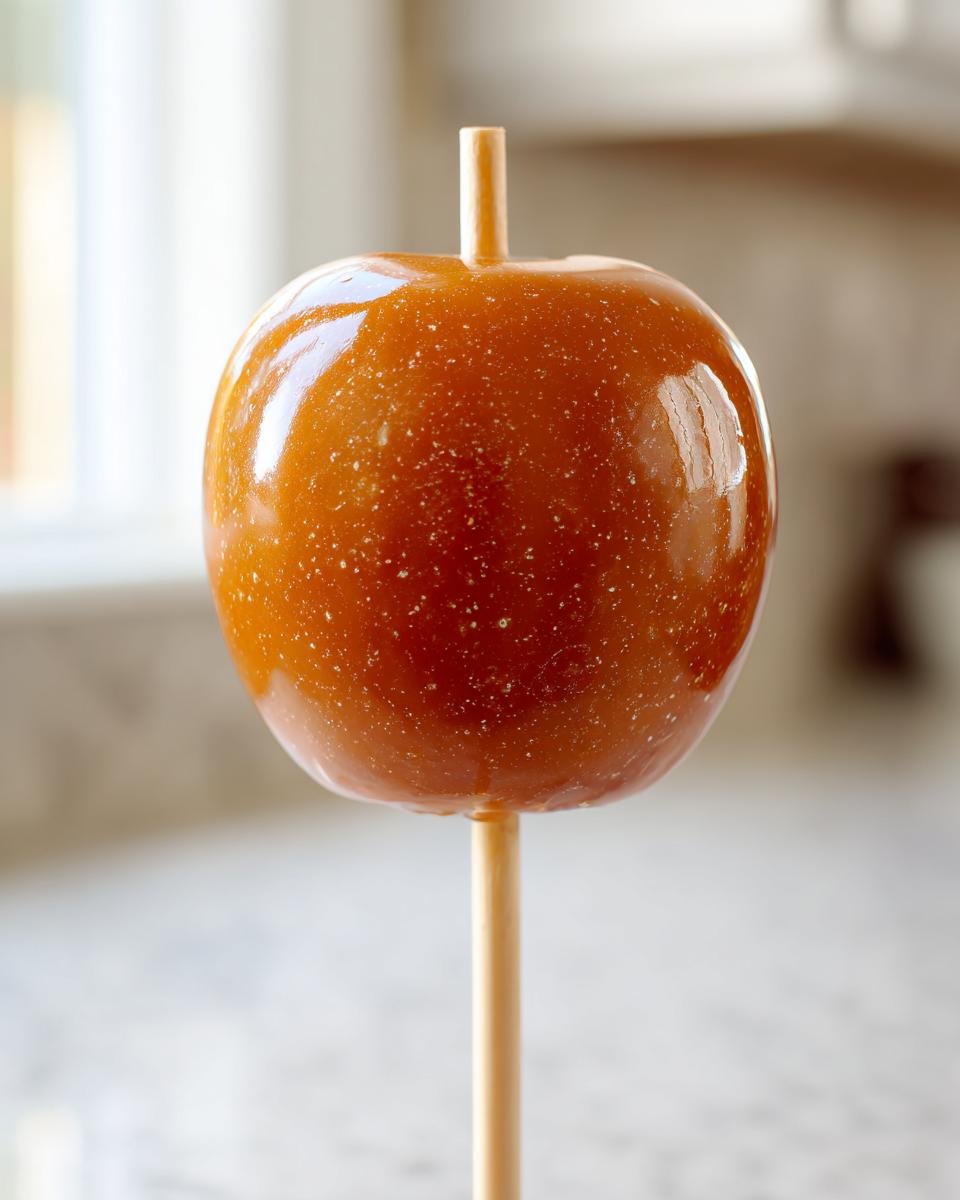
Once the caramel is slightly thickened but still beautifully pourable, it’s dipping time! Hold the apple by the stick, tilt the pan just a bit, and lower the apple in. Rotate it slowly to make sure every inch gets covered. Pull it up and hold it over the pan for a good 10 seconds, tapping the stick gently against the side of the pan to let any sloppy excess drip back down. We want a nice, even coat, not a giant caramel blob!
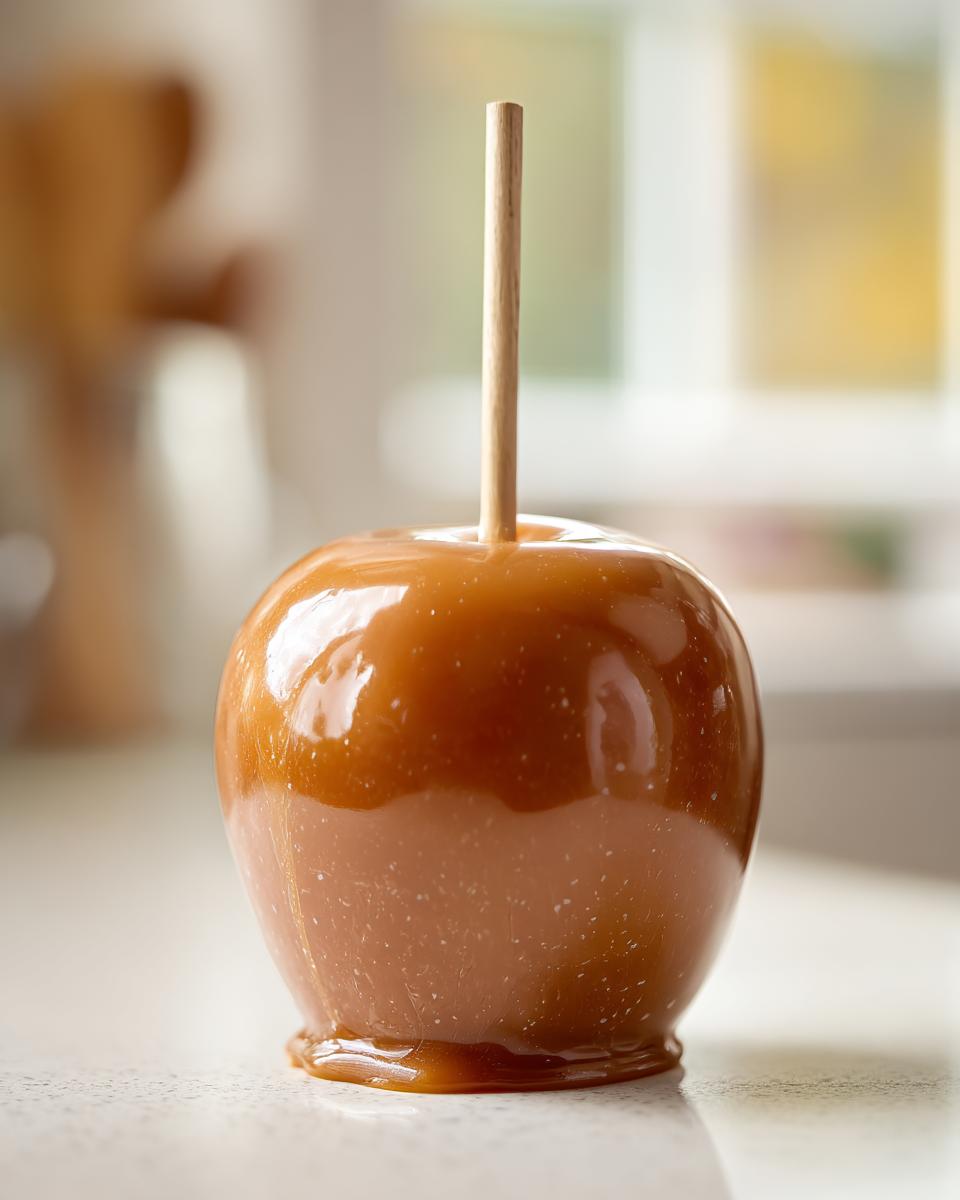
Place those beauties gently onto your prepared sheet. If the caramel starts getting stiff while you’re working on the last apple, just put the pan back on the very lowest heat for sixty seconds—no more—just to loosen it up. If you are adding that optional chocolate drizzle, melt those chips slowly in the microwave in short bursts, stirring well between each burst. Once smooth, drizzle generously over your now-set caramel. Then, just let them sit undisturbed at room temperature for at least an hour until they are totally firm. Resist the urge to touch them!
If you want to explore making layered desserts with apples, I have a fantastic easy apple pie bars recipe you might love for another occasion!
Tips for Success with Homemade Caramel Apples
Even with the perfect recipe, sometimes caramel can be a little stubborn! Let me share a couple of little secrets I’ve learned over the years to keep everything running smoothly. If your caramel starts getting too stiff while you’re dipping, don’t panic! Just put the saucepan back on the absolute lowest heat—seriously, the lowest setting possible—and stir constantly for just a minute. It brings it right back to dipping consistency.
On the flip side, if your caramel seems way too thin after cooling for those 10 minutes, you probably just need to let it rest longer. It thickens as it cools, so sometimes all it needs is five more minutes of patience. And here’s a huge one: please, please, please do not store your finished caramel apples in the fridge! The cold air makes that gorgeous, chewy caramel turn rock solid overnight. They store beautifully wrapped up individually at cool room temperature for almost a week. If you love warm, cozy apple flavors, you might want to try my easy stovetop cinnamon applesauce recipe for a different kind of fall treat.
Making Gourmet Caramel Apples with Toppings
Okay, now that we have these beautifully coated, perfectly chewy apples, this is where you get to be a true artist! If you’re serving these for a party, going gourmet is totally the way to wow your guests. This is the fun part where we take a classic and turn it into something truly show-stopping. The key here is timing, so you can’t wait too long after dipping!
The toppings need to adhere to the caramel before it fully sets up and gets too hard. I usually have a couple of dishes ready to go right next to my setting station. Think about adding some texture—chopped pecans or walnuts are always winners, especially if you want to lean into those cozy fall vibes. I love using my own easy cinnamon sugar pecans for a double dose of flavor!
If you prefer something sweeter, crushed toffee bits or even small, colorful sprinkles work magic. Some friends of mine completely lose it over crushed, high-quality shortbread cookies dusted over the top. Then, of course, there’s the chocolate drizzle we mentioned earlier, which really elevates things to that true bakery-style level. For tons of creative ideas on what to use, check out these caramel apple topping ideas—they give you so much inspiration for making personalized batches!
To apply them, gently roll your slightly tacky apple in the topping, or if you’re drizzling chocolate or even sea salt, just hold the apple over your parchment paper and let gravity do the work. It’s incredibly satisfying watching them transform!
Storage and Reheating Instructions for Your Caramel Apples
This is one of those kitchen truths you really need to know: never put these beauties in the fridge! If you do, the caramel will seize up and turn into something truly rock-hard, which is tough on your teeth. Keep your finished caramel apples wrapped individually in plastic wrap—this keeps them fresh and stops them from sticking to each other.
Store them at cool room temperature, and they are wonderful for up to a full week. If your kitchen is super warm, just keep them away from any direct sunlight or heat sources. Reheating isn’t really necessary; they are best enjoyed as they set!
Frequently Asked Questions About Making Caramel Apples
I always get so many great questions after people try this recipe for the first time! It’s exciting, but working with candy can definitely bring up some specific concerns. Here are the big ones I hear all the time about making these perfect homemade caramel apples.
Why does my caramel keep sliding off the apples?
Oh, friend, this is the #1 heartache, isn’t it? If your caramel is sliding, it means the apple skin still has wax or moisture on it. You MUST wash your apples, remove the stems, and then do that quick dip in hot water followed by immediate, thorough drying. That little step truly guarantees your **no slide caramel recipe** works. Also, make sure your caramel is cooked precisely to 245°F for that **chewy caramel apples** texture that grips on tight!
Do I have to use corn syrup in this recipe?
That’s a great question if you’re trying to avoid it! While this recipe uses corn syrup because it’s part of the secret to that perfect, non-crystallizing, **chewy caramel apples** texture, you *can* substitute it. I recommend using an equal amount of golden syrup or glucose if you have it on hand. If you use pure honey or maple syrup, be warned: the flavor changes significantly, and the cooking temperature might be slightly different, so you’ll need to watch that thermometer closely!
Can I use sweeter apples instead of tart ones?
You can, of course, use any apple you like! The reason I push Granny Smith is because the tartness cuts through the intense sweetness of the caramel perfectly. If you use a sweeter variety, like Fuji or Gala, you might find the overall flavor a bit one-note sweet. If that’s your preference, go for it! Just remember to stick to the firm varieties so they don’t turn mushy sitting on the counter. It’s all about finding your favorite among the fall apple treats, really.
What’s the easiest way to drizzle chocolate?
The secret to gorgeous chocolate drizzle, perfect for those **gourmet caramel apples** you want to make, is low and slow melting. Pop your chips in a microwave-safe bowl and heat them in 30-second bursts, stirring well in between each burst until it’s totally smooth. Don’t rush it, or the chocolate will seize up on you! If you are looking for other easy toppings ideas, perhaps you’ll enjoy my recipe for easy cookie icing that hardens perfectly to top other desserts!
Nutritional Estimates for One Caramel Apple
Now, I know we aren’t making these beautiful caramel apples for their health benefits—they are a pure indulgence, meant for celebrating the season! But for those of you who like to keep track, I calculated the estimates based on the ingredients in this batch. Please remember, this is just a guide!
Because we use different brands of condensed milk or even slight variations in the size of our Honeycrisp apples, your final numbers might look a little different than mine. This information is based on one apple serving from this recipe, without any extra toppings added, of course!
- Serving Size: 1 apple
- Calories: 650
- Sugar: 95g
- Sodium: 150mg
- Fat: 28g
- Saturated Fat: 18g
- Unsaturated Fat: 10g
- Trans Fat: 0g
- Carbohydrates: 100g
- Fiber: 2g
- Protein: 4g
- Cholesterol: 75mg
Enjoy them guilt-free because they are, without a doubt, the best thing you’ll eat this fall!
Share Your Homemade Fall Apple Treats
Well, that’s it—you’ve made magic! I am so excited for you to try these caramel apples. Once you take that first chewy bite, you’ll see what I mean about this recipe being foolproof. I would absolutely love to hear how they turned out for you! Please leave a rating below and tell me in the comments what kind of toppings you chose for your halloween caramel apples. If you have other wonderful fall apple treats you love making, I’m always gathering new ideas, too!
PrintFoolproof Homemade Caramel Apples: The Chewy Recipe That Actually Sticks
Make bakery-style caramel apples at home with this easy recipe. We share the secrets for a perfectly chewy caramel coating that adheres to crisp apples every time, making them ideal for fall parties or Halloween treats.
- Prep Time: 20 min
- Cook Time: 20 min
- Total Time: 1 hour 40 min
- Yield: 6 servings 1x
- Category: Dessert
- Method: Stovetop Cooking
- Cuisine: American
- Diet: Vegetarian
Ingredients
- 6 large, firm apples (like Granny Smith or Honeycrisp)
- 6 wooden or paper lollipop sticks
- 1 cup (2 sticks) unsalted butter
- 2 cups packed light brown sugar
- 1 cup light corn syrup
- 1 (14 ounce) can sweetened condensed milk
- 1 teaspoon pure vanilla extract
- 1/2 teaspoon salt
- Optional: 1 cup semi-sweet chocolate chips for drizzling
Instructions
- Wash the apples thoroughly. Remove the stems and insert one stick firmly into the core of each apple.
- Prepare the apples for dipping: To help the caramel stick, dip each apple quickly into a bowl of hot water, then immediately dry them completely with paper towels. This removes the natural wax coating.
- Prepare your station: Line a baking sheet with parchment paper or a silicone mat. Set up your toppings station if you plan to add nuts or other coatings.
- Make the caramel: In a heavy-bottomed saucepan, combine the butter, brown sugar, corn syrup, and sweetened condensed milk.
- Cook the caramel: Heat the mixture over medium heat, stirring constantly until the sugar dissolves. Stop stirring once it boils.
- Use a candy thermometer and cook the mixture without stirring until it reaches 245 degrees Fahrenheit (firm ball stage). This usually takes 10 to 15 minutes after boiling begins.
- Remove the pan from the heat. Carefully stir in the vanilla extract and salt. Let the caramel cool for 5 to 10 minutes until it thickens slightly but is still pourable.
- Dip the apples: Hold an apple by the stick and tilt the pan slightly. Dip the apple into the caramel, rotating it to coat evenly. Lift the apple out, allowing excess caramel to drip back into the pan.
- Set the apples: Place the coated apples on the prepared baking sheet. If the caramel becomes too stiff, gently reheat the pan over low heat for a minute.
- Optional chocolate drizzle: If using chocolate, melt the chocolate chips in a microwave-safe bowl in 30-second intervals, stirring until smooth. Drizzle the melted chocolate over the set caramel apples.
- Let the caramel apples set completely at room temperature for at least 1 hour before serving or wrapping.
Notes
- For the best ‘no-slide’ result, ensure your apples are completely dry and cool before dipping.
- If you prefer a thinner caramel for easier dipping, add 1 tablespoon of heavy cream after removing the mixture from the heat.
- Store finished caramel apples wrapped individually in plastic wrap at cool room temperature for up to one week. Do not refrigerate, as this can make the caramel hard.
Nutrition
- Serving Size: 1 apple
- Calories: 650
- Sugar: 95g
- Sodium: 150mg
- Fat: 28g
- Saturated Fat: 18g
- Unsaturated Fat: 10g
- Trans Fat: 0g
- Carbohydrates: 100g
- Fiber: 2g
- Protein: 4g
- Cholesterol: 75mg