
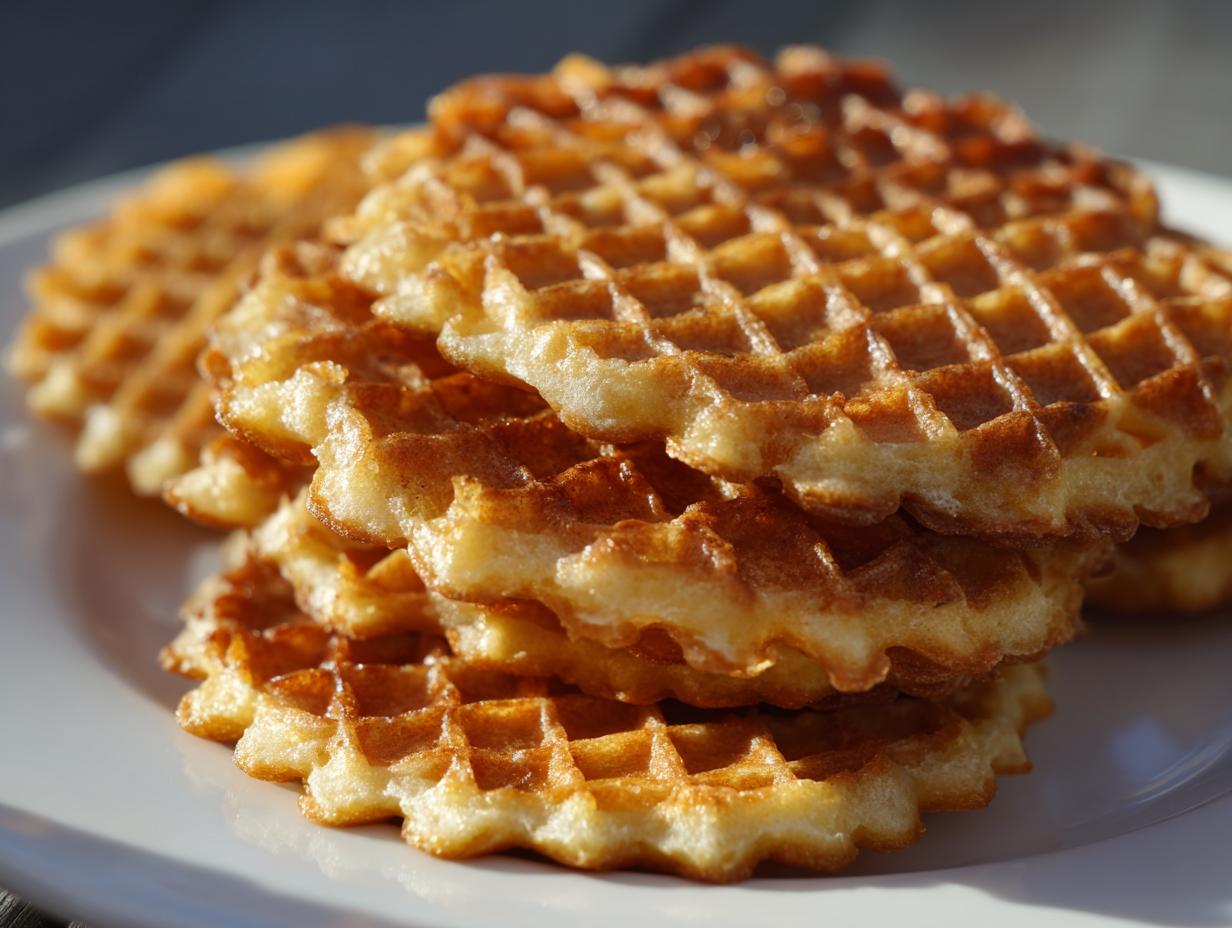
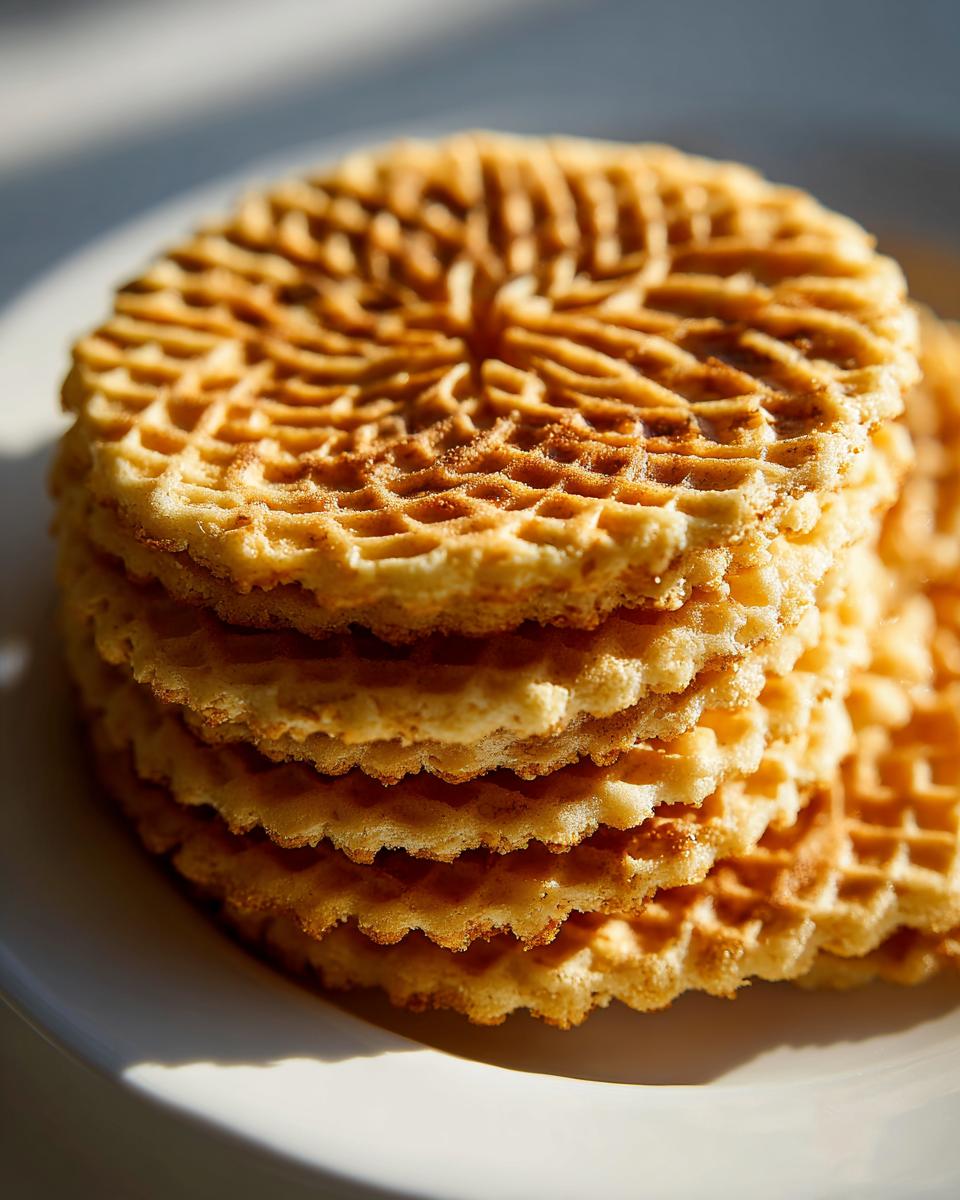
There’s just something magical about rolling out a warm cookie that instantly cracks with that perfect, delicate crunch. For me, baking these pizzelle cookies truly feels like pulling a piece of my family history right onto my cooling rack. When I first started DeliceRecipe, I needed a classic I could trust—one that delivered on that thin, crispy texture without needing complicated pastry skills. My grandmother’s handwritten book, which traveled with me from upstate New York, was my starting point. After tons of testing both vanilla and anise versions, I’m thrilled to share what I genuinely believe is the Best Pizzelle Cookie Recipe because it is simple, reliable, and tastes exactly like tradition. You might also love my recipe for ginger molasses cookies! If you’ve ever felt intimidated by these beautiful Italian Waffle Cookies, don’t worry; we’re keeping it easy, just like we do here at DeliceRecipe. Check out these great tips at Unsophisticated Cook for more ideas.
- Why This Is the Best Pizzelle Cookie Recipe for Home Bakers
- Essential Equipment for Perfect pizzelle cookies
- Gathering Ingredients for Your Easy Homemade Pizzelle
- Step-by-Step Instructions for the Crispy Pizzelle Recipe
- Tips for How to Make Crispy Pizzelles Every Time
- Creative Pizzelle Variations for Holiday Pizzelle Baking
- Serving and Storing Your Traditional Italian Cookies
- Frequently Asked Questions About pizzelle cookies
- Estimated Nutritional Data for pizzelle cookies
Why This Is the Best Pizzelle Cookie Recipe for Home Bakers
What makes this recipe my go-to every single year? Honestly, it’s the consistency. I developed this Crispy Pizzelle Recipe through trial and error to make sure it works even when my kitchen gets hectic around the holidays. These turn out perfectly Light and Buttery Cookies every time. My goal was removing all the guesswork so you get that authentic, delicate crunch straight out of the iron, which is why I tested the batter consistency rigorously. Seriously, trust the process here!
If you need a beautiful icing for gifting, you might want to check out my guide for easy cookie icing later! You can see more delicious tips over at Charm Recipes.
Flavor Profile: Vanilla Pizzelle and Traditional Anise Flavored Cookies
The flavor is everything, right? We are balancing two gorgeous notes here. You get the warm, familiar sweetness from the vanilla extract, which is always a crowd-pleaser. But the magic comes from the anise. Anise is what gives you that true, authentic taste of Traditional Italian Cookies. It has a subtle licorice hint that just sings against the butter. If you aren’t sure about anise, start with half a teaspoon, but if you are brave like me, turn it up! A little extra anise really makes these cookies feel imported.
Essential Equipment for Perfect pizzelle cookies
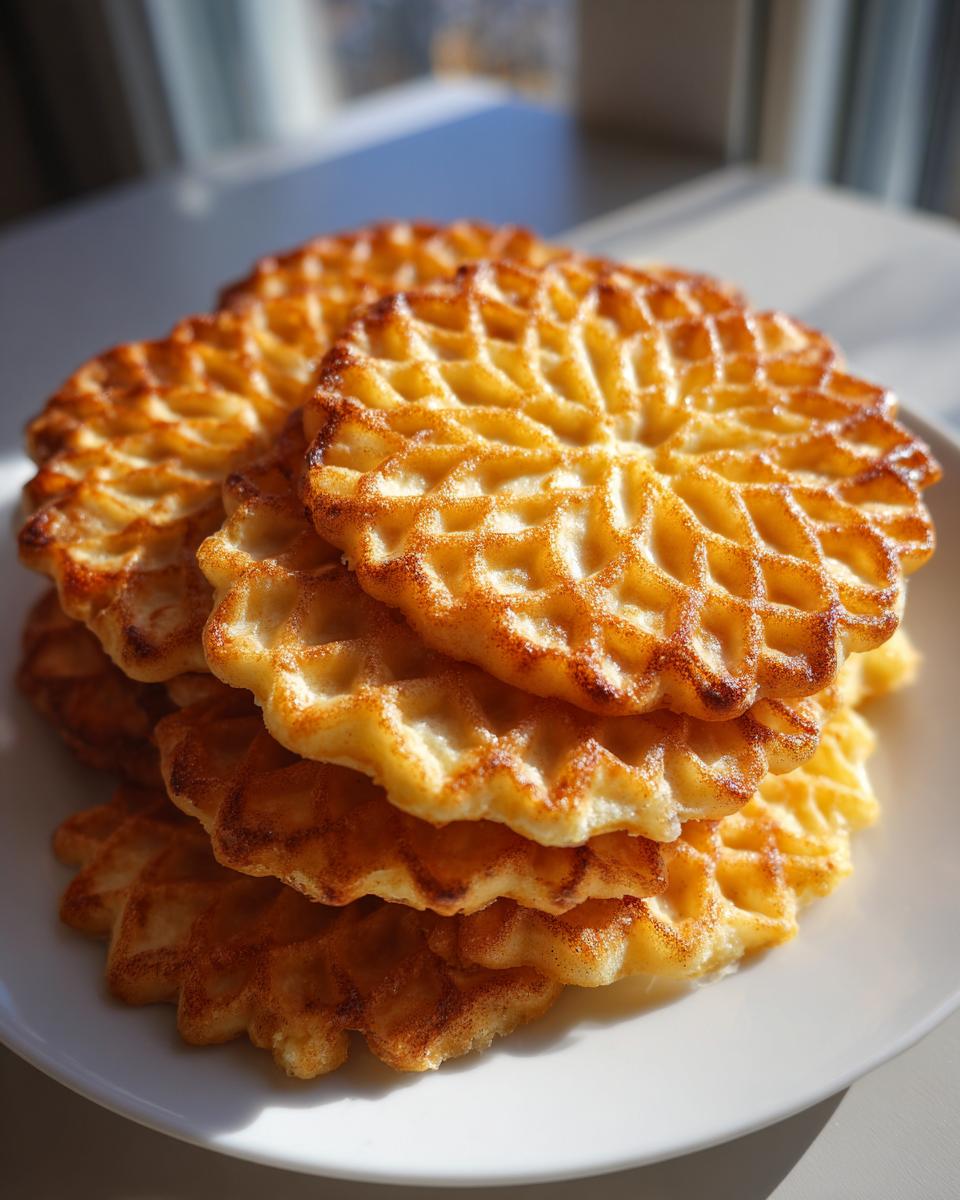
Okay, let’s talk tools! You absolutely cannot make these without a pizzelle maker—it’s the gatekeeper to true pizzelle perfection. It’s a specialty item, true, but trust me, once you see how beautifully patterned these Delicate Patterned Cookies come out, you’ll wonder why you waited so long. Finding a good iron is part of the fun. Look for one that heats evenly and has a non-stick surface that feels sturdy. My secret to great results on this Pizzelle Iron Recipe is making absolutely sure it’s ripping hot before the first drop of batter even hits the plate. You can read more about iron specifics over at The Fresh Cooky!
Gathering Ingredients for Your Easy Homemade Pizzelle
When you’re making something this classic, the ingredients have to be top-notch and handled right! Since this batter is intentionally thin—that’s what makes them so light, remember?—we need to make sure everything is ready to go before we hit that hot iron. Clarity here builds confidence, so let’s look at exactly what we need for about three dozen of these lovely pizzelle cookies.
Ingredient List for Classic pizzelle cookies
I’ve listed everything below. Make sure your eggs aren’t straight from the fridge; room temperature eggs always blend better into thin batters like this one, which keeps them smooth and prevents any lumpiness. You want that simple, pure flavor to shine!
- 1 cup all-purpose flour
- 1 teaspoon baking powder
- 1/4 teaspoon salt
- 3 large eggs (room temperature is best!)
- 3/4 cup granulated sugar
- 1/2 cup unsalted butter, melted and cooled
- 1 teaspoon vanilla extract
- 1/2 teaspoon anise extract
Step-by-Step Instructions for the Crispy Pizzelle Recipe
Now that we have our gorgeous, thin batter ready, it’s time for the fun part: cooking! This process moves fast, so make sure your clean cooling rack is right next to your station. If you’re looking for another quick-bake treat, check out my recipe for easy super moist pumpkin bread while you wait for your iron to heat up. We promise fast results, just like the great tips you can find over at Emily’s Cook!
Mixing the Simple Pizzelle Batter
We handle this batter gently; remember, we want air and light texture, not tough cookies! First, take your dry ingredients—flour, baking powder, and salt—and whisk them together until they look uniform. In a separate bowl, whisk your eggs and sugar until they get really pale and fluffy, almost doubled in volume. Then, slowly pour in your cooled melted butter, vanilla, and that key anise extract. Finally, add that dry mix into the wet ingredients a little at a time. Mix on low speed or use a whisk just until everything comes together into a smooth, thin liquid batter. The most important thing? Stop mixing the second you see the last bit of flour disappear. Overmixing develops gluten, and that’s how you lose that lovely, delicate structure!
Cooking Your pizzelle cookies on the Iron
Get that pizzelle iron screaming hot—it has to be fully preheated! Lightly grease it only if your machine says to; mine rarely needs it for this high-fat batter. Take just one teaspoon of batter and place it dead center on the lower plate. Shut the lid quickly, but don’t press down hard; let the weight of the iron do the work. You’ll see steam coming out right away. This is the sign of cooking! Once that steam slows down to just a puff or stops almost entirely (that’s usually 30 to 60 seconds), it’s done. Use a thin spatula or tongs to carefully lift your beautiful patterned cookie off the hot iron. If you plan to shape them into cones or cannolis, you MUST do it right now, or they will set rock-hard!
Tips for How to Make Crispy Pizzelles Every Time
Look, everyone wants that snap, that delicate *crack* when they bite into an Italian wafer. But honestly, sometimes they come out chewy, and that’s frustrating after all that work! That’s why mastering How to Make Crispy Pizzelles is the real goal here, not just making the batter. I learned through testing that the cooling conditions matter as much as the cooking time.
First things first: speed! You have to work fast once that cookie leaves the iron. If you want to shape your pizzelle cookies into little cups or cannoli shells, you only have about five seconds before they become stiff. Have your shaping tools ready to go!
Also, humidity is the enemy of crispness. If you’re baking on a rainy day, you might need to dry them out a bit more. My secret move, which I learned from watching my Nonna, is to pop the cooled (but still slightly soft) cookies back onto a warm, turned-off iron for just a minute—it gently dries out any lingering moisture. For the best results when storing, make sure you keep them in a truly airtight container; they won’t stay crisp otherwise. You can see a great demonstration of a shaping tip like this in this video from Ciao Italia.
And hey, don’t sweat it if the first one is ugly—it’s just the test cookie! You’ll usually need to adjust the batter amount after the first one to see what your specific iron likes best.
Creative Pizzelle Variations for Holiday Pizzelle Baking
While this classic vanilla and anise recipe is my absolute foundation, sometimes you need a little creative flair, especially when putting together a big cookie platter for the holidays! Don’t be afraid to experiment with Pizzelle Variations; the base batter is so simple that it takes suggestions really well. I promise these swaps still give you that beautiful, light texture you expect from pizzelle cookies.
The easiest twist is making chocolate pizzelles. The recipe notes mention this: just remove two tablespoons of flour and add in two tablespoons of unsweetened cocoa powder to your dry mix. Hello, rich dark cookies! This is fantastic for cutting the sweetness. If you prefer something brighter, try swapping the vanilla for almond extract, or even adding a bit of lemon zest. For those who love warm spices, you can even try swapping out the extracts entirely for something like gingerbread flavors, just like these amazing Gingerbread Pizzelle recipes!
Serving and Storing Your Traditional Italian Cookies
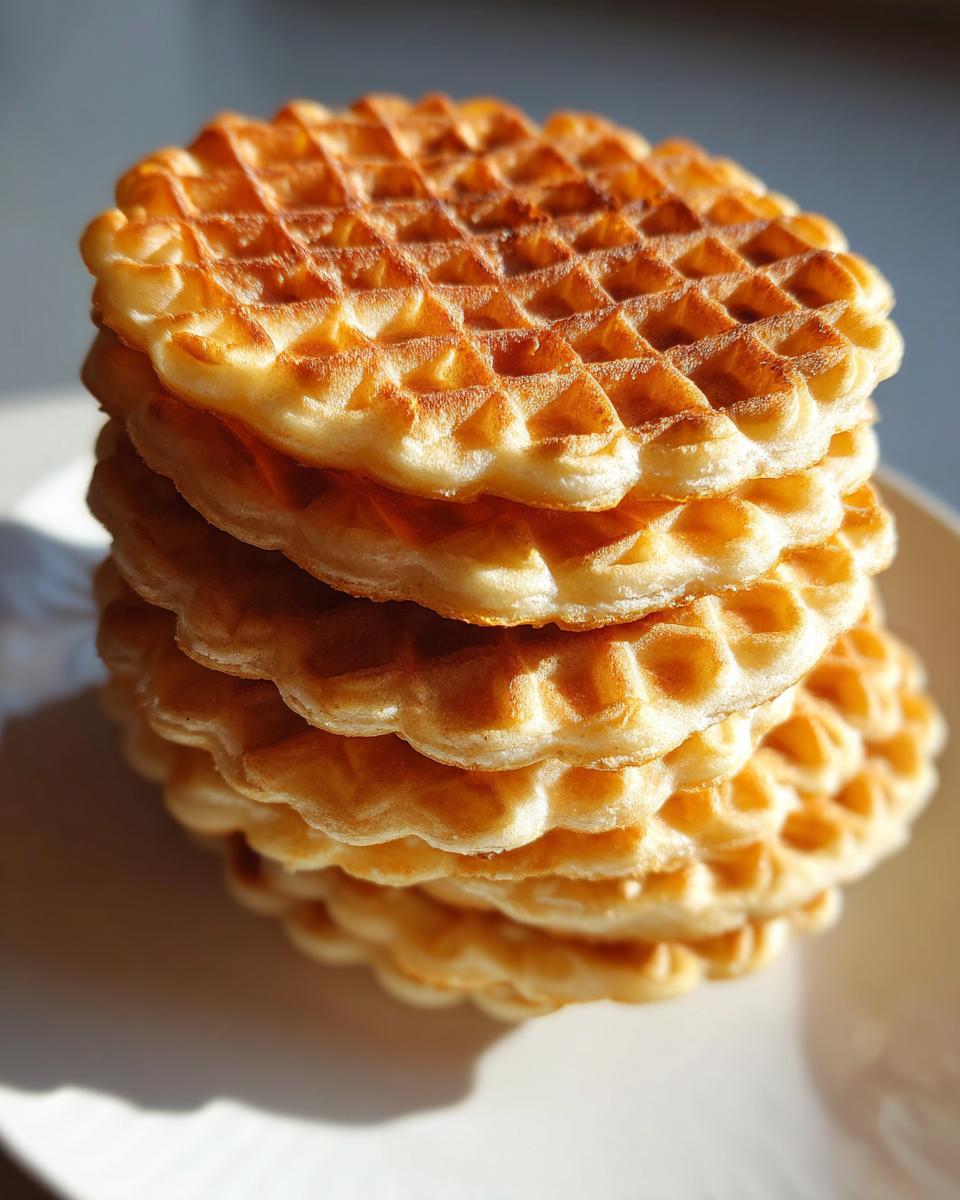
Okay, once your pizzelle cookies are cooled enough not to burn you but still warm, you have a tiny window of opportunity! This is where the shaping magic happens. If you want to turn them into cannoli shells or little cones for ice cream, you have to work fast, maybe 10 seconds max, before they get totally stiff. I usually just dust mine with powdered sugar—it’s simple and lets that lovely pattern shine through! If you’re making a big batch for guests, remember these are amazing Coffee Pairing Cookies; they are sturdy enough to hold up against a strong espresso without dissolving immediately.
For storage, keeping them crisp is non-negotiable. You must use an airtight container. Do not, I repeat, *do not* store them in a container where they might absorb moisture from the air or from other baked goods. If you have a bag of my stovetop cinnamon applesauce nearby, keep them separate! They stay perfectly crisp for at least a week if you seal them tight. If they do soften slightly, remember my trick from the last section—just warm them briefly on the iron!
Frequently Asked Questions About pizzelle cookies
I know you’re going to love these pizzelle cookies, but I also know questions pop up once you get into the kitchen! Since I’ve made this recipe hundreds of times, I’ve gathered the most common things people ask me about texture, tools, and flavor. Don’t hesitate to try things, but for the best results, stick close to these guidelines, especially when it comes to achieving that perfect snap. You can find my recipe for easy tiramisu if you need another Italian favorite!
Can I make pizzelle cookies without a pizzelle iron?
Oh, I wish I had a magic answer for this one, but truly, no, you can’t! The pizzelle iron isn’t just for making the pretty pattern; it’s essential because it cooks the thin batter incredibly fast and evenly from both sides. That speed is what creates the light, wafer-like crispness. If you tried this batter in a regular cookie sheet or a Belgian waffle maker, it would just spread out, burn, or turn chewy. The iron is the secret weapon for these Traditional Italian Cookies!
My pizzelle cookies are soft, not crispy. What went wrong?
Don’t panic! This happens often, usually because of humidity or not cooking them long enough on the iron. First, check your cooling environment; if it’s raining out, they will absorb moisture right away. The best fix, like I mentioned before, is to give them a quick “re-bake” or drying session. Lay them out for a moment on a warm (but turned OFF) pizzelle iron, or pop them quickly into a very low oven—around 250°F—for just 3 to 5 minutes. That little bit of gentle heat drives out the moisture and brings back that wonderful crunch in your Crispy Pizzelle Recipe.
What is the difference between vanilla and anise pizzelle cookies?
It really comes down to tradition and personal preference! If you stick to just vanilla extract, you have a lovely, sweet, buttery wafer perfect for pairing with chocolate dips or just dusting with sugar. But when you add anise, you get that signature, classic flavor profile that people really associate with authentic Italian baking. Anise offers that subtle, warm licorice note—it doesn’t taste exactly like black licorice, but it gives a depth that makes them uniquely Italian. So, vanilla is simple and universally pleasant; anise is complex and traditional!
Estimated Nutritional Data for pizzelle cookies
I always peek at the nutrition facts, though let’s be real, these are for celebration, not daily fuel! Since we are using real butter and sugar for that superior flavor in these pizzelle cookies, they definitely register. Please remember that these figures are just estimates based on how I portioned the ingredients here, with a serving size calculated at one cookie. If you enjoy my recipe for easy blueberry scones, you know I’m always focused on flavor first!
- Serving Size: 1 cookie
- Calories: 75
- Sugar: 5g
- Sodium: 35mg
- Fat: 4g
- Carbohydrates: 8g
- Protein: 1g
Classic Vanilla and Anise Pizzelle Cookies
Make light, crispy Italian waffle cookies at home using this easy recipe. These delicate pizzelle cookies feature traditional vanilla and anise flavors and require a pizzelle iron.
- Prep Time: 15 min
- Cook Time: 20 min
- Total Time: 35 min
- Yield: About 3 dozen 1x
- Category: Dessert
- Method: Waffle Iron Cooking
- Cuisine: Italian
- Diet: Vegetarian
Ingredients
- 1 cup all-purpose flour
- 1 teaspoon baking powder
- 1/4 teaspoon salt
- 3 large eggs
- 3/4 cup granulated sugar
- 1/2 cup unsalted butter, melted and cooled
- 1 teaspoon vanilla extract
- 1/2 teaspoon anise extract
Instructions
- Combine flour, baking powder, and salt in a medium bowl. Whisk them together.
- In a separate large bowl, whisk the eggs and sugar until the mixture is pale and slightly thickened.
- Pour the melted butter, vanilla extract, and anise extract into the egg mixture. Whisk until fully combined.
- Gradually add the dry ingredients to the wet ingredients. Mix until you have a smooth, thin batter. Do not overmix.
- Preheat your pizzelle maker according to the manufacturer’s instructions. This tool is essential for making these cookies.
- Lightly grease the iron if your model requires it.
- Drop one teaspoon of batter onto the center of the hot iron. Close the lid immediately.
- Bake for 30 to 60 seconds, or until the steam stops escaping and the cookie is golden brown. Cooking time varies by iron model.
- Carefully remove the hot pizzelle cookie using a thin spatula.
- Place the cookie on a wire cooling rack immediately. If you want to shape them (into cannoli or cones), do so while they are still hot and pliable.
- Let the pizzelle cookies cool completely. They will become crisp as they cool.
- Serve the crispy pizzelle cookies as is, or dust them with powdered sugar.
Notes
- For the crispiest pizzelle cookies, work quickly to shape them while they are hot. They harden fast.
- If you prefer a strong licorice flavor, increase the anise extract to 3/4 teaspoon.
- To make chocolate pizzelle variations, remove 2 tablespoons of flour and add 2 tablespoons of unsweetened cocoa powder to the dry ingredients.
- If your cookies are not crisp after cooling, return them to the warm (but turned off) iron for a few seconds to dry them out further.
Nutrition
- Serving Size: 1 cookie
- Calories: 75
- Sugar: 5
- Sodium: 35
- Fat: 4
- Saturated Fat: 2
- Unsaturated Fat: 2
- Trans Fat: 0
- Carbohydrates: 8
- Fiber: 0
- Protein: 1
- Cholesterol: 25