
There’s just something so incredibly lovely about rustic desserts, isn’t there? They look like they took all day, but truly, they usually take half the effort of a fussy, traditional pie. If you’ve been dreaming about that perfect cinnamon-spiced, juicy apple filling wrapped in shatteringly crisp pastry, but you don’t own a pie dish or have the patience for sealing intricate edges, I have your answer right here. This is truly my most reliable recipe for an apple galette, and it’s my secret recommendation when someone asks for a simple alternative to pie. It embodies everything I believe in here at DeliceRecipe: incredibly flavorful food that’s totally accessible for the everyday home cook.
Don’t worry about making everything perfect—the beauty of this free-form tart is that it’s supposed to look homespun and a little messy! We’re focusing on maximum flavor with minimal fuss. If you love the idea of easy baking, you should definitely check out my thoughts on easy apple strudel next!
- Why This Easy Apple Galette Recipe Shines (Simple Apple Pie Alternative)
- Gathering Ingredients for Your Apple Galette
- How To Make Apple Galette: A Homemade Apple Galette Tutorial
- Tips for Success with Your Rustic Apple Tart
- Variations for Your Cinnamon Apple Galette
- Serving Suggestions: Pairing with Galette with Ice Cream
- Storage and Reheating Instructions for the Apple Galette
- Frequently Asked Questions About This Quick Apple Dessert Recipe
- Planning Your Next Baking Project
- Planning Your Next Baking Project
Why This Easy Apple Galette Recipe Shines (Simple Apple Pie Alternative)
So why should you drop everything and make this apple galette right now? Honestly, it’s because it delivers that decadent holiday flavor without the massive headache of traditional pie dough. If you’re looking for fantastic Thanksgiving Apple Dessert Ideas that look impressive but don’t stress you out, this is it!

- It’s completely free-form—messy edges equal rustic charm, guaranteed!
- The crust is ultra-flaky and buttery, miles better than most beginner attempts at pie dough.
- It comes together faster than you can peel enough apples for a full pie.
- The spice level on those apples is just intoxicating.
If you’re also looking for quicker holiday treats, you have to check out my recipe for pumpkin pie crescent rolls.
The All-Important Flaky Crust Galette Dough
This recipe gives you that show-stopping, Flaky Crust Galette that just melts in your mouth. The secret to this texture is treating that butter like gold. Remember what Eleanor always says: keep everything cold! I mean ice cold. If the butter melts before it hits the oven, you get tough pastry, not flaky layers. Don’t even look at the dough too long—just mix it until it barely holds together, wrap it up, and send it straight to the fridge to chill out!
Cinnamon Spiced Apples Pastry Filling
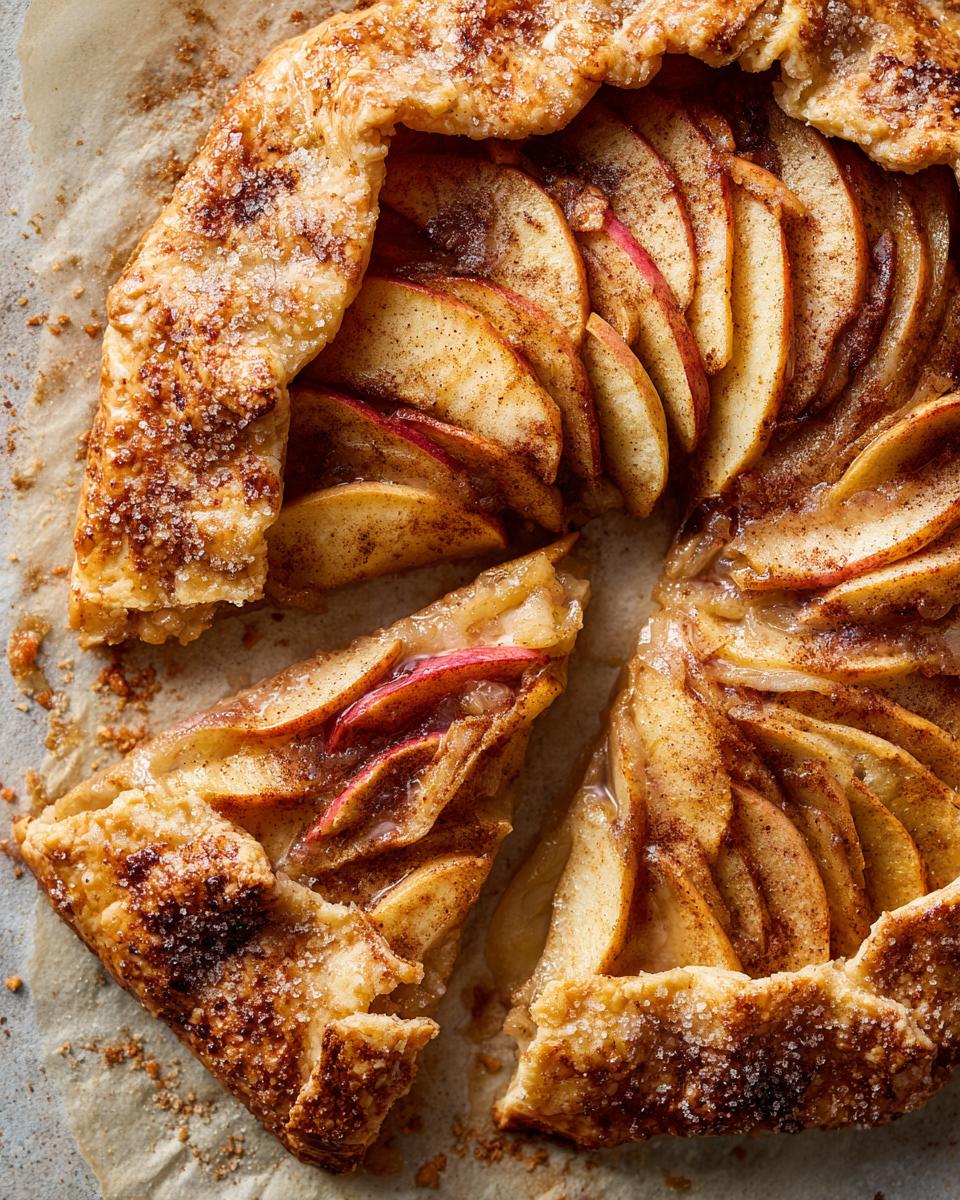
Now for the star! The filling for this apple galette is where the fall magic happens. We use a blend of sweet and tart apples—I love using Honeycrisp for their crispness, but Granny Smith works wonders for that lovely required tartness. We coat them lightly in brown sugar, cinnamon, and just a whisper of nutmeg. That mix creates this gorgeous, gooey sauce when it bakes, keeping the pastry from getting soggy, which is always my main worry with any apple pastry.
Gathering Ingredients for Your Apple Galette
Okay, let’s talk supplies! For the best Easy Apple Galette Recipe, you need to have everything ready to go because once the dough is chilled, we want to move fast. This recipe uses ingredients that are probably already sitting in your pantry, which is why I love it so much as a Quick Apple Dessert Recipe.
Here’s what you’ll need to grab:
- 1 1/2 cups all-purpose flour
- 1 teaspoon granulated sugar
- 1/2 teaspoon salt
- 1/2 cup (1 stick) cold unsalted butter, cut into small cubes
- 4 to 6 tablespoons ice water
- 5 medium apples (like Honeycrisp or Granny Smith), peeled, cored, and thinly sliced
- 1/4 cup packed light brown sugar
- 1 tablespoon all-purpose flour (for the filling!)
- 1 teaspoon ground cinnamon
- 1/4 teaspoon ground nutmeg
- 1 tablespoon lemon juice
- 1 large egg, beaten (for that beautiful egg wash)
- 1 tablespoon coarse sugar, for sprinkling on top
Everything looks simple, trust me. Just make sure that butter starts out super cold before you begin! If you are looking for other ways to incorporate fresh fruit into your routine, you might enjoy my recipe for apple cranberry coleslaw.
Ingredient Notes and Substitutions for the Rustic Apple Tart
I always encourage people to stick to the list, especially for the crust—cold butter is non-negotiable! But when it comes to the apples for your Rustic Apple Tart, we have some wiggle room. If you can’t find Honeycrisp, please grab Granny Smith or Fuji apples. That mix of tart and sweet baked down is crucial for deep flavor.
Now, I have to mention this for those super busy Fall Baking Recipes nights: is it cheating to use store-bought dough? Absolutely not! If you’re short on time, using one chilled sheet of quality puff pastry or pie dough works perfectly well. Just roll it into that rough 12-inch circle, pile on the apples, and fold those edges up. It saves about 30 minutes, and honestly, it still tastes amazing!
It’s such a great Simple Apple Pie Alternative because it skips all the fiddly bottom crust work!
How To Make Apple Galette: A Homemade Apple Galette Tutorial
This whole process for your Homemade Apple Galette Tutorial is so straightforward, I promise! We’ll break it down into three main acts: dough, filling, and assembly. The baking is the easy part at the end. Just like any good baking project, success here is all about timing your steps correctly. Preheat that oven to 400 degrees Fahrenheit (200 Celsius) before you even start rolling, so it’s sizzling hot and welcoming the galette right when you’re ready!
Creating the Buttery Pastry Galette Dough
This is where you build those layers for your Flaky Crust Galette. Remember, less fuss equals more flakes! Start by mixing your dry stuff—flour, salt, and a tiny bit of sugar—in a big bowl. Then, toss in your cubed, super-cold butter. You need to work that butter into the dry mix until you see pieces about the size of peas. I love using my fingers for this part because I can feel when it’s right, but a pastry cutter works too!
Next, carefully drizzle in the ice water, just a tablespoon at a time. Stop adding water the second the dough starts clinging together when you squeeze a piece. Don’t knead it! Just push it together into a rough disk shape, wrap it tightly in plastic wrap, and now you need patience: chill that dough in the fridge for at least one full hour. That chilling time is mandatory because it lets the butter firm up again, which is what creates those beautiful flaky pockets when it bakes.
Assembling and Shaping the Free Form Apple Tart
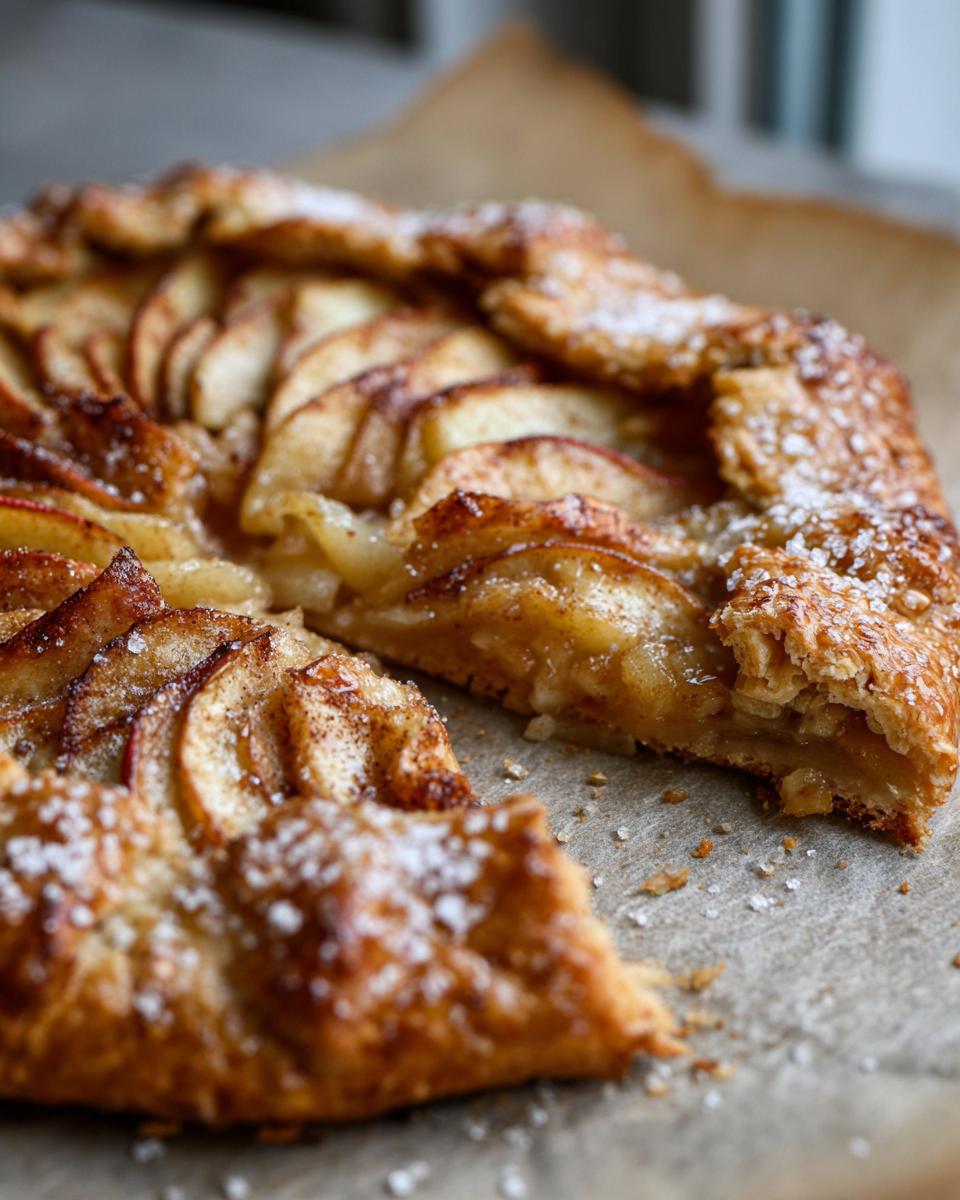
Once your dough has had its nap, sprinkle a little flour on your counter and roll that disk out into a rough 12-inch circle. Don’t stress about making it perfectly round—that’s the charm of a Rustic Apple Tart! Gently move the rolled dough onto a baking sheet lined with parchment paper.
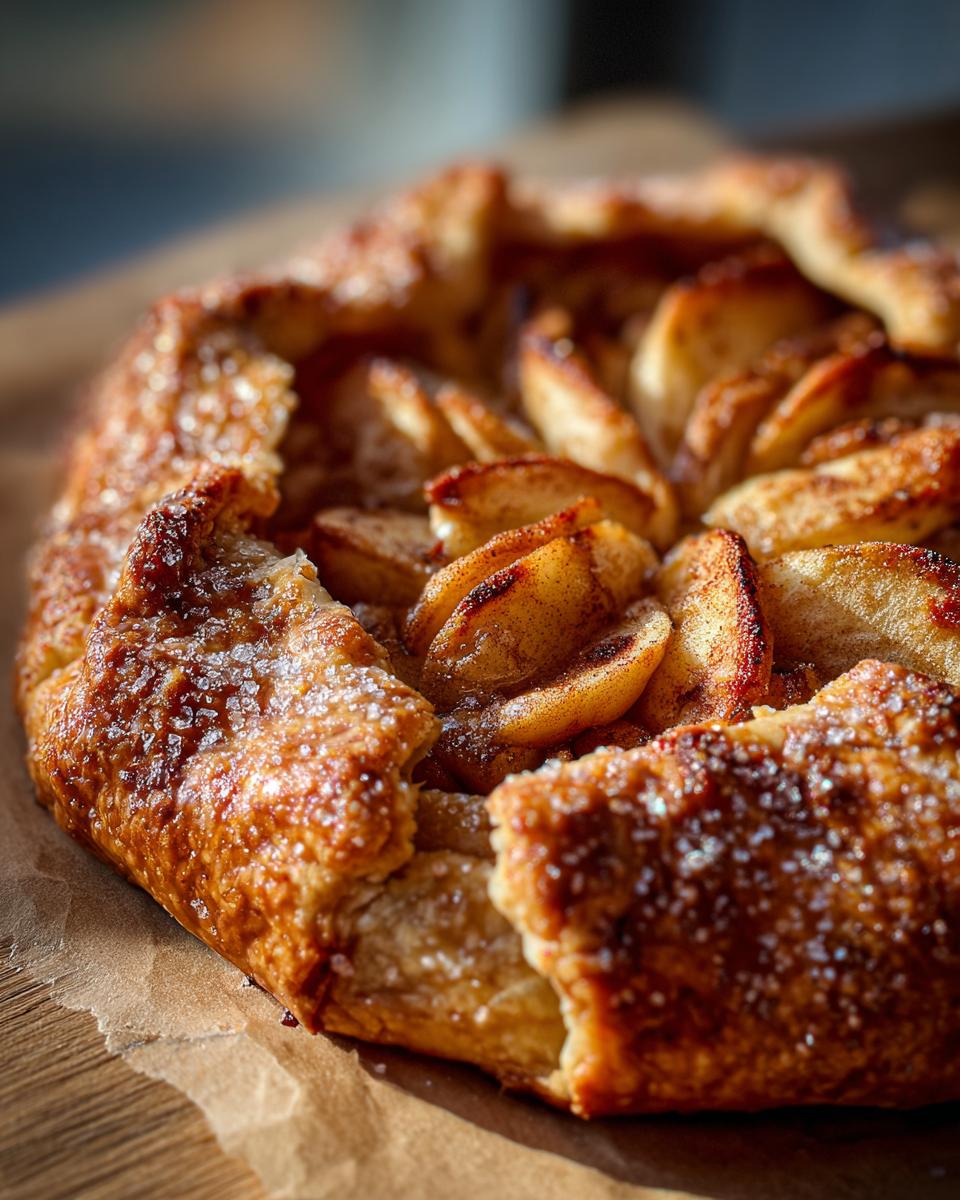
Now, toss those spiced apple slices together—make sure they are thinly and evenly sliced so they cook at the same rate. Pile the apples right into the middle of your dough, leaving about a two-inch border all the way around. This empty rim is vital! When you fold that border up and over the apples, you’ll pleat the dough as you go around. It’s super forgiving; just tuck and fold until all the apples are nestled inside your pastry edge.
For that gorgeous, professional shine, brush the crust edges you just folded with the beaten egg wash. Then, sprinkle a big, generous amount of that coarse sugar right over the egg wash. That sugar melts just enough to crystallize, giving you the perfect crunch to contrast the soft apples in your apple galette.
Baking the Perfect Apple Galette Dessert
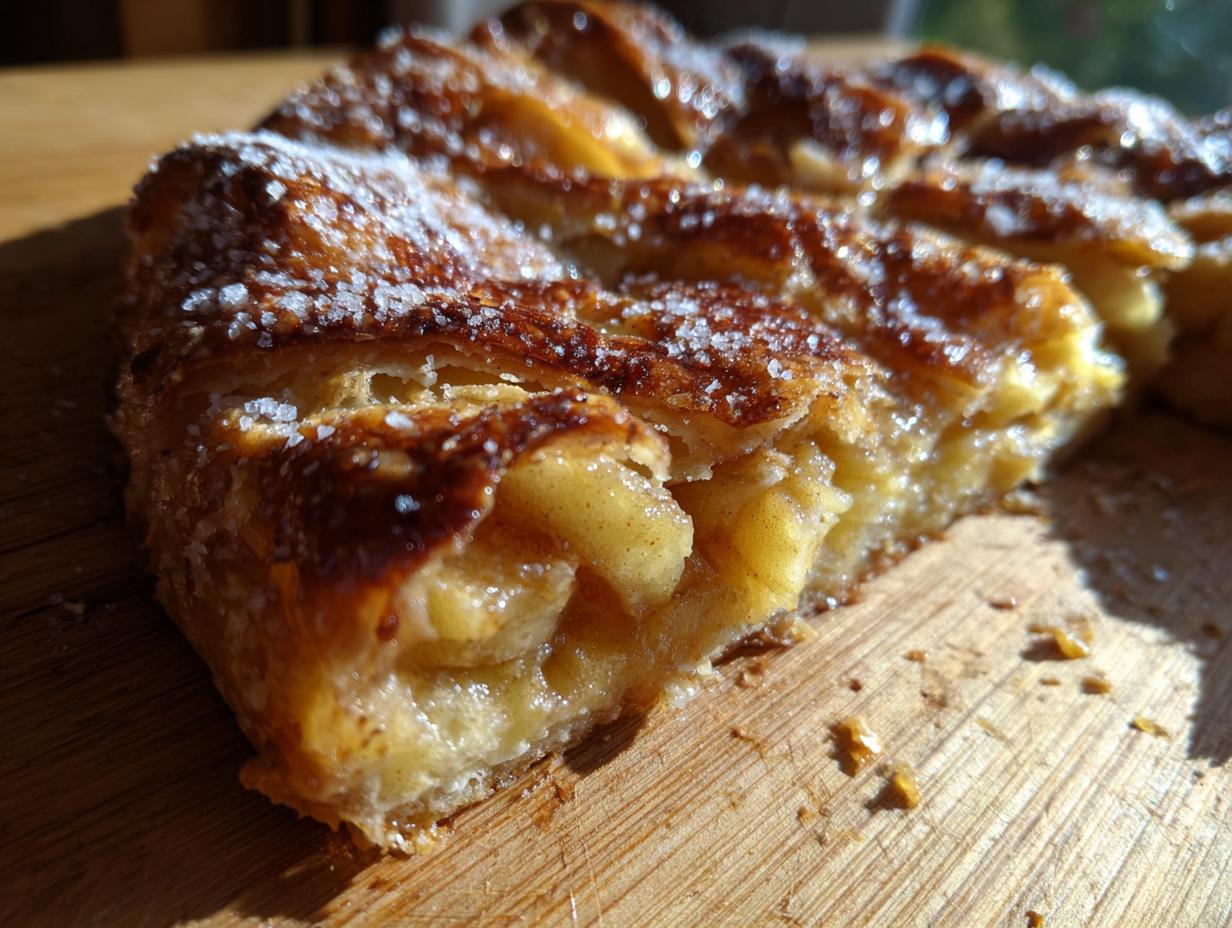
Pop that beautiful creation into your preheated 400°F oven. It needs about 35 to 45 minutes of baking time. You are watching for two things: the crust should be deeply golden brown—not pale, golden brown! And the apple filling needs to be visibly bubbly and oozing slightly. That bubble tells you the sugar and juices have cooked down properly.
When it comes out, it will be sizzling hot and slightly floppy in the middle because the fruit filling is liquid! You must let this amazing Apple Galette Dessert rest on that parchment paper for at least 15 minutes before you even think about slicing it. Seriously, wait! Resting lets the juices thicken up, so when you cut into it, you get perfect slices instead of a puddle on your plate. You can learn more about other easy baking techniques in my guide on old-fashioned pancakes!
This whole process for your Homemade Apple Galette Tutorial is so straightforward, I promise! We’ll break it down into three main acts: dough, filling, and assembly. The baking is the easy part at the end. Just like any good baking project, success here is all about timing your steps correctly. Preheat that oven to 400 degrees Fahrenheit (200 Celsius) before you even start rolling, so it’s sizzling hot and welcoming the galette right when you’re ready!
Creating the Buttery Pastry Galette Dough
This is where you build those layers for your Flaky Crust Galette. Remember, less fuss equals more flakes! Start by mixing your dry stuff—flour, salt, and a tiny bit of sugar—in a big bowl. Then, toss in your cubed, super-cold butter. You need to work that butter into the dry mix until you see pieces about the size of peas. I love using my fingers for this part because I can feel when it’s right, but a pastry cutter works too!
Next, carefully drizzle in the ice water, just a tablespoon at a time. Stop adding water the second the dough starts clinging together when you squeeze a piece. Don’t knead it! Just push it together into a rough disk shape, wrap it tightly in plastic wrap, and now you need patience: chill that dough in the fridge for at least one full hour. That chilling time is mandatory because it lets the butter firm up again, which is what creates those beautiful flaky pockets when it bakes.
Assembling and Shaping the Free Form Apple Tart
Once your dough has had its nap, sprinkle a little flour on your counter and roll that disk out into a rough 12-inch circle. Don’t stress about making it perfectly round—that’s the charm of a Rustic Apple Tart! Gently move the rolled dough onto a baking sheet lined with parchment paper.
Now, toss those spiced apple slices together—make sure they are thinly and evenly sliced so they cook at the same rate. Pile the apples right into the middle of your dough, leaving about a two-inch border all the way around. This empty rim is vital! When you fold that border up and over the apples, you’ll pleat the dough as you go around. It’s super forgiving; just tuck and fold until all the apples are nestled inside your pastry edge.
For that gorgeous, professional shine, brush the crust edges you just folded with the beaten egg wash. Then, sprinkle a big, generous amount of that coarse sugar right over the egg wash. That sugar melts just enough to crystallize, giving you the perfect crunch to contrast the soft apples in your apple galette.
Baking the Perfect Apple Galette Dessert
Pop that beautiful creation into your preheated 400°F oven. It needs about 35 to 45 minutes of baking time. You are watching for two things: the crust should be deeply golden brown—not pale, golden brown! And the apple filling needs to be visibly bubbly and oozing slightly. That bubble tells you the sugar and juices have cooked down properly.
When it comes out, it will be sizzling hot and slightly floppy in the middle because the fruit filling is liquid! You must let this amazing Apple Galette Dessert rest on that parchment paper for at least 15 minutes before you even think about slicing it. Seriously, wait! Resting lets the juices thicken up, so when you cut into it, you get perfect slices instead of a puddle on your plate. You can learn more about other easy baking techniques in my guide on old-fashioned pancakes!
Tips for Success with Your Rustic Apple Tart
You’ve got the dough chilled and the apples spiced—that’s the hardest part done! Now, let’s just go over a couple of little tricks that make the difference between a great apple galette and an absolutely show-stopping one. These are things I learned the hard way over the years, fiddling around in the kitchen when I was first trying to master this Rustic Apple Tart.
Don’t be shy with the chilling time, and remember that even though it looks rustic, precision in the filling prep matters!
- Slice Them Uniformly: This is so important for even cooking! You want all those apple slices to be about the same thickness, maybe an eighth of an inch thick if you can manage it. If you have some slices that are super thin and others that are chunky, the thin ones will turn to mush before the thick ones are tender. If you have a mandoline, use it carefully for perfect slices!
- Preventing the Soggy Bottom: This is the nemesis of every fruit tart! To stop the bottom crust from getting wet, we toss the apples with just a tablespoon of flour. This coats the fruit and absorbs those initial juices before they can seep through your dough. Also, make sure you allow that 15-minute rest period after baking—that rest time is literally your insurance policy against leakage!
- Don’t Skip the Coarse Sugar: While the egg wash gives us a pretty, golden brown color, the coarse sugar sprinkled on top is non-negotiable for texture. It adds that wonderful, necessary little crunch against the soft fruit and buttery pastry. Don’t substitute it for regular granulated sugar; the larger crystals hold their shape better.
- Using Up Leftover Spiced Butter: If somehow you have leftover, beautifully spiced butter from another recipe, a tiny smear of it right on the bottom crust before you place the apples down adds another layer of unbelievable flavor! I often make extra of my garlic compound butter but sometimes I’ll make a nutmeg-cinnamon version just for this!
Variations for Your Cinnamon Apple Galette
Once you master this basic, amazing apple galette, you start to see possibilities everywhere! This wonderful free-form tart is like a blank canvas for fall flavors. It’s so simple to mix things up without ruining the fundamental structure of the flaky crust or the soft apples. It never gets boring, which is why I keep coming back to the Rustic Apple Tart concept!
I’ve included my favorite way to dress this up in the recipe notes, but here are a few other ways my friends and I have played around with this base recipe:
The Caramel Apple Galette Variation
This is probably my favorite decadent upgrade, especially if you’re serving it for a gathering. Right before you fold over that crust border, take your pre-mixed apple filling and drizzle a nice, thin stream of caramel sauce right over the top. You don’t need much; the apples are already sweet! A good quality store-bought caramel works perfectly fine here, or if you’re feeling ambitious, you can make your own.
Try this if you’re looking for something a little more gooey and rich. It pairs unbelievably well with plain vanilla ice cream, honestly. If you love caramel and apples together, you might also want to check out my recipe for caramel apple crescent rolls—it’s a different texture but hits the same flavor notes!
Switching Out the Apples
While I adore Honeycrisp, sometimes you need to bake with what you have! If you are going for crunch and tartness, definitely use a Granny Smith or a firm Fuji apple. If you use a sweeter variety, like Gala, you might want to reduce the brown sugar in the filling by a tablespoon or two, just to keep that delightful cinnamon spice shining through. This adaptability is what makes the Easy Apple Galette Recipe a staple.
Adding Some Crunch to the Top
If you want a texture experience similar to a Dutch apple pie, you can skip the egg wash and coarse sugar entirely and sprinkle a simple streusel on top instead before baking. Just mix a quarter cup of flour, a quarter cup of brown sugar, and two tablespoons of softened butter together until crumbly, and then sprinkle that right over the apples. It creates a lovely, slightly nutty topping contrasting with the buttery crust underneath!
Serving Suggestions: Pairing with Galette with Ice Cream
You did it! Your apple galette is perfectly baked, resting beautifully, and the kitchen smells like heaven. Now comes the best part: deciding how to eat this masterpiece! I truly believe this free-form pastry shines brightest when served warm—that slight warmth brings out the fragrant cinnamon and softens the apples just perfectly.
Obviously, a scoop of high-quality vanilla bean ice cream is my go-to comfort food pairing. The contrast between the warm, buttery crust and the cold, melting cream is simply divine. If you’re making something this cozy, you might as well go all in! Speaking of cozy, if you need another warm treat after this, my recipe for maple donut bars is a must-try.
But listen, don’t stop your creativity there! The beauty of this Rustic Apple Tart is that it pairs well with a variety of textures and temperatures. Here are a few ways I like to dress it up:
- A dollop of Slightly Tangy Cream: Forget heavy frosting! A big spoonful of slightly sweetened heavy cream or crème fraîche cuts through the sweetness of the brown sugar beautifully. It’s simple elegance.
- The Controversial Cheddar Slice: Trust me on this one, as this is a classic pairing in parts of New England! Place a very thin slice of sharp, aged cheddar cheese right on top of a warm slice of the apple galette and let it barely melt. The sharp, salty cheese against the sweet, spiced fruit is unexpectedly amazing.
- A Maple Drizzle: Since the crust is already buttery, a light drizzle of good quality maple syrup adds an earthy sweetness that complements the autumn spices in the filling wonderfully. It feels very special for a weekend treat.
- Toasted Nuts: If you have pecans or walnuts on hand, give them a quick toast in a dry pan for three minutes until fragrant—you can smell the difference!—then sprinkle them over the top right before serving for a fantastic nutty crunch.
No matter how you serve it, make sure you have a fork handy! This easy dessert deserves to be enjoyed slowly.
Storage and Reheating Instructions for the Apple Galette
Nobody wants to see leftover slices of this gorgeous apple galette go to waste, right? That buttery crust is the main thing we need to protect when storing it. Since this dessert has a lot of moisture from the apples, we have to be a little careful about where we keep it. I’ve tested this quite a bit because sometimes I bake one and want to enjoy it for a few days!
If you plan on eating it within a few hours, leaving it sitting on the counter at room temperature is usually fine. Once those apples are baked, the high sugar content acts as a natural preservative for the filling. Just make sure it’s covered loosely with foil or that you put it under a cake dome so the crust doesn’t get totally exposed to the air and dry out.
For longer storage, the fridge is where it needs to go. You can usually get a solid 3 to 4 days out of your lovely Rustic Apple Tart if you store it in an airtight container. Pop it in the fridge, and you’ll be good to go!
How to Reheat Your Galette to Bring Back the Flake
Okay, reheating is critical. If you throw a slice of this beautiful pastry in the microwave, I promise you, the crust will turn instantly soft and sad. We absolutely cannot let that happen to our Flaky Crust Galette!
My number one rule for reviving leftovers is to use the oven—it’s the only way to bring back that beautiful crispness to the pastry. Preheat your oven, or even just a toaster oven, to about 325°F (160°C). Lay your slice directly on the baking sheet or a small piece of foil and warm it gently for about 8 to 10 minutes. You just want to warm the apples through and hear that crust crackle a little bit again. Trust me, heating it low and slow avoids burning that beautiful sugar crust.
If you are absolutely desperate and in a total rush, the air fryer works REALLY well too! Pop a slice in at 300°F for about 5 minutes. It crisps up the edges beautifully in no time flat. Just avoid the microwave unless you are heading straight for the ice cream!
Frequently Asked Questions About This Quick Apple Dessert Recipe
I know sometimes when you see an Easy Apple Galette Recipe that looks this good, you start second-guessing yourself! Don’t worry, your friends ask me these questions all the time when they try to make my fall baking recipes, too. Here are the things that come up most often about making this simple dessert.
Is this truly easier than making a regular apple pie?
Yes! Seriously, this Simple Apple Pie Alternative is a lifesaver. With a pie, you have to worry about crimping edges perfectly, making sure the bottom crust doesn’t get soggy while baking in a deep dish, and making vents on top. With the galette, you just roll it out, pile the apples high, and fold the edges up randomly. Nobody cares if the pleats are messy; that’s the whole fun of a Free Form Apple Tart! It saves so much fiddly work, making it a fantastic Quick Apple Dessert Recipe.
Which apples provide the best flavor for the Cinnamon Spiced Apples Pastry?
For the best flavor and texture in your apple galette, you absolutely need a mix of sweet and tart to prevent it from tasting flat. My personal favorite combination is usually one tart Granny Smith mixed with two or three Honeycrisp apples. Granny Smith holds up beautifully, offers that necessary tang, and Honeycrisp gives you that great sweet crunch. If you don’t have those, Fuji or Jonagold are also really reliable choices for this kind of baking!
Can I make the dough ahead of time for my Homemade Apple Galette?
Oh, absolutely, and I highly recommend it! You can make the dough, wrap it tightly in plastic wrap just like I mentioned in the assembly steps, and keep it in the refrigerator for up to three days. The chilling time actually helps the gluten relax, which makes rolling it out easier the next day. If you leave it in there longer than three days, however, you might want to freeze it instead!
Can I leave this Simple Apple Pie Alternative out on Thanksgiving Day?
Yes, for a little while, but remember, it’s not a traditional pie! If the weather isn’t too warm, I generally leave a whole, uncut Rustic Apple Tart on the counter, covered loosely, for about 4 to 6 hours after it has completely cooled down from baking. If your house is warm, or if it’s going to be sitting out all day before serving, definitely keep it in the fridge, and just make sure you warm up those slices before serving so the crust gets nice and flaky again!
If you need more easy ideas for busy days, check out my guide on easy weeknight dinners for inspiration!
Planning Your Next Baking Project
I hope this recipe has inspired you to embrace the simpler side of baking. While it’s fun to tackle a big, complicated pastry, sometimes what we really need is that comforting, buttery flavor without adding too much stress to a busy week. It’s so satisfying to whip up something truly beautiful like this apple galette without spending hours on construction.
If you are starting to map out your baking schedule for the next few weeks, I totally get it. Sometimes, when you are busy planning your main meals with things like services comparable to meal planning apps, you forget how therapeutic a simple dessert bake can be. Don’t overcomplicate the end of your menu; sometimes the most rustic, straightforward recipes are the ones that feel the most special.
Once you’ve enjoyed that last slice of this tart, come on back and try my recipe for easy pumpkin cobbler—it’s another fantastic, hands-off dessert that needs minimal fuss but delivers maximum cozy fall flavor!
Easy Rustic Cinnamon Apple Galette with Flaky Butter Crust

Make this simple, free-form apple tart using a buttery, flaky crust. This rustic dessert features cinnamon-spiced apples and is much easier than a traditional pie.
- Prep Time: 25 min
- Cook Time: 40 min
- Total Time: 1 hour 5 minutes (plus 1 hour chilling)
- Yield: 6 servings 1x
- Category: Dessert
- Method: Baking
- Cuisine: American/French
- Diet: Vegetarian
Ingredients
- 1 1/2 cups all-purpose flour
- 1 teaspoon granulated sugar
- 1/2 teaspoon salt
- 1/2 cup (1 stick) cold unsalted butter, cut into small cubes
- 4 to 6 tablespoons ice water
- 5 medium apples (like Honeycrisp or Granny Smith), peeled, cored, and thinly sliced
- 1/4 cup packed light brown sugar
- 1 tablespoon all-purpose flour
- 1 teaspoon ground cinnamon
- 1/4 teaspoon ground nutmeg
- 1 tablespoon lemon juice
- 1 large egg, beaten (for egg wash)
- 1 tablespoon coarse sugar, for sprinkling
Instructions
- Prepare the crust: In a large bowl, whisk together the flour, 1 teaspoon sugar, and salt. Cut in the cold butter using a pastry blender or your fingers until the mixture resembles coarse crumbs with some pea-sized pieces of butter remaining.
- Add the ice water one tablespoon at a time, mixing gently until the dough just comes together. Do not overmix. Form the dough into a disk, wrap it in plastic wrap, and chill for at least 1 hour.
- Prepare the filling: In a separate bowl, gently toss the sliced apples with the brown sugar, 1 tablespoon flour, cinnamon, nutmeg, and lemon juice until the apples are evenly coated.
- Preheat your oven to 400 degrees Fahrenheit (200 degrees Celsius). Line a baking sheet with parchment paper.
- On a lightly floured surface, roll the chilled dough into a rough 12-inch circle. Transfer the dough carefully to the prepared baking sheet.
- Arrange the apple slices over the dough, leaving a 2-inch border around the edge. You can layer them slightly for a nice presentation.
- Fold the dough border up and over the edges of the apples, creating pleats as you go to form the rustic edge of the galette.
- Brush the folded crust with the beaten egg wash and sprinkle the crust generously with coarse sugar.
- Bake for 35 to 45 minutes, or until the crust is golden brown and the apples are tender and bubbly.
- Let the galette cool on the baking sheet for at least 15 minutes before slicing. Serve warm, perhaps with a scoop of vanilla ice cream.
Notes
- For a variation, drizzle a thin layer of caramel sauce over the apples before folding the crust.
- If you are planning your weekly meals, this recipe is a great alternative to complex pie recipes when considering meal planning.
- If you prefer a quicker crust, you can substitute with one sheet of store-bought pie dough.
Nutrition
- Serving Size: 1 slice
- Calories: 350
- Sugar: 22g
- Sodium: 180mg
- Fat: 18g
- Saturated Fat: 11g
- Unsaturated Fat: 7g
- Trans Fat: 0g
- Carbohydrates: 45g
- Fiber: 3g
- Protein: 4g
- Cholesterol: 55mg