
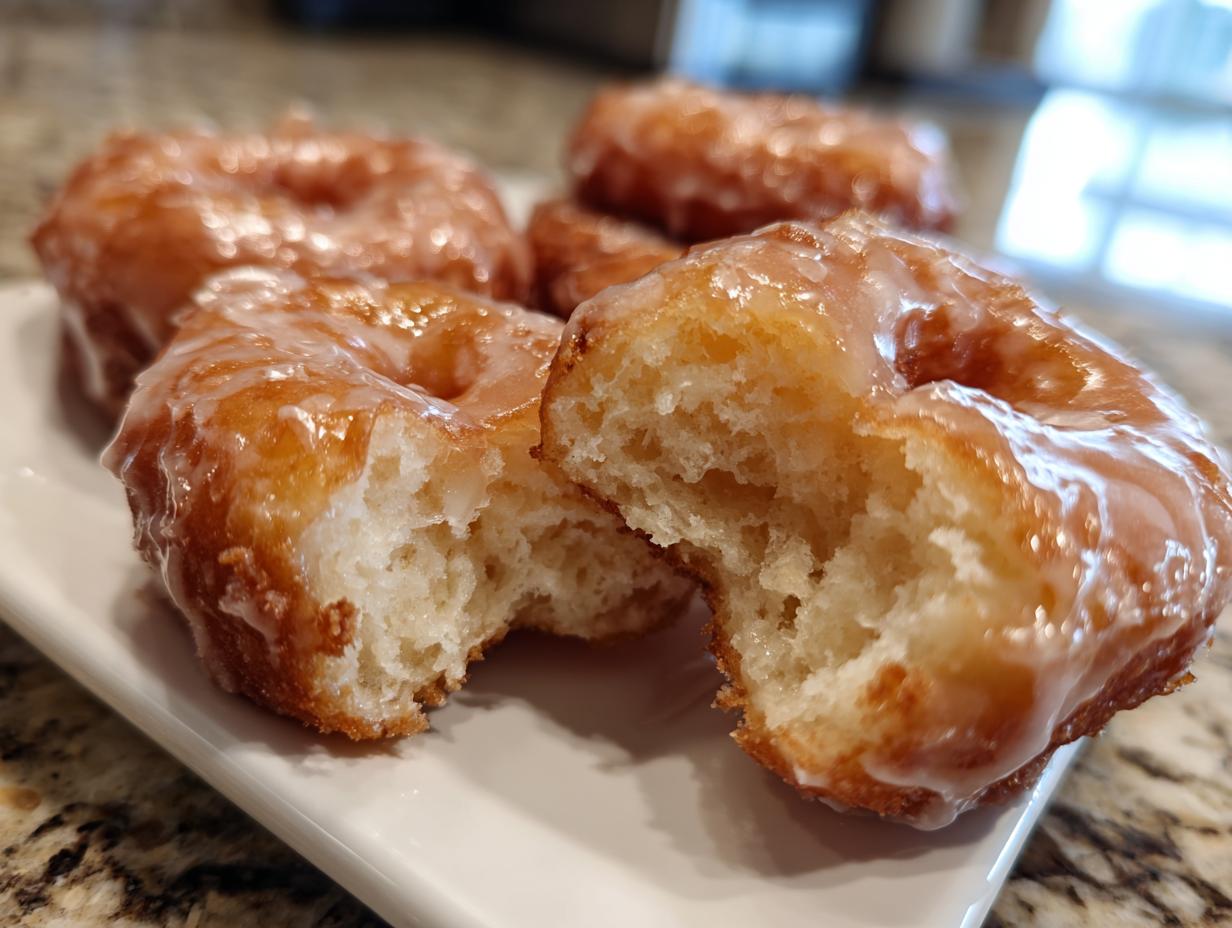
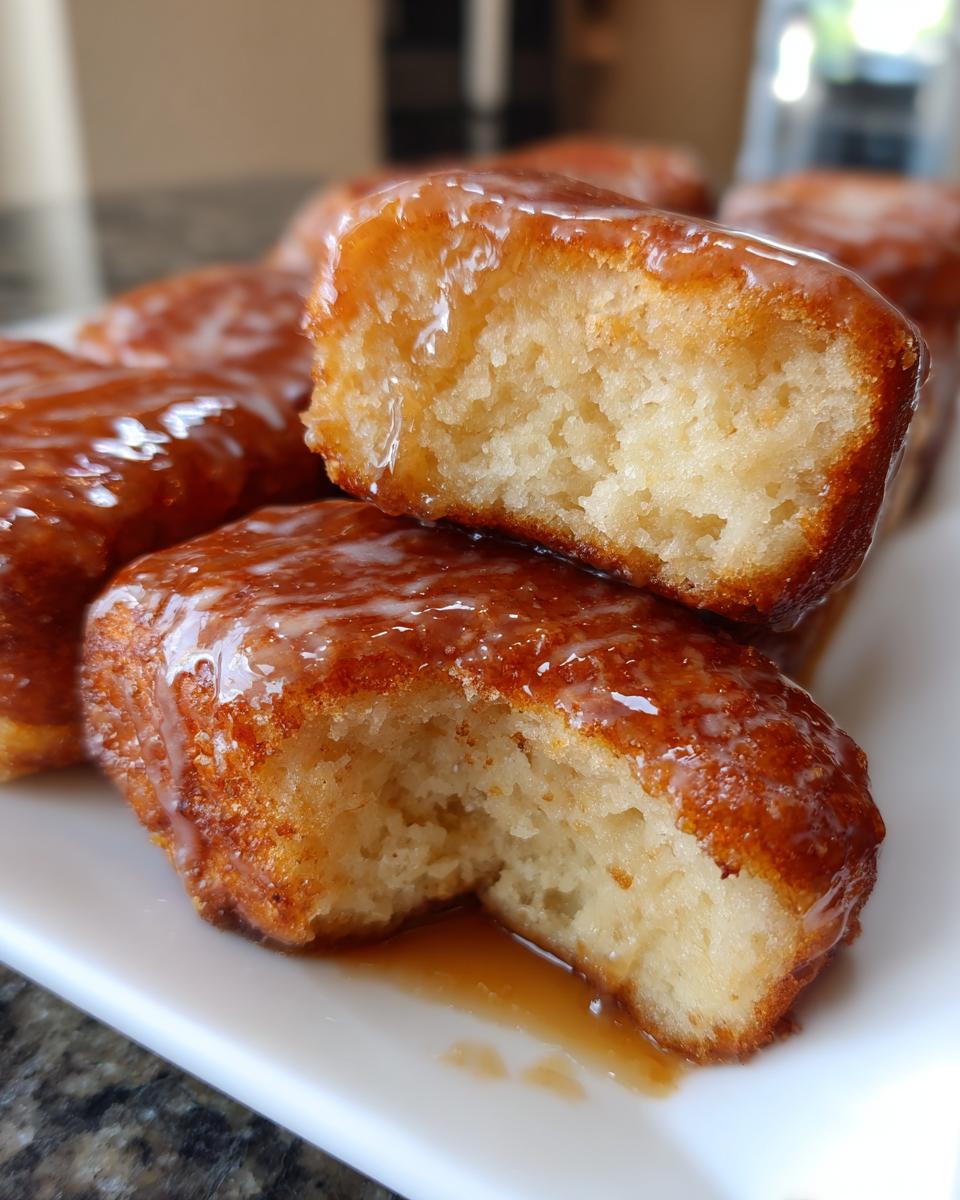
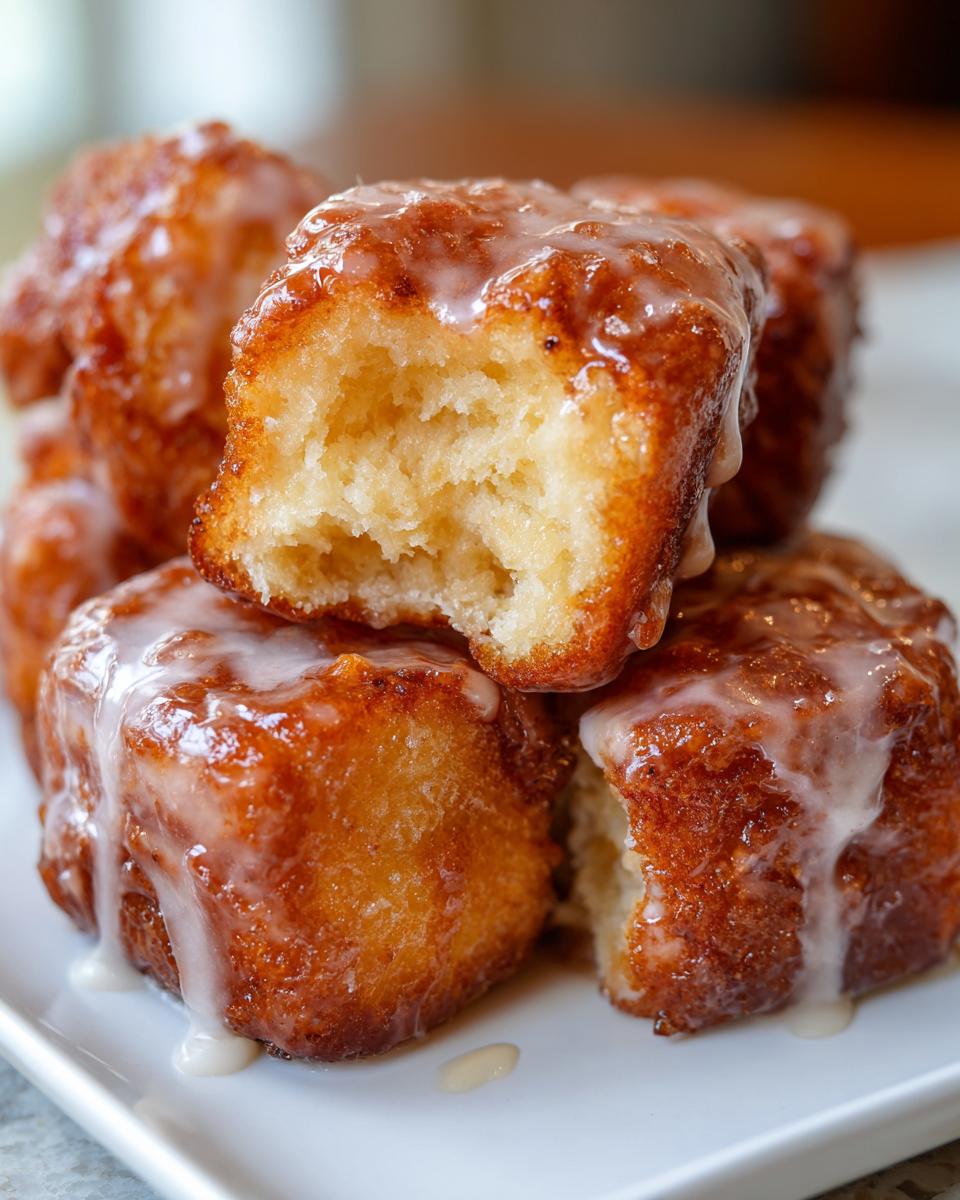
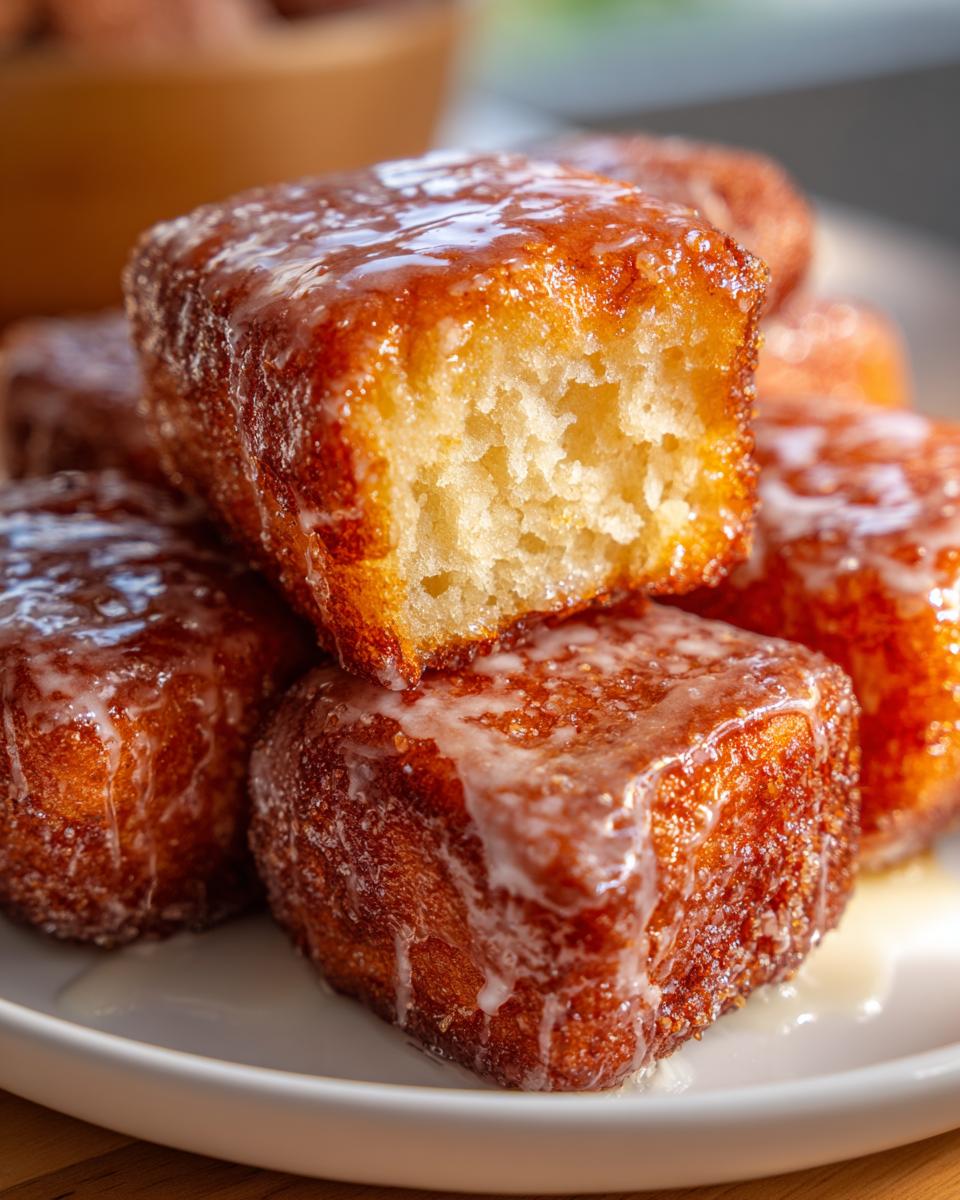
There’s just something about the crisp, cool air of autumn that makes me crave warm, comforting treats, you know? And for me, nothing screams “cozy fall morning” quite like a batch of homemade maple donut bars with that perfectly glossy, sweet glaze. Forget the bakery counter – these are so much better because *you* made them! I remember the first time I whipped up a batch, trying to capture that classic coffee shop taste right in my own kitchen. It took a few tries, but trust me, the effort is totally worth it when you bite into that soft, fluffy bar. Seriously, these are a game-changer for your weekend brunch!
- Why You'll Love These Maple Donut Bars
- Gather Your Ingredients for Maple Donut Bars
- Essential Equipment for Making Maple Donut Bars
- Step-by-Step Guide to Homemade Maple Donut Bars
- Tips for the Best Maple Donut Bars
- Storing Your Delicious Maple Donut Bars
- Frequently Asked Questions About Maple Donut Bars
- Estimated Nutritional Information
- Share Your Maple Donut Bar Creations!
Why You’ll Love These Maple Donut Bars
Seriously, why wouldn’t you want these in your life? They’re:
- Super easy to whip up, even if you’re new to yeast baking!
- Packed with that irresistible real maple flavor.
- Absolute stars for any fall breakfast or weekend brunch spread.
- So much more satisfying when you know you made them all by hand.
Gather Your Ingredients for Maple Donut Bars
Alright, let’s get our ducks in a row and gather everything we need for these amazing maple donut bars. You might have most of this on hand already! Remember, using room temperature eggs and slightly warm milk makes all the difference for the dough.
- 1 cup warm milk (that’s about 105-115°F, just cozy warm!)
- 2 ¼ teaspoons active dry yeast
- ½ cup granulated sugar
- ½ cup unsalted butter, melted and just a little cooled
- 2 large eggs, at room temperature
- 1 teaspoon vanilla extract
- 1 teaspoon salt
- 4 ½ cups all-purpose flour, plus a little extra for dusting your hands and the counter
- Vegetable oil, enough to fill your pot about 2-3 inches deep for frying
For the Maple Glaze:
- 2 cups powdered sugar, sifted if you like it extra smooth
- ¼ cup milk
- 2 tablespoons pure maple extract (this is where the magic happens!)
- 1 tablespoon unsalted butter, melted
Essential Equipment for Making Maple Donut Bars
Okay, so to make these glorious maple donut bars, you’ll want to gather a few trusty kitchen helpers. First up, a nice big bowl – the bigger the better for letting that dough puff up! You’ll need a heavy-bottomed pot for frying; this keeps the oil temperature nice and steady. Grab a slotted spoon or a spider strainer for gently lifting those golden beauties out of the hot oil. A wire rack is crucial for letting them cool and the glaze set without getting soggy bottoms. And don’t forget parchment paper for lining those baking sheets – it’s a lifesaver!
Step-by-Step Guide to Homemade Maple Donut Bars
Alright, let’s get these amazing maple donut bars made! Don’t be intimidated by yeast – it’s actually pretty friendly once you get the hang of it. Just follow these steps and you’ll be golden.
Preparing the Dough for Your Maple Donut Bars
First things first, let’s get that yeast ready! In a nice big bowl, combine your warm milk and the yeast. Give it a little swirl and let it sit for about 5 to 10 minutes. You’ll know it’s happy when it gets all foamy on top – that means it’s alive and ready to do its magic! Then, stir in the sugar, that lovely melted butter, your room-temp eggs, vanilla, and salt. Now, gradually add the flour, mixing it all up until you get a soft dough. It should be a little shaggy, but when you turn it out onto a lightly floured surface, knead it for about 5-7 minutes to get that smooth and elastic texture. Pop that dough into a greased bowl, cover it up, and let it chill out in a warm spot. We’re looking for it to double in size, which usually takes about 1 to 1.5 hours.
Shaping and Proofing the Donut Bars
Once your dough has puffed up beautifully, gently punch it down – it’s like giving it a little hug! Now, turn it out onto your lightly floured surface again and roll it out to about a half-inch thickness. This is where you decide how thick you want those bars! Now, grab a sharp knife or a bench scraper and cut your dough into nice, even bars. Lay these little guys onto a baking sheet lined with parchment paper, give them a little space to grow, cover them gently, and let them have their second rise for another 30-45 minutes. They’ll get nice and puffy again.
Frying Your Maple Donut Bars to Golden Perfection
Okay, time for the fun part! Carefully pour about 2-3 inches of vegetable oil into your heavy-bottomed pot. We want it to reach a nice, steady 350°F. If you don’t have a thermometer, a little piece of dough dropped in should sizzle immediately and float up. Fry your donut bars in batches – don’t crowd the pot, or the oil temperature will drop too much! Fry them for about 1-2 minutes per side, just until they’re a beautiful golden brown. Use a slotted spoon to carefully lift them out and set them on a plate lined with paper towels to drain off any extra oil.

Creating the Perfect Maple Glaze
While those gorgeous bars are still warm (this is key!), it’s time for the glaze. In a medium bowl, just whisk together your powdered sugar, milk, that wonderful maple extract, and the melted butter. Keep whisking until it’s smooth and lovely. If it seems too thick, add a tiny bit more milk, like a teaspoon at a time. If it’s too thin, a little more powdered sugar will do the trick!
Glazing and Finishing Your Maple Donut Bars
Now, take each warm donut bar and dip it into that luscious maple glaze, making sure it gets coated all over. Let any excess glaze drip back into the bowl. Place your beautifully glazed bars onto a wire rack – that’s where they’ll sit to let the glaze set up perfectly. Again, doing this while they’re still warm helps the glaze adhere wonderfully. Patience now – let them set before you dive in!
Tips for the Best Maple Donut Bars
Okay, so you’ve got the recipe, but let’s make sure these maple donut bars are absolutely out-of-this-world good. Little things make such a big difference! First, the temperature of your ingredients matters. Make sure that milk is just right – not too hot, or it’ll kill the yeast, and not too cold, or it won’t wake it up. And those eggs and butter? Room temperature is key for a smooth, well-combined dough. Don’t rush the rising! Find a nice, warm spot for your dough to double; sometimes I’ll even pop my oven on for just a minute, turn it off, and let the bowl sit inside. When you’re frying, keeping that oil temperature steady at 350°F is super important. If it’s too low, the bars get greasy, and if it’s too high, they’ll burn on the outside before getting cooked through. Trust me, it’s worth watching that thermometer! Think of it like making sure your apple crumb cake is baked just right – patience and precision pay off!
Storing Your Delicious Maple Donut Bars
Alright, so you’ve made these amazing maple donut bars and, surprise, surprise – you might have a few left over! Don’t worry, they store beautifully for a couple of days. The trick is to keep them in an absolute airtight container. This traps in all that lovely moisture and keeps them from getting stale. Honestly, they’re best enjoyed the very same day you whip them up, but if you need to save some for later, an airtight container at room temperature is your best bet for up to 2 days. Enjoy!
Frequently Asked Questions About Maple Donut Bars
Got questions about these delightful maple donut bars? I totally get it! Making yeast donuts at home can sometimes feel a little tricky, but no worries, I’m here to help!
Can I bake these maple donut bars instead of frying them?
You know, you *could* bake them if you really wanted to, and they’d still be tasty! But honestly, to get that true, tender, melt-in-your-mouth texture like a good maple glaze donut, frying is the way to go. Baking tends to make them more cake-like, and we’re going for that classic donut chew here. Think of it like skipping the crumb topping on a cake – you lose a little something special!
How do I get my maple glaze thicker or thinner?
Ah, the glaze consistency is key for that perfect coating! For a thicker glaze that really coats each bar, just use a little less milk. Start with just a tablespoon or two and whisk it in. If you prefer a thinner glaze, like a nice drizzle that runs down the sides, add more milk, but do it just a teaspoon at a time until you get that perfect pourable texture. You want it thick enough to stick, especially for those weekend brunch ideas!
What’s the secret to making these a great fall breakfast treat?
Oh, it’s all about that pure maple extract and making sure they’re fresh! When you serve these maple donut bars warm, right after glazing, the aroma of maple just fills the kitchen and screams cozy fall baking. People just go crazy for them! And baking them yourself really makes them feel extra special, like a little homemade treat straight from your own kitchen.
Estimated Nutritional Information
Just a heads-up, these numbers are estimates for one maple donut bar, and can wiggle around a bit depending on the exact ingredients you use! We’re looking at roughly 250 calories, about 12g of fat (4g saturated), 35g carbs, and a good 20g of sugar. It’s a treat, after all! So, keep that in mind as you plan your weekend brunch menu. Enjoy!
Share Your Maple Donut Bar Creations!
Have you made these amazing maple donut bars? I’d absolutely LOVE to hear all about it! Drop a comment below and tell me how they turned out, or give them a star rating if you enjoyed them. And if you took pictures (which I hope you did!), tag me on social media – seeing your kitchen creations makes my day!
PrintMaple Donut Bars
Enjoy bakery-style maple donut bars with a shiny maple glaze, perfect for a fall morning treat or weekend brunch.
- Prep Time: 30 min
- Cook Time: 20 min
- Total Time: 2 hours 50 min
- Yield: 24 bars 1x
- Category: Dessert
- Method: Frying
- Cuisine: American
- Diet: Vegetarian
Ingredients
- 1 cup warm milk (105-115°F)
- 2 ¼ teaspoons active dry yeast
- ½ cup granulated sugar
- ½ cup unsalted butter, melted
- 2 large eggs, room temperature
- 1 teaspoon vanilla extract
- 1 teaspoon salt
- 4 ½ cups all-purpose flour, plus more for dusting
- Vegetable oil, for frying
- For the Glaze:
- 2 cups powdered sugar
- ¼ cup milk
- 2 tablespoons maple extract
- 1 tablespoon unsalted butter, melted
Instructions
- In a large bowl, combine warm milk and yeast. Let stand for 5-10 minutes until foamy.
- Stir in granulated sugar, melted butter, eggs, vanilla extract, and salt.
- Gradually add flour, mixing until a soft dough forms.
- Knead the dough on a lightly floured surface for 5-7 minutes until smooth and elastic.
- Place dough in a greased bowl, cover, and let rise in a warm place for 1-1.5 hours, or until doubled in size.
- Punch down the dough and roll it out on a lightly floured surface to ½-inch thickness.
- Cut into 1-inch wide bars.
- Place bars on parchment-lined baking sheets, cover, and let rise for another 30-45 minutes.
- Heat about 2-3 inches of vegetable oil in a large, heavy-bottomed pot to 350°F.
- Fry the bars in batches for 1-2 minutes per side, until golden brown.
- Remove bars with a slotted spoon and drain on paper towels.
- While the bars are still warm, prepare the glaze by whisking together powdered sugar, milk, maple extract, and melted butter until smooth.
- Dip each bar into the glaze, ensuring it’s fully coated. Let excess drip off.
- Place glazed bars on a wire rack to set.
Notes
- For a thicker glaze, use less milk. For a thinner glaze, add more milk, a teaspoon at a time.
- You can store leftover donut bars in an airtight container at room temperature for up to 2 days.
- These bars are best enjoyed fresh, the day they are made.
Nutrition
- Serving Size: 1 bar
- Calories: 250
- Sugar: 20g
- Sodium: 150mg
- Fat: 12g
- Saturated Fat: 4g
- Unsaturated Fat: 8g
- Trans Fat: 0g
- Carbohydrates: 35g
- Fiber: 1g
- Protein: 3g
- Cholesterol: 40mg