
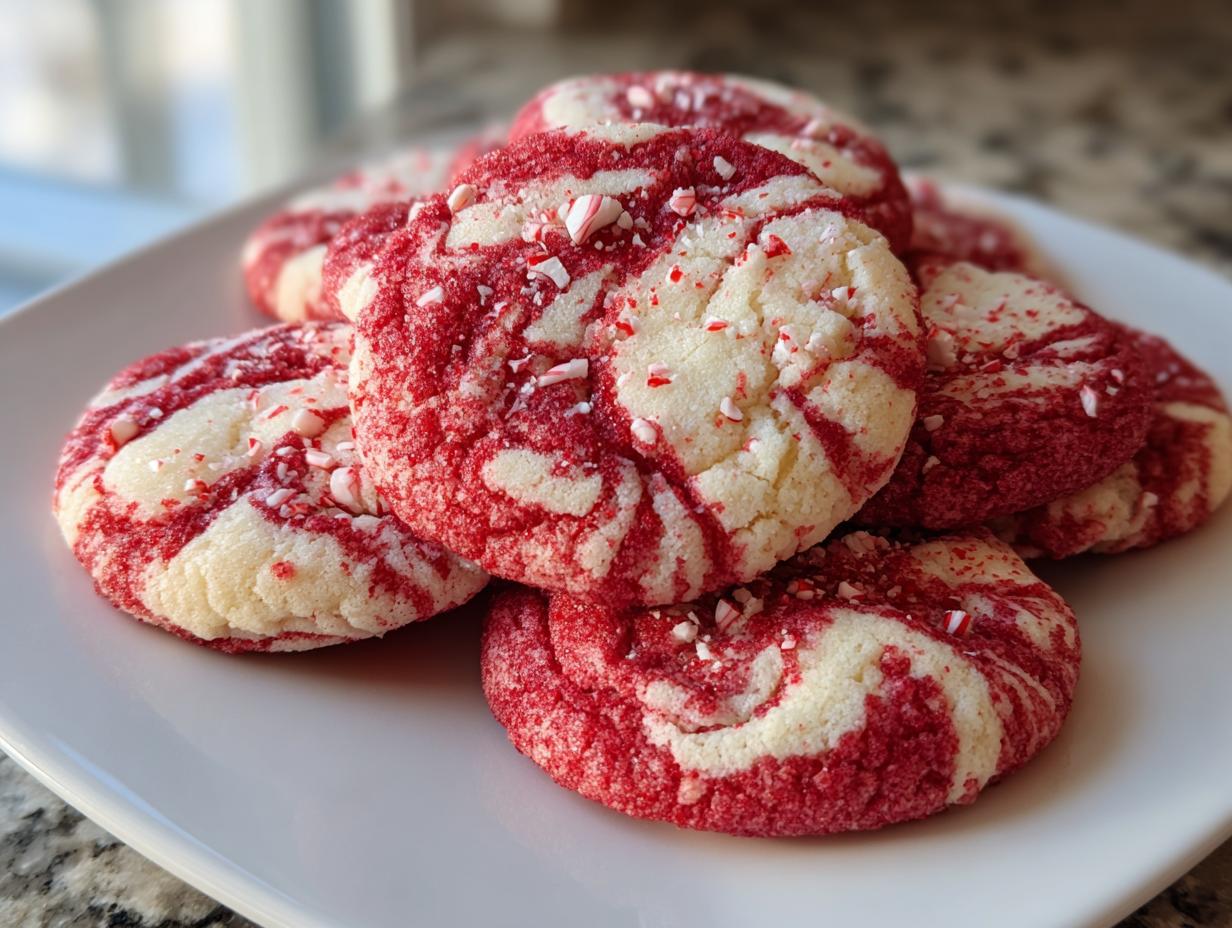
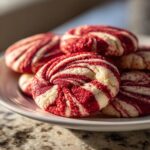
Oh, the holidays! Just thinking about them makes me want to crank up the Christmas tunes and get baking. And when it comes to festive treats, nothing says “Merry Christmas” quite like a plate piled high with gorgeous red and white peppermint swirl cookies. Seriously, these beauties are like little Christmas miracles you can eat! They have that perfect crisp bite, a refreshing burst of mint, and let’s be honest, that classic red and white swirl just screams holiday cheer, doesn’t it? They’re a dream to make ahead too, so you can actually enjoy your own parties. Trust me, these peppermint swirl cookies are going to be your new holiday go-to!

- Why You'll Love These Peppermint Swirl Cookies
- Gather Your Ingredients for Peppermint Swirl Cookies
- Crafting Perfect Peppermint Swirl Cookies: Step-by-Step
- Tips for Success with Peppermint Swirl Cookies
- Make-Ahead and Freezer Storage for Peppermint Pinwheel Cookies
- Frequently Asked Questions about Peppermint Swirl Cookies
- Estimated Nutritional Information
- Share Your Festive Creations!
Why You’ll Love These Peppermint Swirl Cookies
There are so many reasons why these peppermint swirl cookies are going to become a staple in your holiday baking! They’re just incredibly special, and I know you’ll fall in love with them too.
- So Festive! That classic red and white swirl makes them look like they came right out of a holiday magazine. They’re just begging to be on your Christmas cookie platter!
- Perfectly Crisp Bite: We all love a cookie that has just the right amount of snap, right? These deliver a satisfying crispness with every bite.
- Cool Minty Flavor: The refreshing peppermint is like a little burst of holiday magic. It’s not too overpowering, just perfectly minty and delicious.
- Make-Ahead Magic: Planning for the holidays can be crazy! Seriously, the best part is you can whip up the dough ahead of time and chill it, so baking is a breeze when you need them.
- Cookie Swap Stars: Honestly, these peppermint pinwheel cookies are always a huge hit at cookie swaps. Everyone loves a homemade treat that looks as good as it tastes!
Gather Your Ingredients for Peppermint Swirl Cookies
Alright, let’s get our ingredients ready! To whip up these stunning peppermint swirl cookies, you’ll need just a few simple things you probably already have in your pantry. Having everything measured out makes the whole process so much smoother, trust me. It’s like setting the stage for baking success!
Here’s what you’ll need:
- 2 1/4 cups all-purpose flour
- 1 teaspoon baking soda
- 1/2 teaspoon salt
- 1 cup (that’s 2 whole sticks!) unsalted butter, make sure it’s softened – not melted, just nice and pliable
- 1 1/2 cups granulated sugar
- 2 large eggs
- 1 teaspoon peppermint extract (use the good stuff for the best flavor!)
- 1/4 teaspoon red food coloring (get ready for that festive color!)
Crafting Perfect Peppermint Swirl Cookies: Step-by-Step
Alright, now for the fun part – making these gorgeous swirls happen! It’s not as tricky as it looks, I promise. Just follow along, and you’ll see how magic happens right in your own kitchen. These steps are key to getting those picture-perfect peppermint cookies. For more holiday baking inspiration, check out my Christmas Sprinkle Buttermilk Bread recipe; it’s a real crowd-pleaser!
Preparing the Cookie Dough Base
First things first, let’s get our dough made. In one bowl, just whisk together the flour, baking soda, and salt. Easy peasy! Now, in a bigger bowl, you’re going to cream that softened butter and sugar together. Really get it going until it’s nice and fluffy and light in color. Then, crack in those eggs, one at a time, giving it a good mix after each. Don’t forget to stir in that lovely peppermint extract!
Achieving the Perfect Peppermint Swirl
Now comes the bit that makes them so pretty! Take that dough you just made and divide it right in half. Into one of those halves, mix in your red food coloring. Work it in really well until you get a nice, even red. On a clean, lightly floured surface (and this is important!), roll out each half of the dough into a rectangle, about 10 by 15 inches. Lay the red one right on top of the white one – try to get them lined up as best you can. Give them a gentle press to stick them together. Then, starting from one of the long sides, roll it up super tight, like a jelly roll. Wrap that log up tight in plastic wrap.
Chilling and Slicing for Uniformity
This part is non-negotiable, so listen up! You absolutely *have* to chill that cookie dough log for at least 2 hours, or honestly, until it’s really firm. This makes all the difference in getting clean slices and preventing a cookie blob disaster! Once it’s nice and firm, preheat your oven to 375°F (that’s 190°C) and line a couple of baking sheets with parchment paper. Then, grab a sharp knife and slice that chilled log into nice, even 1/4-inch rounds. Be patient here; a dull knife will totally smush your beautiful swirl!
Baking and Cooling Your Festive Cookies
Now we bake! Pop those sliced peppermint swirl cookies onto your prepared baking sheets, leaving a little space between them, maybe about 2 inches. They’ll spread a bit. Bake them for about 8 to 10 minutes. You’re looking for the edges to be just lightly golden. Don’t let them get too brown! Let them cool on the baking sheets for a few minutes – this helps them set up – then carefully move them to a wire rack to cool completely. This is how you get that perfect crispness we talked about!
Tips for Success with Peppermint Swirl Cookies
Alright, let’s talk about making these peppermint swirl cookies absolutely perfect, every single time! I’ve learned a thing or two over the years, and a few little tricks can make a huge difference. Don’t be afraid to tweak things here and there, but keeping these tips in mind will guarantee success.
First off, about the food coloring: the recipe calls for 1/4 teaspoon, but honestly, I often add a tiny bit more if I want a really vibrant red. Just be careful not to add too much liquid food coloring, as it can make the dough a little sticky. If you can find gel food coloring, that’s even better – a tiny dot gives you super intense color without adding extra moisture.
And for those super sharp swirls? Make sure that dough log is CHILLED. I can’t stress this enough! Seriously, if it’s too soft, you’ll get a smooshed blob, not a pretty swirl. Also, use a really sharp knife and slice with confidence. Don’t saw back and forth too much; a clean, decisive cut works best.
Oven temperatures can be a bit wild sometimes, right? If your oven tends to run hot, you might want to shave a minute or two off the baking time. Keep an eye on them, and look for those lightly golden edges. They’ll continue to crisp up as they cool.
Make-Ahead and Freezer Storage for Peppermint Pinwheel Cookies
One of the things I absolute adore about these peppermint pinwheel cookies is how totally make-ahead friendly they are! Honestly, the holiday season gets so hectic, and having part of the baking done already is a lifesaver. Plus, you can totally have these ready to go whenever a cookie craving strikes or unexpected guests pop by!
So, here’s the deal: after you’ve rolled up that gorgeous red and white dough log, wrap it up tight in plastic wrap. You can pop that log straight into fridge for up to 3 days. That’s perfect if you’re planning to bake them in a few days! If you want to keep them even longer, just pop that wrapped log straight into the freezer. It’ll keep perfectly for up to 3 months! When you’re ready to bake, just take the log out of the freezer and let it sit on the counter for about 15-20 minutes, just until it’s slightly softened and you can slice it easily. It needs to be firm enough to slice cleanly, but not rock hard, you know?
It’s seriously the best way to prep! For another easy holiday treat that’s also a breeze to make ahead, you’ve GOT to try my Christmas Bark recipe!
Frequently Asked Questions about Peppermint Swirl Cookies
Got questions about these festive peppermint swirl cookies? I totally get it! Baking should be fun, not frustrating, so let’s clear up anything that might be on your mind. These are all my go-to answers for making sure your peppermint pinwheel cookies turn out amazing!
Can I use gel food coloring for my peppermint pinwheel cookies?
Oh, absolutely! Gel food coloring is actually my favorite for these cookies. A little tiny bit goes a long way, giving you that super vibrant red without adding any extra liquid that could mess with the dough’s texture. So yes, go for the gel if you can find it!
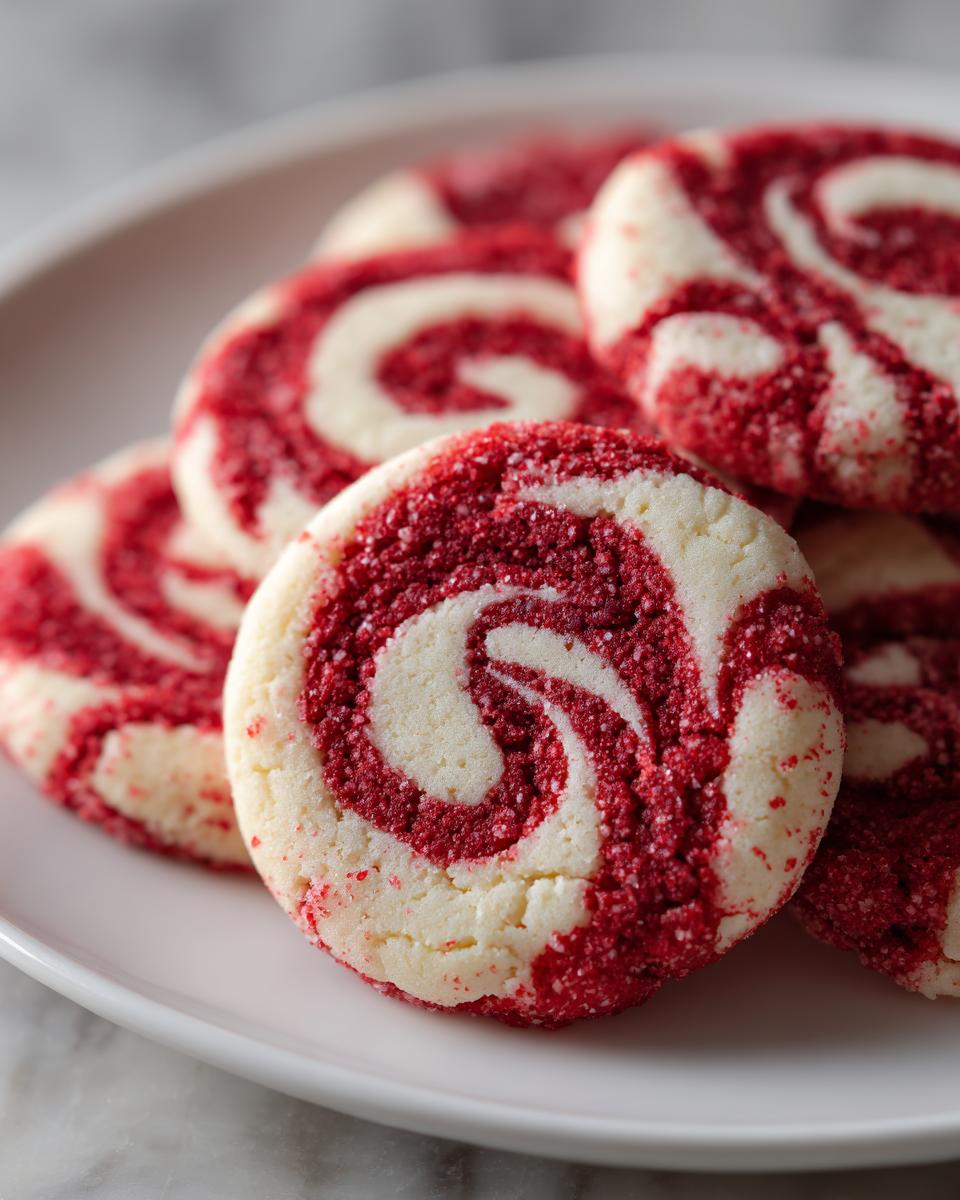
How do I get sharp, defined swirls in my cookies?
The secret sauce here is all about that chill time! Make sure your dough log is super firm before you slice it. Also, use a really sharp knife so you get a clean cut. Don’t get too fussy trying to trim the ends perfectly; concentrate on slicing cleanly through the middle. A gently rolled log and a firm dough are your best friends for those sharp swirls!
What can I do if my peppermint swirl cookies spread too much?
If your peppermint swirl cookies are spreading like they’re trying to take over the cookie sheet, don’t panic! The most common culprit is dough that hasn’t been chilled enough. Give it more time in the fridge! Also, double-check your oven temperature – using an oven thermometer can be a lifesaver to make sure it’s accurate. Sometimes just really firm, cold dough is all you need.
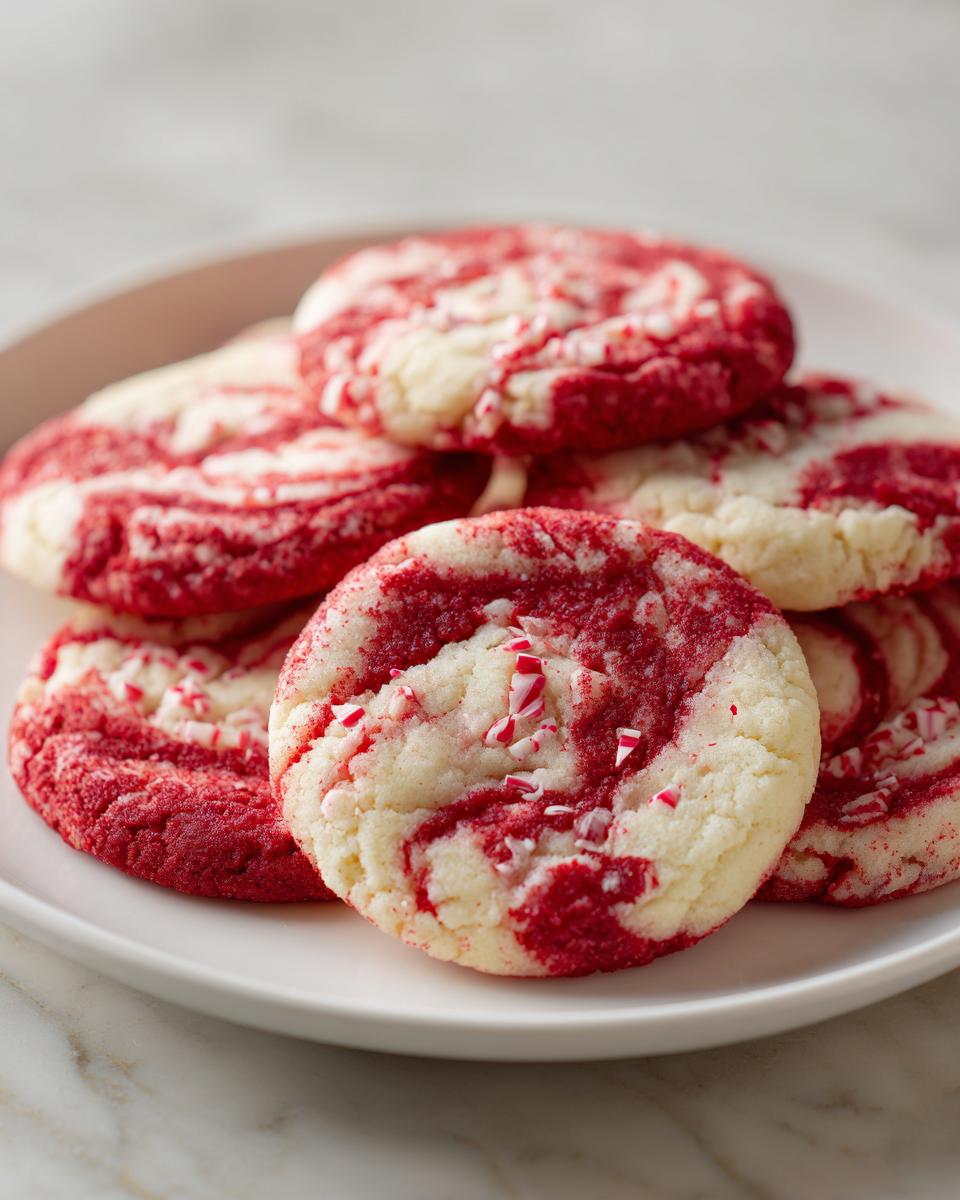
Are these considered good holiday cookies for a cookie swap?
Are you kidding? These are *perfect* holiday cookies for a cookie swap! They look absolutely stunning with those red and white swirls, they taste fantastic with that crisp texture and cool minty flavor, and you can make the dough ahead of time. They always disappear fast, and people will be asking you for the recipe!
Estimated Nutritional Information
Just a heads-up, this is an *estimate* for how many tasty peppermint swirl cookies you get. The exact numbers can change a little depending on the exact ingredients and brands you use, but it gives you a good idea! Each cookie has about 100 calories, 5g of fat, 1g of protein, and 13g of carbohydrates. Happy baking (and eating)!
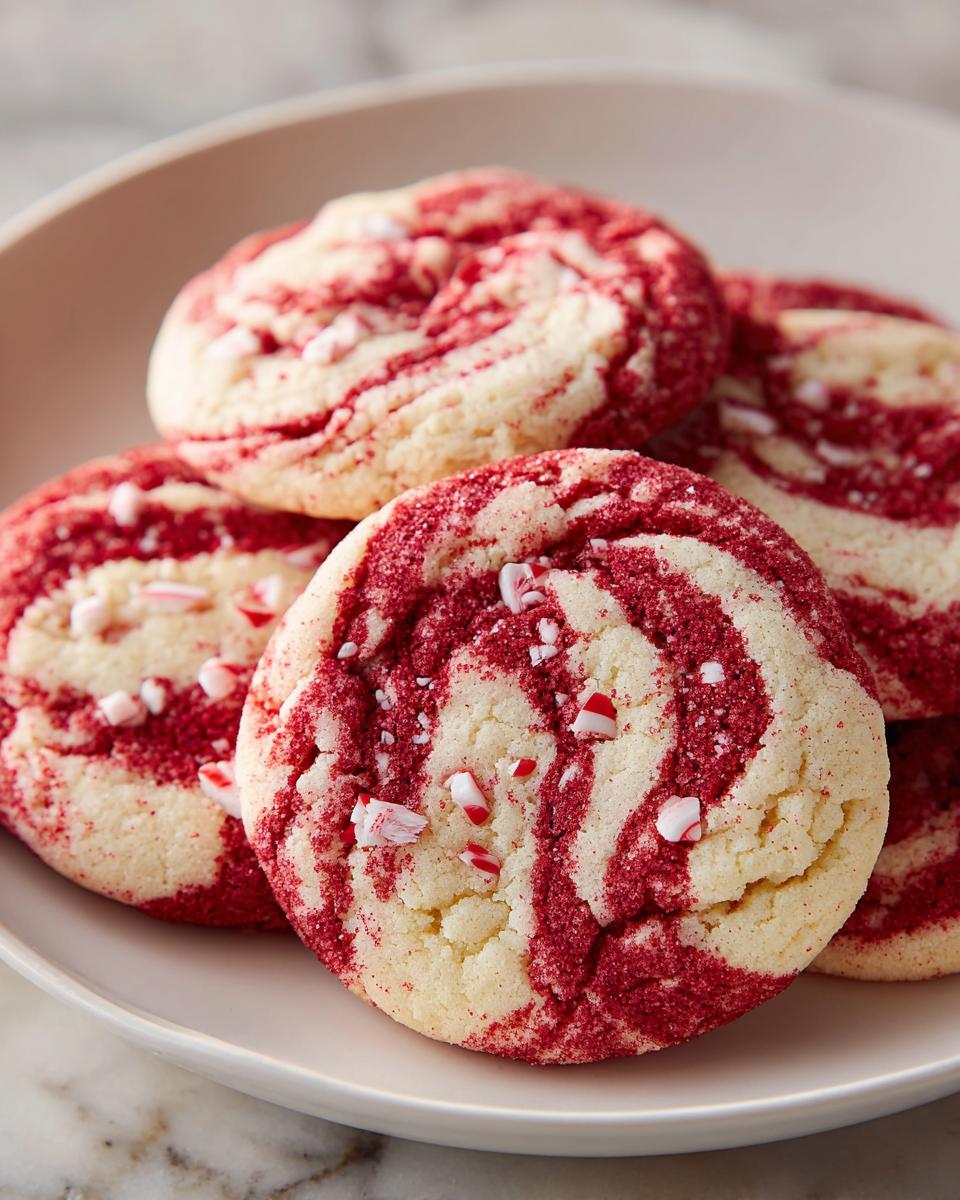
Share Your Festive Creations!
I just LOVE seeing your baking adventures! Have you made these peppermint swirl cookies? Did you add your own little twist? I’d be absolutely thrilled if you’d share a photo of your beautiful peppermint pinwheel cookies in the comments below or even rate the recipe. If you have any questions or want to share your experience, feel free to reach out via my contact page. I can’t wait to hear from you!
PrintPeppermint Swirl Cookies
Crisp, festive red and white peppermint swirl cookies perfect for holiday baking and cookie swaps.
- Prep Time: 25 min
- Cook Time: 10 min
- Total Time: 2 hr 35 min
- Yield: 48 cookies 1x
- Category: Dessert
- Method: Baking
- Cuisine: American
- Diet: Vegetarian
Ingredients
- 2 1/4 cups all-purpose flour
- 1 teaspoon baking soda
- 1/2 teaspoon salt
- 1 cup (2 sticks) unsalted butter, softened
- 1 1/2 cups granulated sugar
- 2 large eggs
- 1 teaspoon peppermint extract
- 1/4 teaspoon red food coloring
Instructions
- In a medium bowl, whisk together the flour, baking soda, and salt.
- In a large bowl, cream together the softened butter and granulated sugar until light and fluffy.
- Beat in the eggs one at a time, then stir in the peppermint extract.
- Gradually add the dry ingredients to the wet ingredients, mixing until just combined.
- Divide the dough in half. In one half, mix in the red food coloring until evenly distributed.
- On a lightly floured surface, roll out each half of the dough into a 10×15 inch rectangle.
- Carefully invert the red dough rectangle onto the white dough rectangle. Press gently to adhere.
- Starting from one of the long sides, tightly roll up the dough into a log. Wrap in plastic wrap and chill for at least 2 hours, or until firm.
- Preheat your oven to 375°F (190°C). Line baking sheets with parchment paper.
- Slice the dough log into 1/4-inch thick rounds.
- Place cookies on the prepared baking sheets, about 2 inches apart.
- Bake for 8-10 minutes, or until the edges are lightly golden.
- Let cookies cool on the baking sheets for a few minutes before transferring them to a wire rack to cool completely.
Notes
- For best results, chill the dough overnight.
- You can freeze the dough log for up to 3 months. Thaw slightly before slicing.
- Adjust red food coloring for desired color intensity.
Nutrition
- Serving Size: 1 cookie
- Calories: 100
- Sugar: 10g
- Sodium: 30mg
- Fat: 5g
- Saturated Fat: 3g
- Unsaturated Fat: 2g
- Trans Fat: 0g
- Carbohydrates: 13g
- Fiber: 0g
- Protein: 1g
- Cholesterol: 15mg