
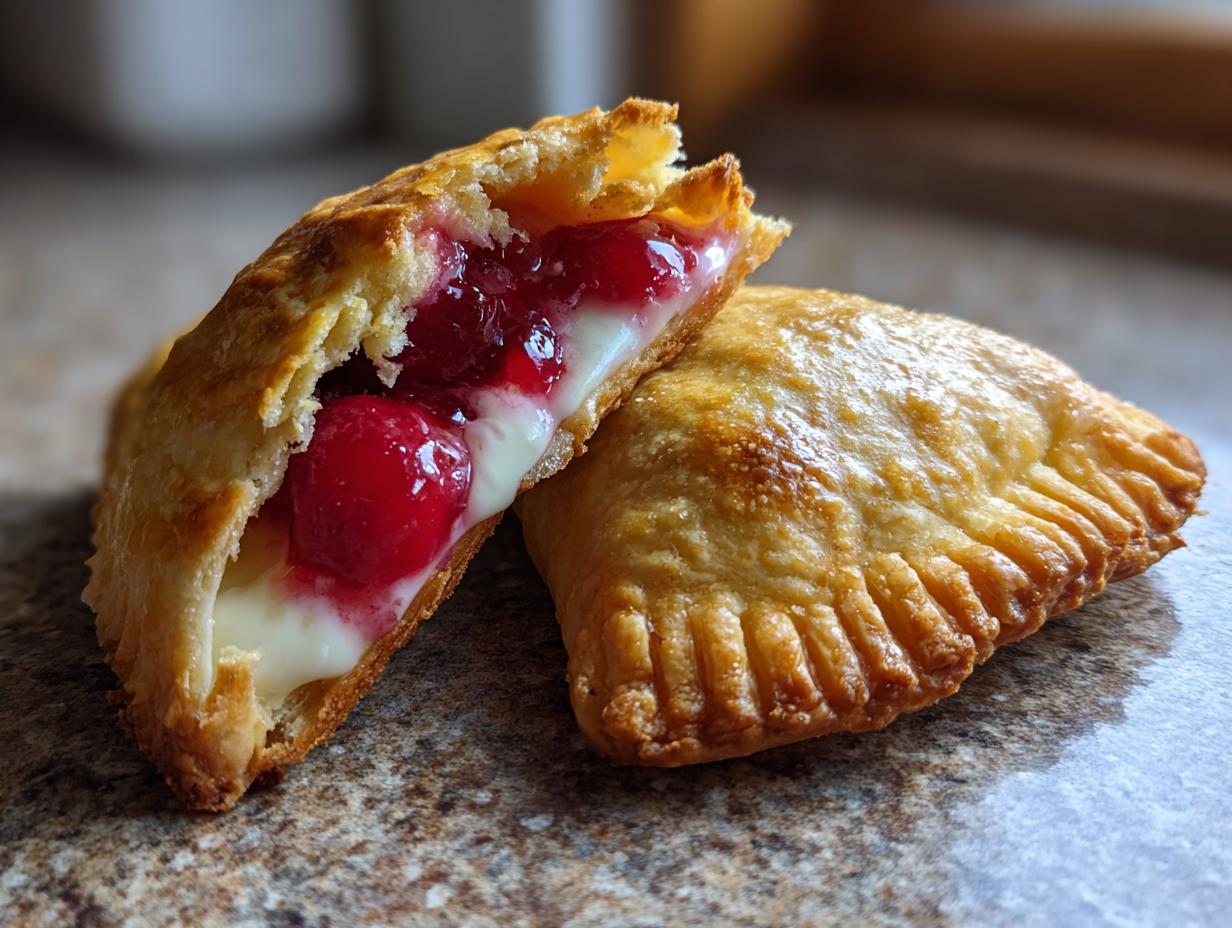
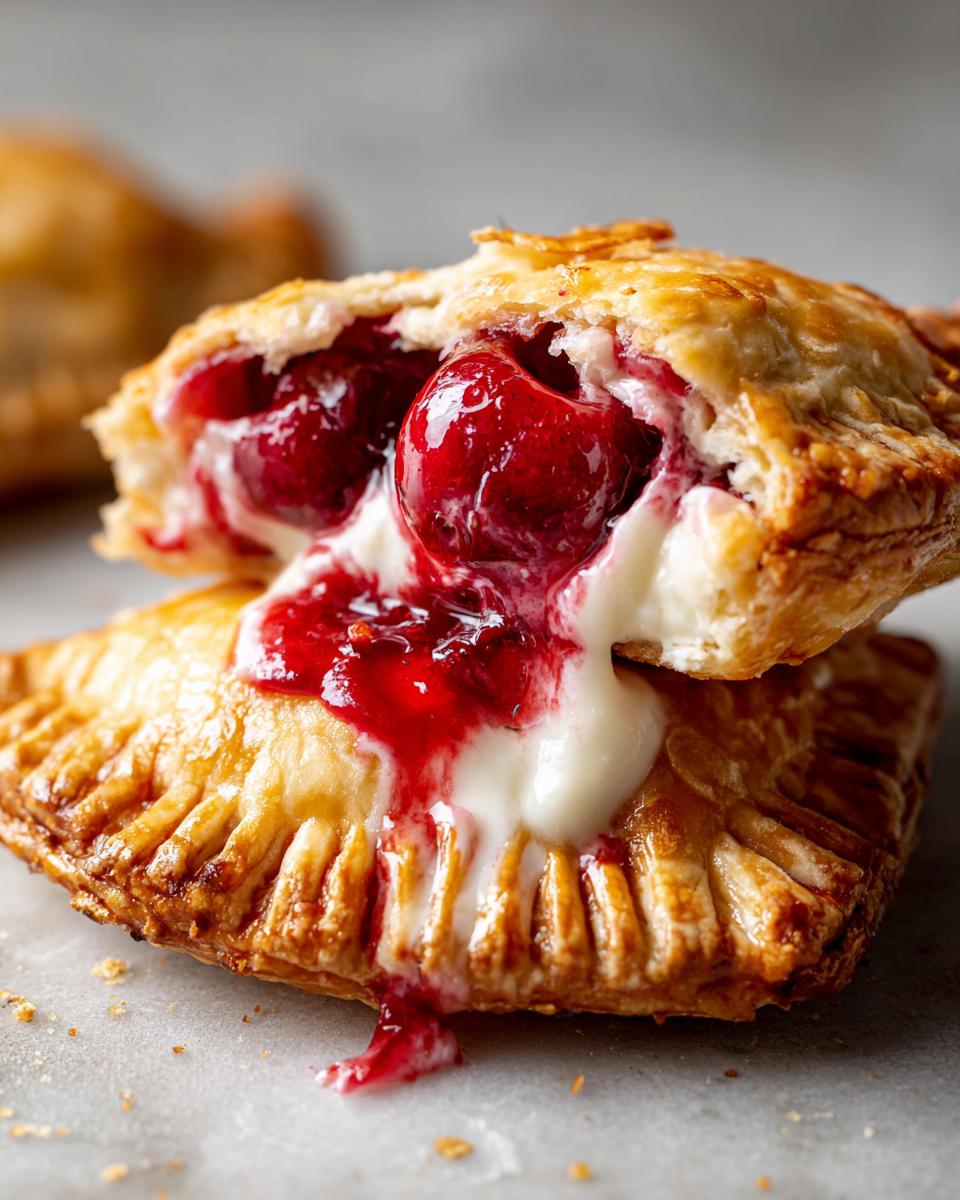
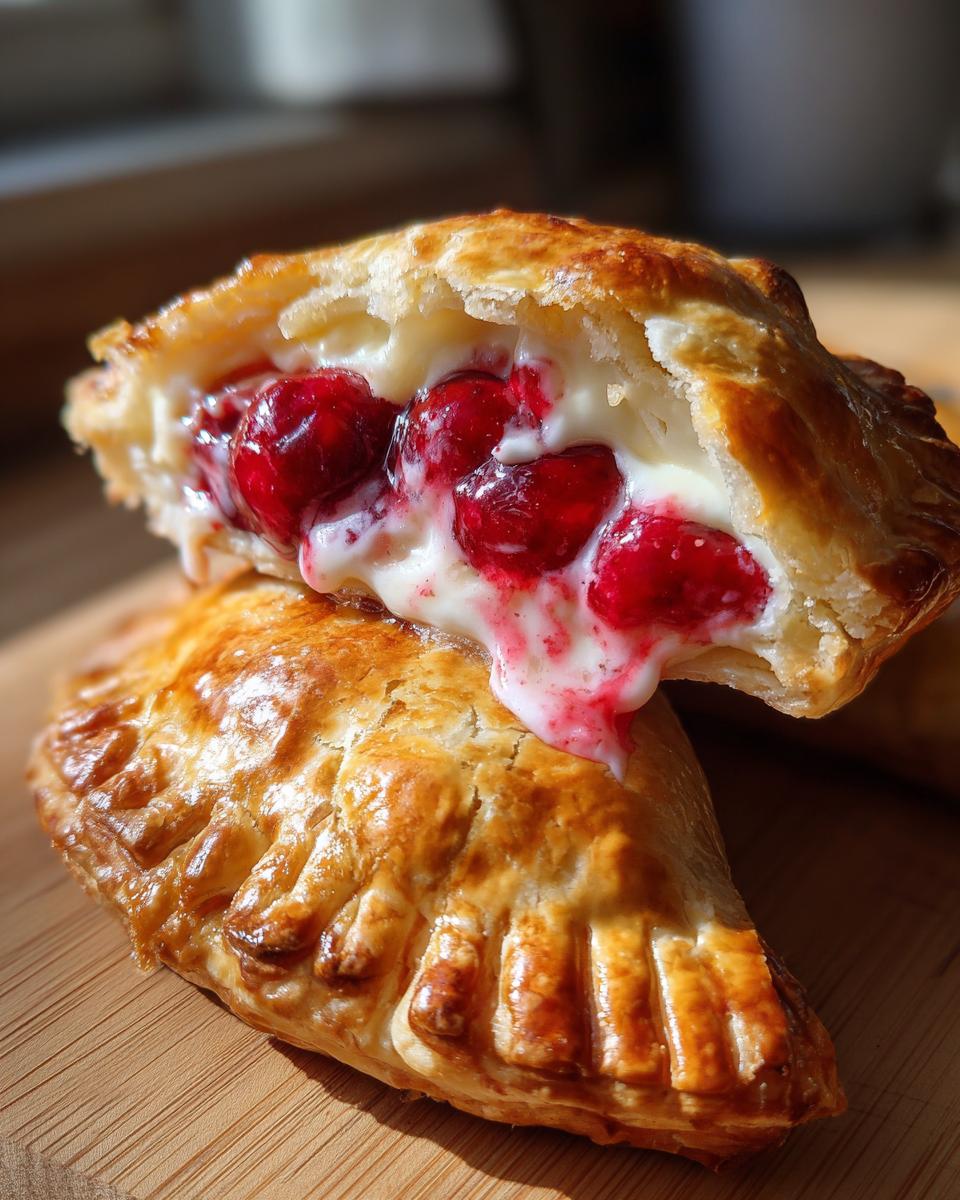
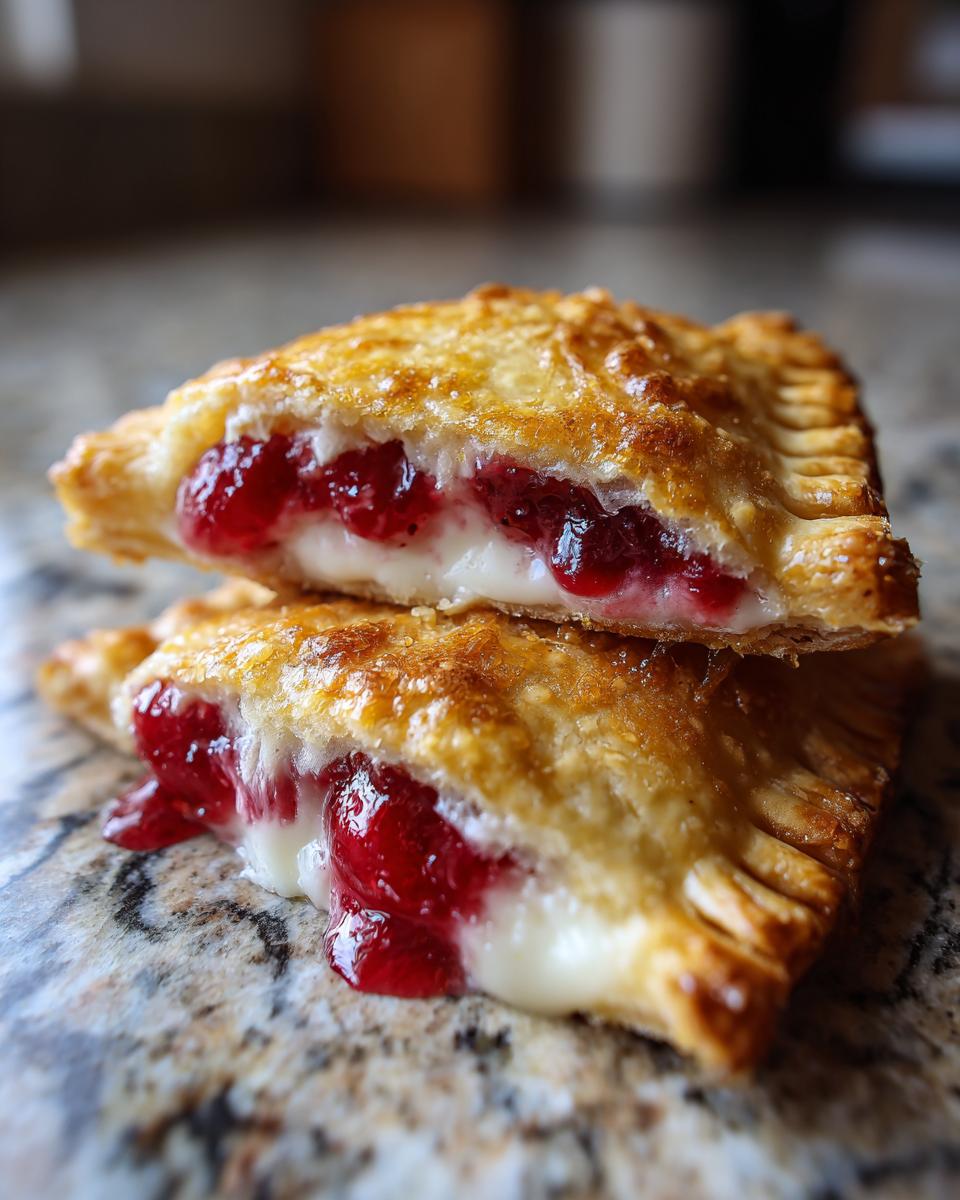
Oh, you are going to LOVE these! Imagine biting into a flaky, golden crust filled with that dreamy tang of cream cheese swirled with super sweet cherry filling. That’s exactly what you get with these cherry cheesecake hand pies! They’re so easy, totally portable, and just pure deliciousness all wrapped up in one perfect little package. My grandmother, Eleanor Vance, always said the best recipes are the ones that bring people together, and these hand pies totally do that. They’re proof that amazing flavor doesn’t need to be complicated – just like she always believed!
- Why You'll Love These Cherry Cheesecake Hand Pies
- Ingredients for Perfect Cherry Cheesecake Hand Pies
- Essential Equipment for Making Cherry Cheesecake Hand Pies
- Step-by-Step Guide to Making Cherry Cheesecake Hand Pies
- Tips for the Best Cherry Cheesecake Hand Pies
- Make-Ahead and Storage for Your Cherry Cheesecake Hand Pies
- Nutritional Information for Cherry Cheesecake Hand Pies
- Frequently Asked Questions about Cherry Cheesecake Hand Pies
- Share Your Cherry Cheesecake Hand Pie Creations!
Why You’ll Love These Cherry Cheesecake Hand Pies
Seriously, these little guys are winners! They’re:
- Super Easy: Thanks to using refrigerated pie crusts, you can whip these up in no time.
- Deliciously Dreamy: That creamy cheesecake filling with sweet cherry bits? Pure heaven!
- Perfectly Portable: These are the ultimate handheld desserts – no forks needed!
- Party Perfect: Your go-to easy dessert for parties, bake sales, or just because you deserve a treat!
Ingredients for Perfect Cherry Cheesecake Hand Pies
Alright, let’s get down to the good stuff! These are the magical bits and bobs you’ll need to make these irresistible cherry cheesecake hand pies:
- Two packages of refrigerated pie crusts – yup, we’re keeping it easy!
- One 8-ounce package of cream cheese, softened *just right* (let it sit on the counter for a bit).
- Half a cup of granulated sugar for that creamy sweetness.
- One egg yolk – this is our little secret for a decadent filling.
- A teaspoon of vanilla extract, because, well, it’s vanilla!
- One 21-ounce can of cherry pie filling. Go for the good stuff, it makes all the difference!
- One whole egg, beaten, for our shiny egg wash.
- And finally, about 2 tablespoons more granulated sugar to sprinkle on top for that perfect crunch.
Essential Equipment for Making Cherry Cheesecake Hand Pies
Alright, to make these little pockets of joy, you’ll want to have a few things ready. Grab your baking sheets – I like to line mine with parchment paper so nothing sticks! You’ll need a couple of mixing bowls for the cream cheese filling, plus measuring cups and spoons. A 4-inch round cutter is perfect for getting those nice hand pie shapes, and a trusty fork is essential for crimping those pretty edges. And of course, a wire rack for cooling!
Step-by-Step Guide to Making Cherry Cheesecake Hand Pies
Alright, let’s get these little flavor bombs made! It’s really not too tricky, and the results are SO worth it. First things first, get that oven preheating to 375°F (190°C). And you’ll want to line a couple of baking sheets with parchment paper—trust me, this makes cleanup a breeze later!
Preparing the Cream Cheese Filling
In a medium bowl, grab your softened cream cheese and the first half cup of sugar. Beat ’em together until they’re super smooth and creamy, like a little cloud. Then, beat in that egg yolk and the vanilla extract until everything is just perfectly combined. You want it smooth and dreamy!
Assembling Your Cherry Cheesecake Hand Pies
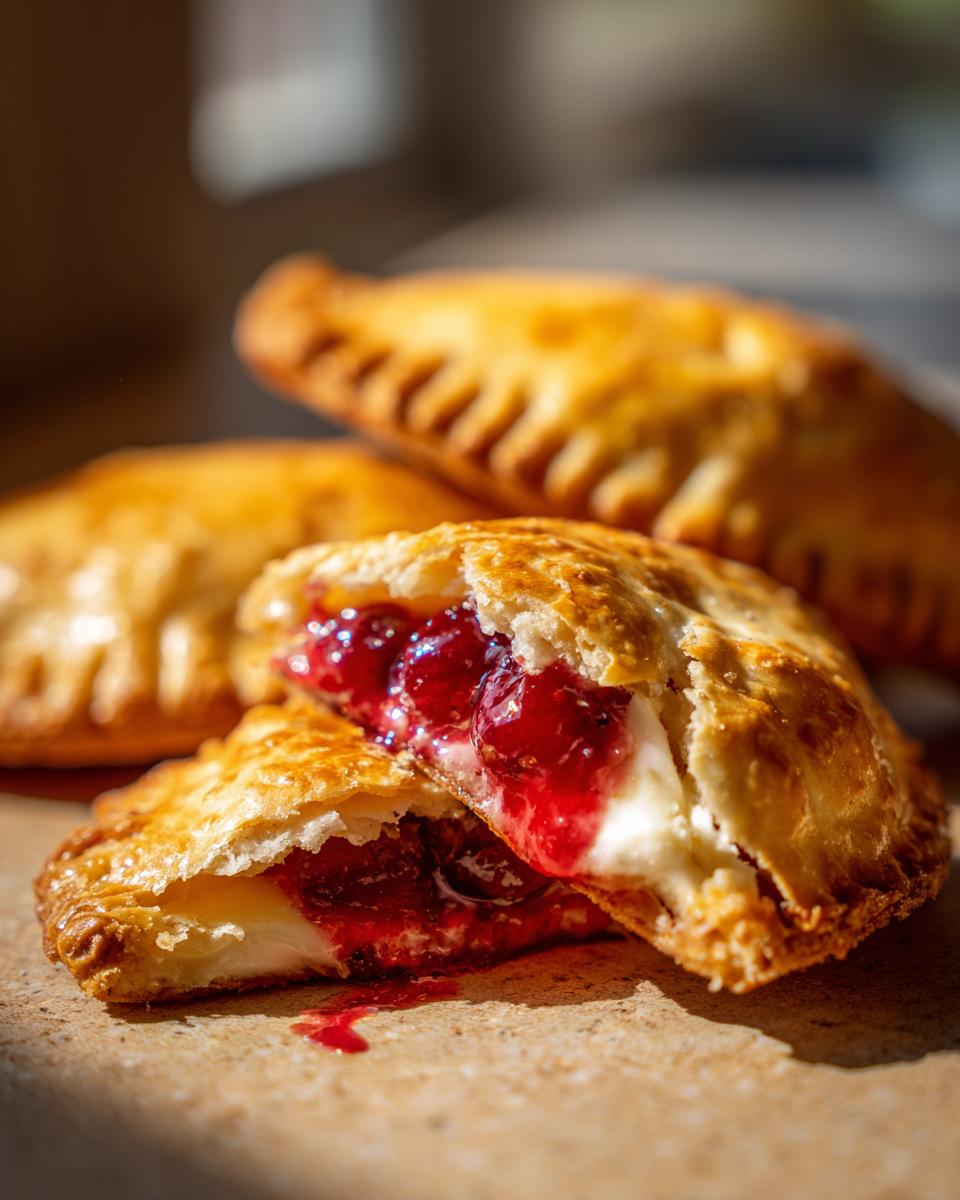
Now, unroll your pie crusts. I like to use a 4-inch round cutter to pop out circles – you’ll get about 6 to 8 from each crust. Lay out half of your circles. Spoon about a tablespoon of that amazing cream cheese mixture onto one half of each circle, leaving a little room around the edges. Next, plop about 2 tablespoons of cherry pie filling right on top of the cream cheese. If your cherry pie filling seems a little thin, don’t worry, it should thicken up while baking! Now, brush those edges with a little of your beaten egg wash – this is like glue! Fold the other half of the crust over the filling to make a half-moon shape. Press those edges down really well to seal them up tight, then use a fork to crimp all around the edge. We don’t want any of that gooey goodness escaping!
Baking and Cooling Your Baked Hand Pies
Carefully place your assembled cherry cheesecake hand pies onto those prepared baking sheets. Brush the tops with the rest of your egg wash – this gives them that gorgeous golden sheen. Sprinkle them with that extra 2 tablespoons of sugar for a little sparkle and crunch. Pop them into the preheated oven and bake for about 18 to 22 minutes. You’re looking for a beautiful golden brown crust and filling that’s happily bubbling away. Once they’re done, let them cool on the baking sheets for a few minutes before transferring them to a wire rack to cool completely. Patience is key here so the filling sets up nicely!
Tips for the Best Cherry Cheesecake Hand Pies
Okay, so you’ve mixed the filling and cut out your crusts – now for those little tricks that make these cherry cheesecake hand pies absolutely sing! My grandma Ellie always said baking was about feeling and fiddling, and these pointers are exactly what she’d tell you. Don’t be afraid to get a little hands-on; it makes all the difference!
Using Refrigerated Pie Crusts Effectively
Those store-bought pie crusts are a lifesaver, right? Just make sure they’re at room temperature when you unroll them, not straight from the fridge, or they’ll crack. If one tears a little, just patch it up and press gently. You can find more tips for using them on my refrigerated pie crusts page!
Achieving a Perfect Seal and Crimp
This is super important! That egg wash isn’t just for looks; it’s your glue. Make sure you brush it all along the entire edge where the two crusts will meet. Don’t overfill them either – leave a good half-inch border clear. Press down HARD with your fingers, then really crimp with that fork. You want it sealed tight so that yummy filling stays put! And hey, if you’re feeling adventurous, you can even try making these babies in your air fryer – check out my tips for air fryer hand pies!
Make-Ahead and Storage for Your Cherry Cheesecake Hand Pies
Life gets crazy, right? That’s why I love that these cherry cheesecake hand pies are total game-changers when it comes to planning ahead. You can totally assemble them, and then pop them in the freezer! Just lay them flat on a baking sheet until they’re nice and solid, then tuck them into a freezer-safe container. When you’re ready to bake, just pop them straight from the freezer into the oven; you might need an extra minute or two in there. Baked ones? Just let them cool completely, then store them in an airtight container at room temperature (they’re pretty stable thanks to all that sugar!). They’re perfect for making ahead for parties or just having a delicious treat ready when a craving strikes, kind of like my homemade peanut butter cups!
Nutritional Information for Cherry Cheesecake Hand Pies
Just a heads-up, the nutrition info for these amazing cherry cheesecake hand pies is an estimate, okay? It can totally change depending on the brands you use and exactly how you make ’em. But, generally speaking, one little hand pie is about:
- 350 Calories
- 18g Fat (with 10g saturated)
- 40g Carbohydrates
- 5g Protein
- 25g Sugar
- 200mg Sodium
Frequently Asked Questions about Cherry Cheesecake Hand Pies
Got questions about these yummy cherry cheesecake hand pies? I get it! Baking is fun, but sometimes you just wanna know the little things. Here are some common ones I hear:
Can I use fresh cherries for my cherry pie filling?
Oh, absolutely! If you’ve got fresh cherries, go for it! Just pit ’em and maybe toss them with a little sugar and a tablespoon or two of cornstarch to thicken them up before you use them. They’ll be delicious!
How do I ensure my hand pies don’t leak?
The biggest trick is not to cheat on that seal! Make sure you brush the egg wash all around the edges and then really press down with your fingers before you crimp with the fork. Also, don’t overfill them—about 2 tablespoons of filling is usually perfect. Oh, and if you’re curious about cooking them in a different way, check out my tips for air fryer hand pies!
Can I use a different fruit filling?
Definitely! These are super versatile. Blueberry, apple, even a mixed berry filling would be amazing. If you’re looking for other fun pie-like treats, you should totally check out my apple pie cookies!
Share Your Cherry Cheesecake Hand Pie Creations!
Okay, now it’s YOUR turn! I can’t wait to hear about how your cherry cheesecake hand pies turned out. Did you try any fun variations? Did everyone gobble them up? Leave a comment below to tell me all about it or rate the recipe – your feedback helps other bakers, and I love seeing your creations! You can also find more ways to connect with me on my contact page. Happy Baking!
PrintCherry Cheesecake Hand Pies

Easy handheld desserts combining tangy cream cheese and cherry filling in a flaky crust, perfect for parties or potlucks.
- Prep Time: 20 min
- Cook Time: 20 min
- Total Time: 40 min
- Yield: 12-16 hand pies 1x
- Category: Dessert
- Method: Baking
- Cuisine: American
- Diet: Vegetarian
Ingredients
- 2 refrigerated pie crusts
- 1 package (8 ounces) cream cheese, softened
- 1/2 cup granulated sugar
- 1 egg yolk
- 1 teaspoon vanilla extract
- 1 can (21 ounces) cherry pie filling
- 1 egg, beaten (for egg wash)
- 2 tablespoons granulated sugar (for sprinkling)
Instructions
- Preheat your oven to 375°F (190°C). Line baking sheets with parchment paper.
- In a medium bowl, beat the softened cream cheese and 1/2 cup granulated sugar until smooth. Beat in the egg yolk and vanilla extract until well combined.
- Unroll the pie crusts. Use a 4-inch round cutter to cut out circles from each crust. You should get about 6-8 circles per crust.
- Place about 1 tablespoon of the cream cheese mixture onto one half of each pie crust circle, leaving a small border.
- Top the cream cheese mixture with about 2 tablespoons of cherry pie filling.
- Brush the edges of the pie crust circles with the beaten egg wash. Fold the other half of the crust over the filling to create a half-moon shape. Press the edges firmly to seal, then crimp with a fork.
- Place the hand pies onto the prepared baking sheets. Brush the tops with the remaining egg wash and sprinkle with the 2 tablespoons of granulated sugar.
- Bake for 18-22 minutes, or until the crust is golden brown and the filling is bubbly.
- Let the hand pies cool on the baking sheets for a few minutes before transferring them to a wire rack to cool completely.
Notes
- For a make-ahead option, assemble the hand pies, but do not bake. Freeze them on a baking sheet until firm, then transfer to a freezer-safe container. Bake from frozen, adding a few extra minutes to the baking time.
- You can also use homemade pie dough if you prefer.
- Dust with powdered sugar after cooling for an extra touch.
Nutrition
- Serving Size: 1 hand pie
- Calories: 350
- Sugar: 25g
- Sodium: 200mg
- Fat: 18g
- Saturated Fat: 10g
- Unsaturated Fat: 8g
- Trans Fat: 0g
- Carbohydrates: 40g
- Fiber: 2g
- Protein: 5g
- Cholesterol: 50mg