
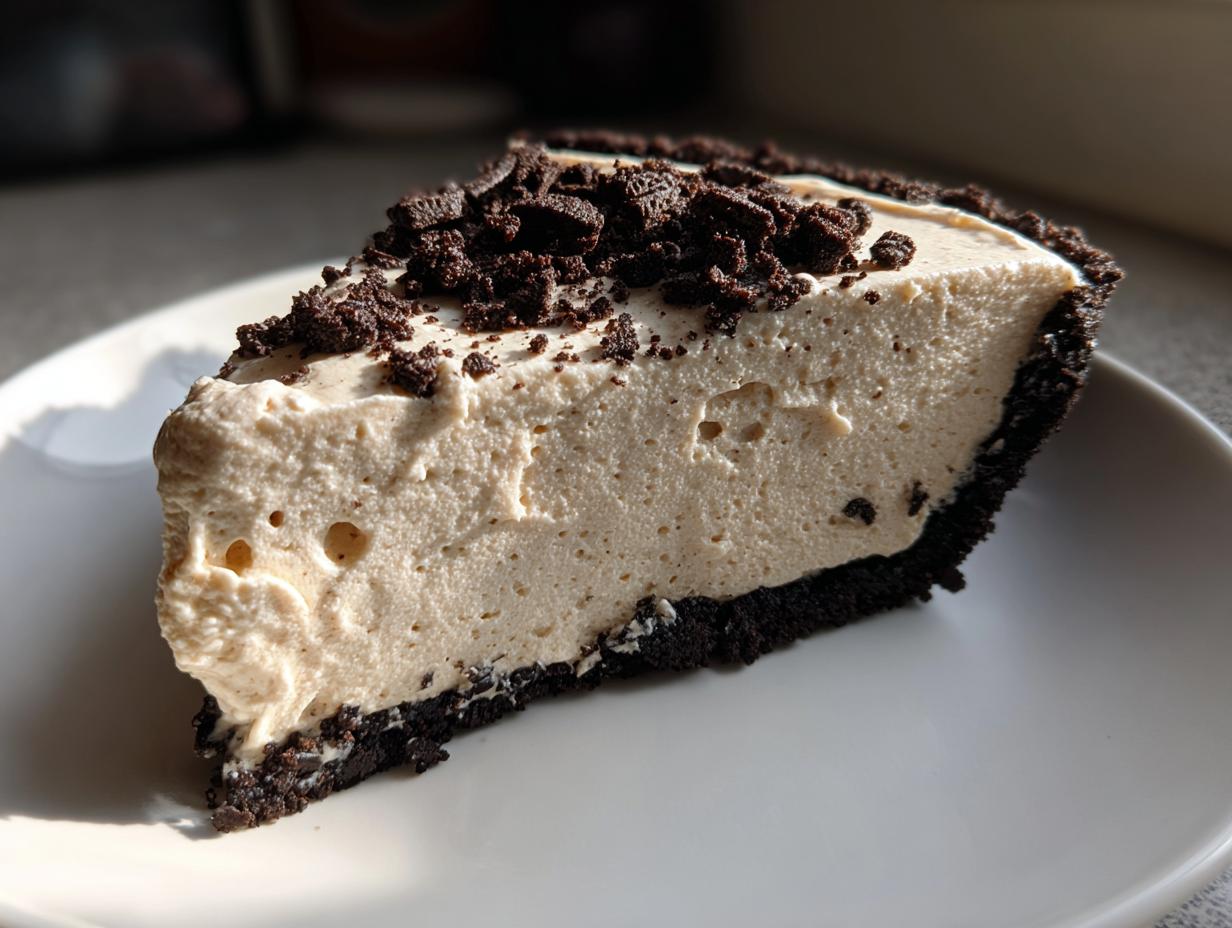
Oh my gosh, have you ever had one of those days where only pure, unadulterated peanut butter comfort will do? Trust me, I know that feeling well! When that craving hits, you need something rich, fast, and heaven forbid, you don’t want to turn on the oven. Well, ditch the complicated baking projects, because I’ve perfected the ultimate **No-Bake Creamy Peanut Butter Pie with an Oreo Crust**. This isn’t just any recipe; this is the pinnacle of easy, make-ahead desserts, developed right here in my own kitchen. As Ellie Vance always says, the best meals are the ones that bring people together, and this easy peanut butter pie is guaranteed to do just that. It’s foolproof and seriously decadent!
- Why This No-Bake peanut butter pie Recipe Is Your New Favorite (Easy Peanut Butter Pie)
- Gathering Ingredients for Your Creamy peanut butter pie Recipe
- Step-by-Step Instructions for the No Bake peanut butter pie
- Tips for Success: Making the Best peanut butter pie
- Serving Suggestions for Your Indulgent Comfort Dessert
- Storage and Make Ahead Pie Instructions
- Frequently Asked Questions About This peanut butter pie Recipe
- Nutritional Estimates for This Simple Dessert Idea
- Share Your Creamy Peanut Butter Dessert Creations
Why This No-Bake peanut butter pie Recipe Is Your New Favorite (Easy Peanut Butter Pie)
Honestly, you are going to fall head over heels for this pie! It checks every single box when you need a simple dessert that packs a huge flavor punch. Forget babysitting an oven or worrying about getting a perfect bake time. This recipe is pure magic achieved without any heat!
- It’s absolutely **no-bake**, meaning you can have this dessert mixed and chilling in under 20 minutes of active time. Perfect for those busy days or when you just need a quick dinner solution that involves dessert!
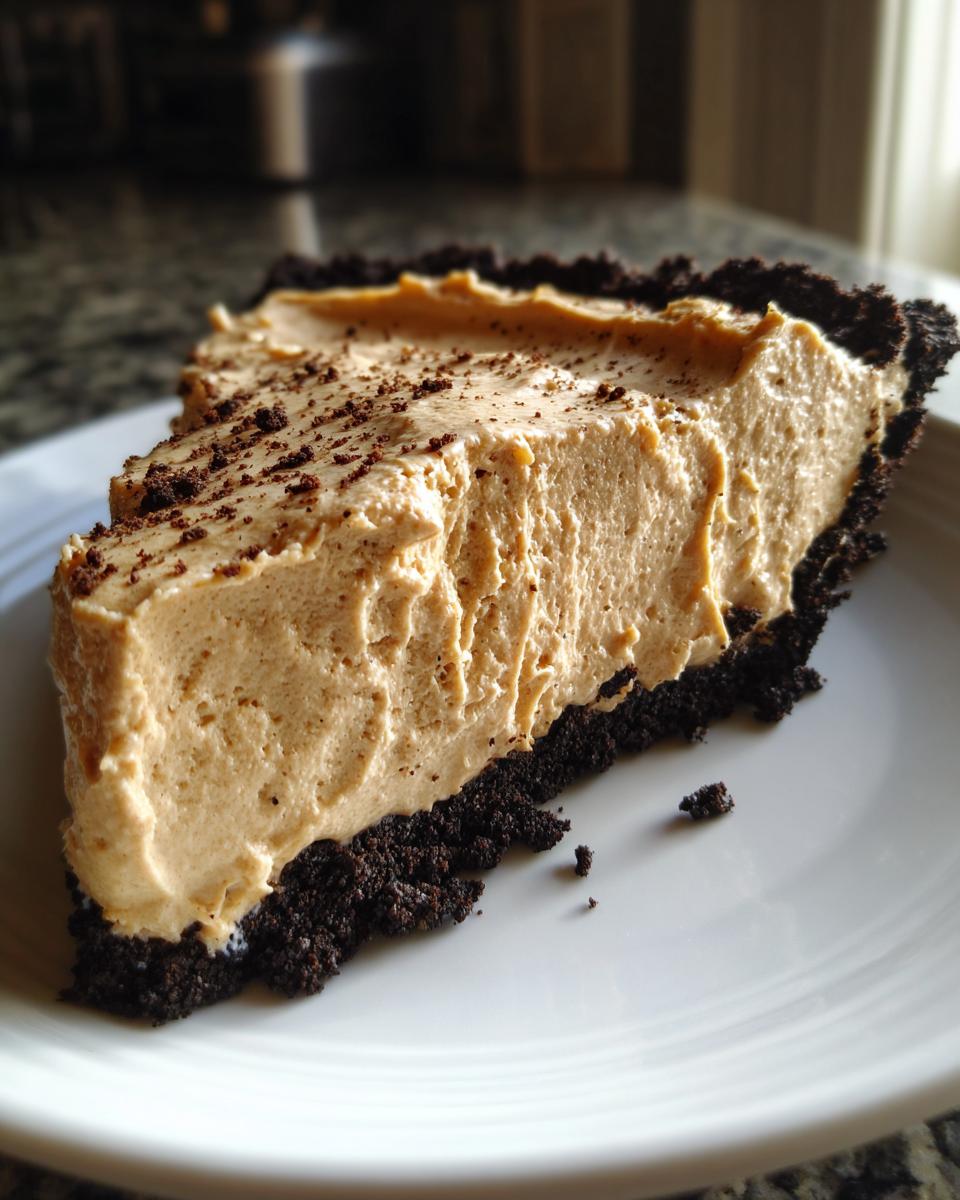
- The filling is incredibly rich and perfectly dreamy—that level of creaminess is what everyone wants when they search for the best peanut butter pie.
- Kids or beginners can make this! It’s so straightforward, I promise you can’t mess it up.
The Secret to a Truly Creamy Peanut Butter Filling
Okay, the texture part is where we really shine here. We need that decadent, melt-in-your-mouth feel, right? That comes entirely from our base ingredients.
We use softened cream cheese because it brings a slight tang and a silky structure that holds up beautifully. Then, we gently fold in that lovely thawed whipped topping. You *cannot* beat that combination for airy richness; it keeps the filling light instead of gluey.
Gathering Ingredients for Your Creamy peanut butter pie Recipe
Now that you know how easy this is going to be, let’s talk about what you need to grab from the pantry and fridge! Buying good quality ingredients really makes a difference, especially when the final result is essentially just a few powerhouse items blended together for the ultimate peanut butter pie.
You will need that package of cream cheese—make sure it’s fully softened so it mixes without lumps! We use powdered sugar instead of granulated to keep that filling perfectly smooth. And of course, don’t skimp on the peanut butter; use your favorite creamy brand!
For the crust ingredients, measure those Oreos carefully once you crush them up. That butter needs to be melted and ready to mix everything into a cohesive, chocolatey base.
Ingredient Notes and Substitutions for Your Oreo Crust Pie
I love the Oreo crust because that dark chocolate flavor plays so nicely with the salty peanut butter filling! It really hits that sweet spot for anyone looking for a decadent Chocolate Peanut Butter Dessert experience.

But hey, if you don’t have Oreos on hand, or maybe you just prefer a lighter crunch, you can totally swap them out. The recipe notes mention using graham cracker crumbs instead—just mix those with a bit of sugar and melted butter. Either way, you get a fantastic base that supports our creamy center perfectly!
Remember, this is a dream for making ahead, so gather everything when you have a moment, and assembling this magnificent pie is honestly quicker than boiling water.
Step-by-Step Instructions for the No Bake peanut butter pie
Alright, this is the fun part! Since this is a no-bake peanut butter pie, our active time is super short—only about 20 minutes! Just remember that the real secret ingredient here is patience while it chills. We need that time for the filling to set up nice and firm so it’s not a floppy mess when you slice it.
We are going to break this down into two main achievements: getting that crust locked in place, and then whipping up that cloud-like filling. Keep your eyes peeled for the folding step; that’s crucial for that luxurious texture we love so much!
Preparing the Oreo Crust Pie Base
First things first, let’s deal with the foundation. Mix your crushed Oreos and melted butter together really well until it looks like wet sand. You want every crumb coated! Now, press that mixture *firmly* into your pie plate—I use the bottom of a flat glass to really pack it down on the bottom and up the sides uniformly.
Trust me on this: pop that crust straight into the freezer while you get the filling mixed. We want it rock solid before the creamy filling goes in. Chilling that base is what stops it from crumbling apart later!
Mixing the Homemade Peanut Butter Filling
In a big bowl, beat that softened cream cheese until it’s silky smooth—we don’t want any cream cheese lumps in our dessert! Add in the peanut butter and the powdered sugar. Just mix until they incorporate; don’t get too enthusiastic here, or you’ll whip too much air in before we add the topping.
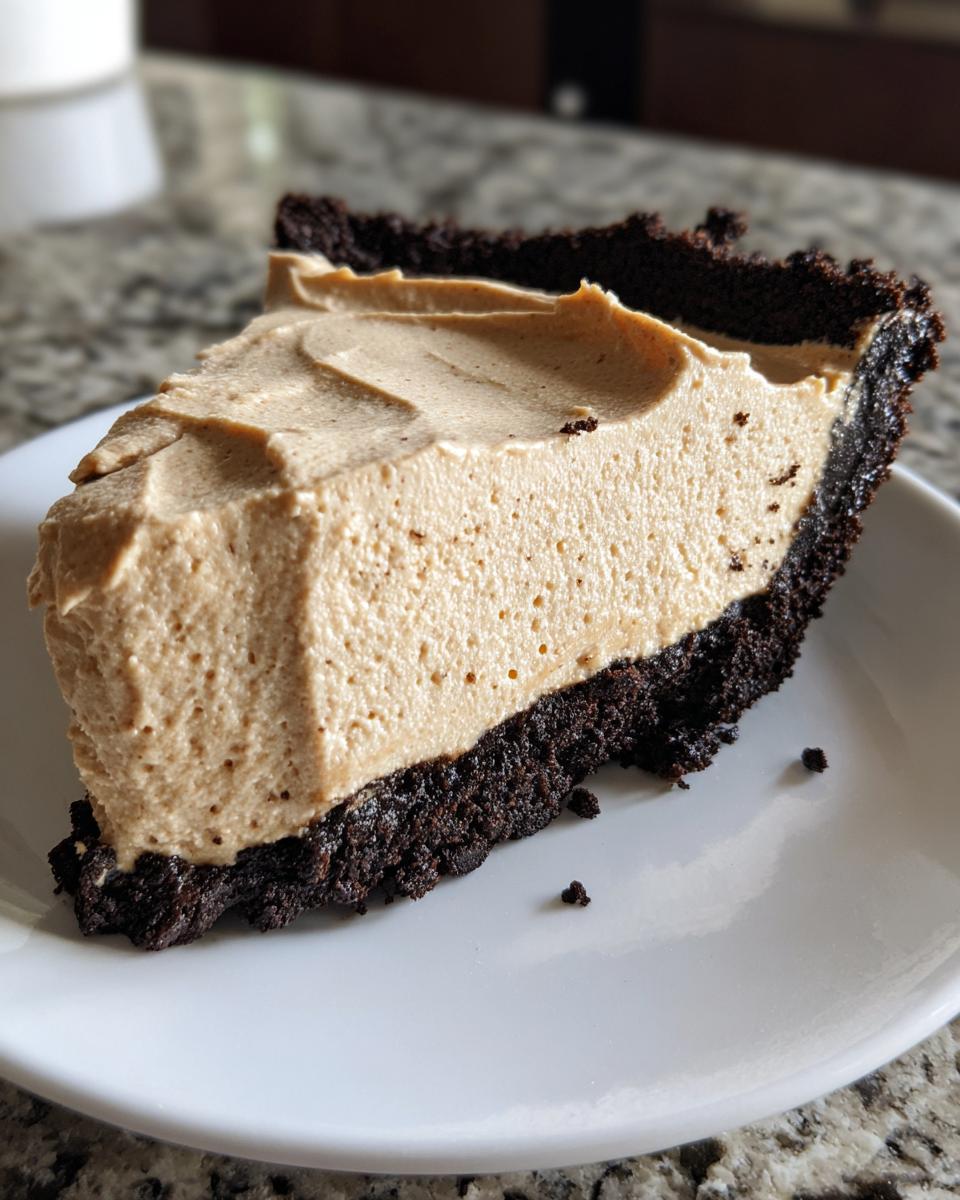
Now for the lightness required for a perfect Cream Cheese Peanut Butter Pie! Take half of your thawed whipped topping and gently fold it into the peanut butter base. Then, fold in the rest until you see no more white streaks. If you mix too much, you’ll deflate all that fluffiness. Once it’s smooth, spoon it right into your frozen crust! Remember, it needs at least 4 hours in the fridge to set perfectly.
Tips for Success: Making the Best peanut butter pie
Okay, you’ve made it this far, and your pie is assembled! Now, let’s make sure it’s absolutely the best peanut butter pie anyone has ever tasted. The biggest mistake people make is rushing the chilling process; seriously, don’t try to speed that up!
When you’re folding in that whipped topping, treat it like spun glass. Seriously, use a rubber spatula and cut down the middle, scraping up the side and folding over. Overmixing is the enemy here because it kills all the air we worked so hard to incorporate. You want that glorious, light texture!
And listen, if you want to take this creamy treat over the top and make a true Reese’s Peanut Butter Pie** experience, fold about a cup of chopped peanut butter cups right into the filling before you spread it into that perfect Oreo crust. That little addition makes people gasp when they take their first bite. Patience during chilling equals creamy perfection!
Serving Suggestions for Your Indulgent Comfort Dessert
Even though this peanut butter pie is dangerously good all by itself, you know I can never leave well enough alone when it comes to dessert toppings! You want to amp up that indulgence factor for your next gathering? I have a few tricks up my sleeve that turn this simple pie into a showstopper potluck dessert.
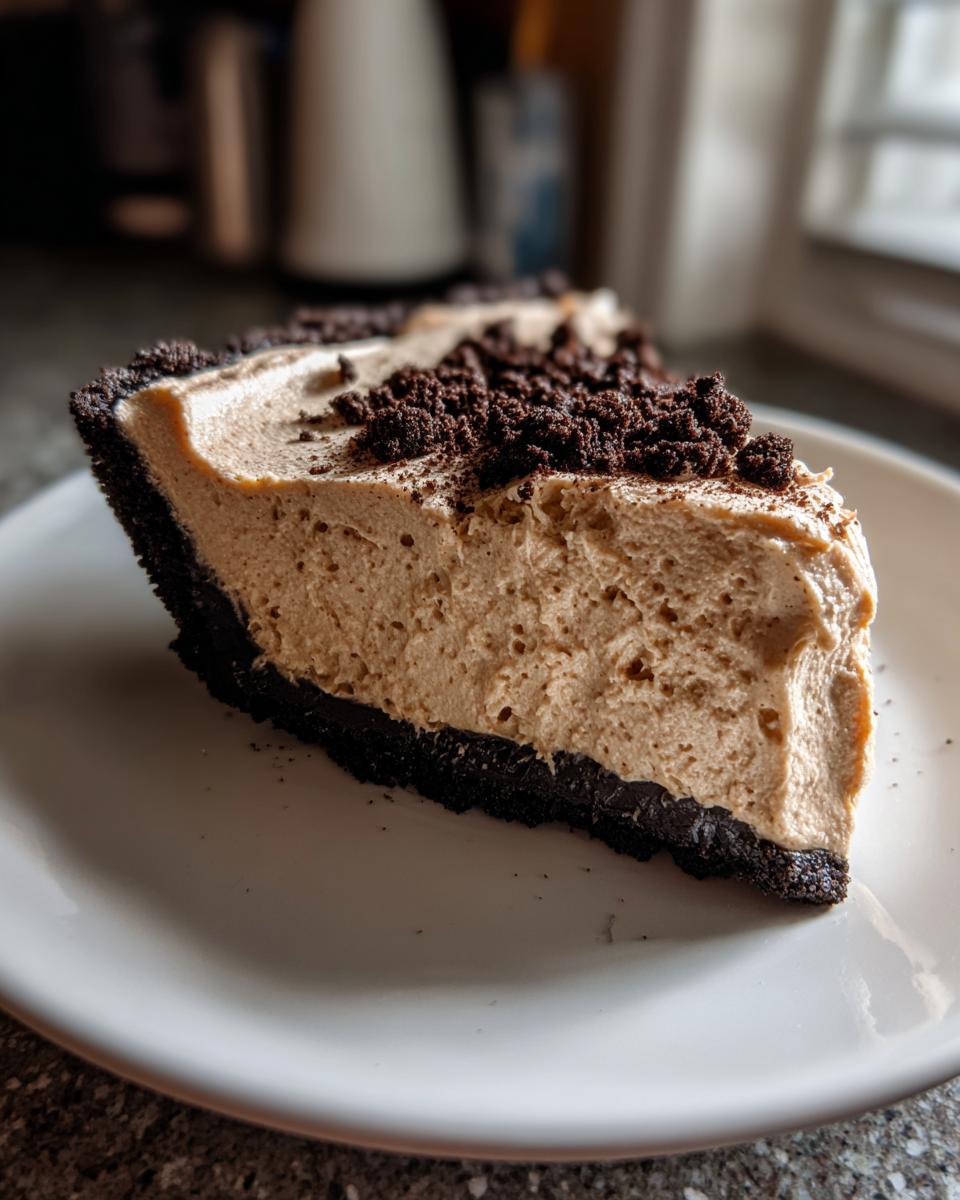
First, the easy stuff: you absolutely must have chocolate involved. If you didn’t fold in mini peanut butter cups (which you should have!), then shave some good quality dark chocolate right over the top. The slight bitterness cuts through the sweetness beautifully. Or maybe you want rich, drippy goodness?
A drizzle of warm caramel sauce takes this over the top into ‘Best Dessert Ever’ territory. You can buy a jar, or if you’re feeling ambitious, you can whip up a quick homemade version! You know I love sharing easy extras, like this recipe for caramel apple crescent rolls—use that extra caramel sparingly on top of your pie!
If you’re serving this during the summer, I even like to offer a tiny scoop of vanilla bean ice cream on the side. Seriously, you have to serve this pie cold. It needs that chill to really let the filling firm up so it slices clean. When it’s cold, that creaminess hits just right. No matter how you dress it up, this easy peanut butter pie is always a winner!
Storage and Make Ahead Pie Instructions
This is one of the best features of this recipe, folks! If you need a simple dessert idea for a busy weekend, you can totally tackle this **Make Ahead Pie** days in advance. That chilling time we talked about? It’s not just suggested, it’s required for the structure! Since we aren’t baking anything, the cold is what sets everything perfectly firm.
You absolutely must cover the finished pie loosely before it goes into the fridge. I usually place a few toothpicks poking up around the edges of the crust—be gentle, we don’t want to stab the beautiful filling!—and then drape plastic wrap over them. This keeps the wrap from sticking right down onto your creamy topping. It lasts great in the refrigerator for up to three days, and honestly, I think the flavor just gets deeper and richer overnight!
Now, can you freeze it? Yes, you can! Because this is a **No Bake Peanut Butter Pie**, freezing is a viable option if you need to prep way out. If you plan on freezing, I would use a store-bought graham cracker crust, or make sure your Oreo crust is super well-pressed.
Wrap the frozen pie tightly in plastic wrap, and then maybe wrap it again in foil or tuck it into a freezer-safe bag. It keeps well for about a month. When you want to eat it, just pull it out the night before and let it thaw completely overnight in the fridge. This makes it such an excellent event recipe; I always use mine when planning for big gatherings, just like I do with my Texas Trash Pie!
Frequently Asked Questions About This peanut butter pie Recipe
I know when you find a recipe this good, you probably have a few little questions bubbling up. Don’t worry, I’ve collected the things I hear most often from people trying this for the first time. We want this to be your favorite **Easy Peanut Butter Pie**, so let’s get those final doubts cleared up so you can get this beauty chilling!
As someone who loves **No Oven Needed Desserts**, I totally get wanting all the details locked down before you start mixing.
Can I use natural peanut butter in this No Bake Peanut Butter Pie?
Oh, that’s a great question that comes up a lot! Natural peanut butter is tricky in recipes like this because it tends to separate—you know, the oil rises to the top. If you use it, you’ll need to stir it *so* thoroughly beforehand until it’s uniform and no thicker than regular creamy peanut butter. Even then, sometimes the filling ends up a little less stable.
For the most reliable, classic, creamy texture that holds its shape perfectly, I really recommend sticking with conventional creamy peanut butter for this recipe. It just blends perfectly with the cream cheese and doesn’t introduce extra oil that could make the set uneven.
How long does the peanut butter pie need to chill?
This is the single most important thing you can do for this pie, seriously! The recipe calls for a minimum of four hours in the refrigerator, and you should absolutely honor that minimum time frame if you want slices that aren’t falling apart. That 4 hours allows the cream cheese and the whipped topping to firm up around all that peanut butter goodness.
BUT, if I can give you a piece of advice from years of making this for holiday gatherings? Make it the day before. Seriously, leaving it overnight deepens the flavor slightly, and it sets up with the most amazing, luscious structure. You’ll get that perfect square slice everyone fights over when it’s a true **Creamy Peanut Butter Dessert**.
Is there a way to make this a Keto Peanut Butter Pie?
I love that you asked about dietary swaps! While the main recipe isn’t keto compliant because of the powdered sugar and the Oreo crust, you absolutely can adapt it if you’re following a keto meal plan. It takes a little more effort for the crust, though!
For the filling, you’d swap the powdered sugar for a good quality, fine granular keto sweetener blend—you might need to test the sweetness level as you go. For the crust, you’d skip the Oreos and mix up an almond flour or fine cocoa powder crust sweetened lightly with that keto blend, bound together with butter.
It won’t be exactly the same as this classic, but you can definitely achieve a delicious low-carb version that scratches that rich peanut butter itch!
Nutritional Estimates for This Simple Dessert Idea
Now, talking numbers isn’t exactly my favorite part of baking—I’m much happier talking about gooey fillings! Haha! But since we are all about real, home cooking here, it’s helpful to have a general idea of what’s in this delicious treat, especially if you’re keeping track of things.
The nutrition here really depends on your exact brand of peanut butter and cream cheese, but these estimates reflect a standard serving size based on the full recipe yielding 8 slices. This is definitely an indulgent comfort dessert, not exactly a health food, but totally worth it!
- Serving Size: 1 slice
- Calories: Around 450
- Fat: About 30g
- Carbohydrates: Roughly 40g
- Protein: Around 8g
I always tell people to check the labels on their specific peanut butter, because that changes things pretty dramatically! If you’re looking for a lighter way to satisfy that sweet tooth, you might want to check out my recipe for some great high-protein snacks, but for this pie, we embrace the richness!
Just a quick disclaimer, because I know you trust me: these are just standard estimates, okay? If you use the keto swaps we talked about, or if you load up on extra chocolate shavings on top, these numbers will definitely shift. Consider these figures a great starting point for enjoying your perfect slice of this easy peanut butter pie!
Share Your Creamy Peanut Butter Dessert Creations
Now that you’ve made this unbelievably easy and rich **peanut butter pie**, I absolutely need to hear all about it! This is where our little cooking community comes into play; we build these recipes together. When I first started DeliceRecipe, it was all about making food that brings people together, and you making this pie is exactly what I hoped for!
Did you stick to the Oreo crust, or did you swap in the graham crackers? Are you a purist who just loves the creamy filling, or did you go wild with the peanut butter cup topping? Don’t be shy!
Please take a moment to leave a rating right down below. Five stars if it made your week, or even if it just got you out of turning on the oven! Your feedback helps the next person who is scrolling, looking for that perfect, simple dessert idea.
And if you snapped a picture of your beautiful, chilled dessert—maybe sitting on your favorite serving platter—please tag me on social media! Seeing your glorious slices of **Creamy Peanut Butter Dessert** makes my whole week better. Nothing makes me happier than seeing my recipes land on your dinner table.
If you had any questions while you were mixing, or maybe you discovered a new wonderful topping combination, please drop those in the comments too. If you need to reach out directly about something specific, you can always use the handy contact page! Happy baking—or should I say, happy chilling!
PrintNo-Bake Creamy Peanut Butter Pie with Oreo Crust

Make this easy, no-bake peanut butter pie featuring a rich, creamy filling and a chocolate Oreo crust. It is a simple, make-ahead dessert perfect for potlucks or holidays.
- Prep Time: 20 min
- Cook Time: 0 min
- Total Time: 4 hr 20 min
- Yield: 8 servings 1x
- Category: Dessert
- Method: No-Bake
- Cuisine: American
- Diet: Vegetarian
Ingredients
- 1 1/2 cups crushed Oreo cookies (about 25 cookies)
- 6 tablespoons unsalted butter, melted
- 1 (8 ounce) package cream cheese, softened
- 1 cup creamy peanut butter
- 1 1/2 cups powdered sugar
- 1 teaspoon vanilla extract
- 1 (12 ounce) container frozen whipped topping (like Cool Whip), thawed
- Optional topping: Mini peanut butter cups or chocolate shavings
Instructions
- Prepare the crust: Mix the crushed Oreo cookies and melted butter in a bowl until combined. Press the mixture firmly into the bottom and up the sides of a 9-inch pie plate. Place the crust in the freezer while you prepare the filling.
- Make the filling base: In a large bowl, beat the softened cream cheese until smooth. Add the peanut butter and powdered sugar. Beat until fully incorporated and creamy.
- Add flavor: Mix in the vanilla extract.
- Lighten the filling: Gently fold in half of the thawed whipped topping until just combined. Then, fold in the remaining whipped topping until no streaks remain. Do not overmix.
- Assemble the pie: Spoon the peanut butter filling evenly into the chilled Oreo crust. Smooth the top with a spatula.
- Chill: Cover the pie loosely with plastic wrap and refrigerate for at least 4 hours, or preferably overnight, to allow it to set completely.
- Serve: Before serving, top the pie with mini peanut butter cups or chocolate shavings, if desired. Slice and serve cold.
Notes
- For a chocolate peanut butter cup pie variation, fold 1 cup of chopped peanut butter cups into the filling mixture before spreading it into the crust.
- If you do not have Oreos, you can substitute with 1 1/2 cups of graham cracker crumbs mixed with 1/4 cup of sugar and 5 tablespoons of melted butter for a traditional crust.
- This pie is an excellent option for meal planning, as it must be made ahead of time. It pairs well with low carb meal plan delivery options for a balanced treat.
Nutrition
- Serving Size: 1 slice
- Calories: 450
- Sugar: 35g
- Sodium: 280mg
- Fat: 30g
- Saturated Fat: 10g
- Unsaturated Fat: 20g
- Trans Fat: 0g
- Carbohydrates: 40g
- Fiber: 1g
- Protein: 8g
- Cholesterol: 35mg