
Oh, the heartbreak of the perfect fall evening ruined by a sad, sliding caramel apple! You spend all that time picking out the best crisp apples, you get the sticks inserted just right, and then—splat!—the beautiful caramel coating ends up as a sticky puddle at the bottom of your plate. I’ve been there, trust me. That’s why, here at DeliceRecipe, I knew we absolutely had to nail down the ultimate, foolproof method for making incredible, chewy caramel apples.
This isn’t just another sticky mess recipe. This is the tried-and-true technique that ensures your caramel adheres flawlessly, setting up into that perfect, satisfyingly chewy coating. After months of testing (and cleaning up many countertop disasters!), I cracked the code on what makes these treats so consistently marvelous. If you love dipping into decadent desserts, you should really check out my recipe for easy apple pie bars, too! Get ready, because this is the only Best Caramel Apple Recipe you’ll ever need for Halloween or any special occasion!
- Why This is the Best Caramel Apple Recipe for Guaranteed Results
- Ingredients for Foolproof Homemade Caramel Apples
- Step-by-Step Instructions for Perfect Caramel Apples
- Tips for Success When Making Caramel Apples
- Caramel Apple Toppings Ideas for Gourmet Caramel Apples
- Variations on Classic Caramel Apples
- Storing and Reheating Your Homemade Caramel Apples
- Frequently Asked Questions About Caramel Apples
- Estimated Nutritional Information for This Caramel Apple Recipe
Why This is the Best Caramel Apple Recipe for Guaranteed Results
When you’re aiming for true gourmet quality, you can’t just cross your fingers and hope the caramel stays put. That’s what I used to do, and frankly, I ended up with sticky kitchen floors more often than I care to admit! This specific method—focusing heavily on temperature and preparation—is what elevates this to the Best Caramel Apple Recipe you’ll ever try.
The reason other recipes fail is usually twofold: they undercook the caramel, leaving it too runny, or they don’t properly prep the apple skin. We tackle both head-on here to ensure you get those gorgeous, richly colored caramel apples that stick perfectly, setting up with a wonderful, chewy texture. If you’re looking for other reliable fall favorites, my super moist pumpkin bread is a must-bake!
The Secret to Caramel Apples That Stick: Wax Removal
Listen, this step is non-negotiable if you want success. Apples, even the crunchy ones we love, come coated in a thin layer of carnauba or food-grade wax to keep them looking fresh. If you dip right away, your beautiful caramel will slide right off those slick skins!
You just need to quickly dunk each apple into a pot of boiling water—seriously, just 5 seconds!—then take them out immediately and dry them until they are bone dry. That quick bath just slightly lifts the external wax layer so our caramel can grab on tight.
Ingredients for Foolproof Homemade Caramel Apples
When we talk about making those spectacular, glossy caramel apples at home, the ingredients list is shorter than you might think, but every single component has to be right. This is about quality over quantity, friends! You want apples that can stand up to that thick, chewy coating we are creating. I always grab Granny Smiths because their tartness cuts through the richness of the caramel perfectly. Honeycrisp is another winner if you prefer something a bit sweeter!
Before you start cooking, make sure you have all your dipping accessories ready, too. Having everything lined up means when that caramel hits that perfect temperature, we can work quickly to create flawless Homemade Caramel Apples. If you love apples in other forms, you’ve got to try my recipe for easy stovetop cinnamon applesauce!
- 12 medium crisp apples (I swear by Granny Smith or Honeycrisp!)
- 12 wooden or sturdy paper sticks
- 1 cup (2 sticks) unsalted butter
- 2 cups packed light brown sugar
- 1 cup light corn syrup
- 1 (14-ounce) can sweetened condensed milk
- 1 teaspoon pure vanilla extract
- 1 teaspoon ground cinnamon (optional, this gives us that lovely Spiced Caramel Apples flavor)
- 1 pound soft caramels, unwrapped (optional, but I always add these for extra richness!)
- Toppings: chopped nuts, sea salt, melted chocolate, sprinkles
Step-by-Step Instructions for Perfect Caramel Apples
Okay, friend, this is where the magic happens! Making caramel apples might seem intimidating because you’re dealing with hot candy, but honestly, if you follow the time and temperature, you’ll see how straightforward this really is. Think of it like crafting a beautiful piece of jewelry—precision matters! We are focusing on that thick, chewy coat that locks in the Granny Smith crunch.
Remember that external link I mentioned earlier? Check out Foolproof Homemade Caramel Apples if you want another visual guide on the process! Once you get the hang of this stovetop candy making, you’ll feel like a pastry chef. If you’re not quite ready for candy making yet, my recipe for easy tiramisu is a no-bake showstopper everyone loves!
Preparing Your Apples for the Best Caramel Apple Coating
First things first, we must defeat that wax! Get your apples clean—very clean—and then give them that quick 5-second dip in boiling water. Pat them until they are absolutely, totally dry. Seriously, not a drop of moisture left! Then, push those sturdy sticks right into the center. Now they are primed and ready for their caramel makeover.
Cooking the Caramel to Achieve Chewy Caramel Coating
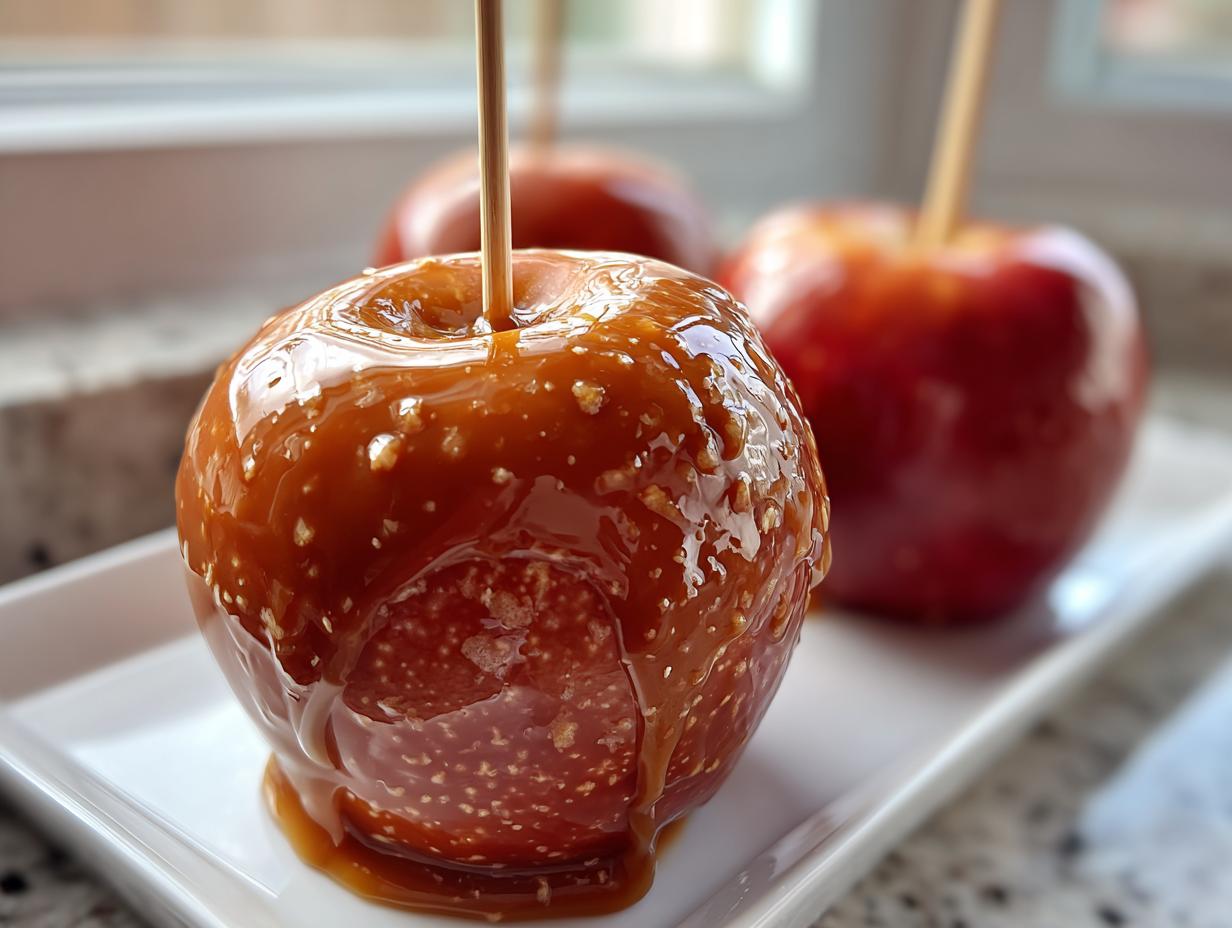
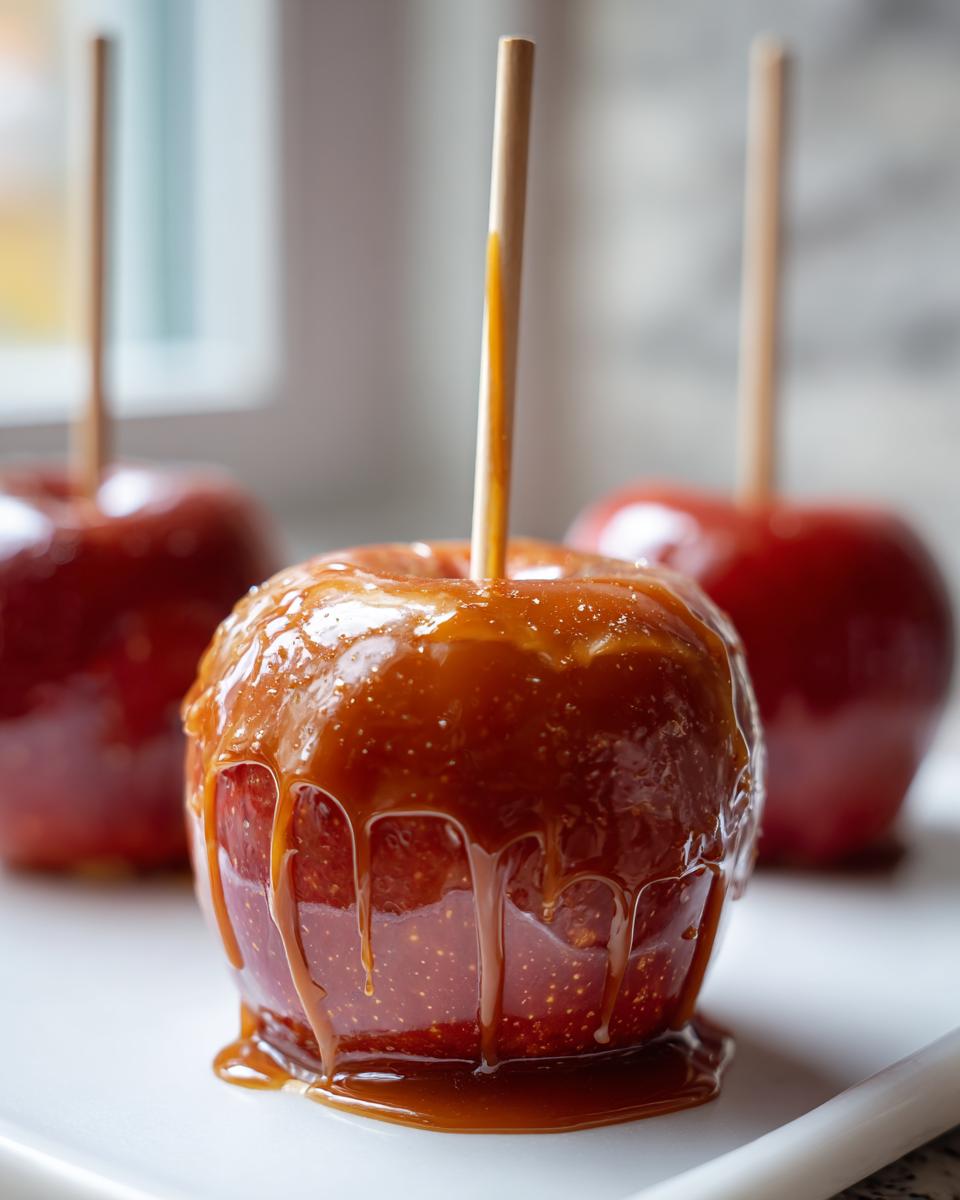
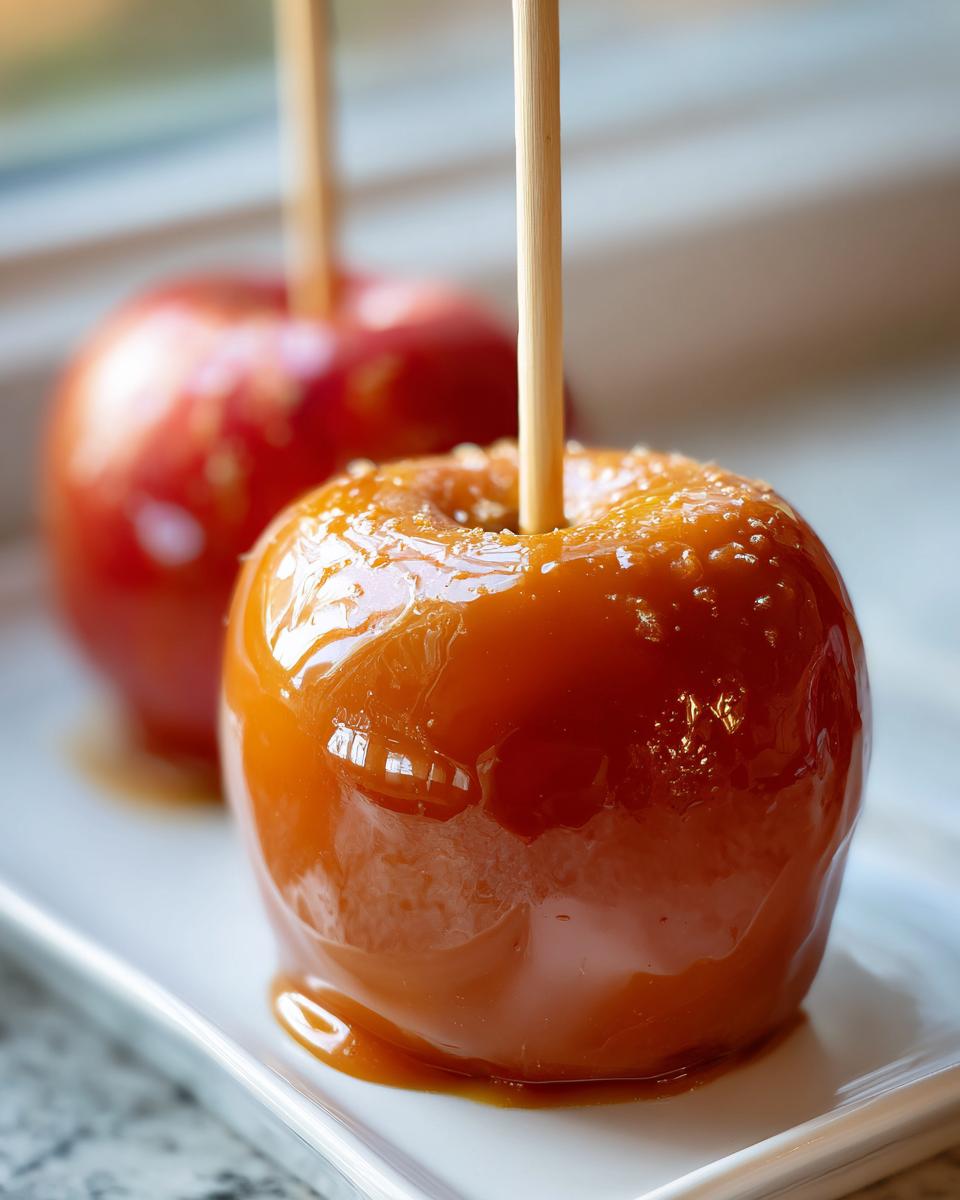
Time for the stovetop work! Combine your butter, brown sugar, corn syrup, and condensed milk in your heavy pan. Bring that mixture up to a boil over medium heat, stirring until everything dissolves. This is the critical moment for getting that perfect Chewy Caramel Coating: you *must* use your candy thermometer. You need to cook it without stirring until it hits exactly 245 degrees Fahrenheit—that’s the firm ball stage. This high temperature is the absolute secret to those No Fail Caramel Apples that set up hard but remain wonderfully chewy, not runny.
Dipping and Setting Your Gourmet Caramel Apples
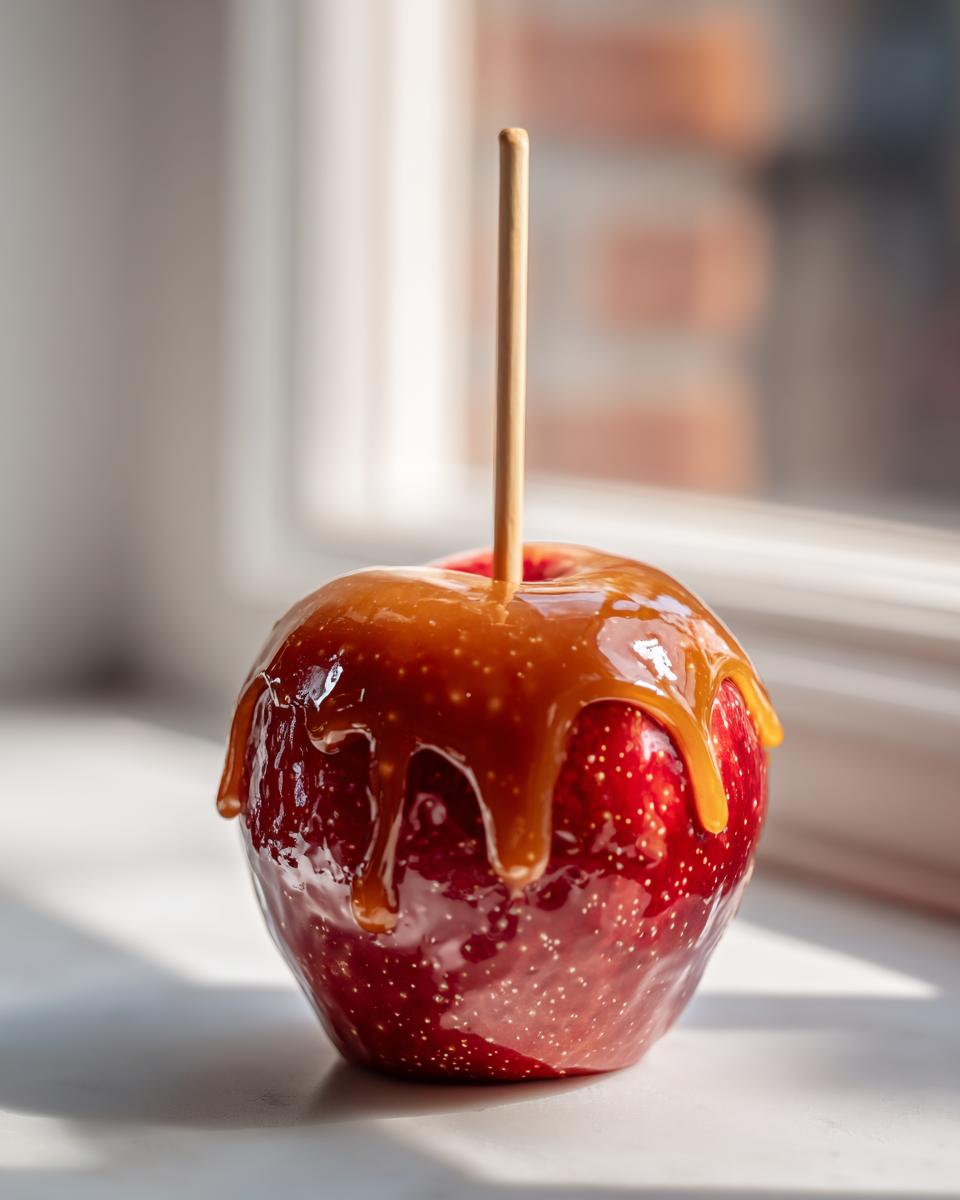
Once you hit 245°F, pull the pot right off the heat! Stir in your vanilla (and cinnamon, if you’re doing Spiced Caramel Apples). Let it cool for about 5 to 10 minutes; this slightly thickens the mix so it doesn’t immediately run off the apple. Tilt that pot! Dipping is so much easier when the caramel is angled toward you. Dip the apple quickly, let the excess drip back in, and immediately roll it in your nuts or sea salt. Place them gently on your lined sheets to set completely.
Tips for Success When Making Caramel Apples
Even with the best recipe, sometimes little hiccups happen in the kitchen, right? But I promise, these fantastic caramel apples are so forgiving if you know the little tricks! First, remember my golden rule: if your caramel seems too stiff while you’re dipping your twelfth apple, don’t panic! Just put the saucepan back on the absolute lowest heat setting for just a minute or two. Give it a gentle stir until it loosens up enough to coat evenly. You don’t want to overheat it, though, or it’ll get runny again!
If you’re looking to give your treats a real showstopper look, this is the perfect time to experiment. This whole Easy Caramel Apple Tutorial is built on building those layers. Wait until your initial caramel layer is totally set—give it a good two hours at room temperature—and then you can drizzle melted dark or white chocolate over the top. That totally elevates it to Gourmet Caramel Apples status!
Also, don’t forget what I learned about temperature control. The main reason these Homemade Caramel Apples don’t slide off is that the caramel is cooked to the right stage. If you want to practice just making the base of the sauce, you can see my notes on cooking here, though for the apples, that 245°F mark is key! If you love a good texture payoff, you should give my soft, chewy cutout sugar cookies a try next time you’re baking!
Caramel Apple Toppings Ideas for Gourmet Caramel Apples
Once that gorgeous, chewy caramel layer is set, it’s time to get truly creative! This is where we transition from simple fall treats to Gourmet Caramel Apples worthy of any fancy gathering. You absolutely must have your toppings ready before you even start dipping, because the caramel sets fast!
Of course, the classics—chopped pecans, walnuts, or even pretzel pieces for that salty/sweet crunch—are fantastic. But don’t stop there! Have you ever thought about sprinkling on flaky sea salt? It just makes the caramel flavor explode. And if you need a whole gallery of ideas to really impress everyone, you can check out a wonderful visual guide over here: 20 Ideas for Caramel and Candied Apples.

Beyond nuts, think texture! Mini chocolate chips, crushed toffee bits, or even toasted coconut flakes add such a fun dimension. I also love swirling in a bit of spice; maybe a blend of cinnamon and a tiny pinch of cayenne pepper right into the nuts. If you’re looking for another delicious topping idea that hardens beautifully, even though it’s for cookies, you should check out my thoughts on easy cookie icing—it gives you an idea of how to seal in flavor!
Variations on Classic Caramel Apples
Once you master this foolproof recipe for making caramel apples that stick, you have a perfect foundation for getting creative! Don’t feel like you have to stick to just butter and sugar, though that classic flavor is wonderful. My favorite way to change things up when Fall really rolls in is by making Spiced Caramel Apples.
It’s so easy—just stir in a teaspoon of cinnamon right at the end when you take the candy off the heat. If you want to be extra daring, a tiny pinch of cardamom or a dash of nutmeg makes them smell incredible! And of course, for that ultimate decadent touch, wait until your caramel is completely set, and then drizzle them with melted dark chocolate. Speaking of amazing textures, you absolutely must try my recipe for chewy ginger molasses cookies!
You can also look at other flavor profiles completely. If you want to see how professional chefs elevate this concept, check out this inspiration on gourmet spiced caramel apples. But really, the best variation is just the one you feel like eating right now!
Storing and Reheating Your Homemade Caramel Apples
Now that you’ve made these perfect, thick Homemade Caramel Apples, you might want to make a big batch ahead of time, especially if you are preparing for Holiday Caramel Apples for a big party!
The best way to keep them is setting up at room temperature on parchment paper for about 24 hours. Once the caramel is fully firm, they hold up really well if your kitchen isn’t too hot. If you *must* refrigerate them, go ahead, but be warned: the cold can sometimes make the caramel overly hard and chewy instead of pleasantly chewy. If they do stiffen up in the fridge, just let them sit on the counter for an hour before serving.
If your caramel sauce thickened up *while* you were dipping—which happens!—don’t toss it! Just whisk in a teaspoon of milk or water and put it back on the lowest heat setting, stirring gently until it’s liquid and easily coatable again. We never waste that gorgeous topping!
If you are looking for more make-ahead appetizers, you should totally try my recipe for easy cranberry brie bites; they are fantastic for parties!
Frequently Asked Questions About Caramel Apples
I know you might still have a few lingering questions! Cooking candy sometimes requires a little extra reassurance, and I want you to feel totally confident making these Gourmet Caramel Apples. We’ve covered the sticking and the chewing, but let’s tackle a few specific scenarios that readers often ask me about as they prepare their Fall Dessert Recipes.
Knowing the answers to these common issues will truly help you master this technique. If you are planning a huge batch, you might also want to check out my recipe for a very moist apple coffee cake for a non-dipped treat!
Can I use store-bought caramels instead of making the caramel from scratch for my caramel apple?
You certainly can if you’re in a rush! Using those soft, unwrapped caramels is technically faster, that’s true. However, they often melt too thinly, which means you won’t get that thick, beautiful Chewy Caramel Coating we’re aiming for unless you add extra cream or butter to them. Even then, getting them to the correct firm-ball stage to really stick can be tricky compared to starting with the sugar base. I generally recommend making the full caramel base when you want *guaranteed* results.
What is the best apple variety for a classic caramel apple?
For classic caramel apples, texture is everything! You need a firm, crisp apple that won’t succumb to the heat of the caramel or turn mushy when dipped. My number one pick, hands down, is the Granny Smith. They are wonderfully tart, which balances the intense sweetness of the caramel perfectly. Honeycrisp is a close second if you prefer something a bit less sour!
Estimated Nutritional Information for This Caramel Apple Recipe
Alright, here’s the breakdown for those of you tracking your macros or just curious about what goes into these magnificent creations! Please remember that these numbers are just estimates based on the core recipe components—the apple, the caramel base, and the standard ingredients. If you load up your Gourmet Caramel Apples with peanut butter, gobs of chocolate, or heaps of toffee bits, those numbers are definitely going to jump!
We always aim for balance here at DeliceRecipe, even with treats! If you decide to make a batch of these and need something a little lighter for your next gathering, my recipe for easy blueberry scones is always a hit and feels a bit more manageable!
- Serving Size: 1 apple
- Calories: Approximately 450
- Sugar: Around 65g
- Sodium: About 150mg
- Fat: Roughly 20g
- Saturated Fat: Approximately 12g
- Unsaturated Fat: About 8g
- Trans Fat: 0g (We are sticking to real butter here, thankfully!)
- Carbohydrates: Roughly 70g
- Fiber: About 1g
- Protein: Around 3g
- Cholesterol: About 60mg
Keep in mind that the natural sugars and fiber in the apple itself play a role, and we are using brown sugar and corn syrup to get that perfect, non-sliding, chewy texture. Enjoy them responsibly—they are definitely worth every single bite!
PrintFoolproof Homemade Caramel Apples: The Chewy Recipe That Actually Sticks
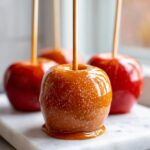
Follow this reliable recipe to make the best homemade caramel apples with a perfectly chewy coating that adheres flawlessly to crisp apples. This no-fail tutorial guides you to gourmet fall desserts.
- Prep Time: 20 min
- Cook Time: 25 min
- Total Time: 45 min
- Yield: 12 servings 1x
- Category: Dessert
- Method: Stovetop Cooking
- Cuisine: American
- Diet: Vegetarian
Ingredients
- 12 medium crisp apples (like Granny Smith or Honeycrisp)
- 12 wooden or sturdy paper sticks
- 1 cup (2 sticks) unsalted butter
- 2 cups packed light brown sugar
- 1 cup light corn syrup
- 1 (14-ounce) can sweetened condensed milk
- 1 teaspoon pure vanilla extract
- 1 teaspoon ground cinnamon (optional, for spiced caramel)
- 1 pound soft caramels, unwrapped (optional, for extra richness)
- Toppings: chopped nuts, sea salt, melted chocolate, sprinkles
Instructions
- Prepare the apples: Wash the apples thoroughly. Remove the wax coating by dipping the apples in boiling water for 5 seconds, then immediately dry them completely with paper towels. Insert one stick firmly into the core of each apple.
- Prepare the dipping station: Line baking sheets with parchment paper or silicone mats. Set out your chosen toppings in shallow bowls.
- Make the caramel: In a heavy-bottomed saucepan, combine the butter, brown sugar, corn syrup, and sweetened condensed milk. If using, add the unwrapped caramels now.
- Cook the caramel: Heat the mixture over medium heat, stirring constantly until the butter melts and the sugar dissolves. Stop stirring once it boils.
- Use a candy thermometer and cook the mixture without stirring until it reaches 245 degrees Fahrenheit (firm ball stage). This usually takes 15 to 20 minutes. The high temperature is key for caramel that sticks and sets chewy.
- Remove the pan from the heat. Stir in the vanilla extract and cinnamon, if using. Let the caramel cool for 5 to 10 minutes. Cooling slightly prevents the caramel from being too runny.
- Dip the apples: Tilt the saucepan slightly. Dip one apple into the caramel, turning to coat evenly. Lift the apple and let excess caramel drip off back into the pot.
- Apply toppings immediately: If using toppings, roll the coated apple in nuts or sprinkle with sea salt while the caramel is still warm.
- Set the apples: Place the coated apples on the prepared baking sheets. Let them cool and set completely at room temperature for at least 2 hours, or chill briefly if you need them faster.
Notes
- For caramel that sticks, ensure your apples are completely dry and free of wax before dipping.
- If the caramel becomes too stiff while dipping, return the saucepan to low heat briefly to loosen it, but avoid overheating.
- For a gourmet finish, drizzle melted dark or white chocolate over the cooled caramel layer.
Nutrition
- Serving Size: 1 apple
- Calories: 450
- Sugar: 65
- Sodium: 150
- Fat: 20
- Saturated Fat: 12
- Unsaturated Fat: 8
- Trans Fat: 0
- Carbohydrates: 70
- Fiber: 1
- Protein: 3
- Cholesterol: 60