
Oh, the sheer nostalgia packed into one little cookie! Just seeing an unwrapped Hershey’s Kiss sends me right back to Christmases past. If you’re like me, you want a peanut butter blossom that doesn’t just taste good right now, but stays perfectly soft and chewy for days afterwards. That’s my goal here at DeliceRecipe, inspired by my own family’s dedication to classic American baking. I’m Eleanor Vance, and I’ve spent years perfecting the ratio so that this iconic holiday treat gives you that wonderful salty-sweet combination without ever turning dry. The secret to that lasting softness is something I share in other recipes, too, like my ginger molasses cookies. Trust me, this is the ultimate soft and chewy peanut butter blossom recipe that will become your new holiday staple.
- Why This is the Best peanut butter blossom Recipe You Will Ever Make
- Ingredients for Ultimate Soft peanut butter blossom Cookies
- Expert Steps to Perfect peanut butter blossom Texture
- Ingredient Notes and Substitutions for peanut butter blossom
- Tips for Making peanut butter blossom Cookies Ahead of Time
- Baking with Peanut Butter: Mastering Flavor Profiles
- Storage and Keeping Your peanut butter blossom Cookies Fresh
- Frequently Asked Questions About Classic Christmas Cookies
- Nutritional Estimates for Your peanut butter blossom Treat
Why This is the Best peanut butter blossom Recipe You Will Ever Make
I know, I know—everyone claims they have the “best” recipe. But I guarantee you, these peanut butter blossom cookies are different. My focus, as always here at DeliceRecipe, is on texture that endures past the first day. Seriously, who wants a hard, crumbly cookie?
Here’s what puts this version at the very top:
- They stay miraculously soft and chewy, even when stored for a cookie swap! Some people even use shortening, but my combination of sugars nails the chew factor alone.
- The perfect crackle on top! That classic look happens naturally when you bake them just right.
- They are fast! You can have these soft, chewy holiday cookies ready in about 25 minutes total.
If you’re looking for that iconic sweet and salty flavor packed into a perfectly soft little package, you’ve finally found the one.
Ingredients for Ultimate Soft peanut butter blossom Cookies
Getting the right ingredients, and treating them right, is half the battle for soft peanut butter blossom cookies! Forget guesswork; here is exactly what you need for this batch. I always make sure my butter is truly softened—not melted, just soft enough to dent easily. You’ll notice we use both white and brown sugar; that combo is key for texture!
- 1 cup unsalted butter, softened
- 3/4 cup creamy peanut butter
- 3/4 cup granulated sugar
- 3/4 cup packed light brown sugar
- 2 large eggs
- 1 teaspoon vanilla extract
- 2 1/4 cups all-purpose flour
- 1 teaspoon baking soda
- 1/2 teaspoon baking powder
- 1/2 teaspoon salt
- 1/4 cup granulated sugar (for rolling)
- 1 bag Hershey’s Kisses, unwrapped—make sure they are unwrapped before you start baking!
These form the base for what I hope will be the best cookie you’ve ever made, truly!
Expert Steps to Perfect peanut butter blossom Texture
Okay, now that everything is measured out, we get to the fun part—making the dough! Follow these steps closely, especially the first mixing stage, because that’s where the magic happens for a truly soft peanut butter blossom. Remember, we are aiming for cookies that feel tender, not tough, so read the notes closely!
Mixing the Dough: Creaming for Softness
First things first, get your oven preheated to 375 degrees F and line those baking sheets with parchment paper. You don’t want any sticking surprises later! Now, about that creaming step—this is non-negotiable for soft cookies. In a big bowl, beat that softened butter, peanut butter, and both sugars (white and brown!) until the mixture looks light, fluffy, and pale. This process traps the air that keeps your cookies from being flat little hockey pucks.
Once that looks beautiful, add your eggs one at a time, followed by the vanilla. In a separate bowl, whisk your flour, baking soda, baking powder, and salt together. This ensures the leavening agents are evenly distributed. When you add this dry mix to the wet ingredients, take it slow! Mix only on low speed until it just comes together. Seriously, stop mixing the second you don’t see white streaks anymore. Overmixing develops gluten, and gluten means tough cookies, not the chewy texture we are dreaming of!
Baking and Chocolate Application for Flawless peanut butter blossom Tops
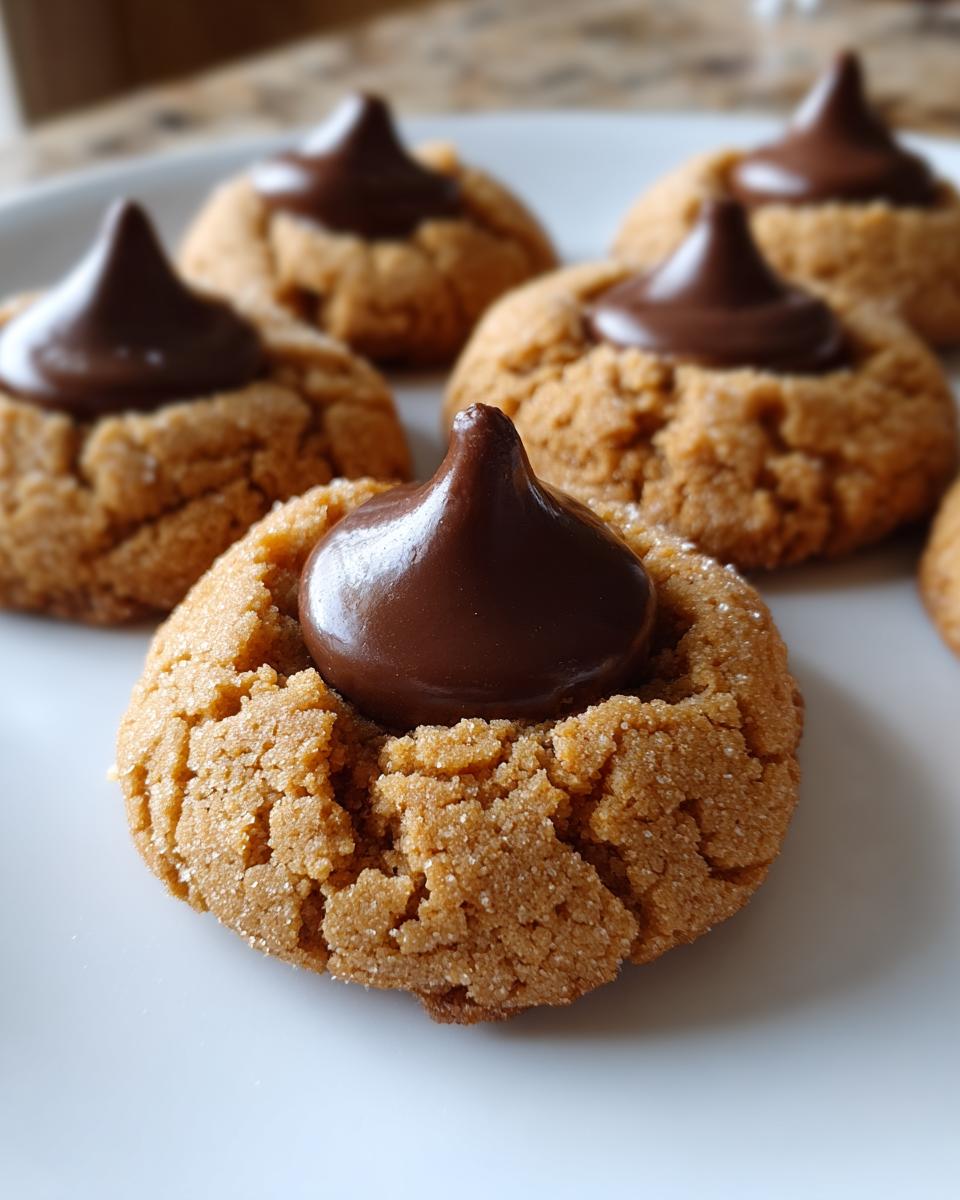
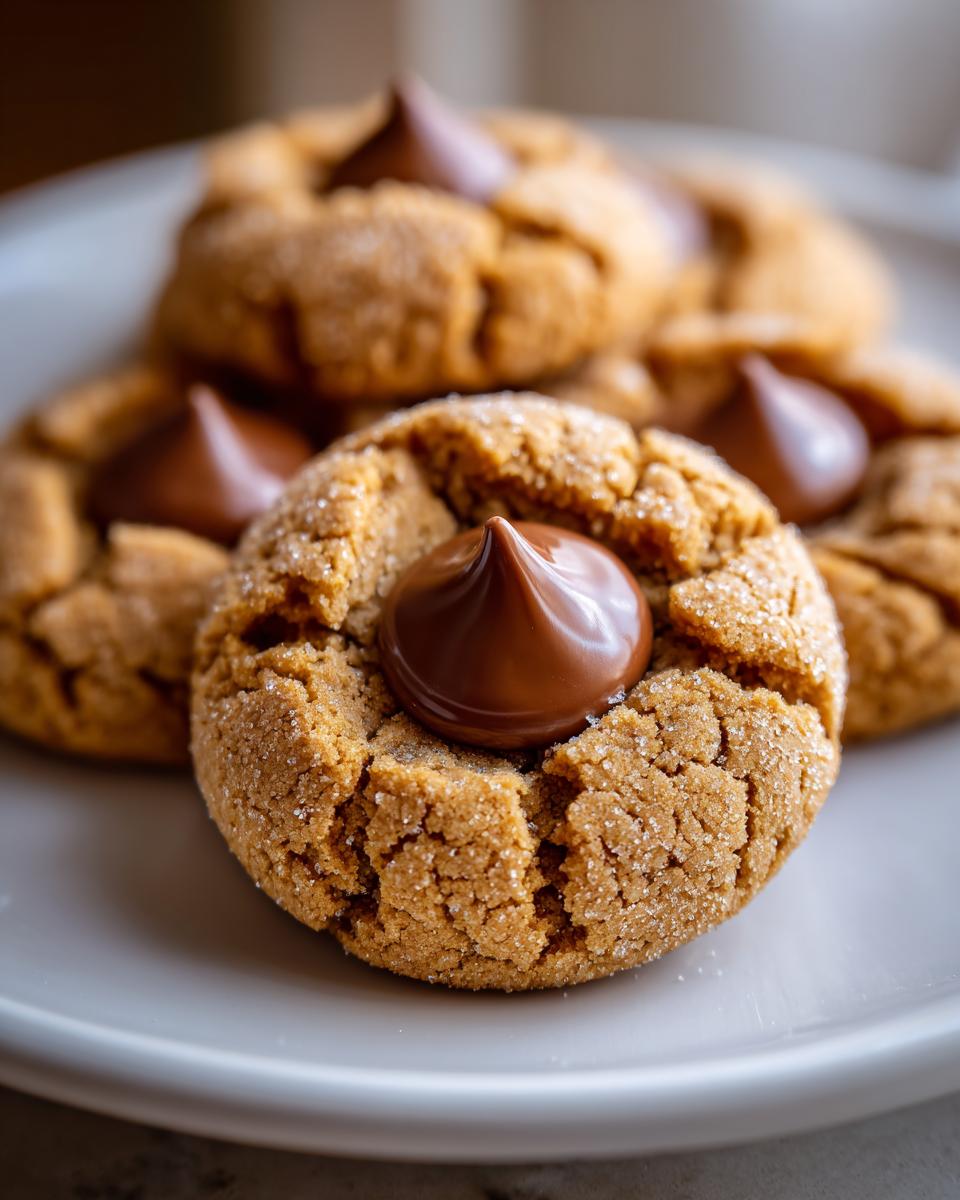
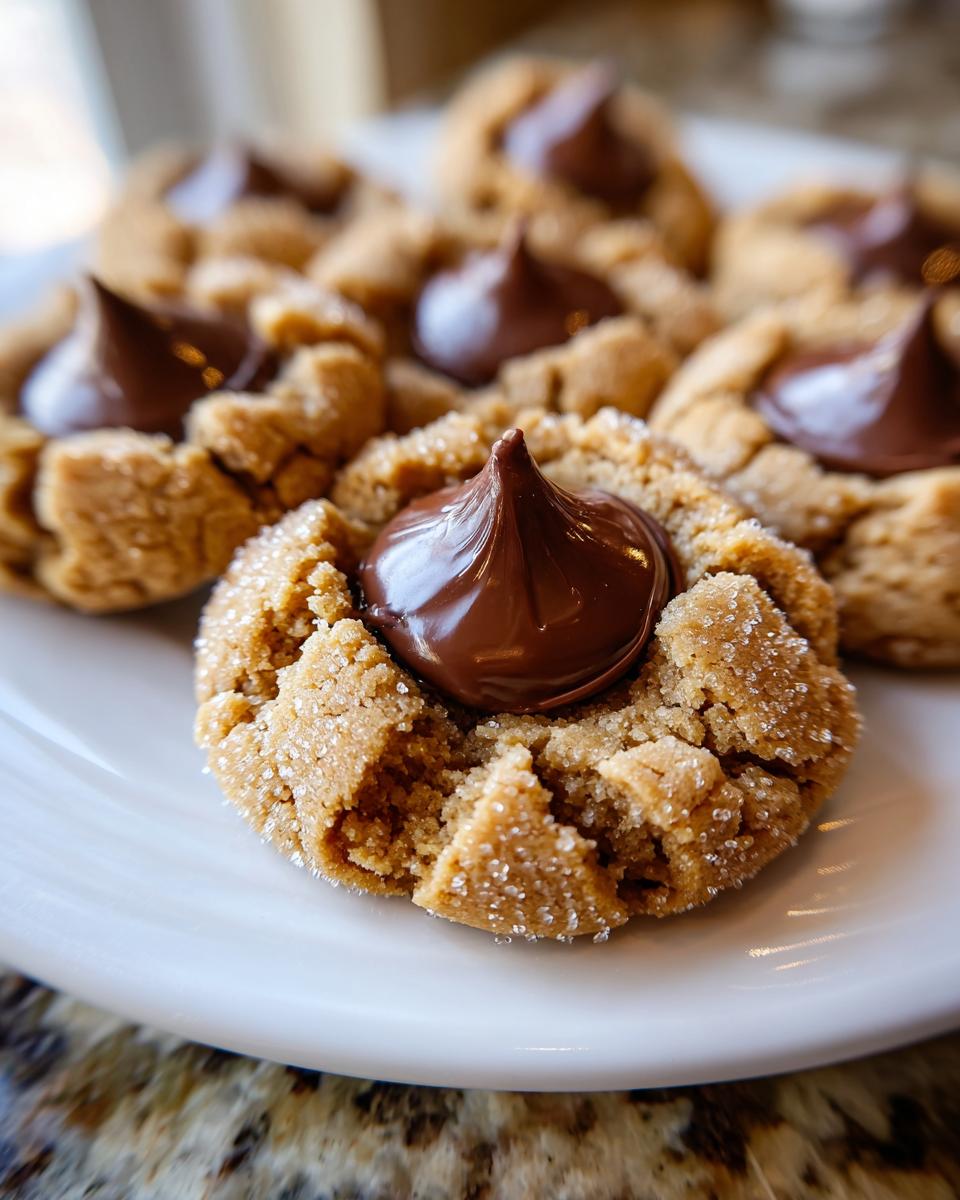
Time to roll! Put that extra 1/4 cup of sugar in a shallow dish and gently roll those one-inch dough balls until they have a light coat. Space them about two inches apart on your prepared sheets—they do spread a little. Bake them for just 8 to 10 minutes. You want them puffed up but still looking slightly underdone in the very center. They’ll finish cooking on the hot pan! If you want to learn how to make a quick hard-setting cookie icing for other holiday treats, check out that recipe out!
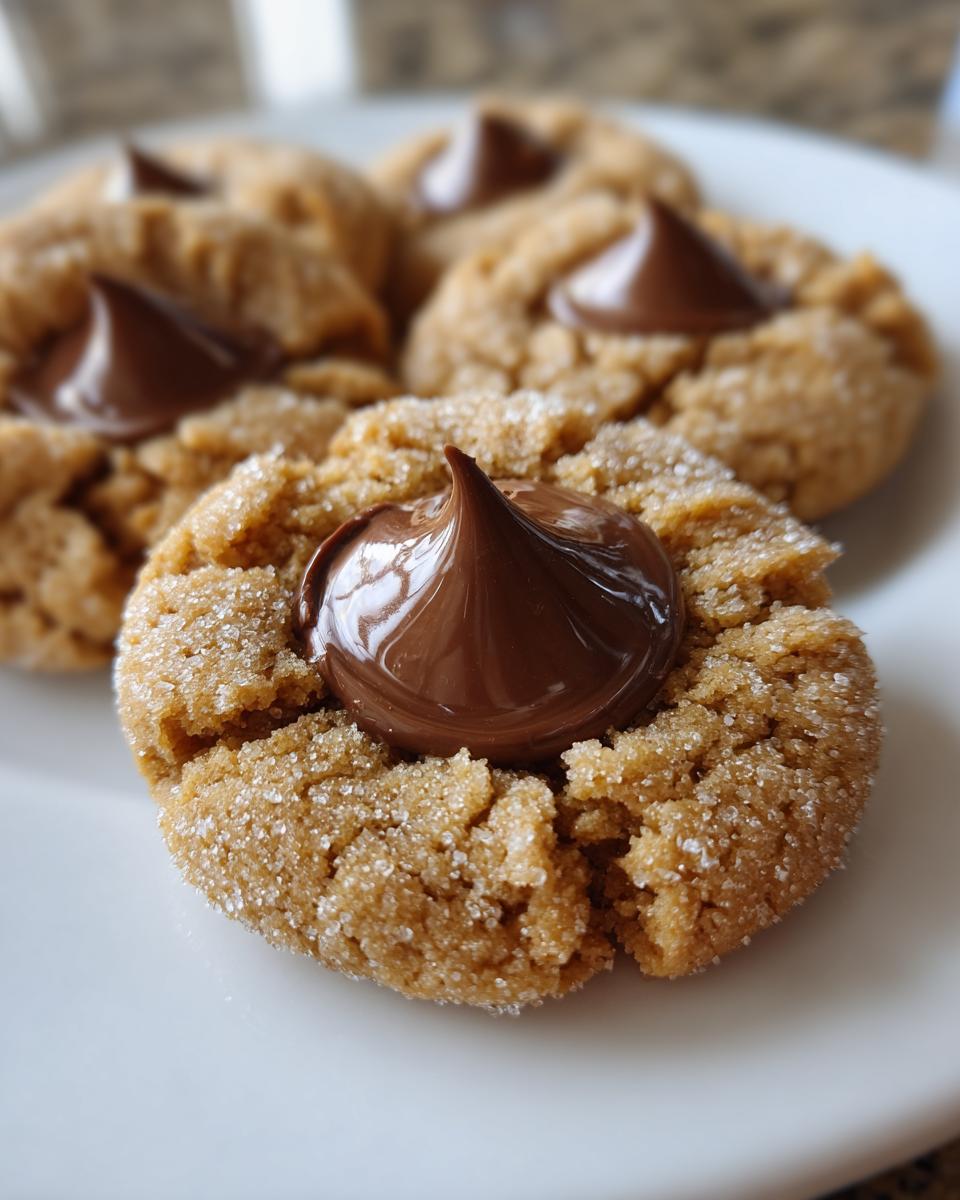
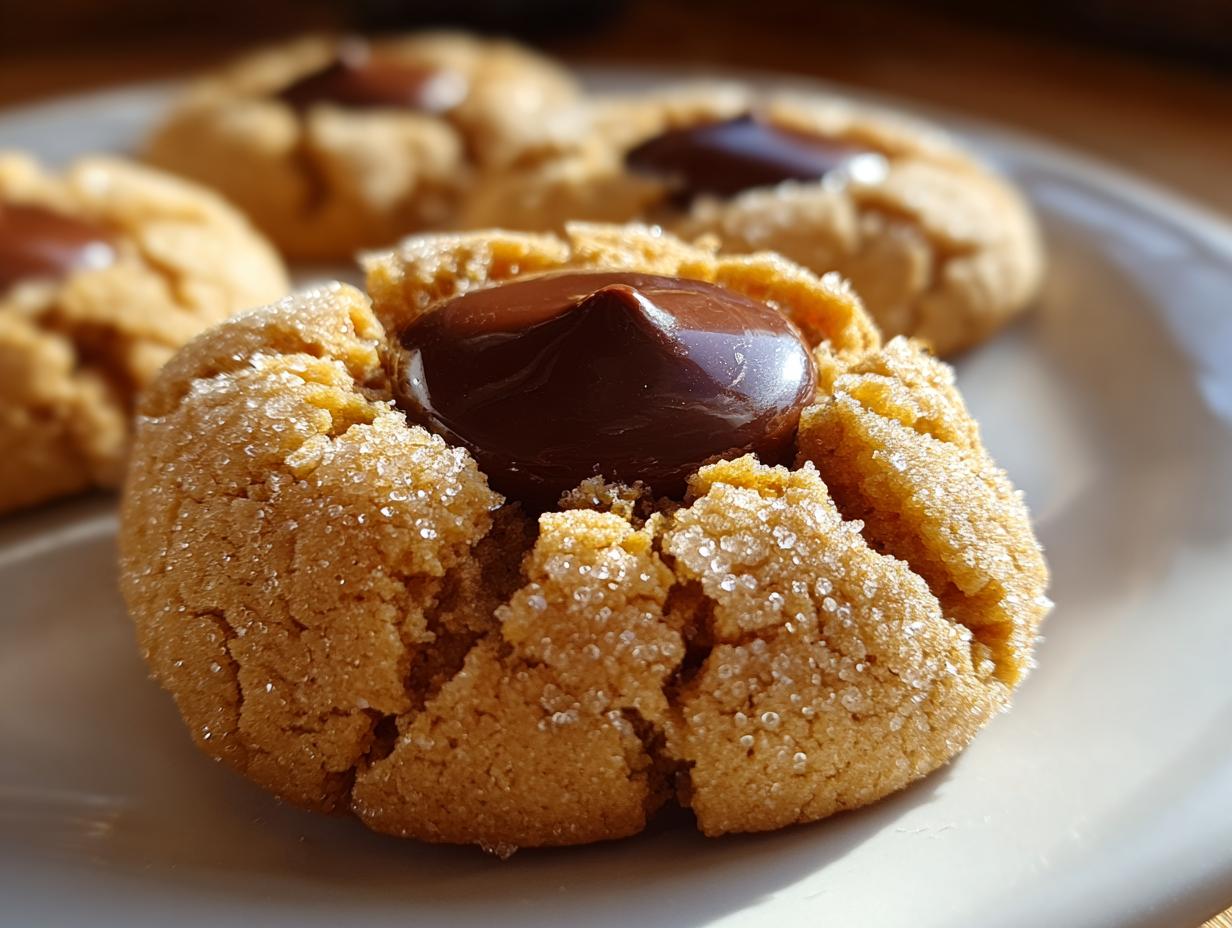
This next part is crucial for a perfect peanut butter blossom top: As soon as they come out of the oven, grab your unwrapped Hershey’s Kisses and immediately press one right into the center of each warm cookie. If you wait even a minute too long, the residual heat won’t be enough to properly melt the chocolate, and you risk the whole top cracking off when you press down. As the folks over at Flavory’s Dish point out, timing here is everything! Work quickly so that chocolate gets that signature melty look. Let them sit on that hot pan for five minutes before moving them to the cooling rack. That five minutes sets the cookie so it doesn’t fall apart!
Ingredient Notes and Substitutions for peanut butter blossom
Look, I’m Eleanor Vance, and I always preach about sticking to the recipe when it comes to baking classics. However, if you absolutely must tweak your peanut butter blossom to guarantee that soft, cloud-like texture for days, I have a couple of tried-and-true secrets. Some bakers swear by a little vegetable shortening mixed in with the butter—it helps keep the structure tender, which is great if you plan on transporting these for a cookie swap. I’ve also seen people swap out creamy for crunchy peanut butter, but that totally changes the texture, so be warned!
Remember that external tip about not letting the cookie cool too much before embedding the Kiss? That’s really important! The heat from the cookie does half the work melting that chocolate perfectly. If you want a similar, unbelievably soft cookie, check out my recipe for just simple peanut butter cookies—they skip the chocolate top but focus heavily on that lasting softness that you can get help from when baking the best peanut butter blossoms.
Tips for Making peanut butter blossom Cookies Ahead of Time
I know the holidays get hectic, and sometimes you just need to get out of the kitchen! The great news is that you can absolutely make these peanut butter blossom cookies ahead of time, which is a lifesaver when you’re planning cookie platters. My biggest piece of advice? Don’t bake the dough right away. Make the balls, roll them in that sugar coating, and then pop them onto a baking sheet and cover the whole thing securely with plastic wrap.
You can chill this dough for up to three whole days in the refrigerator! When you are finally ready to bake them, you don’t need to do anything special to bring them to room temperature. Just slide that sheet right into the preheated 375-degree oven. Because the dough starts out cold, it needs a tiny bit more time to do its thing. I always add just one or maybe two extra minutes to the baking time listed in the main instructions. That little bit of extra time ensures they set up nicely before you press the chocolate in.
This prep-ahead method lets you keep that wonderful soft texture locked in until it’s showtime. It’s one of the best ways to manage baking loads for cookie swaps or big family events. If you love making things ahead of time, you might want to look at my guide for other make-ahead holiday treats, tailored for busy home cooks like us!
Baking with Peanut Butter: Mastering Flavor Profiles
When you’re deep into baking with peanut butter, you realize that not all peanut butter jars are created equal! This is especially true when you’re moving from our blossoms to other chocolate peanut butter desserts. The peanut butter dictates so much about the final flavor and, honestly, the texture too. My rule of thumb is: if the recipe calls for creamy, stick to creamy. Why? Because those commercial creamy brands often have added stabilizers, which actually help keep baked goods tender, sometimes even better than the natural stuff.
Now, if you decide to use all-natural peanut butter—the kind where the oil separates at the top? You absolutely must stir it until it’s perfectly smooth before measuring. If you don’t, you risk adding too much oil or too little solid peanut butter, throwing off the balance of your dry and wet ingredients. This can lead to cookies that brown too fast or spread way too thin. For these blossoms, creamy peanut butter gives you that smooth dough consistency we need for a perfect sugar coating, which contributes to that lovely crackle on top.
For things like my moist peanut butter banana bread, I sometimes like crunchy just for that texture surprise. But for something delicate like a blossom, creamy is always the way I lean. It just blends right in and lets the buttery flavor shine through without adding any hard chunks.
Storage and Keeping Your peanut butter blossom Cookies Fresh
You went through all the trouble of making the ultimate soft and chewy peanut butter blossom cookies, so you naturally want them to stay amazing until the last one is eaten, right? You can’t let all that hard work crumble away by Day Three!
The absolute key here is air—or rather, keeping the air out. These cookies hate humidity, and they definitely don’t like getting stale. My best advice is to use a truly airtight container once they are completely cool. I mean, fully cooled, all the way down, or you’re just trapping steam and making the bottoms soggy!
If you are stacking them, be super careful not to crush that delicate chocolate top. I usually line the bottom of my container with a single piece of parchment paper, add a layer of cookies, another sheet of parchment, and keep repeating. This separation stops the chocolates from smashing into each other or sticking badly.
If you store them correctly at room temperature, they should stay soft for a good four or five days. They taste best around Day Two, in my opinion! If you have too many left over after a party, you can freeze them too, though I find the texture is best when they aren’t frozen solid. For other quick treats that store well, you should absolutely check out my recipe for easy apple pie bars!
Frequently Asked Questions About Classic Christmas Cookies
I get so many questions during the holidays about how to tweak these classic Christmas cookies, so let’s clear up some of the common baking head-scratchers right here. It’s all about making your baking life easier and your cookies tastier!
Can I use crunchy peanut butter instead of creamy?
You absolutely can swap it out if you prefer that texture, but I highly recommend sticking to creamy for this specific recipe. Why? Because we want that dough to be super smooth so it rolls into a perfect ball and gets a nice, even coating of sugar. Crunchy peanut butter makes the dough a little more crumbly and harder to handle before baking. Plus, crunchy bits can sometimes interfere with that beautiful, classic crackle pattern we love on top!
Why did my chocolate kiss crack the cookie when I pushed it in?
Oh, that’s the dreaded Blossom Fracture! It happens almost 100% of the time when you let the cookie cool for too long before pressing the chocolate in. Remember my note from the instructions? You have about a 60-second window right out of the oven where the cookie is set enough not to collapse, but warm enough to embrace that famous Hershey’s Kiss. If the cookie is too cool, the chocolate, which is firmer, cracks the surface when you press it. Make sure your oven rack is close enough so you can work quickly!
Do I really need to roll the dough balls in sugar?
I know it feels like an extra step, doesn’t it? But yes, trust me on this! Rolling the dough in that extra sugar is super important for two reasons. First, it creates that signature, slightly crackled, frosted look on the outside of the cookie. Second, that outer layer of sugar helps the cookie set quickly on the outside while the center stays nice and soft. If you skip it, you risk a flat, dense cookie that doesn’t have that hallmark texture. If you’re looking for other easy dessert ideas for parties, you might enjoy these Christmas tree cinnamon rolls!
How do I make sure these stay soft for my cookie swap?
The secret to longevity is actually what we talked about earlier: the right fat ratio and not over-baking! If you follow the creaming steps correctly, the cookie will stay moist for days in an airtight container at room temperature. If you are worried, try the substitute I mentioned—using half butter and half vegetable shortening. Shortening is fantastic at preventing baked goods from drying out because it stays solid at room temperature better than butter does. That way, your Classic Christmas Cookies still taste fresh on cookie platter day three!
Nutritional Estimates for Your peanut butter blossom Treat
Now, I’m not a nutritionist, you know that! My focus is purely on making sure these peanut butter blossom treats taste like pure holiday joy. But since everyone is always curious about what’s in their favorite snack, I pulled together some general estimates for you based on the standard ingredients list. Please take these numbers with a grain of salt—they depend heavily on what brand of peanut butter you use and exactly how big your cookies turn out!
These estimates reflect a single cookie, assuming you get about three dozen yields, as I outlined in the recipe card. They are a little indulgent, as any good, classic cookie should be!
- Calories: Around 160 per cookie.
- Fat: About 8 grams total. We do use a good amount of butter, so this isn’t a low-fat snack, but oh my goodness, it’s worth it!
- Carbohydrates: Roughly 20 grams. That’s the sugar and the flour doing their delicious work.
- Protein: Around 3 grams, thanks to that wonderful peanut butter base.
If you’re looking for something slightly more protein-packed without sacrificing flavor, you might want to check out my recipe for no-bake protein bars. But for a classic, perfect holiday cookie, these blossoms are unbeatable!
PrintThe Ultimate Soft and Chewy Peanut Butter Blossoms: Classic Recipe with Texture Secrets

Make the best peanut butter blossom cookies that stay soft and chewy for days. This classic recipe uses simple steps to achieve the iconic sweet and salty flavor perfect for holiday cookie swaps or any day.
- Prep Time: 15 min
- Cook Time: 10 min
- Total Time: 25 min
- Yield: About 3 dozen cookies 1x
- Category: Dessert
- Method: Baking
- Cuisine: American
- Diet: Vegetarian
Ingredients
- 1 cup unsalted butter, softened
- 3/4 cup creamy peanut butter
- 3/4 cup granulated sugar
- 3/4 cup packed light brown sugar
- 2 large eggs
- 1 teaspoon vanilla extract
- 2 1/4 cups all-purpose flour
- 1 teaspoon baking soda
- 1/2 teaspoon baking powder
- 1/2 teaspoon salt
- 1/4 cup granulated sugar (for rolling)
- 1 bag Hershey’s Kisses, unwrapped
Instructions
- Preheat your oven to 375 degrees Fahrenheit. Line baking sheets with parchment paper.
- In a large bowl, cream together the softened butter, peanut butter, 3/4 cup granulated sugar, and brown sugar until the mixture is light and fluffy. This step helps create a soft texture.
- Beat in the eggs one at a time, then mix in the vanilla extract.
- In a separate bowl, whisk together the flour, baking soda, baking powder, and salt.
- Gradually add the dry ingredients to the wet ingredients, mixing on low speed until just combined. Do not overmix the dough.
- Place the remaining 1/4 cup of granulated sugar in a shallow dish. Roll the dough into 1-inch balls. Roll each ball in the sugar to coat lightly.
- Place the sugared dough balls about 2 inches apart on the prepared baking sheets.
- Bake for 8 to 10 minutes. The cookies should look slightly puffed but not fully set.
- Remove the baking sheets from the oven. Immediately press one unwrapped Hershey’s Kiss into the center of each warm cookie. The residual heat will soften the chocolate.
- Let the cookies cool on the baking sheet for 5 minutes before transferring them to a wire rack to cool completely.
Notes
- For extra soft cookies that last, use a mix of creamy peanut butter and a small amount of vegetable shortening instead of all butter.
- Press the chocolate kiss into the cookie right out of the oven; if the cookie cools too much, the chocolate will crack the cookie when you press it in.
- You can make the dough ahead of time and chill it for up to 3 days. Roll and bake directly from the refrigerator, adding 1-2 minutes to the baking time.
Nutrition
- Serving Size: 1 cookie
- Calories: 160
- Sugar: 14g
- Sodium: 110mg
- Fat: 8g
- Saturated Fat: 3g
- Unsaturated Fat: 5g
- Trans Fat: 0g
- Carbohydrates: 20g
- Fiber: 1g
- Protein: 3g
- Cholesterol: 20mg